In two previous posts I discussed the many wonderful pieces of my Boyds Bear collection that I started in the 1980s. Throughout the years I have collected Boyds stuffed animals, whimsical figurines and picture frames. The main portion of my Boyds Bear collection is displayed in the library of our home in a lovely oak glass-front lawyer cabinet. These items are displayed year-round in the cabinet and I also add additional seasonal holiday themed figurines. (If you would like to see more of this collection, please click on the following links: Displaying a Boyds Bear Collection Part One and Two)
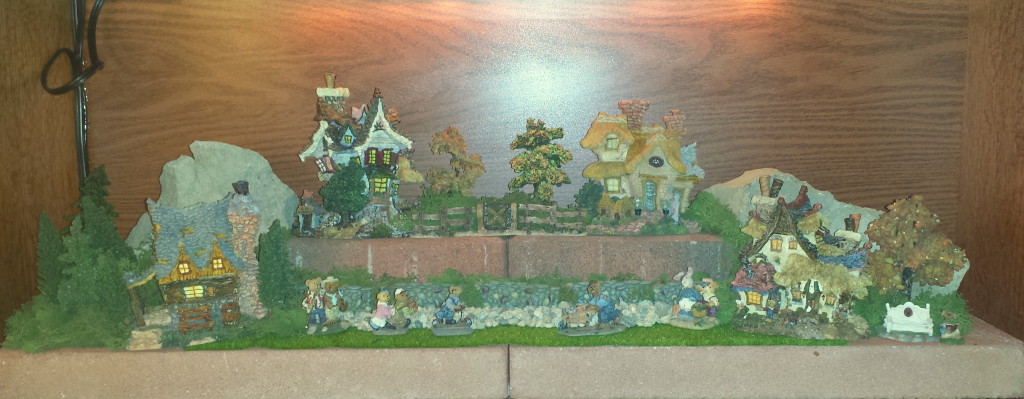
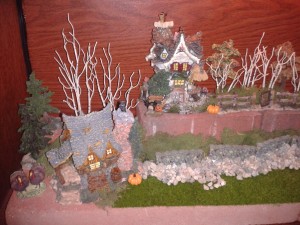
The focus of this post will be the setting up a Boyds Bear Village Display and will included step-by-step instructions of how I set up the display. In addition, I will show how I change or add special seasonal items to the display for the various holidays. The Boyds Bear Village display is set-up on the bottom shelf of my Boyds Bear cabinet with several of the charming Boyds Bear Village houses that remain in place throughout the entire year. The Boyds Bear Village house are: “Edmund’s Hideaway”, “Grenville and Beatrice’s Homestead”, “Emily’s Carrot Cottage”, and “Bailey’s Cozy Cottage”.
Below are the step-by-step instructions and photos of how I set up the display:
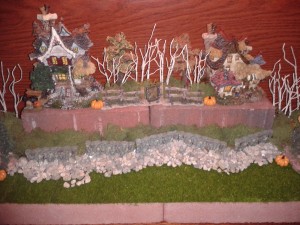
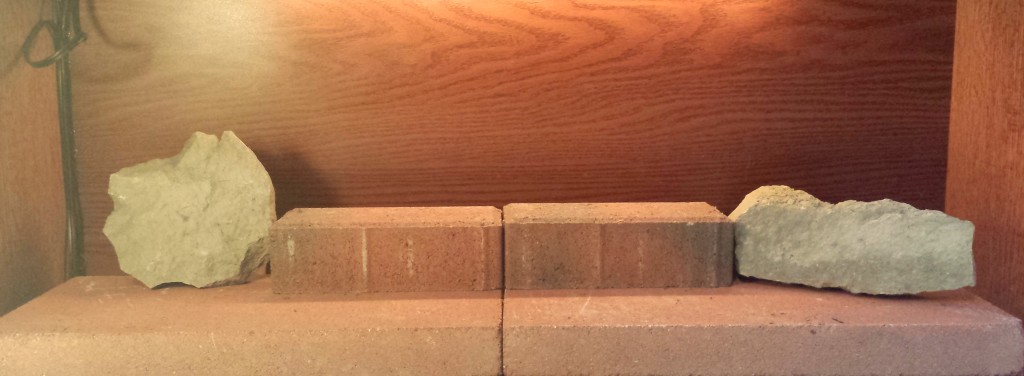
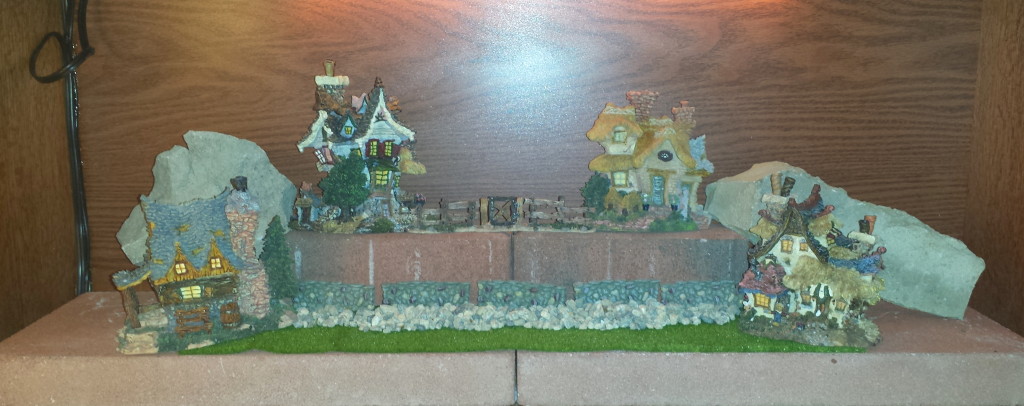
First, I lined the bottom shelf with newspaper and then placed two large bricks to add height to the display. The newspapers were used to prevent the bricks from scratching the oak bookcase. Next, I placed two smaller bricks to create more height in the center of the top section of the display. I also used two large rocks on either side of the display to create more texture and visual interest.
 Then, I placed the four Boyds houses, leaving space in the middle for additional accessories. On the lower section of the display, I placed a piece of artificial grass. To hide some of the brick, I used four sections of stone walls and added small rocks. On the top section of the display, I used a three piece section of fencing between the two houses.
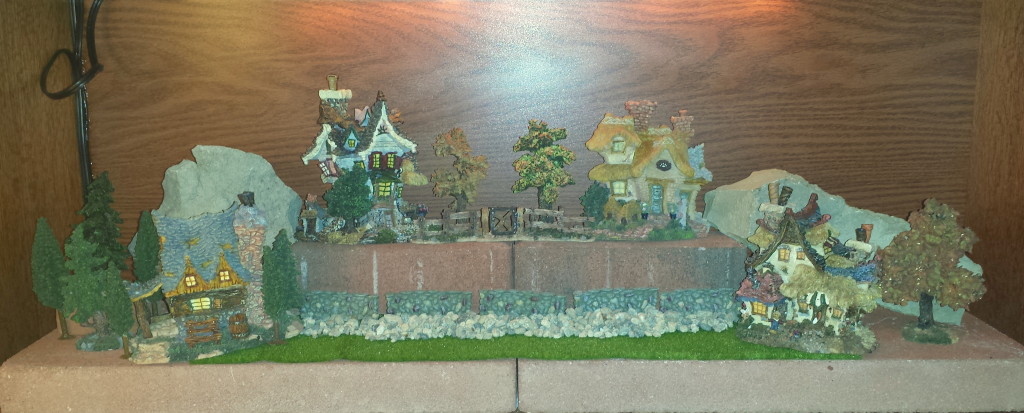
 Next, I placed several trees around the display. Special Note: I have several sets of seasonal trees for the different holidays. Such as full green trees for summer/spring, bare-branch and golden brown trees for fall and pine trees for winter.
 To hide the base of the trees, the spaces behind the wall on the lower section and behind the fence on the top section and also to fill the other empty areas of the display I used Spanish moss.
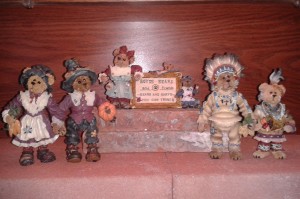
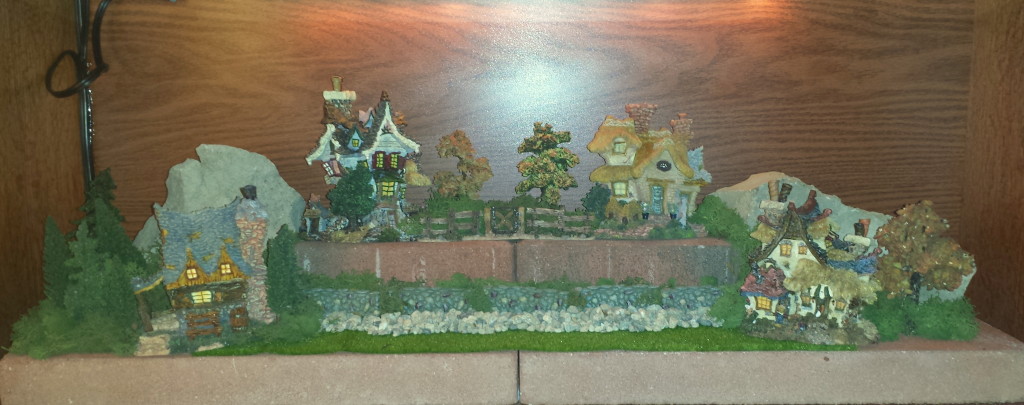 Finally, I place some of the Boyds Bear Village bear/hare figurines around the display. Special Note: I have several different sets of small seasonal figurines that I add or remove during the different seasons and holidays.
Below are several photos taken of the Boyds Bear Village display throughout the year for the various seasons with a description of the items that I add or remove depending on the holidays. Some of these additional items are from the Boyds Bears product line, I also use some Department 56 items and other items were purchased at local craft stores. Every year I try to change or add to the seasonal displays! Craft Tip: Keep an eye out during the various holidays throughout the year for miniature decorative accents; also check the dollhouse section in the craft stores for more miniature items to add to a display.
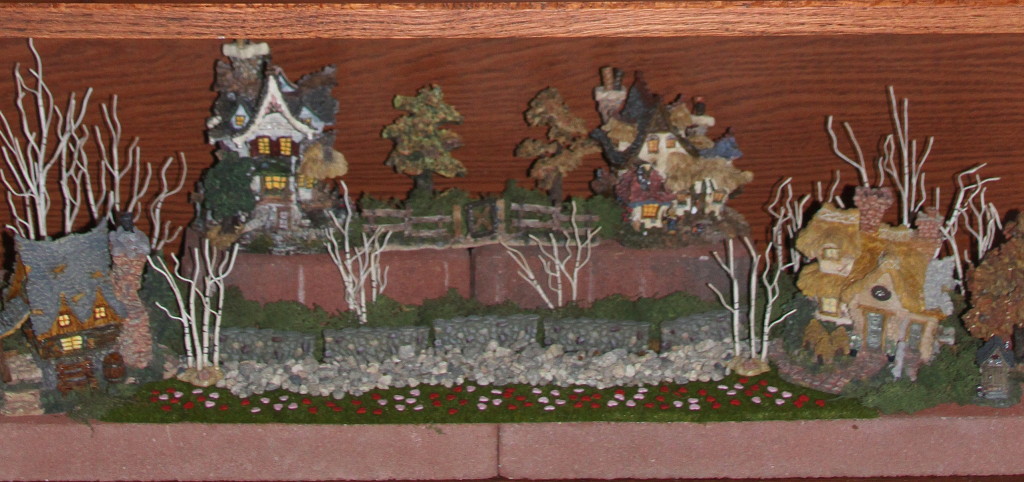
Valentine’s Day
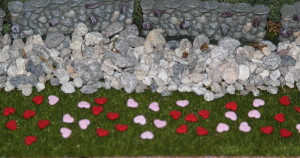
Sometime near the end of January, I will remove some of the winter accessories, such as the Christmas figurines and pine trees leaving only the bare-branch trees. Then, in my local craft store I found miniature pink and red hearts that I sprinkle on the grass area of the display for Valentine’s Day. (Next year, I’m thinking of adding more small hearts to the bare-branch trees for an extra special touch)
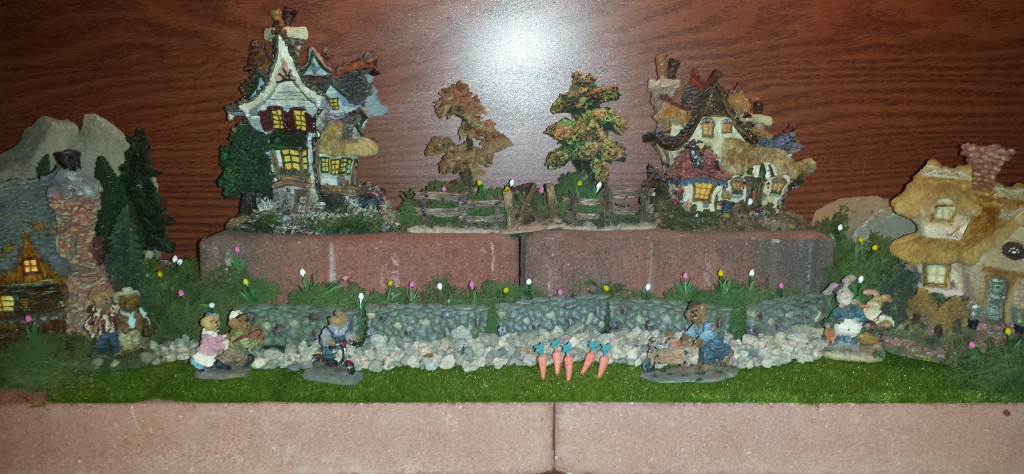
Spring/Summer
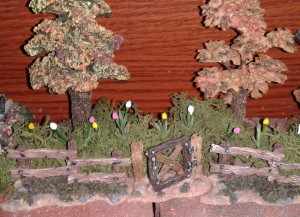
Usually in March, I will remove the bare-branch trees and will replace them with a set of full green trees. Next, in the railroad model section of my local craft store I found miniature white, pink and yellow tulips which I added to the top and bottom sections of the display inserting them into the Spanish moss so they would remain upright. To complete the Spring/Summer display I placed several of the Boyds Bear Village small figurines.
Fall – Halloween & Thanksgiving
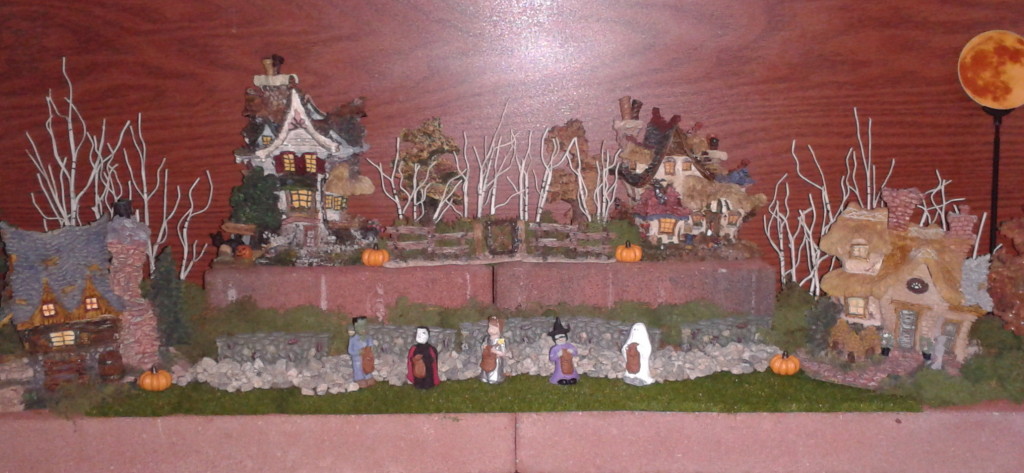
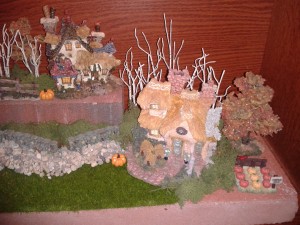
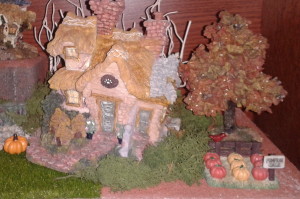
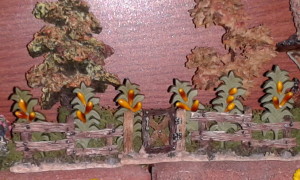
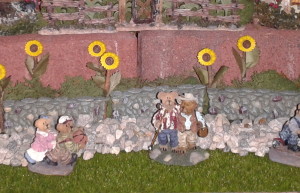
In mid-October, I will remove all the Spring/Summer accessories. Then, I will replace the Spring/Summer trees with several bare-branch and golden brown trees for a more seasonal autumn look. Next, for Halloween I will add several “trick or treaters” figurines, a pumpkin patch figurine and several miniature pumpkins to display. As a final touch, I will add a “harvest moon” in the right corner of the display. For Thanksgiving, I will remove the Halloween figurines and on the left side I will add a figurine of two small turkeys. Last year, I could find the right accessories to add to the Fall display so I made sunflowers from small buttons that I found in my local craft store. I added small twigs, which I attached through the button hooks on the back and glued small leaves onto the twigs and placed them near the rock wall on the lower section. I also added small corn stalks near the fence on the top section.
Winter – Christmas
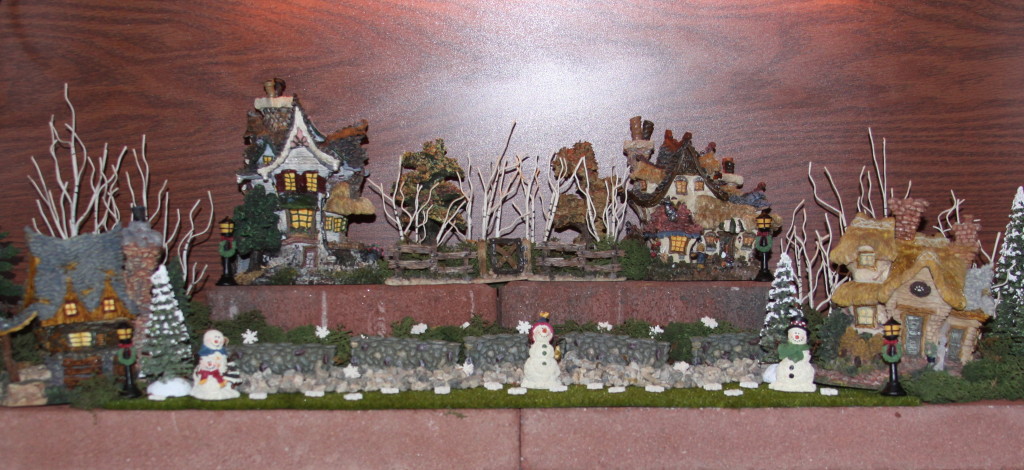
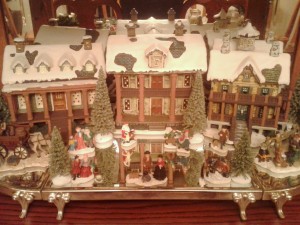
At the beginning of December, I remove all of the Fall figurines and replace the Fall Trees with snow covered pine trees for a winter look. Next, I add a small Santa bear and several snowmen figurines. I also add several tiny lamp posts accented with Christmas wreaths and place them near each of the Boyds Bear Village house. To finish the display I sprinkle several miniature snowflakes which I found in my local craft store.
So, I hope you enjoyed seeing how I set up my Boyds Bear Village and also how I accessorize the display throughout the year!

