Craft – Garden in a Book Shadowbox

Garden in a Book - adding tree and mossRecently I was Inspired by the beautiful shadowboxes I had seen on the internet and decided to create a special craft project.  I had a hinged book box that I purchased on several months ago that I thought would be perfect to use for my Garden in a Book Shadowbox.  Most of the other supplies were from my craft closet – paper, a miniature tree, a miniature metal gate and fence set, small flowers and moss.  Once I had all my supplies gathered together, this was the creative part of the craft project.  My advice is to have fun arranging the various items you have collected to make a pleasant arrangement.  In general, I like my scenes to be symmetrical but maybe I would suggest trying to set the focal point (maybe a tree or a garden table and chairs set) off to one side.  This idea would definitely add more room for embellishments and currently the craft stores are expanding their miniatures collections so the selection is definitely larger!

Garden in a Book - supplies

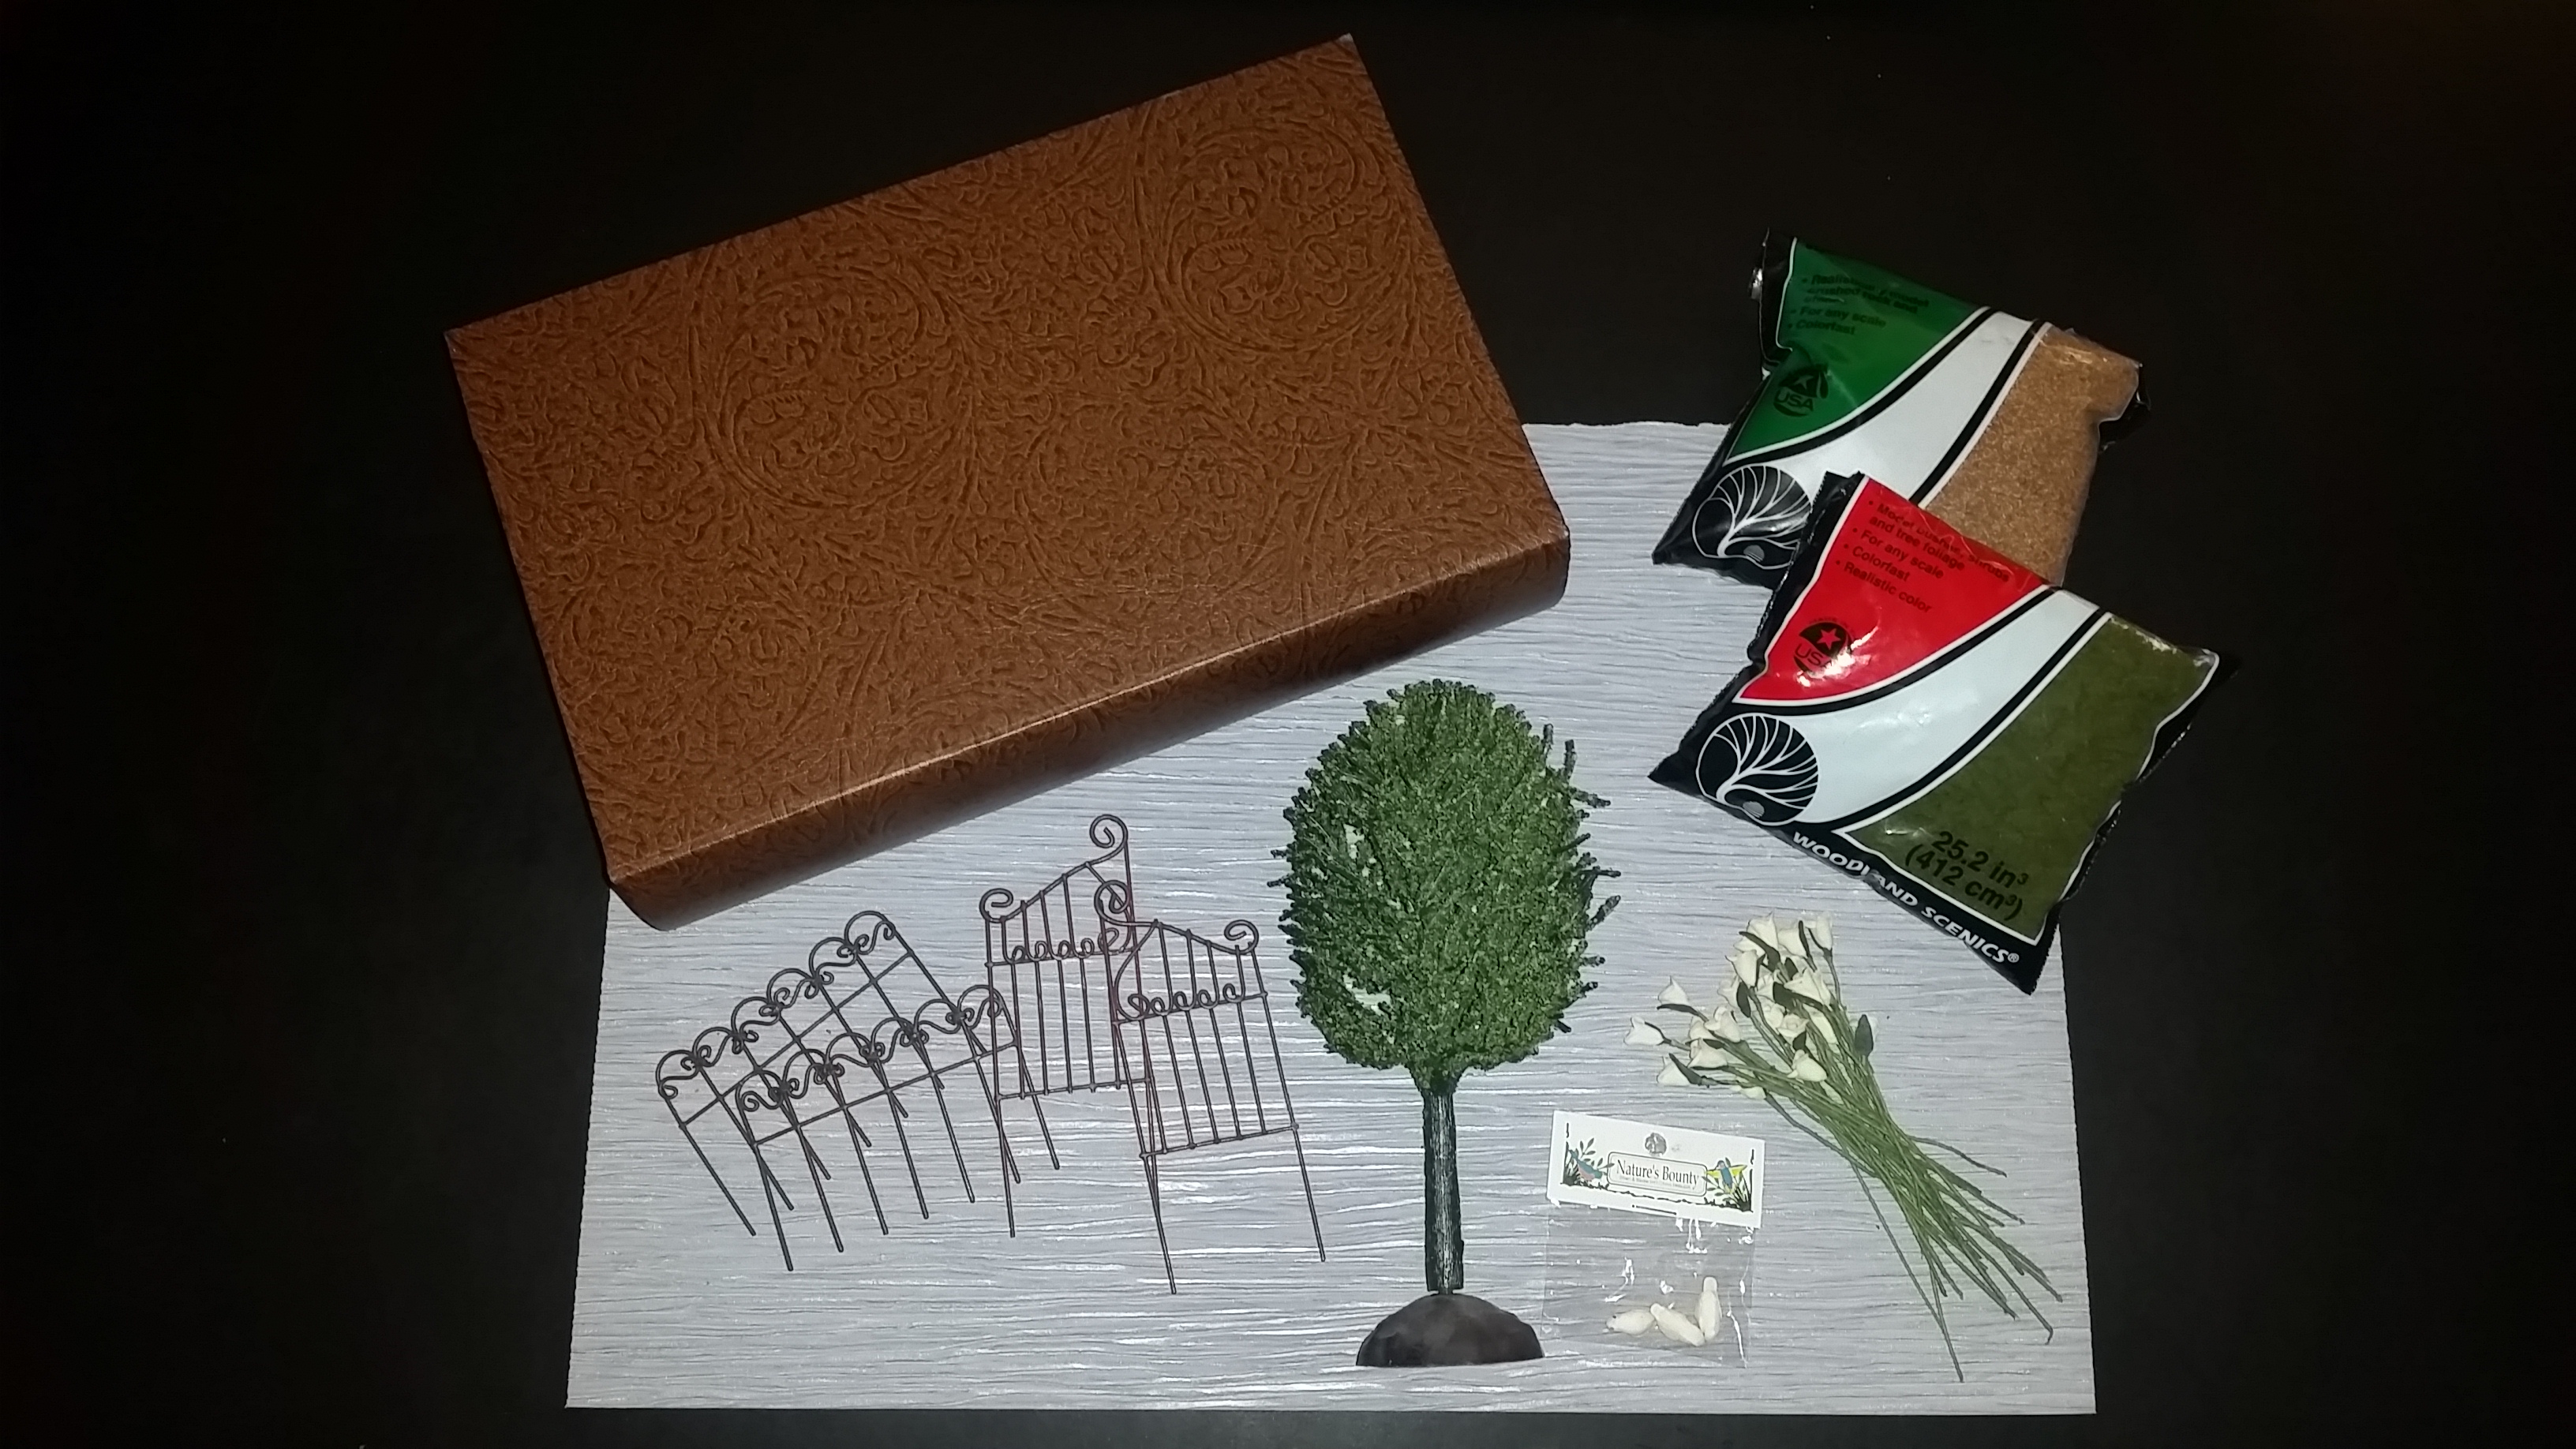
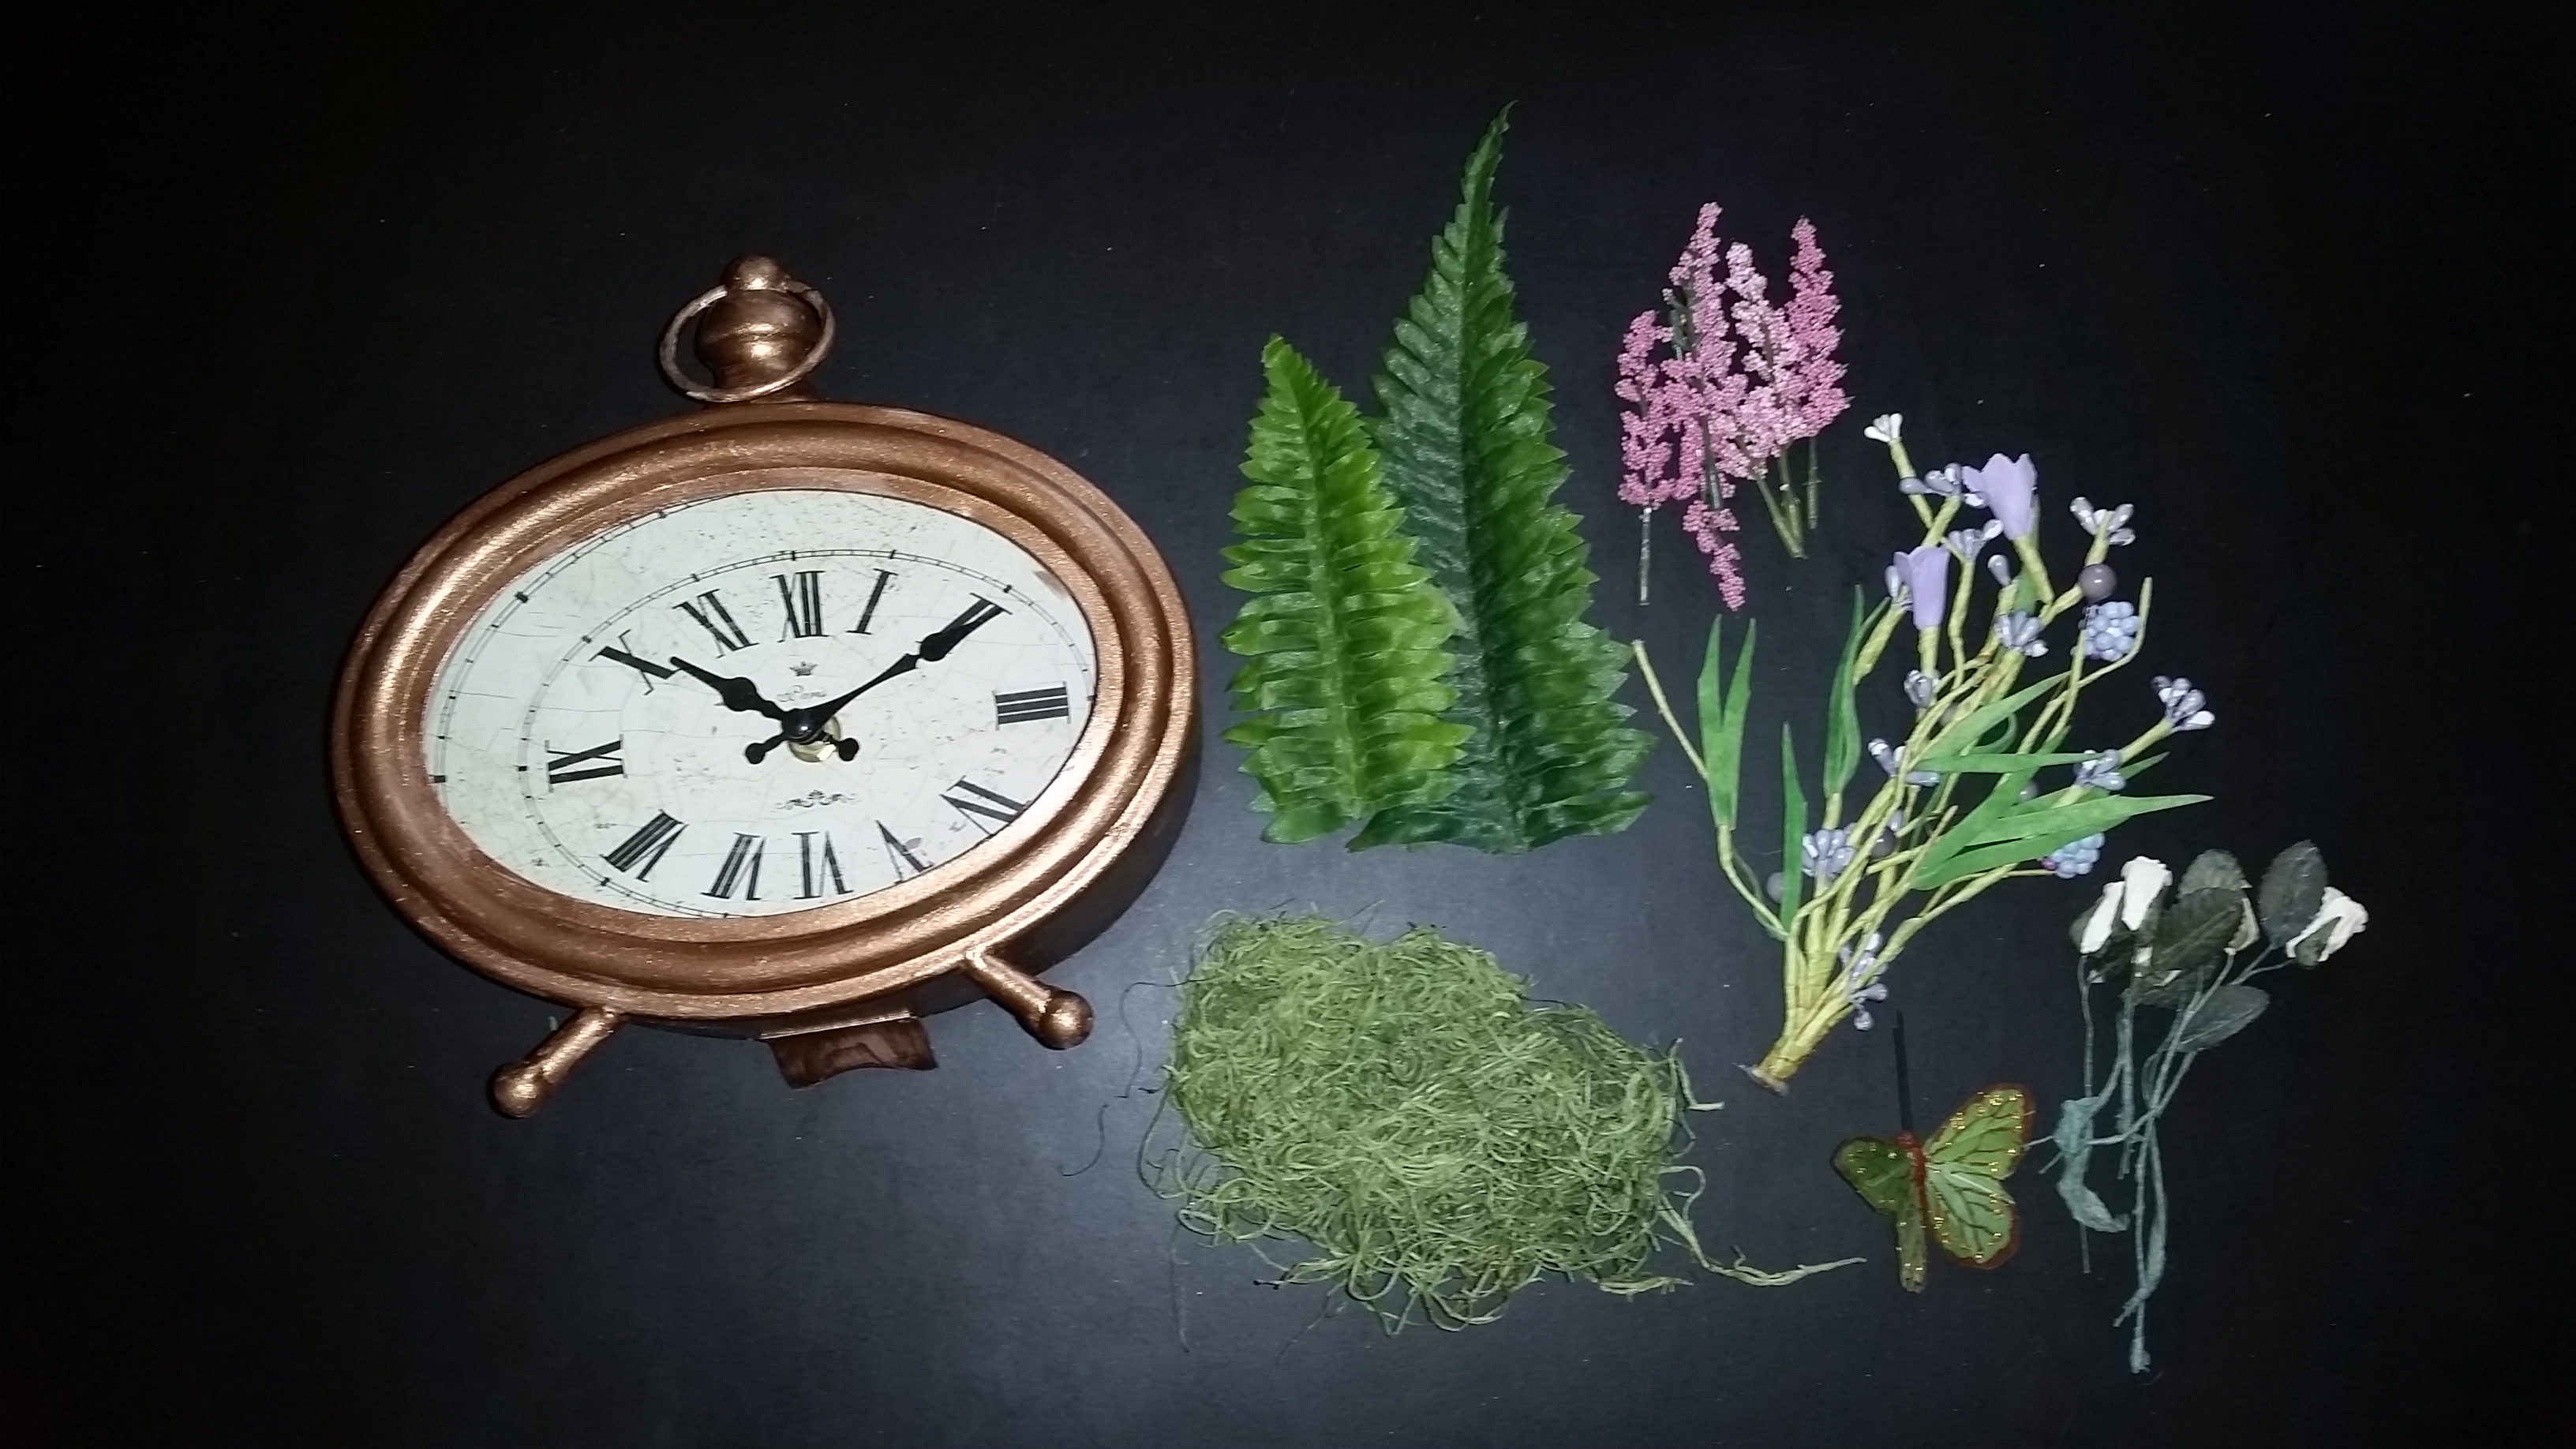
Garden in a Book Shadowbox – supplies
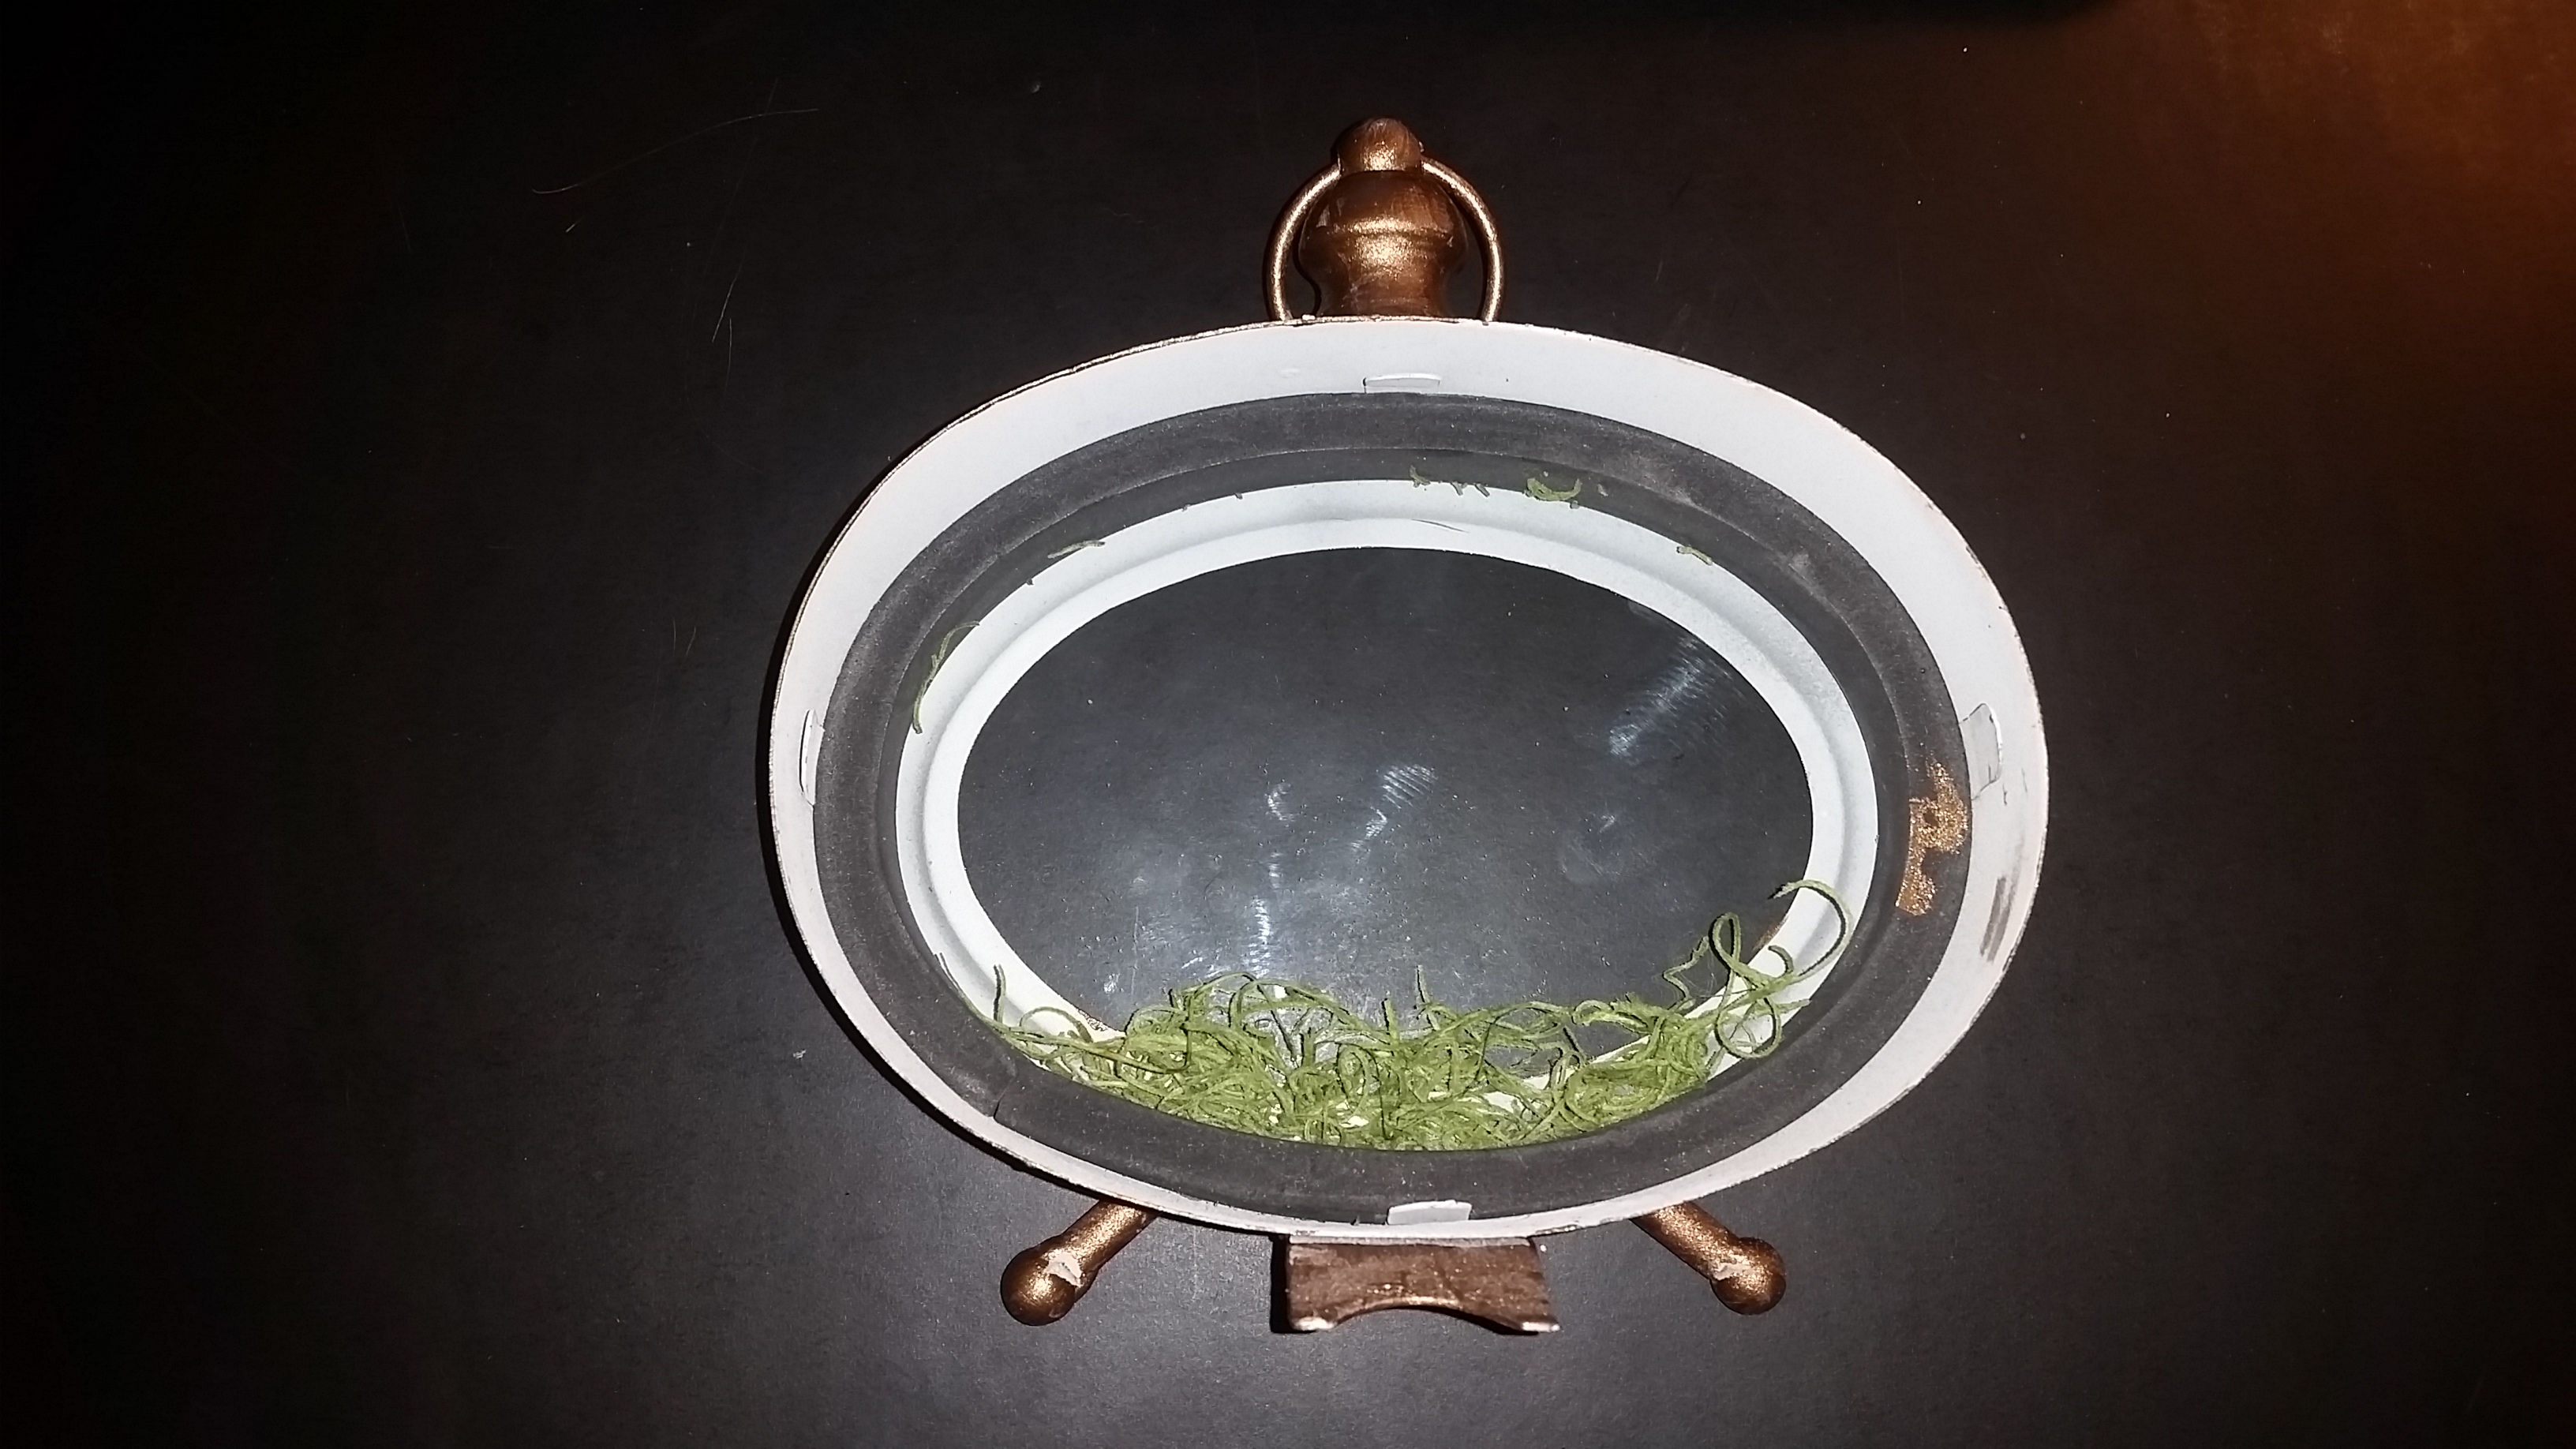
  • Hinged Book Box
  • Durable paper to cover the box (I used a remnant from a wallpaper sample book)
  • Scrapbook paper for the background
  • Blue paint, paint brush (optional)
  • Miniature tree
  • Miniature set of a metal garden gate and fence
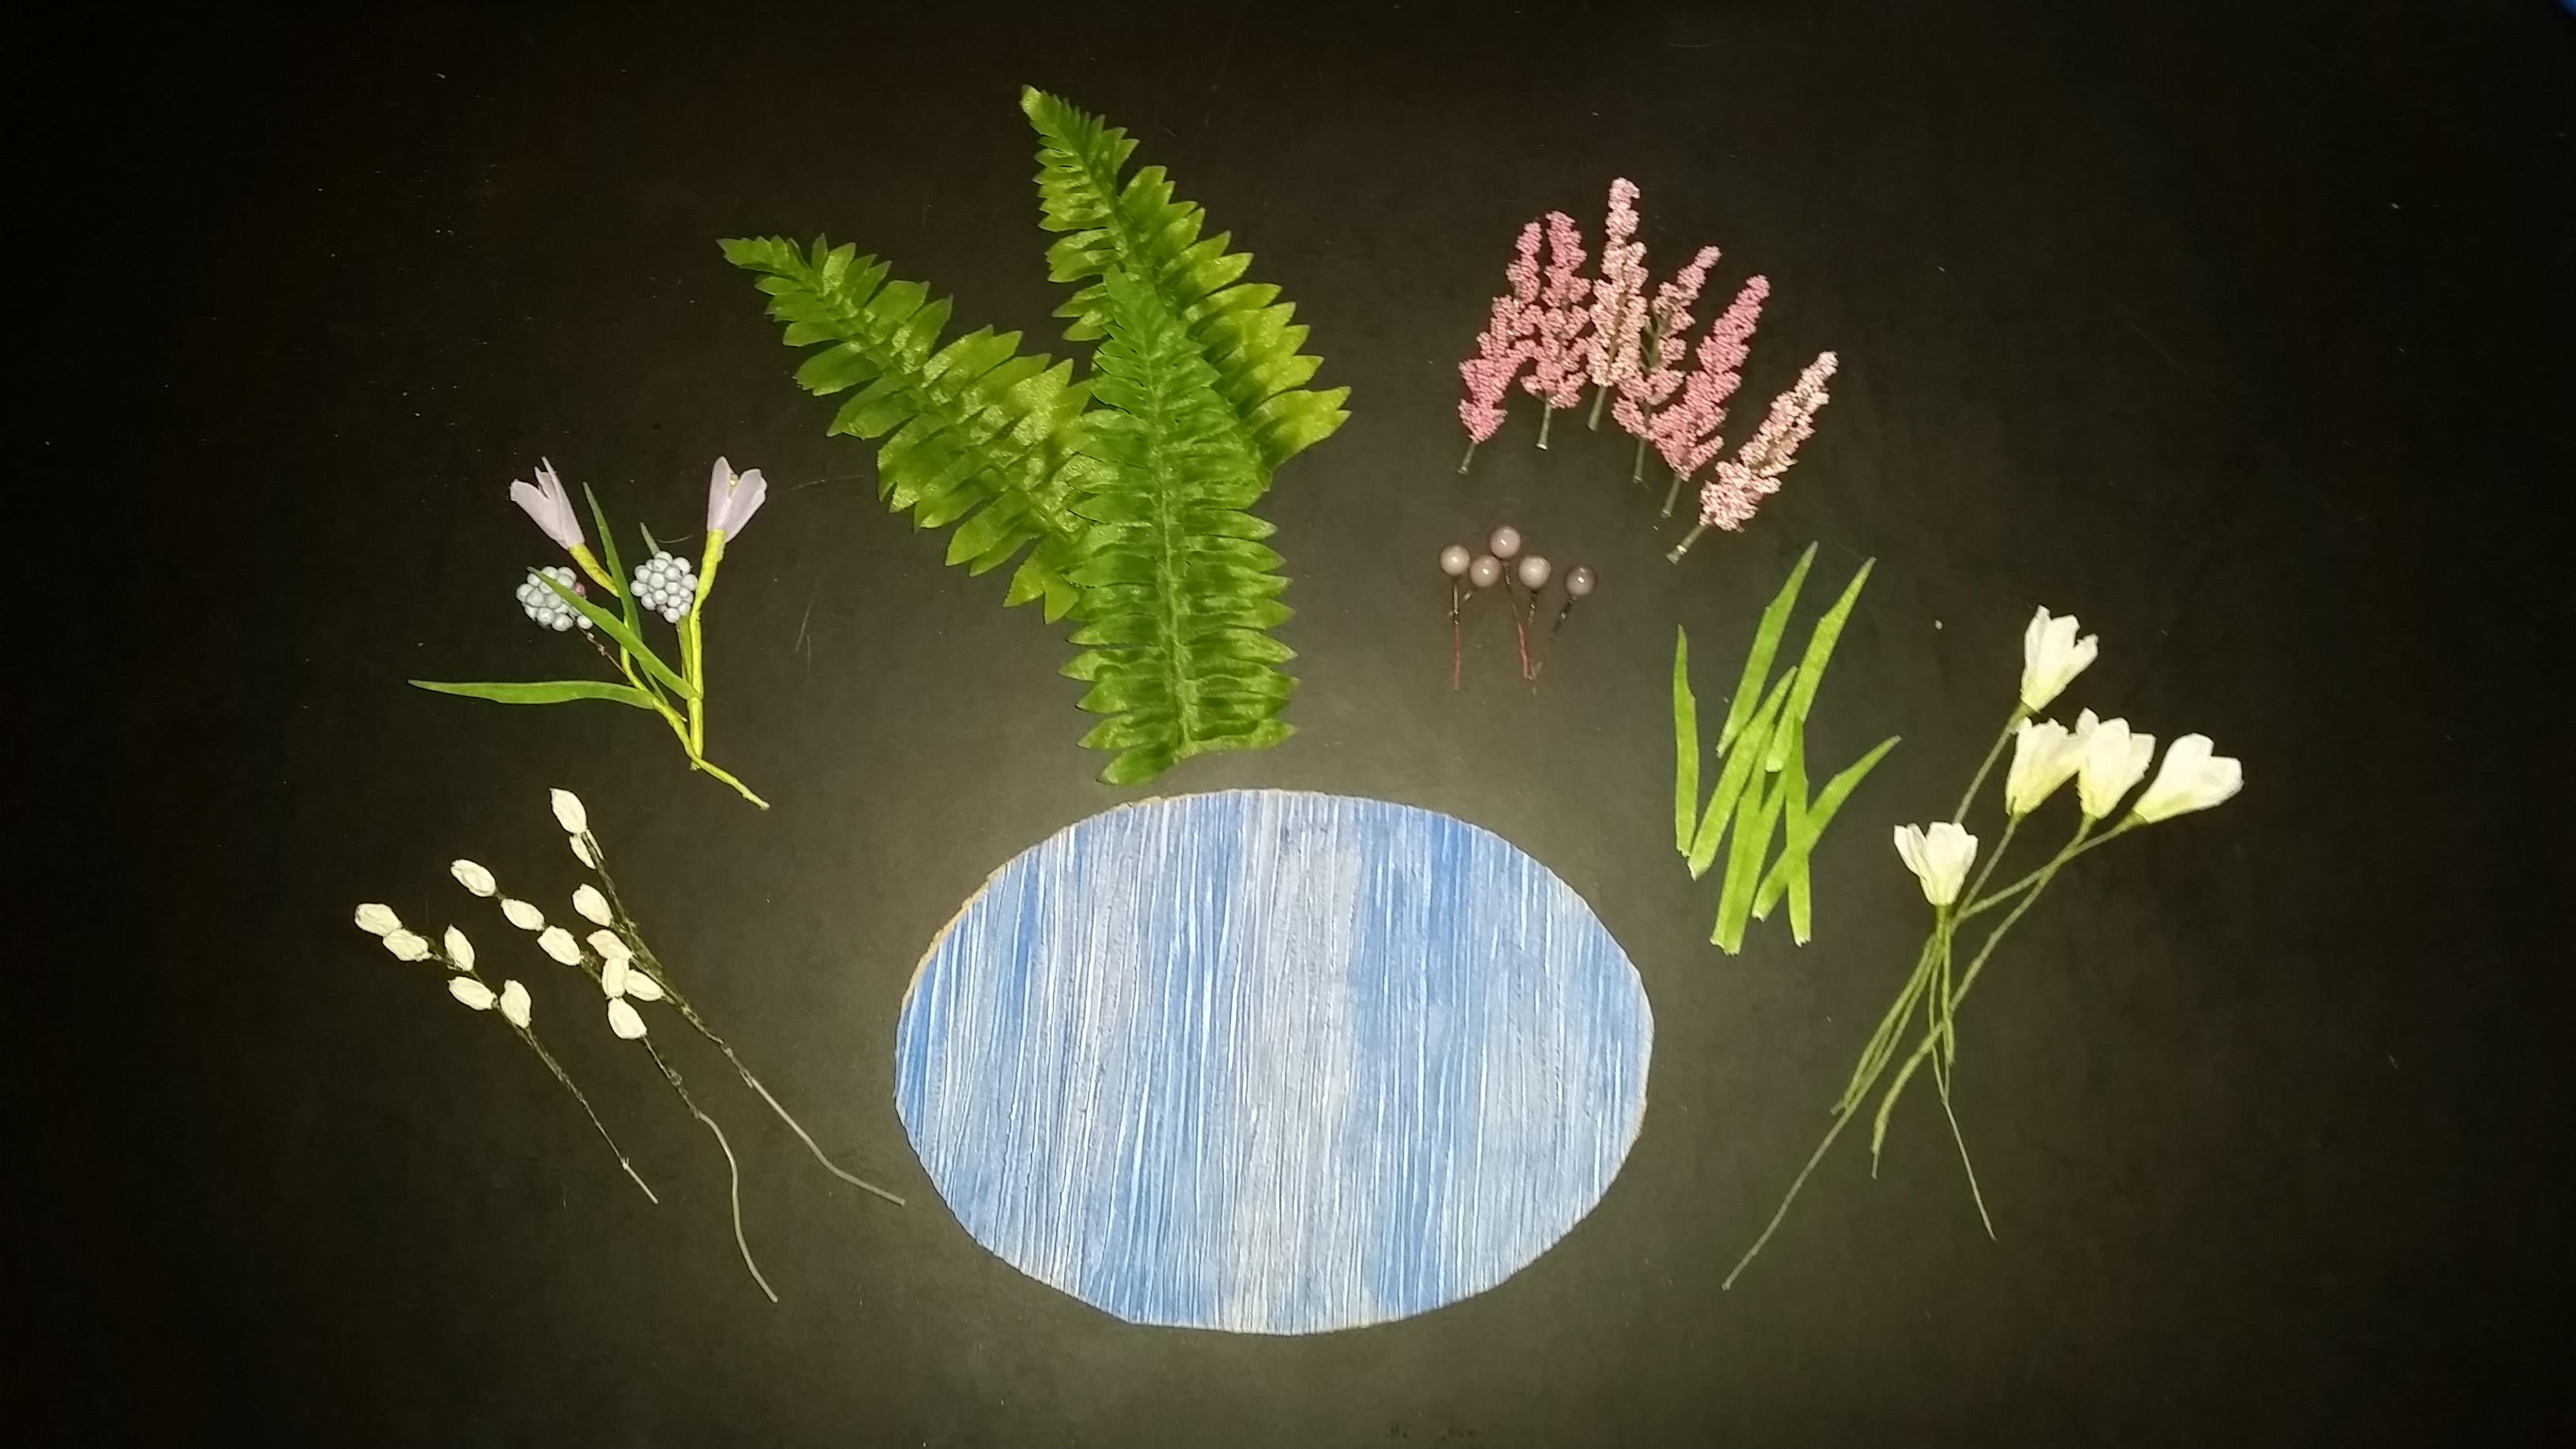
  • Small flowers Moss
  • Moss
  • Hot glue gun and glue sticks
  • Black Sharpie (optional)

Garden in a Book Shadowbox – instructions

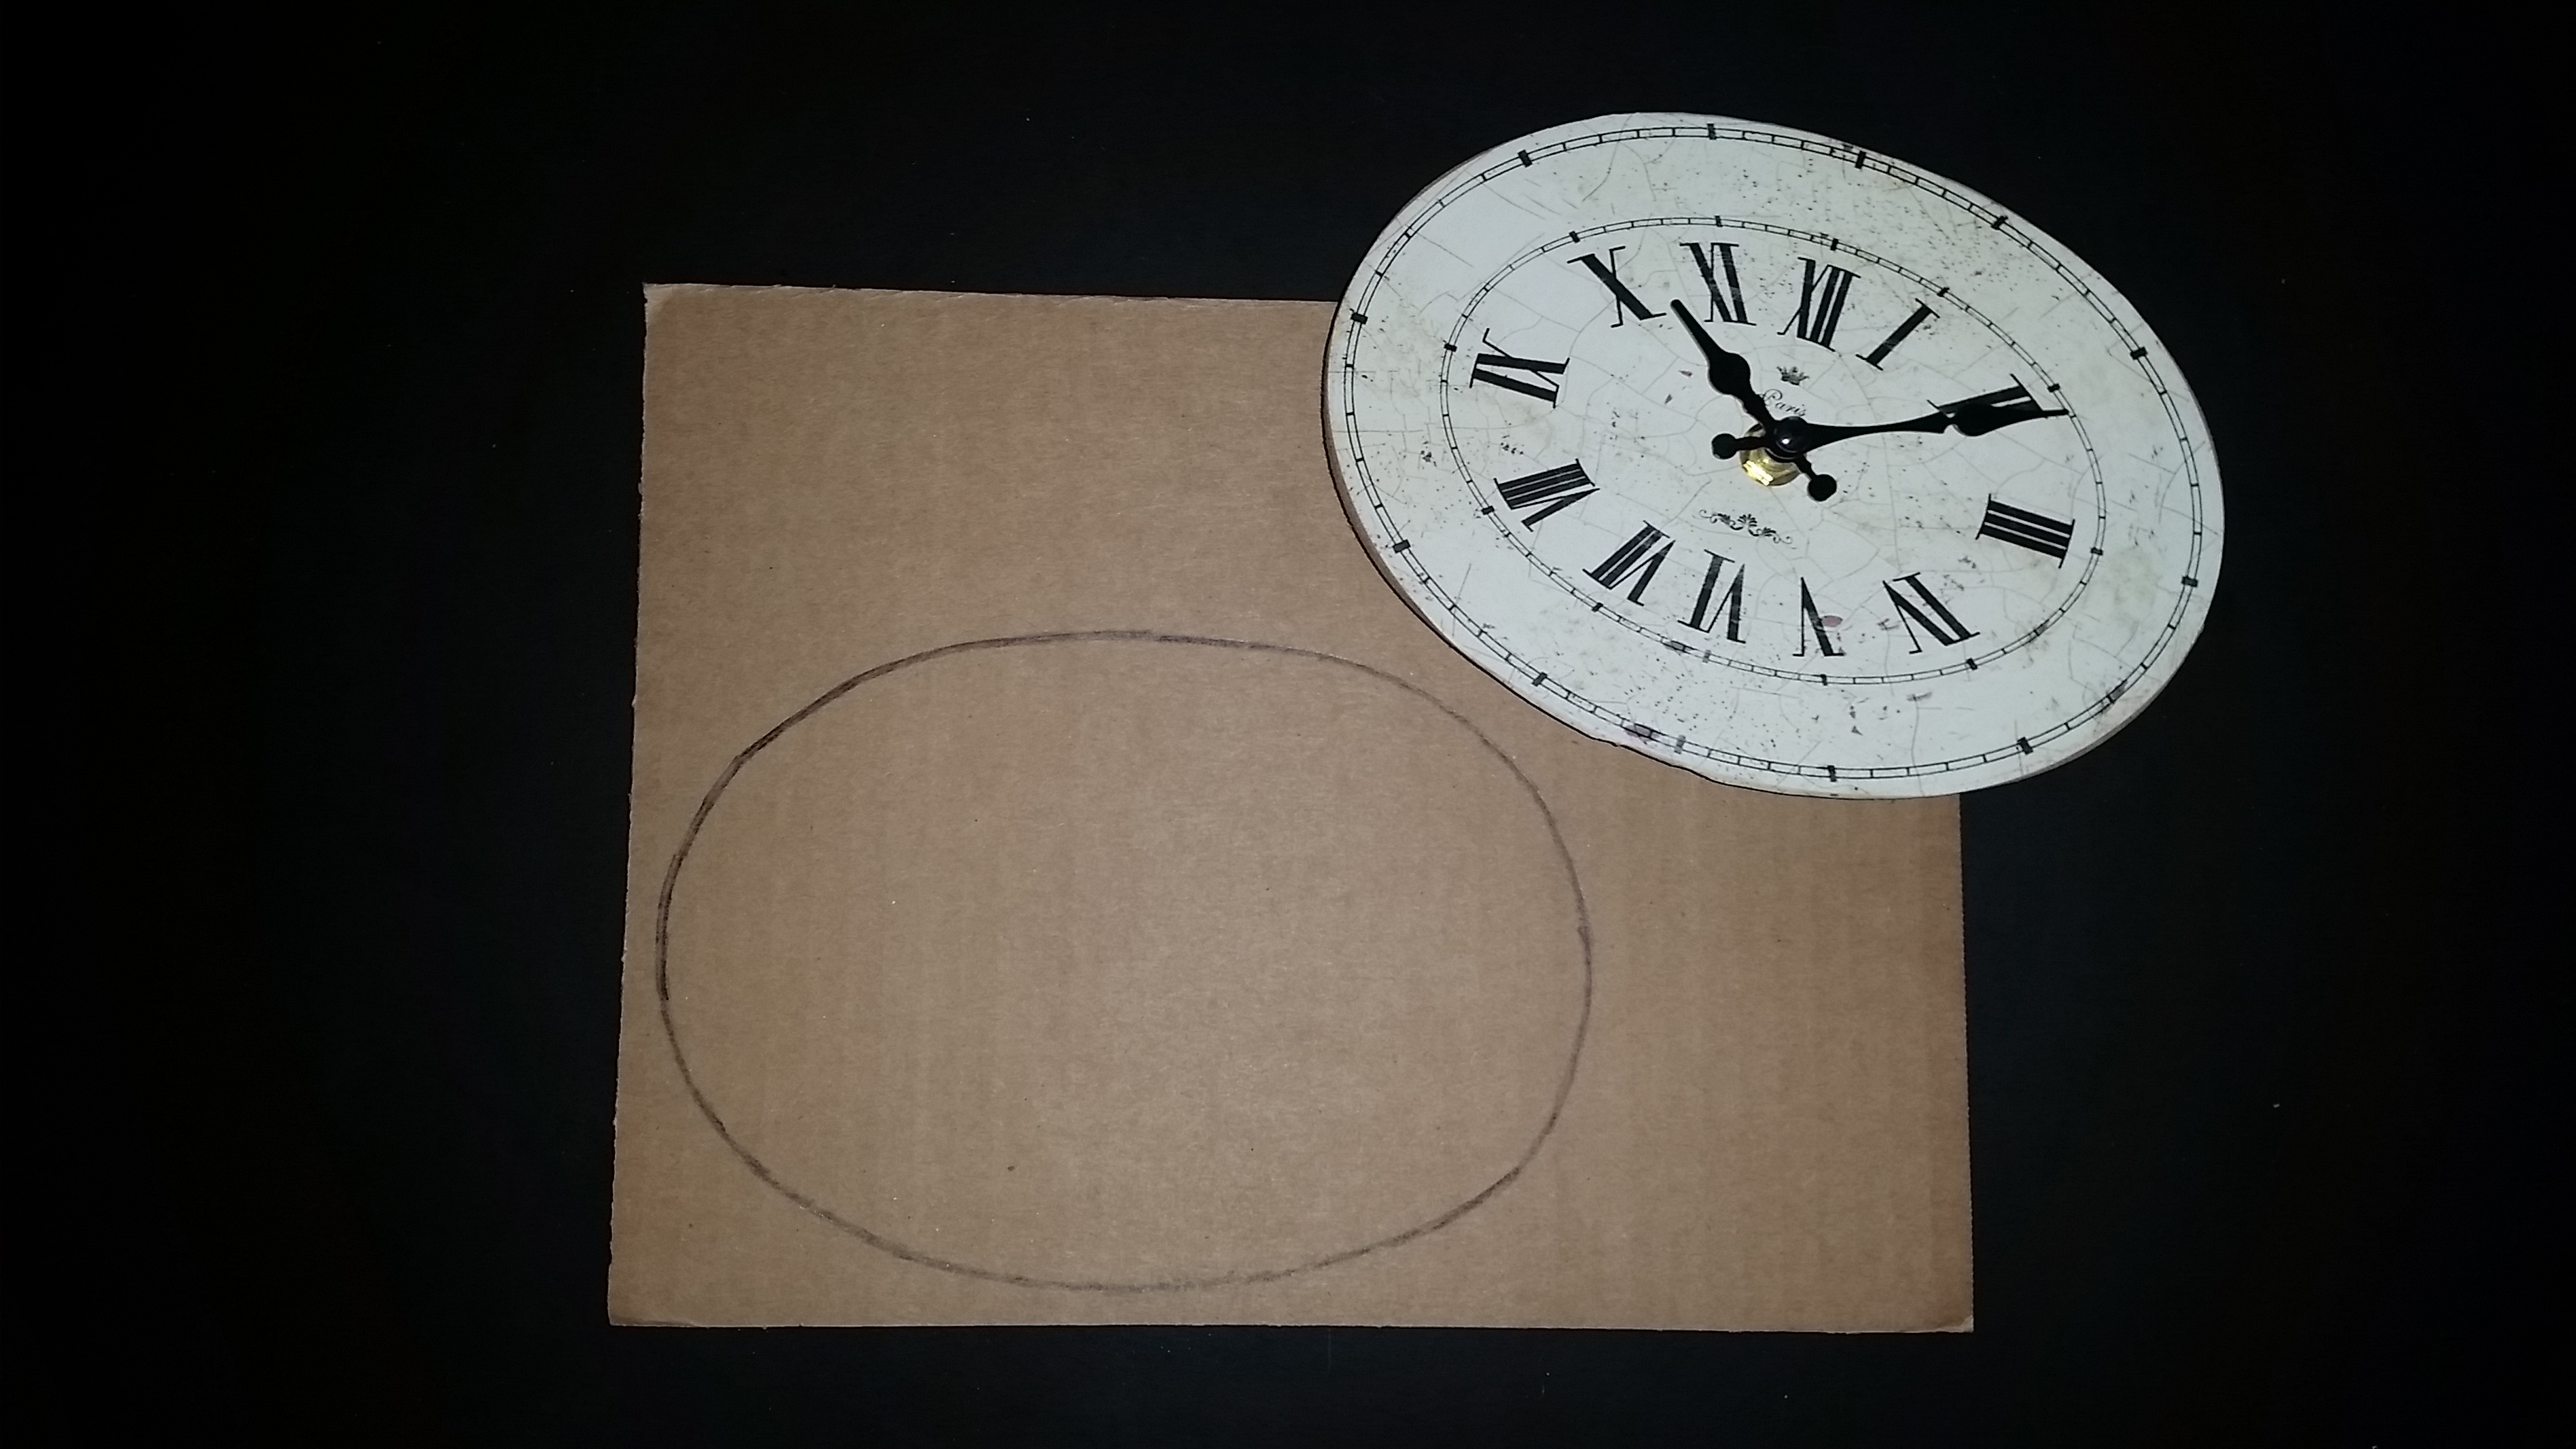
  1. The first step is to cover the hinged book box with the durable paper.  To begin, place the paper on one corner of the box.  Then, smooth the paper while working across to the other side and glue into position, trim any access paper.  Craft Tip: To cover any slight caps between the paper and the edge of the box I used a black Sharpie marker.
    Book cover 1  Book cover 2
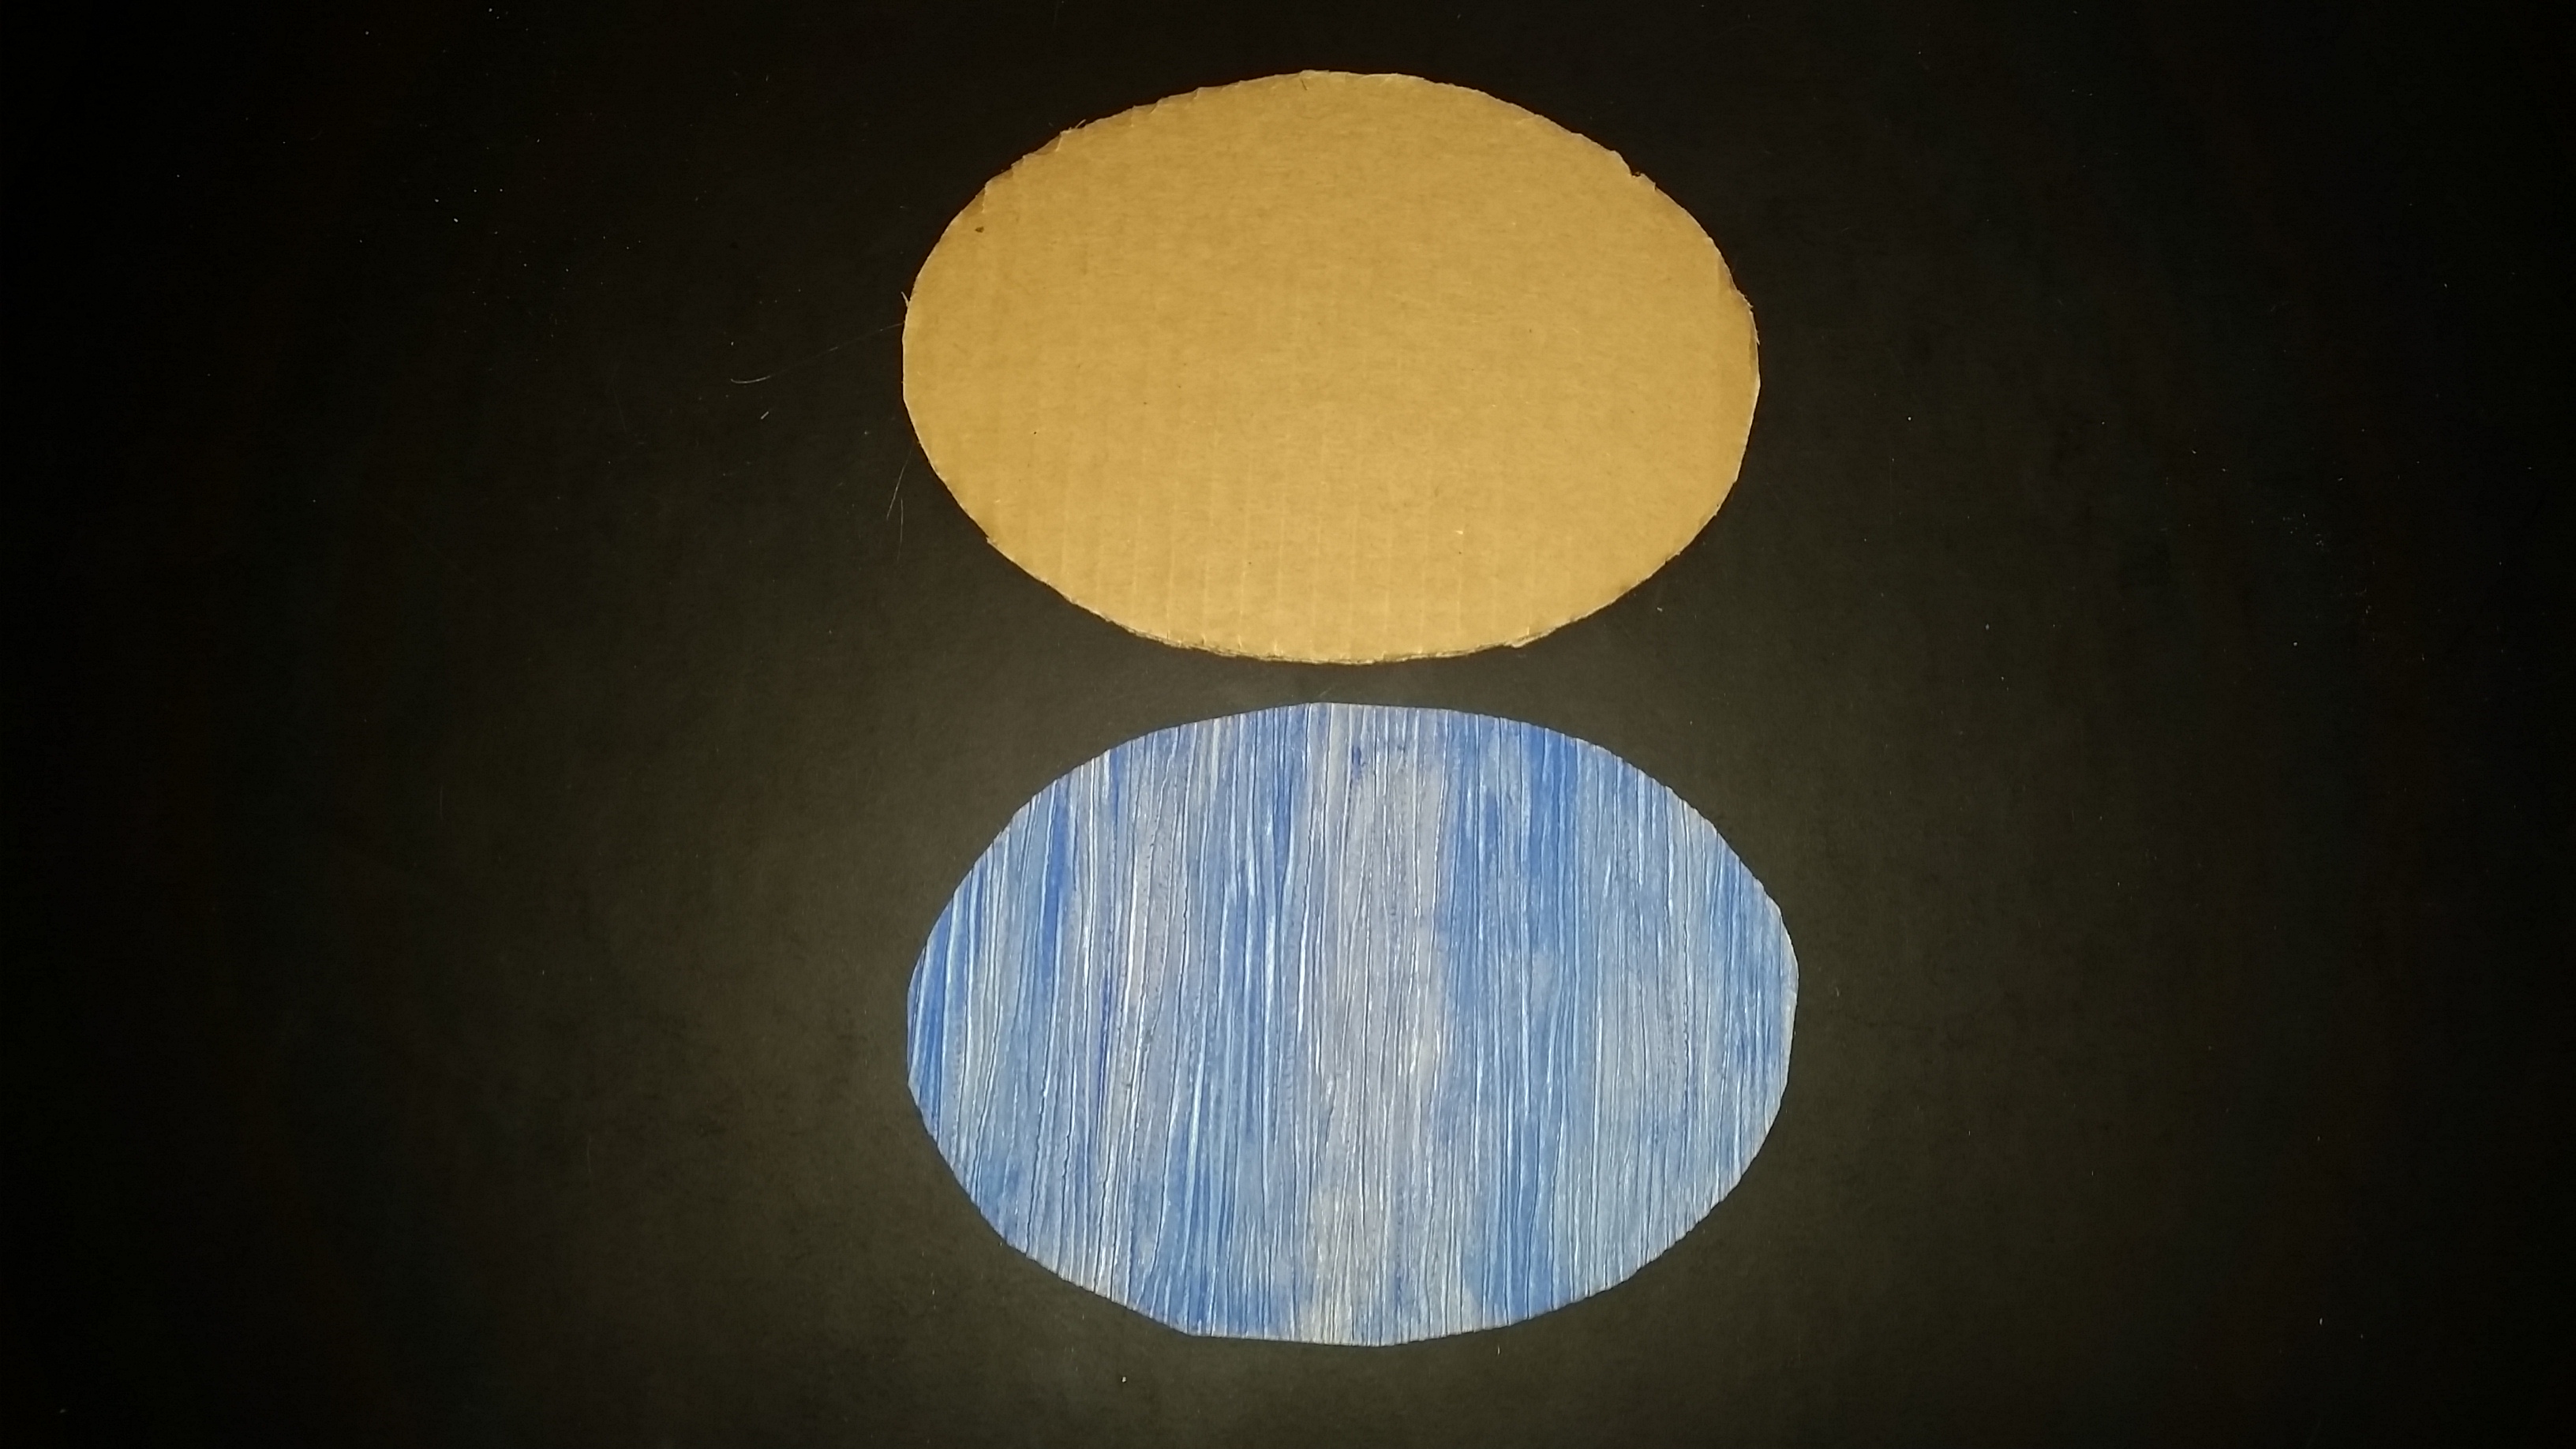
  2. Cut a piece of scrapbook paper to fit the inside of the box, this will be the background.  (I used a textured pale blue piece of paper and then painted it will a medium blue paint, this way I achieved the exact color I wanted to represented the blue sky background!)
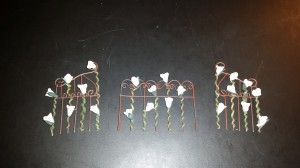
  3. Using the metal garden gate and fence pieces, I attached the small flowers by intertwining them throughout the railings.  Craft Tip: Before attaching the flowers, determine the position inside the box behind the miniature tree.  This is recommended to assure that the pieces will fit because any adjustments needed afterwards would be more difficult with the flowers attached.
    Garden in a Book - floral fence
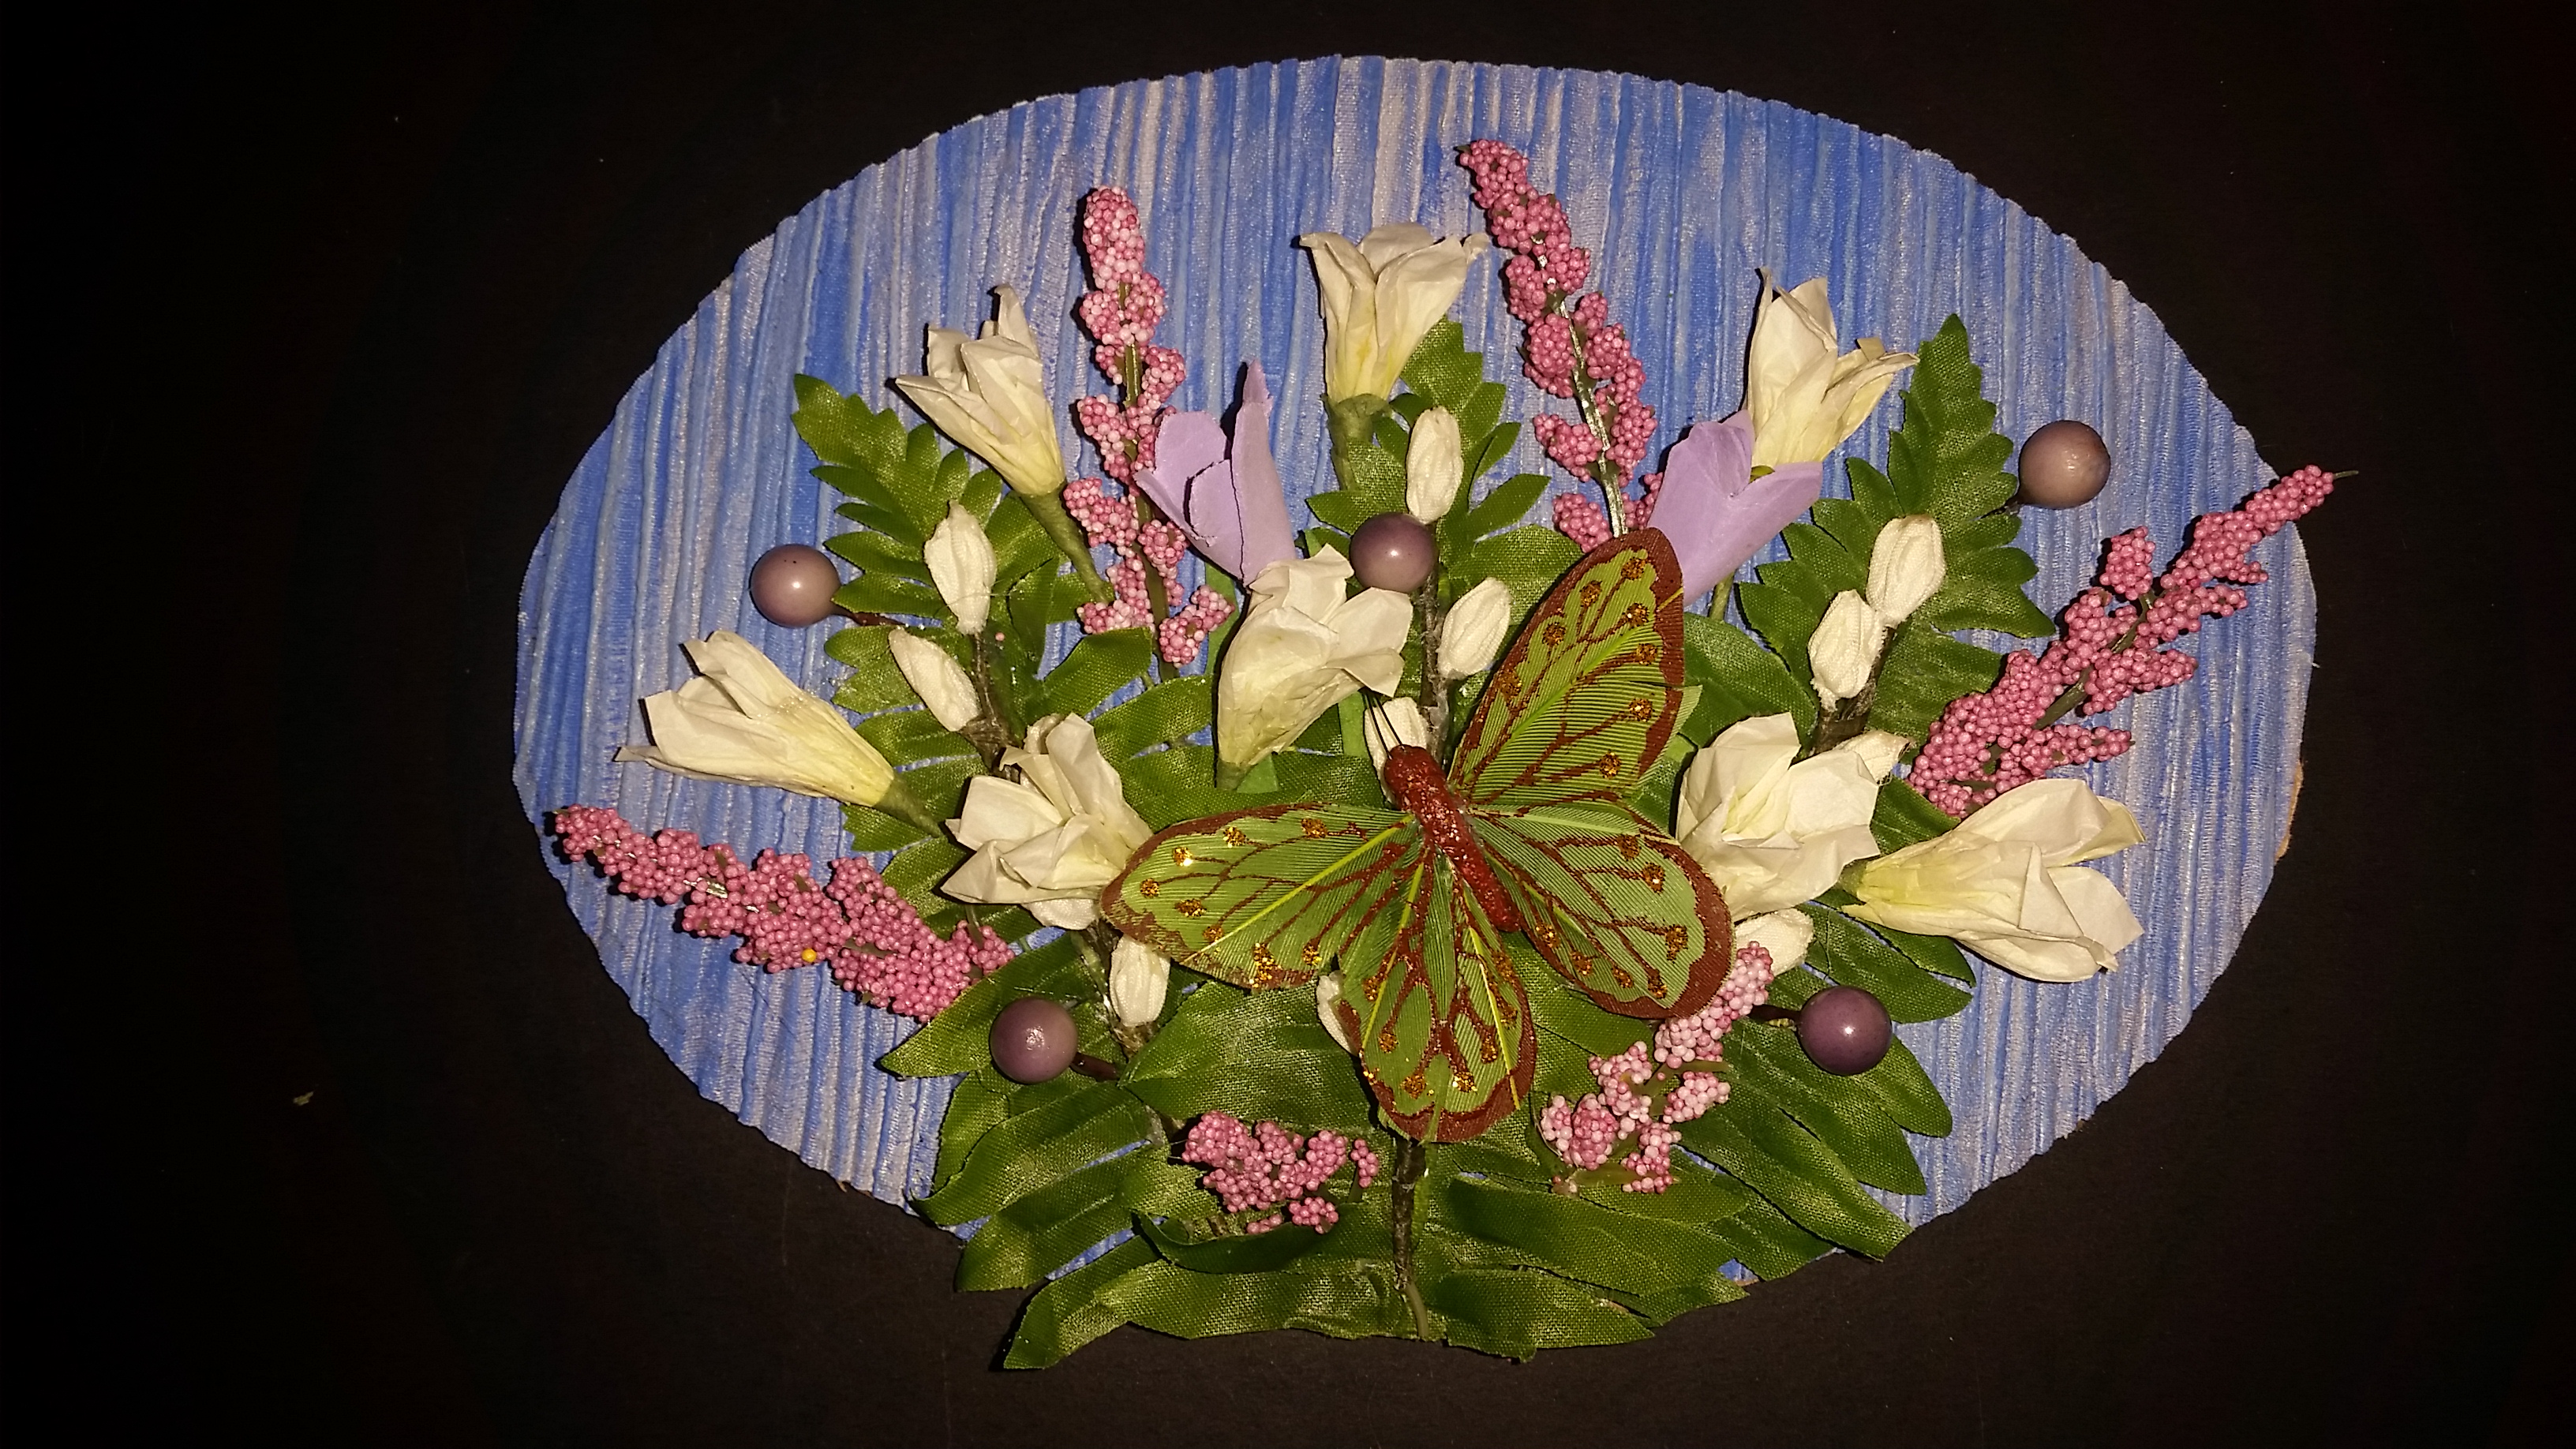
  4. Hot glue the floral gate and fence pieces to the back of the box. (I positioned the pieces about an inch from the bottom to allow space for the moss and with the side fencing at an angle to add some depth instead of all the pieces flat against the back of the box)
    Garden in a Book - adding background and fence
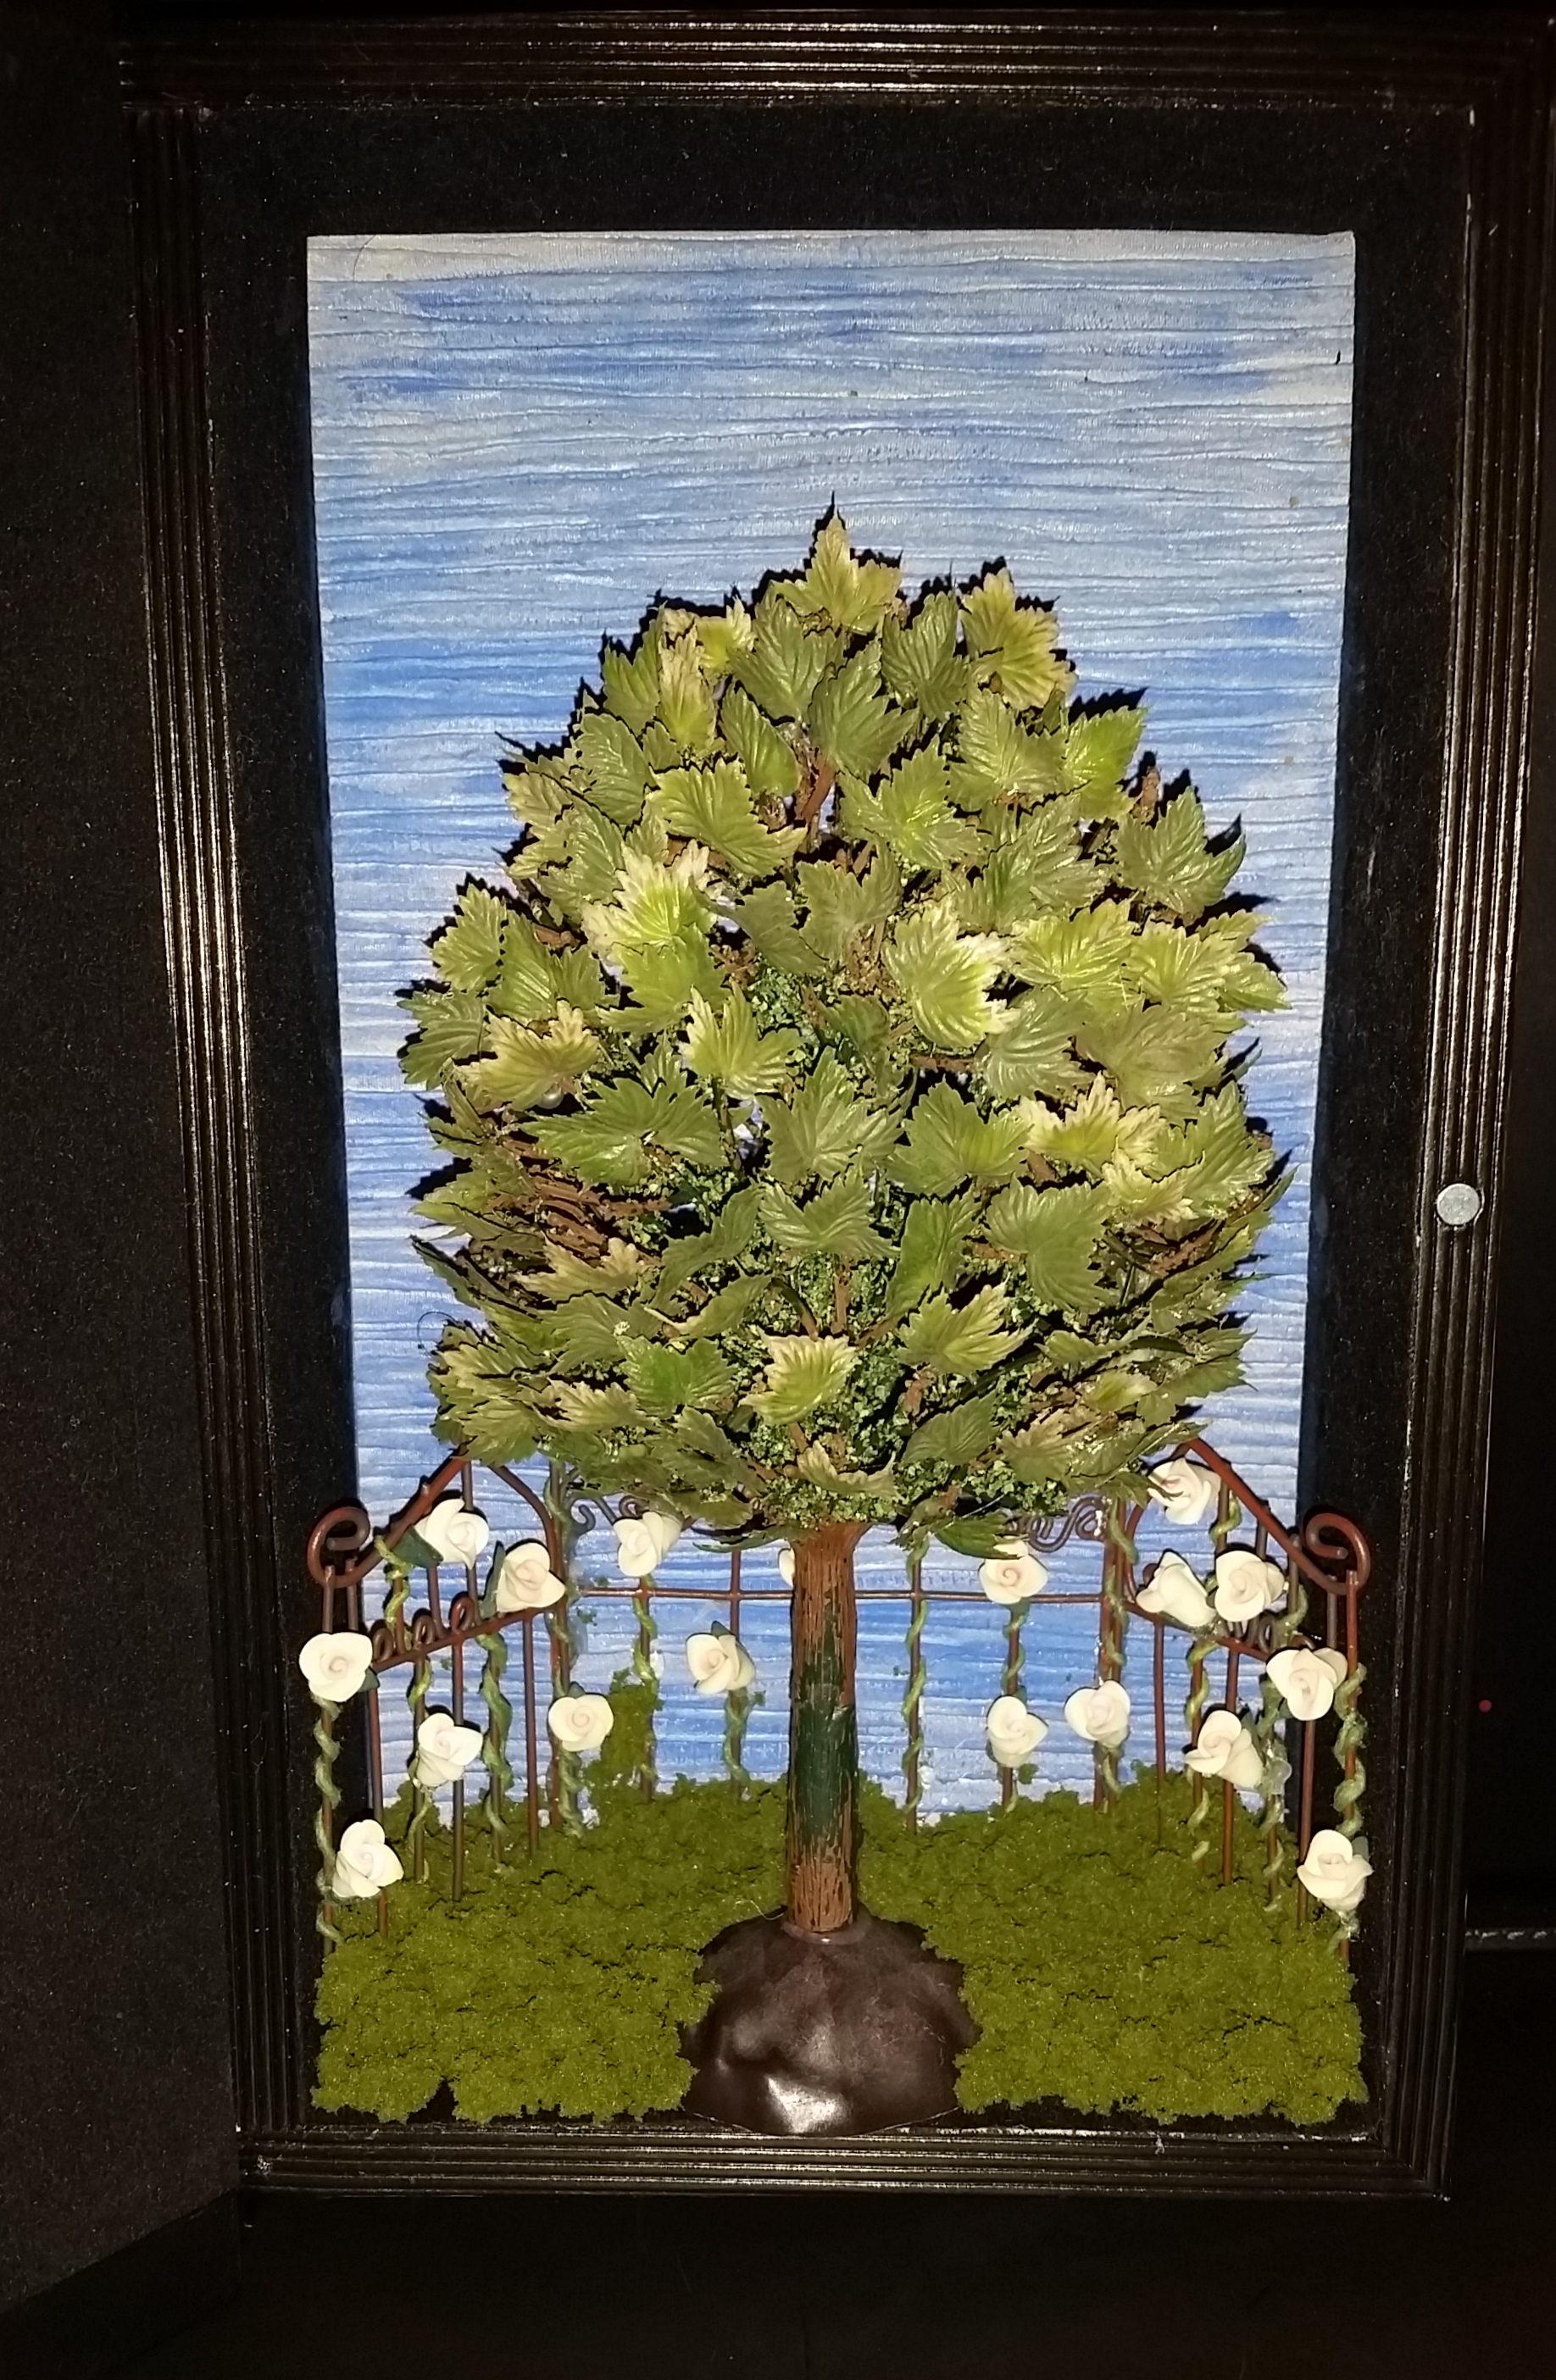
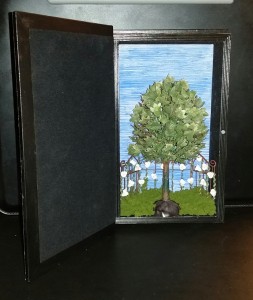
  5. Hot glue the miniature tree to the bottom of the box.  (I positioned the tree in the center because I always like a symmetrical arrangement, but it can also be set to one side to allow more room for embellishments)  Craft Note: As you may notice, the tree in the supply photo and the finished photo look very different.  I choose to add small leaves to the tree to create a more “realistic” appearance.Garden in a Book - adding tree and moss
  6. Add moss to the bottom portion of the box to complete the craft project.

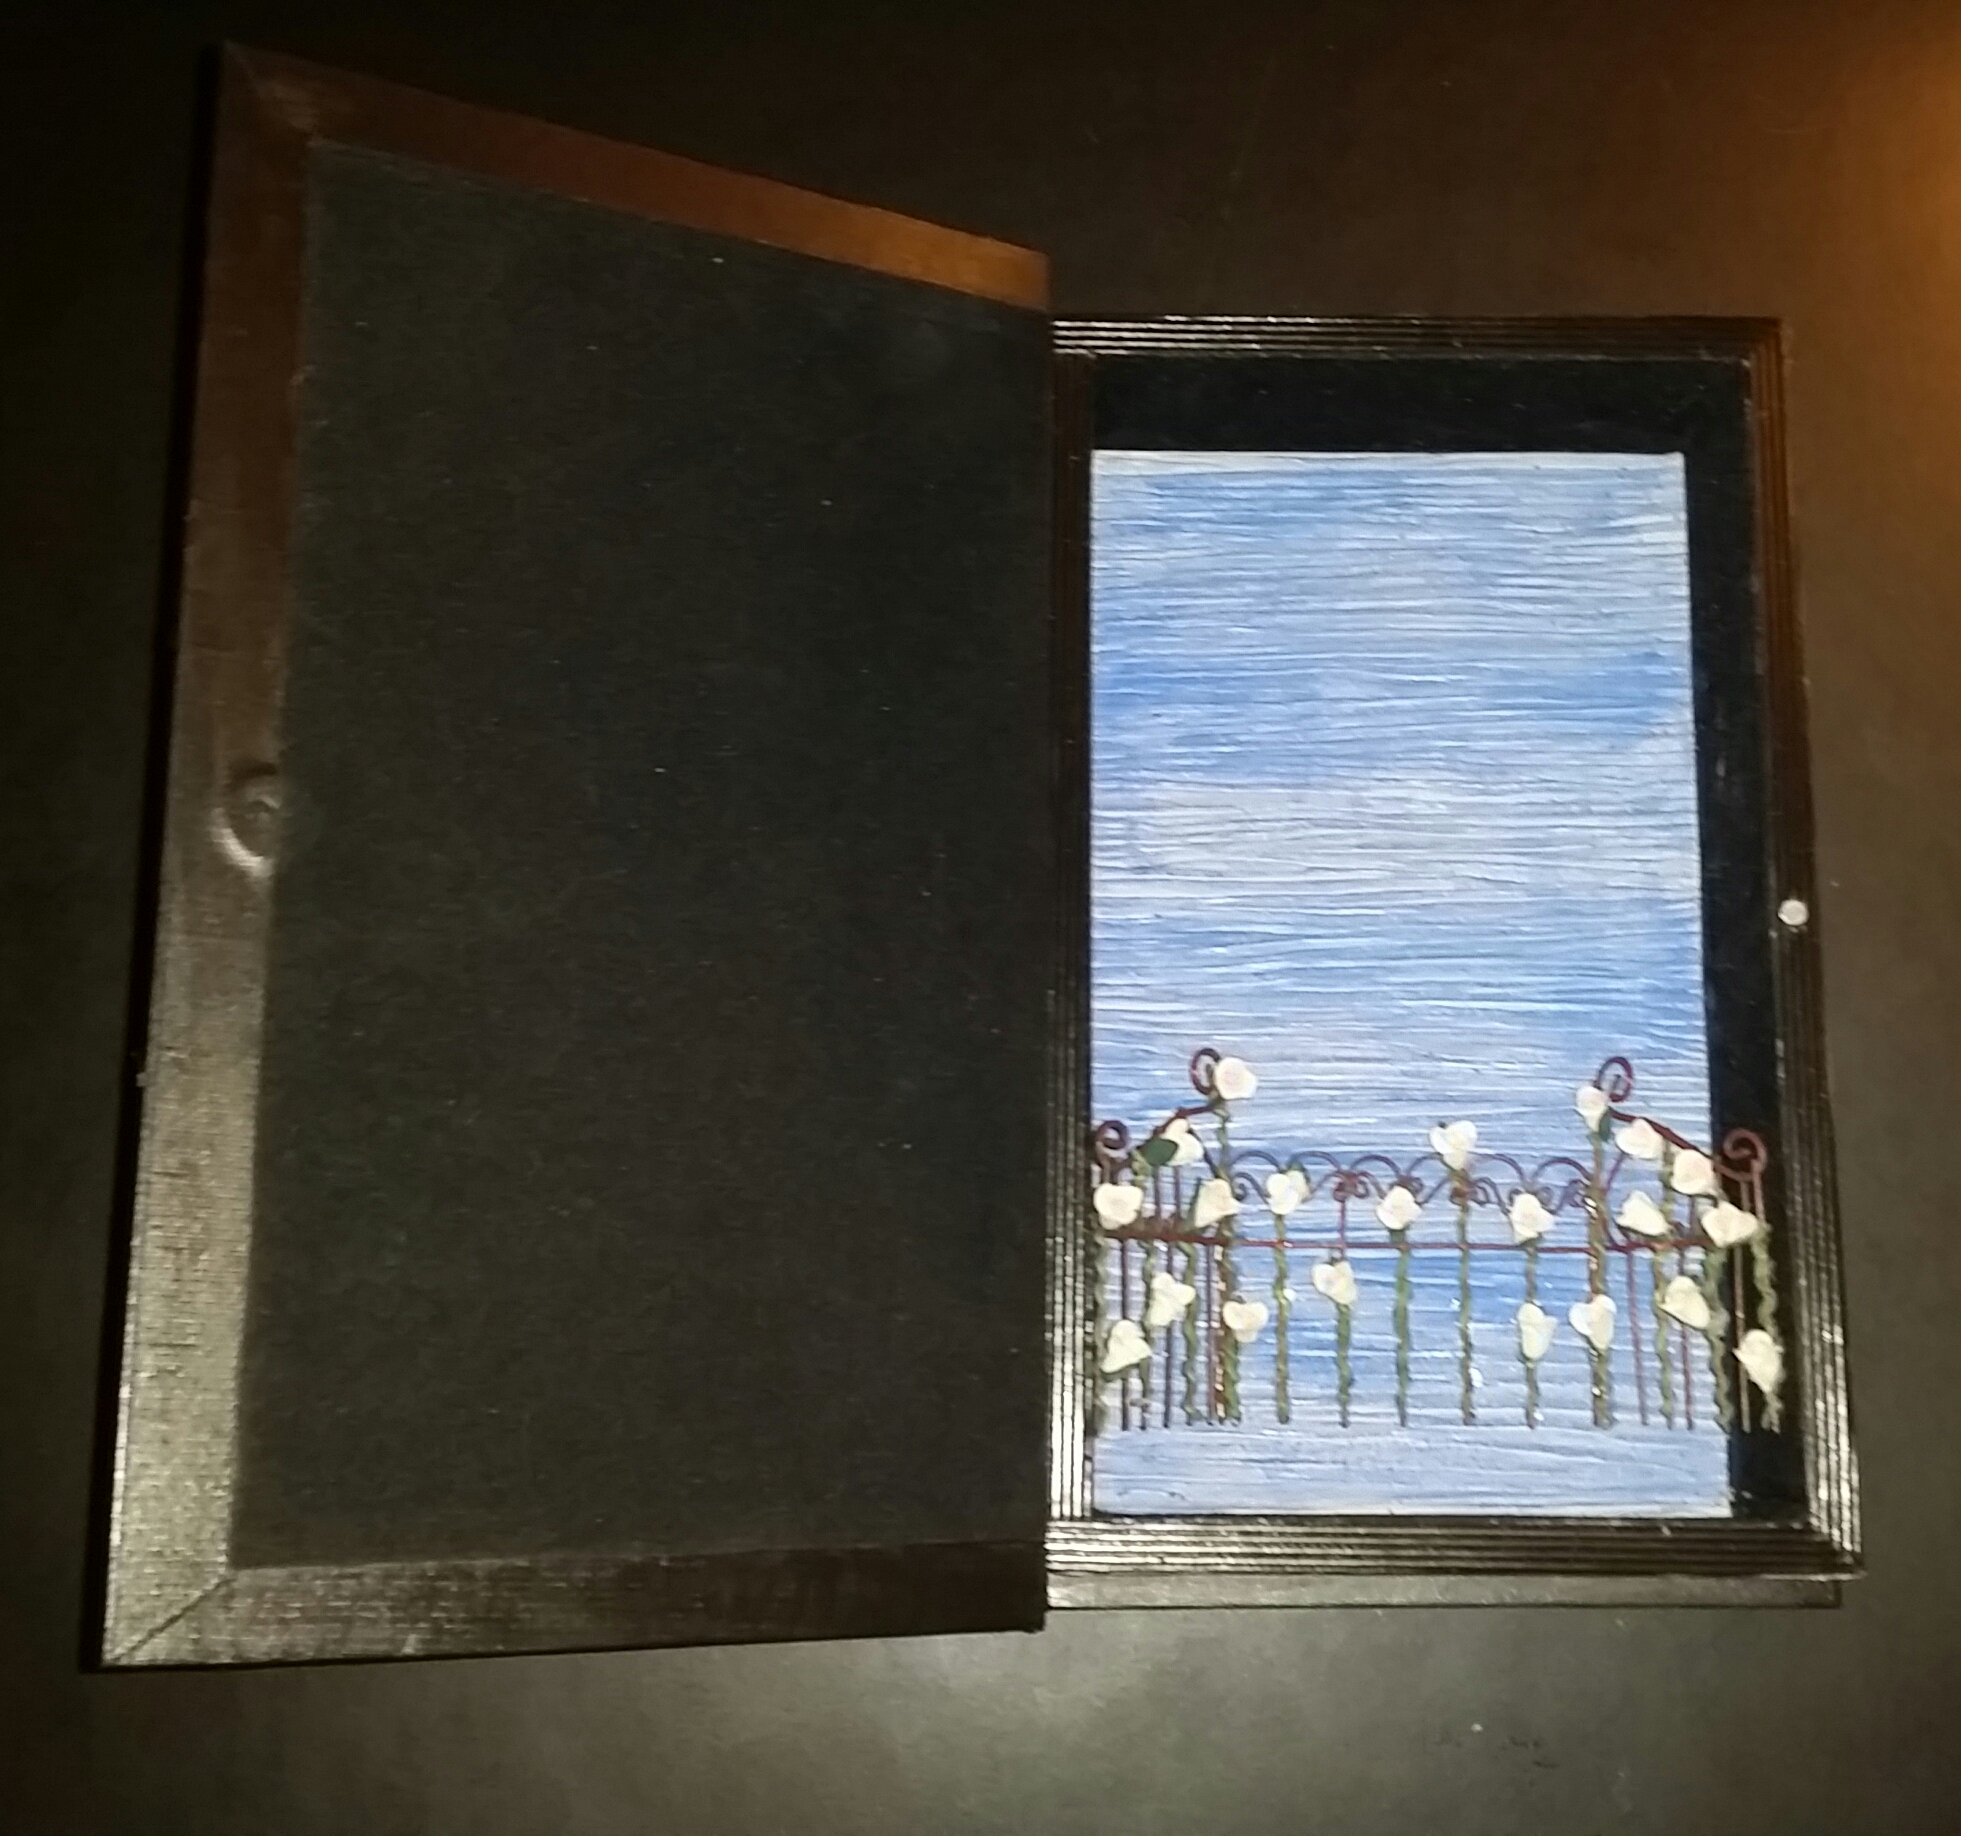
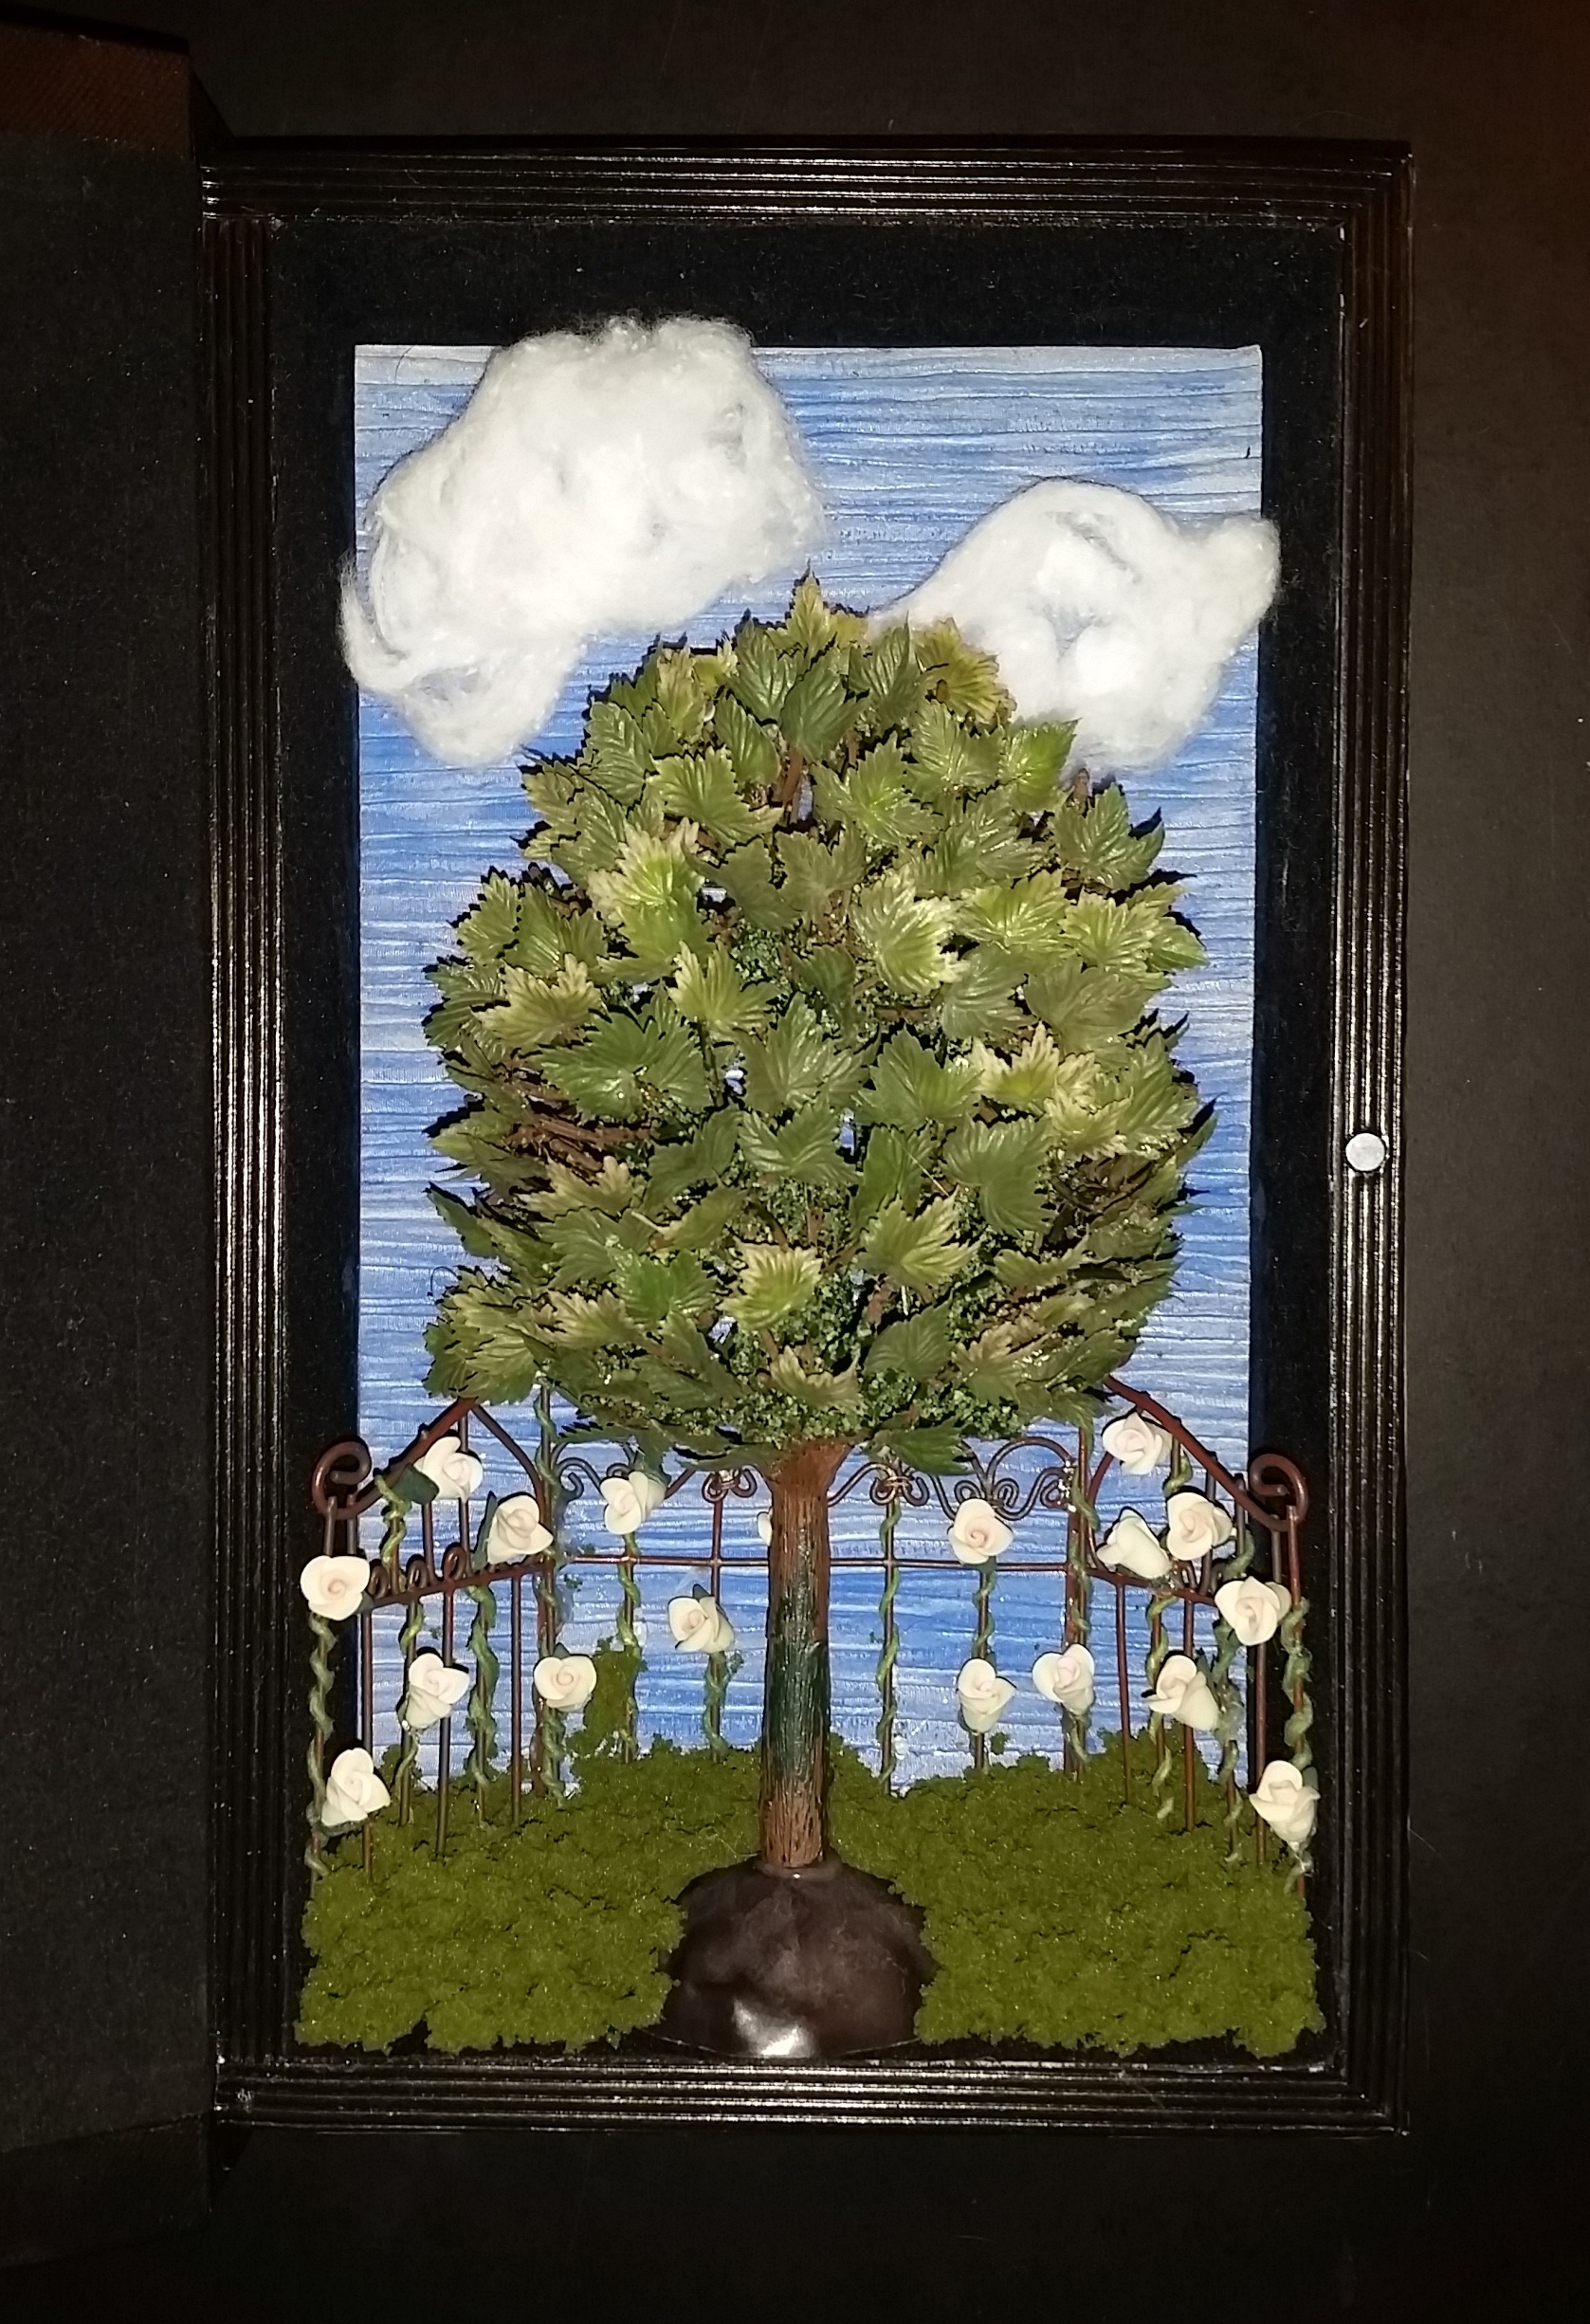
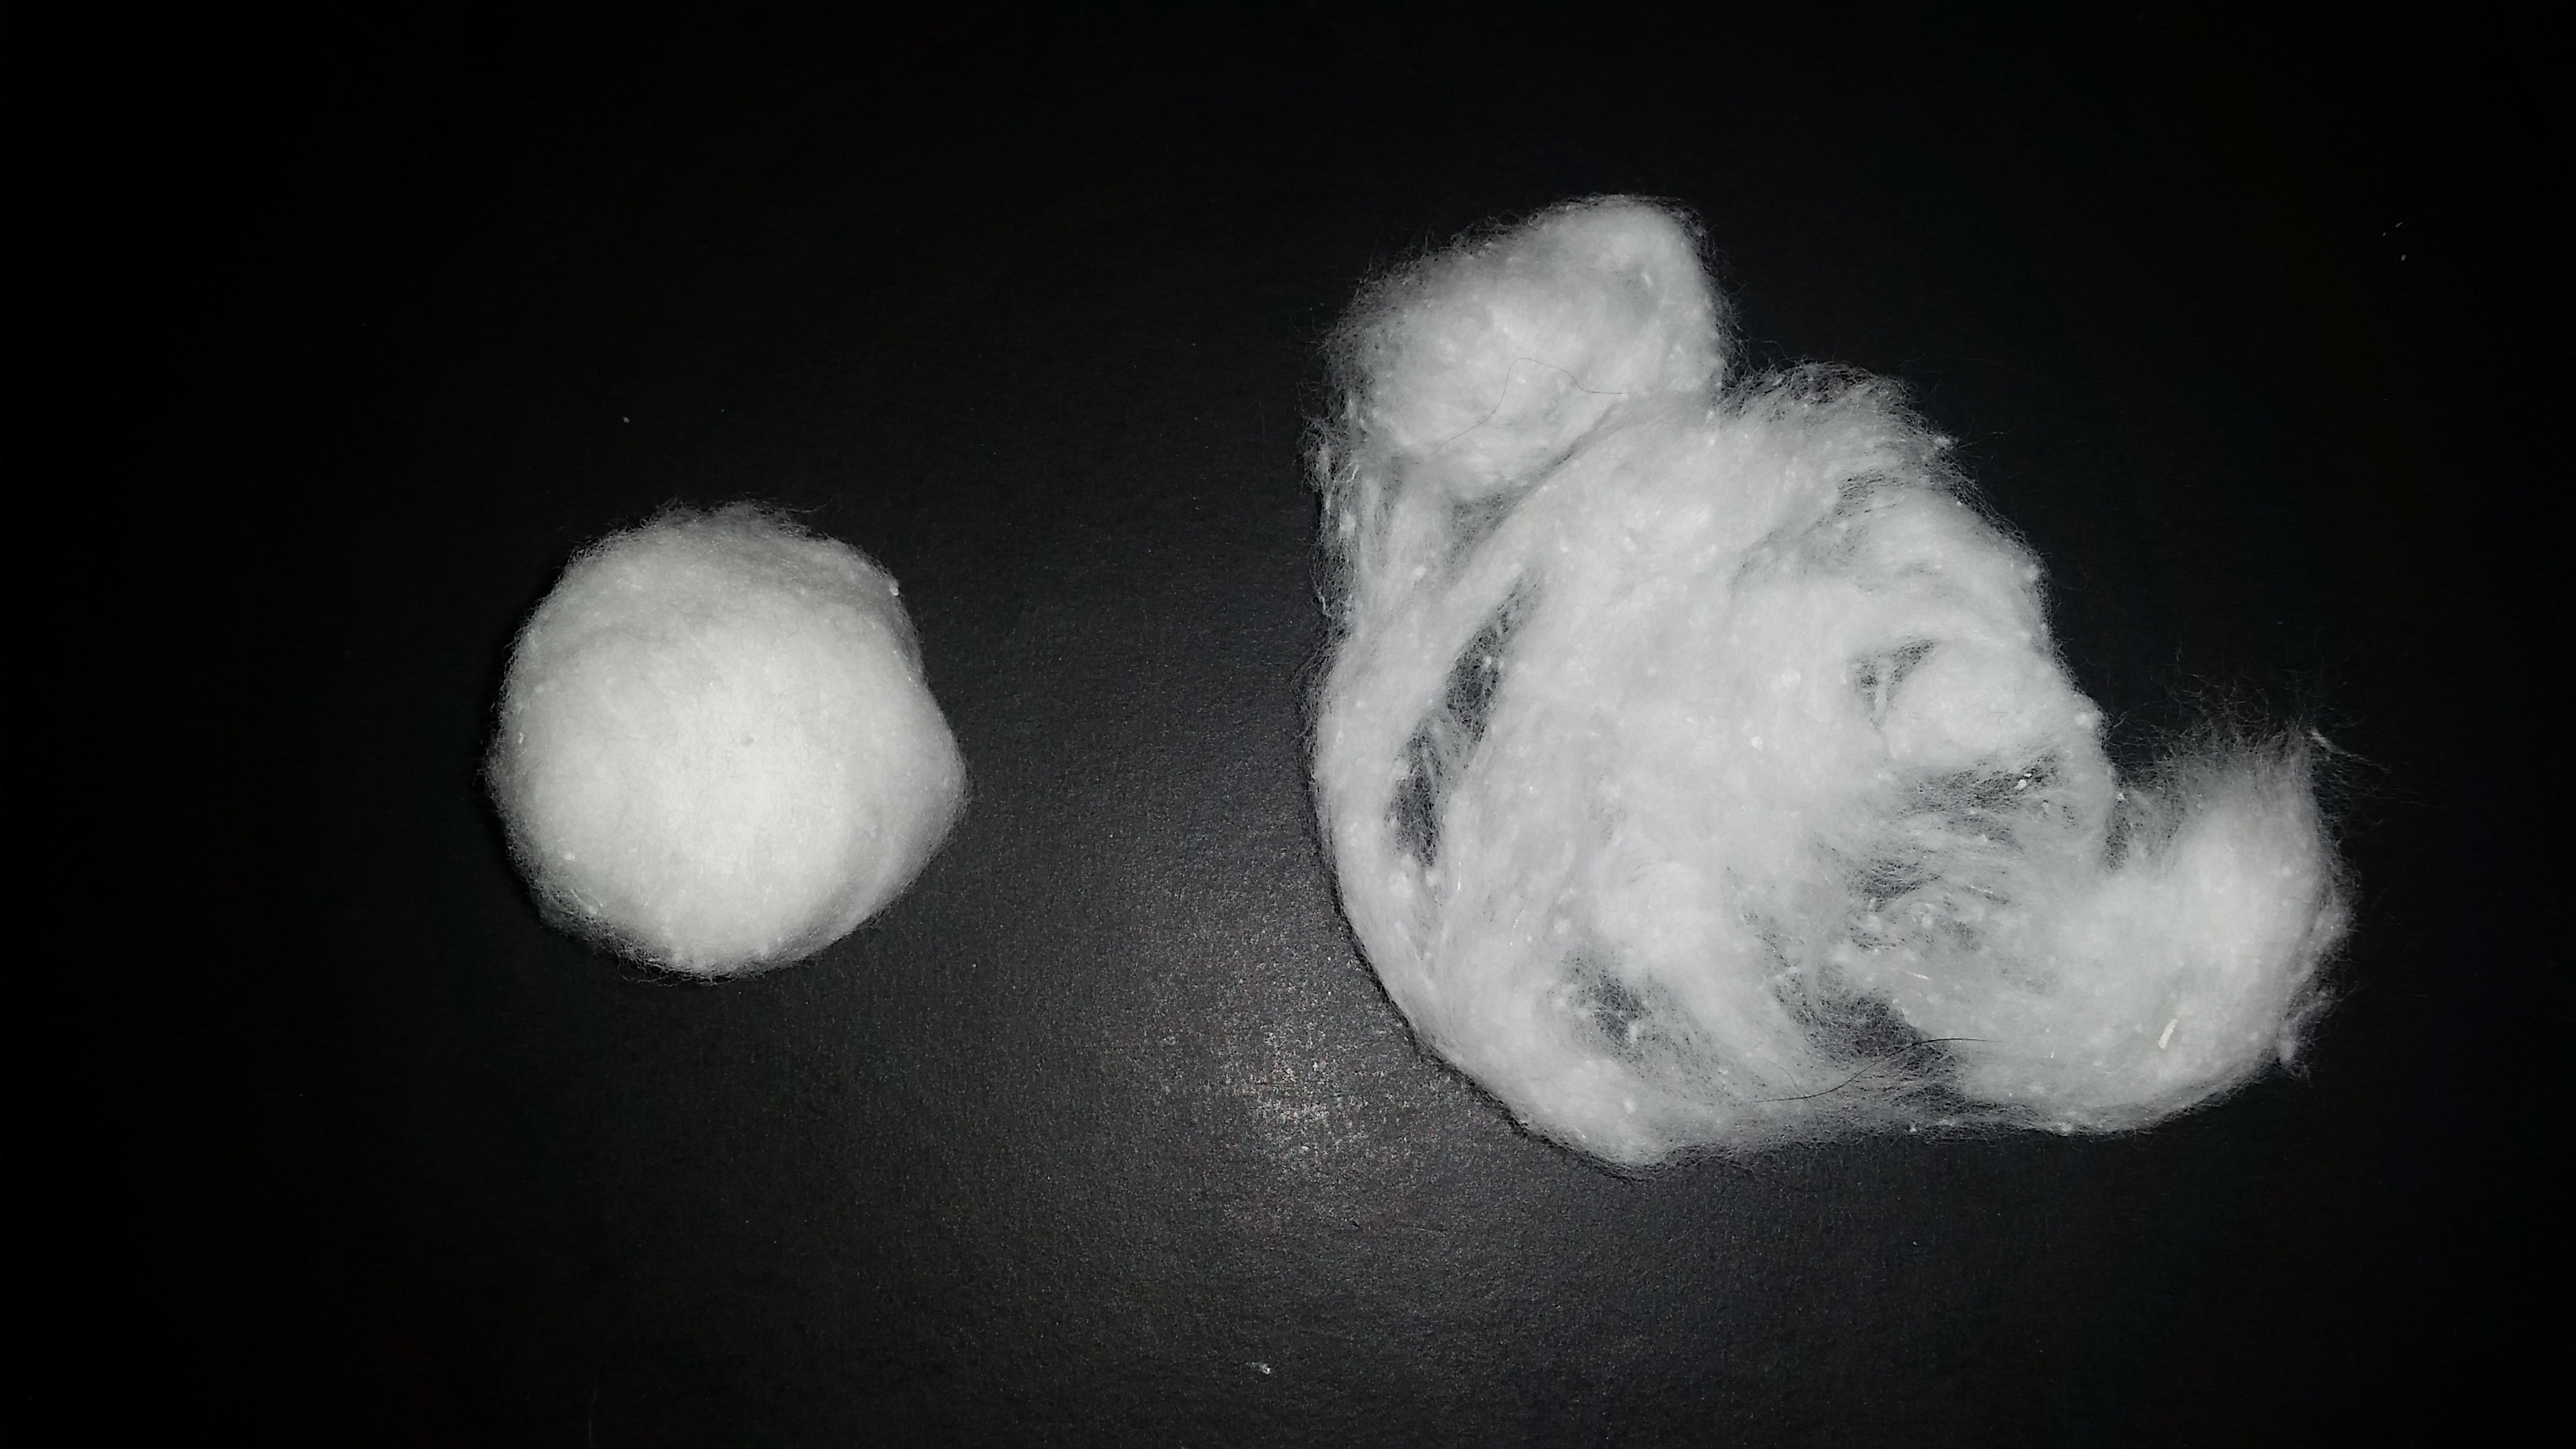
Shown below are to different version of the Garden in a Book Shadowbox.  The photo on the right is the first version as explained in the instructions.  The photo on the left is the second version with fluffy cotton ball clouds added to the background (which should be positioned prior to gluing the miniature tree)  To make the clouds I used two cotton ball which I pulled and stretched apart until I create the perfect fluffy cloud!

Garden in a Book- finished 1st version  Garden in a Book- finished 2nd version

Garden in a Book - making clouds

Craft – Altered Clock

Altered or repurposed artwork is very popular right now ranging from repurposed jewelry made into decorative frames and bridal bouquets to utensils made into jewelry to altered books and clocks made into decorative items. An altered item by definition is a form of mixed media artwork that changes an item from its original form giving it a new and decorative appearance.

Whenever I am looking for inspiration for craft projects I always search the internet and Pinterest is a great source for looking for inspiration on a variety of items.  In this post I will focus on one of the most popular repurposed items – the altered clock.  For this craft project I will take a simple table clock (which I purchased on sale at my local craft store) and make it into a lovely decorative item for my office bookshelf by using some inexpensive materials that I already had in my craft closet.

Altered Clock  – supplies

  • Table clock
  • Sturdy cardboard
  • Scrapbook paper for background
  • Small flowers, ferns and other floral items
  • Decorative item (I used an artificial butterfly)

Altered clock - supplies

Altered Clock – instructions

  1. Disassemble the table clock, separate the clock from the frame but leave the glass in place.Altered clock - disassembled
  2. Since a new frame backing was needed after the removal of the clock, I used the clock as a template and I cut a new backing using a sturdy piece of cardboard.Altered clock - cardboard insert
  3. Next, I cut a piece of scrapbook paper again using the clock backing as a template; I glued this to the cardboard piece.Altered clock - inserts
  4. Then, cutting the fern to fit the clock frame, I arrange three pieces and glued them to the scrapbook paper.
  5. I continued layering the small flowers and floral sprays, also gluing them to the scrapbook paper.
    Altered clock - floral supplies  Altered clock - floral insert
  6. To finish the arrangement, I glued a small butterfly in the center (as shown in the photo above)
  7. Next, before setting the floral arrangement and cardboard piece back into the clock frame, I added a small amount of Spanish moss to the bottom portion of the interior of the clock frame (as shown in the photo below)Altered clock - moss

(Special Note: The clock that I used had a foam piece in the back which created a space between the glass and backing that allowed room for the floral arrangement which is an important point to keep in mind when selecting a clock for the craft project)

Shown below is a photo of the altered clock before the alterations
and after as it sits on the bookshelf in my home office.

Original clock on shelf  20160909_064007-1

Crafts – Bridal Gift Boxes

Something old, etc. box - finished

Several years ago I posted an article about the old wedding tradition of “something old, something new, something borrowed, something blue and a sixpence for the shoe”. The exact origin of the Old English rhyme is unknown but the custom can be traced back to the Victorian era.  Usually the items are given by the bridal couple’s family and friends or more recently the modern bride will collect some of these items herself.  This is a perfect opportunity to add special meaning to a wedding and the items used should be personal and sentimental to the bride and groom.

In this post, I created special decorative boxes that could be used to present the items in a beautiful way.  The previous Craft Post, Decorated Wooden Gift Boxes, are very similar in design and construction to the Bridal Gift Boxes but a set of paper mache stacking boxes are used instead of a wooden box.  To make the Bridal Gift Boxes I have included a list of the supplies needed and complete instructions.  Then at the end of the post, I will also discuss the meaning of each item from the old wedding tradition and offer suggestions and choices for selecting each item to give to the bridal couple.   

Bridal Gift Boxes – supplies

I found the paper mache boxes at a local craft store, the boxes came in a set of three so I had to add a fourth smaller bow.  I liked them because the boxes could be stacked with the largest on the bottom and the smallest on top which would resemble a wedding cake.  The embossed and textured scrapbook paper I selected also mimics the frosting of a wedding cake and the self-stick pearls seemed like the perfect touch.

Something old, etc. box - supplies 1

  • 4 paper mache boxes in graduated sizes
  • Scrapbook paper – amount would depend on the size of the boxes (wrapping paper can be another option to use)
  • Self-stick pearls – color determined by the scrapbook paper (crystals could be used as an option)
  • Scissors
  • Glue stick

Bridal Gift Boxes – instructions 

  • Measure the side of the box and then the bottom of the box to determine the size of the scrapbook paper.
  • Set the paper face down, place the box on the top and cut a diagonal slit at each of the four corners.
  • Glue the bottom of the box and attach the paper.
  • Fold the paper onto the sides of the box and glue in place, trimming the excess.
  • Repeat the same procedures to paper the top (lid) of the box.
  • To finish the boxes, add pearls (or crystals) to the sides.

Something old, etc. box - finished 1

Presentation of the “something old, etc” gift boxes

To start the gift presentation at the bridal shower or luncheon, explain the tradition of why the items are collected for a bride on her wedding day and what the meaning of each item represents.  Then, I would suggest that each item should be opened individually.  To make the presentation more meaningful, explain the story behind why that particular item was chosen which I think would be very interesting for the bride and the guests to hear.

The meaning of each item with ideas and suggestions

“Something old” represents a past link to the bride’s life or her family.  This is probably the easiest item of the four to acquire; usually a mother or a grandmother of the bride or the groom will have a special piece of jewelry that can be passed down from one generation to the next.  Sentimental items can be a first communion cross, a pearl necklace from the mother or a special locket from a grandmother, other pieces of jewelry could be a bracelet, earrings or a necklace.  An old rosary or an antique handkerchief or perhaps a button from an old suit of the bride’s father which can be sown into the bridal dress, or a piece of fabric from an old dress of the bride, mother or grandmother can be wrapped around the bridal bouquet are other ideas for something old.

“Something new” represents a hope for the future of the bride and the groom on the occasion of their marriage.  The obvious choice for most brides will be her wedding dress, headpiece or shoes.  Perhaps the bride’s future husband will have purchased a special piece of jewelry to mark their wedding, such as a pair of earrings, necklace or a charm bracelet with a special charm for the wedding day.  Another suggestion for something new could be simply a new bottle of a special perfume.

“Something borrowed” is traditionally an item that comes from a happily married woman who is letting the bride borrow some of her martial success.  The borrowed item could be something as sentimental as a wedding dress or veil that was worn by a parent or grandparent.  Another idea could be a piece of jewelry loaned from a family member, a parent, grandparent or even a great grandparent.  The important thing to remember is that the something borrowed needs to be returned after the wedding.           

“Something blue” represents fidelity and loyalty; this item can be a fun way to express the bride’s personality or her quirky sense of humor.  This item can be something that is hidden from sight or it can be used as a bold fashion statement of the bride’s style.  Traditionally, this item is usually a blue garter decorated with blue ribbon and white lace.  Another traditional idea is blue-stone jewelry, such as: sapphire, aquamarine or tanzanite.  A fun idea which is now popular with the modern bride are blue shoes or blue nail polish on her toes!           

The last optional item is the sixpence which represents good fortune and prosperity for the bridal couple.  The sixpence is traditionally an item carried by British brides and it is placed in the bride’s left shoe.  Today’s modern brides can have a sixpence or another special coin sewn into the hem of her bridal gown or she can carry it in the purse used on her wedding day.

Craft – Star Wars Shadowbox

Star Wars - finished Millennium Falcon

In honor of Star Wars Day, otherwise known as “May the Fourth Be With You”, I decided to make a Star Wars shadow boxes.  A few months ago I made several Beatrix Potter shadowboxes for Easter using some Hallmark Peter Rabbit themed ornaments.  Throughout the years I have also collected Hallmark Star Wars themed ornaments for my son.  I only collect the characters from the original Star Wars series of three movies – “Star Wars Episode VI: A New Hope”, “Episode VII: The Empire Strikes Back” and “Episode VIII: The Return of the Jedi”.  Every Christmas I set up a small tabletop tree in my son’s room and decorate it with the Star Wars ornaments, mini lights and small silver ball ornaments (click on the link to see the photos of the Star Wars Christmas tree)

So, for this craft project I decided to use these ornaments to create a Star Wars themed shadowbox.  This is a great way to decorate a boy’s bedroom with some relatively inexpensive “artwork”.  Heck, these shadowboxes could also be used to decorate other rooms of the house for any Star Wars fan!    

Star Wars-inspired Shadowbox supply list

  • Shadowbox
  • Star Wars Hallmark ornaments
  • Printed copy of a Star Wars photo (to use for the background)
  • Hot glue gun and glue sticks

Star Wars-inspired Shadowbox instructions

  1. Disassemble the shadowbox by removing the backing (Craft tip: this is a good opportunity to make sure that both sides of the glass are clean, allow the glass to dry completely)
  2. Search the internet to find a background picture for the shadowbox, print a copy in the appropriate size to fit.  (I found a Star Wars illustration of the Millennium Falcon and printed a copy on our home printer)
  3. Arrange the Hallmark Star Wars themed ornaments in the shadowbox.  When pleased with the placement, hot glue the ornaments in position.
  4. Reassemble the shadowbox, replace the backing and secure

The Star Wars-inspired shadowbox will make a great decoration for the home of any Star Wars fan and can be hung on the wall, placed on a side table or set on a bookshelf alongside the Star Wars DVDS to make a great display.  

Craft – Decorated Wooden Boxes

This decorated wooden gift box craft project can be created in an endless variety of colors for a customized look perfect for any occasion.  The three different types of wooden boxes in this post are decorated with paint, specialty paper, pearls, crystals and additional wooden or plastic embellishments.  The boxes can be used to hold any small present for a birthday, anniversary, wedding, bridal or baby shower.

Below is a complete list of supplies and instructions for making the three different versions of decorated wooden gift box.  The first version uses a square laser-cut wooden box and the second versions use a solid round and a solid square wooden box.

Version #1 Decorated Wooden Gift Box – supplies

  • One square laser-cut wooden box
  • Two different color paints – lighter for exterior and darker for interior
  • Several self-stick crystals (or pearls)
  • Paintbrush
  • Sandpaper
  • Optional – varnish or clear paint for a glossy finish

laser cut square box 1

Version #1 Decorated Wooden Gift Box – instructions

  1. Use sandpaper to smooth the surface and edges of the wooden box
  2. Paint the interior of the box in a darker paint, let dry
  3. Paint the exterior of the box in a lighter paint, let dry
  4. Attach several self-stick crystals (or pearls)

laser cut square box

Version #2 Decorated Wooden Gift Box – supplies

  • One wooden box (used a round box for one and a square box for another)
  • Scrapbook paper
  • Embellishment – (used a flower for one and a plastic initial for another)
  • White glue stick
  • Scissors
  • Sandpaper

round wooden box 1  square wooden box - papered
Version #2 Decorated Wooden Gift Box – instructions

    1. Use sandpaper to smooth the surface and edges of the wooden box
    2. Cut the scrapbook paper in several sections, long strips to wrap around the edges of the lid and the base sections and two pieces to fit the top and bottom of the wooden box.  Craft Note: Allow at least a quarter inch or a half inch to the width of the measurements
    3. Use a white glue stick to attach the scrapbook paper to the wooden box, trim any access to create a custom fit
    4. Optional: For the second box I painted the white embossed scrapbook paper with bronze paint (Photo below shows the box before paint)

square wooden box

  1. Attach an embellishment to the top of the box  (The first version uses a paper flower and for the second I painted a plastic initial with gold paint)   

round wooden box - scrapbook paper and flower  square wooden box with initial - papered and painted