Travel – National Park Travel Tips (Part One)

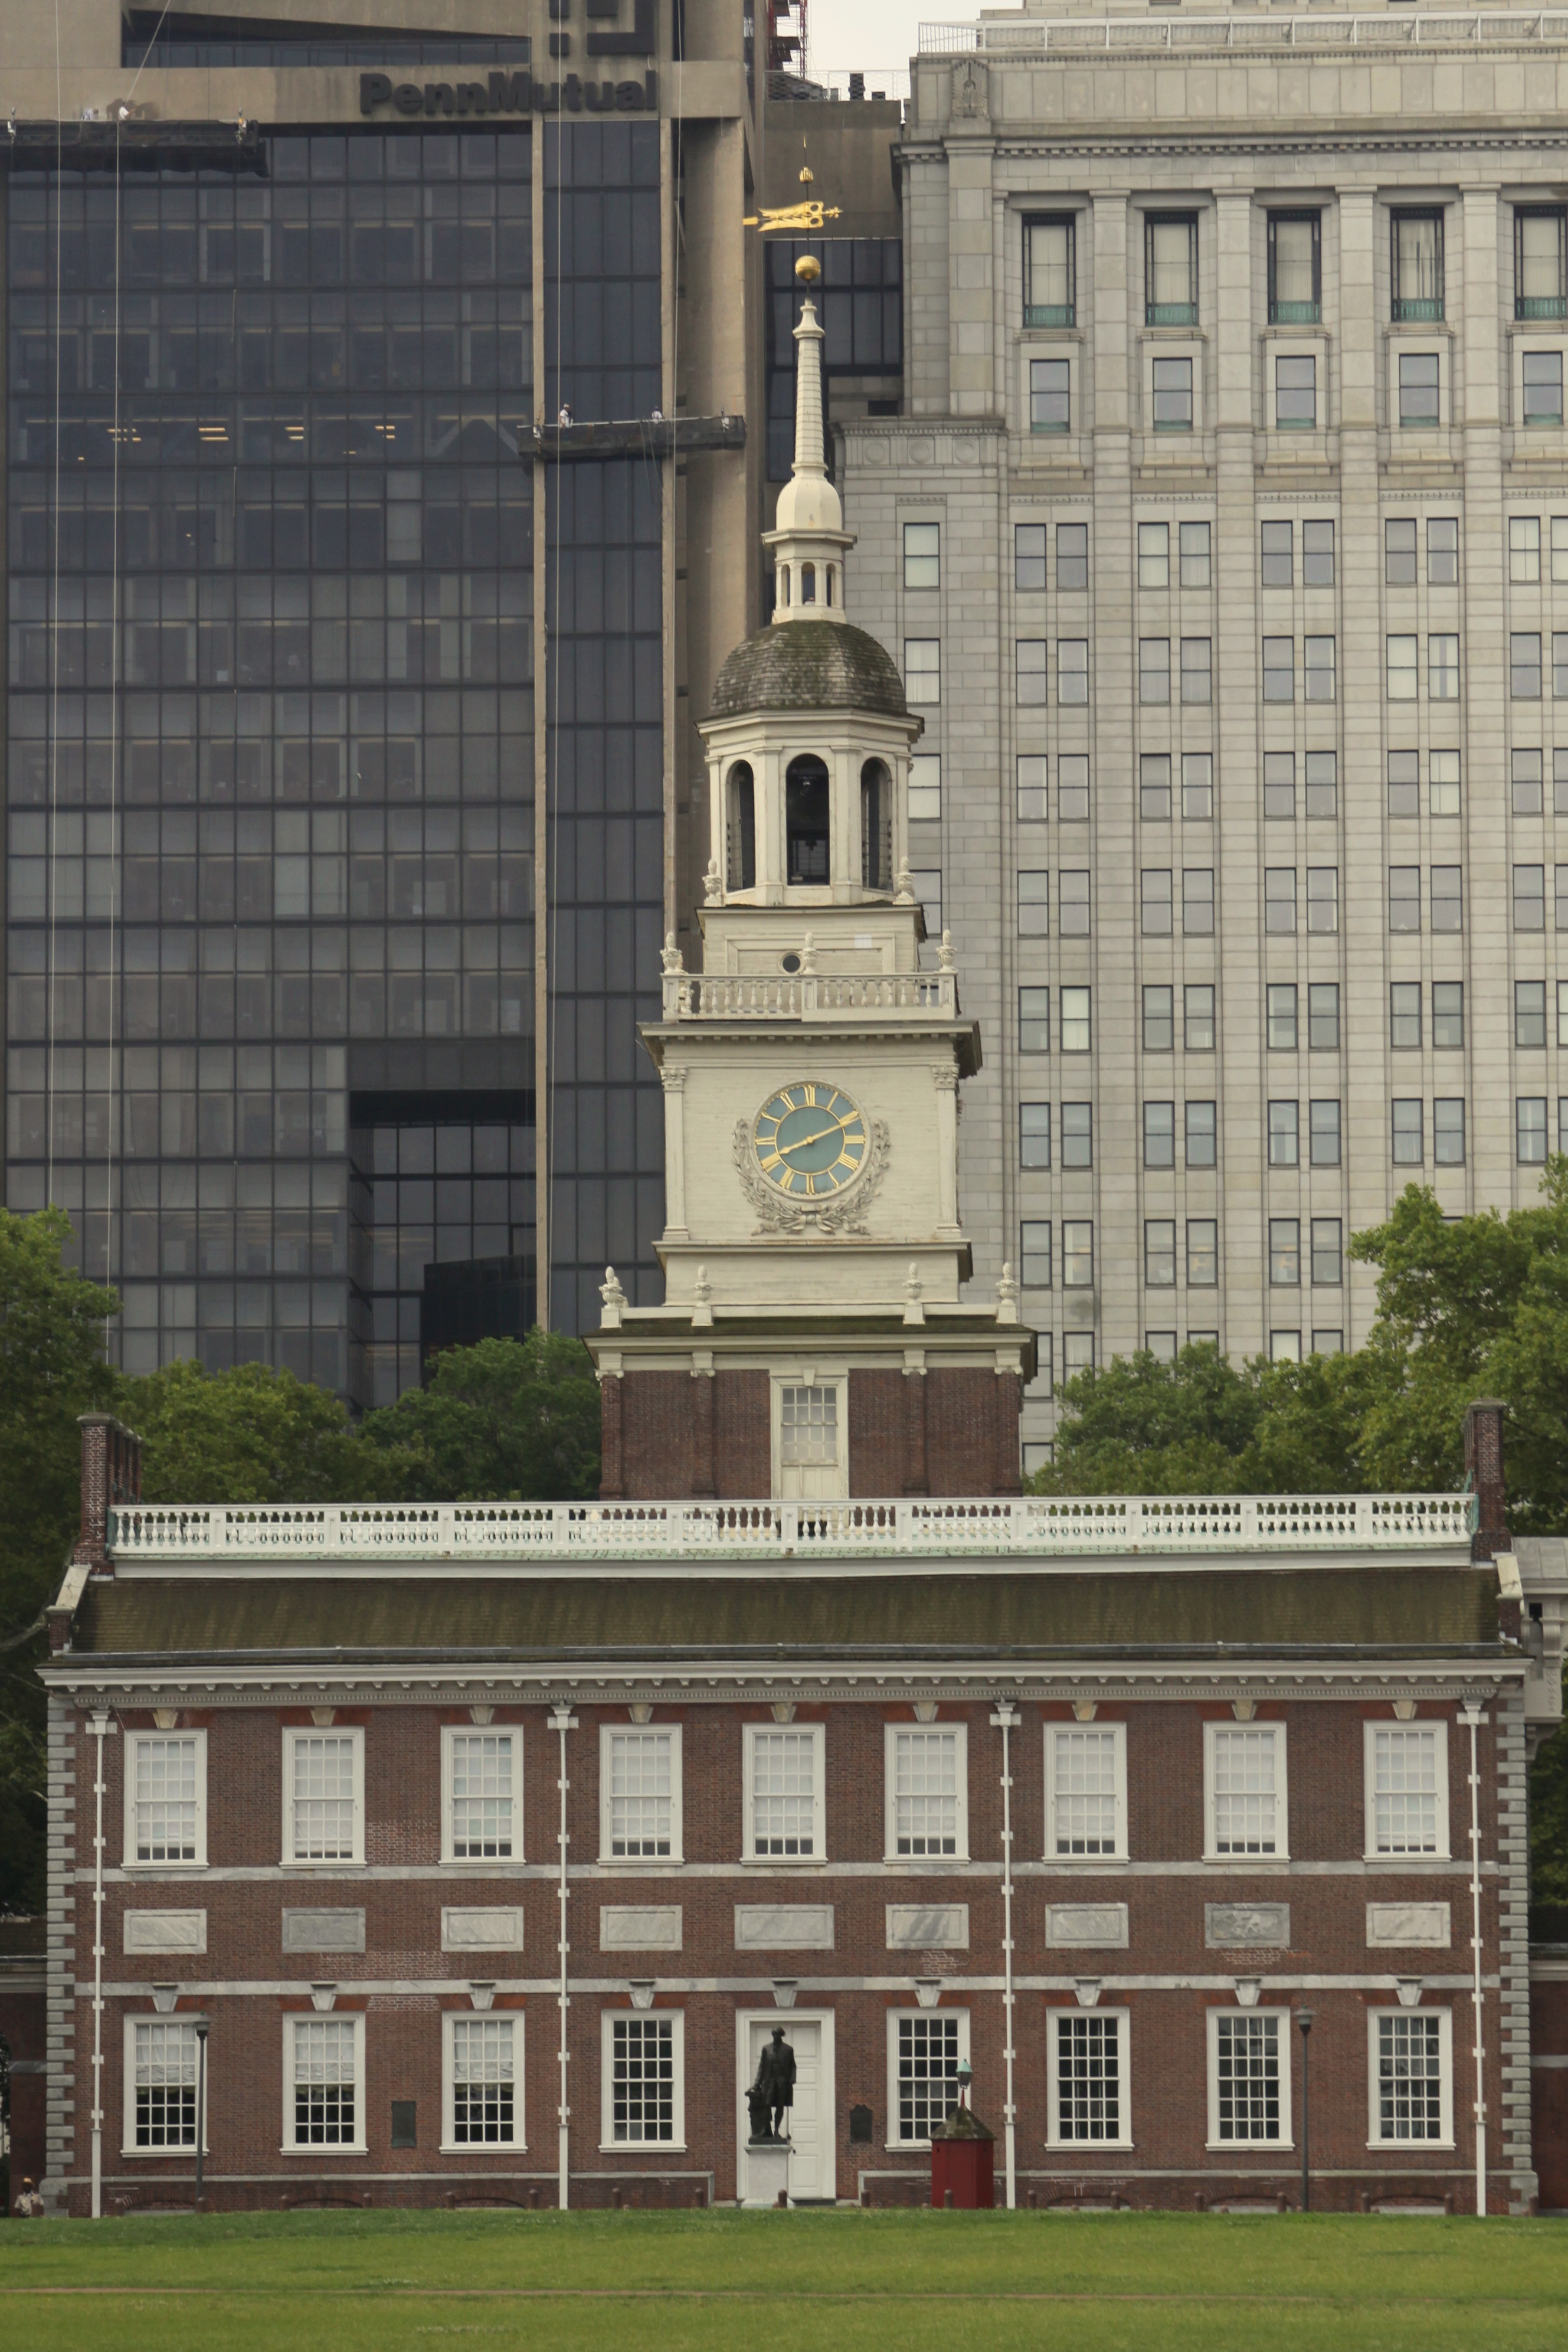
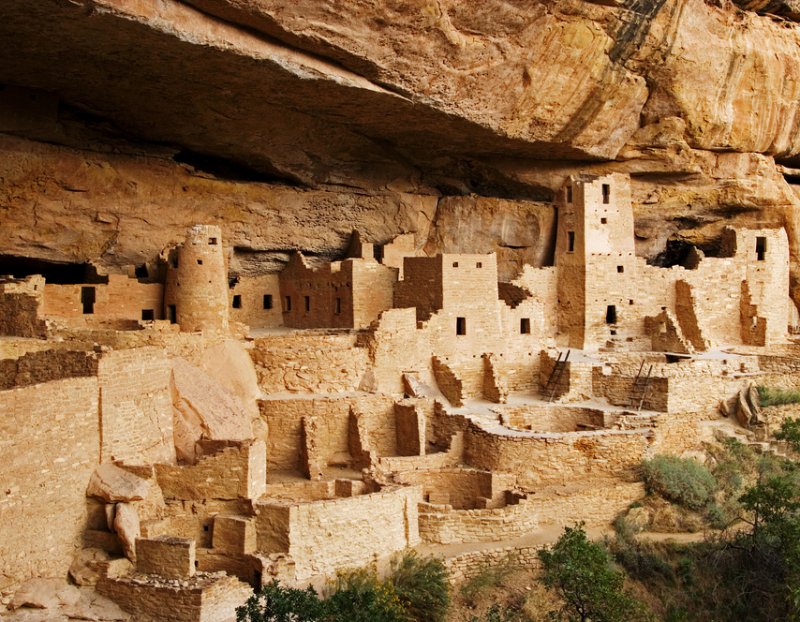
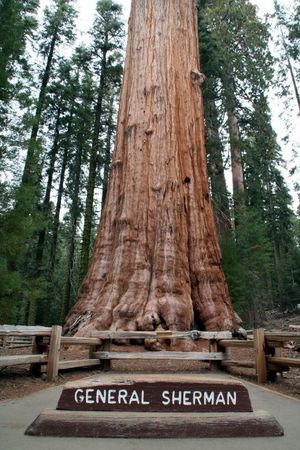
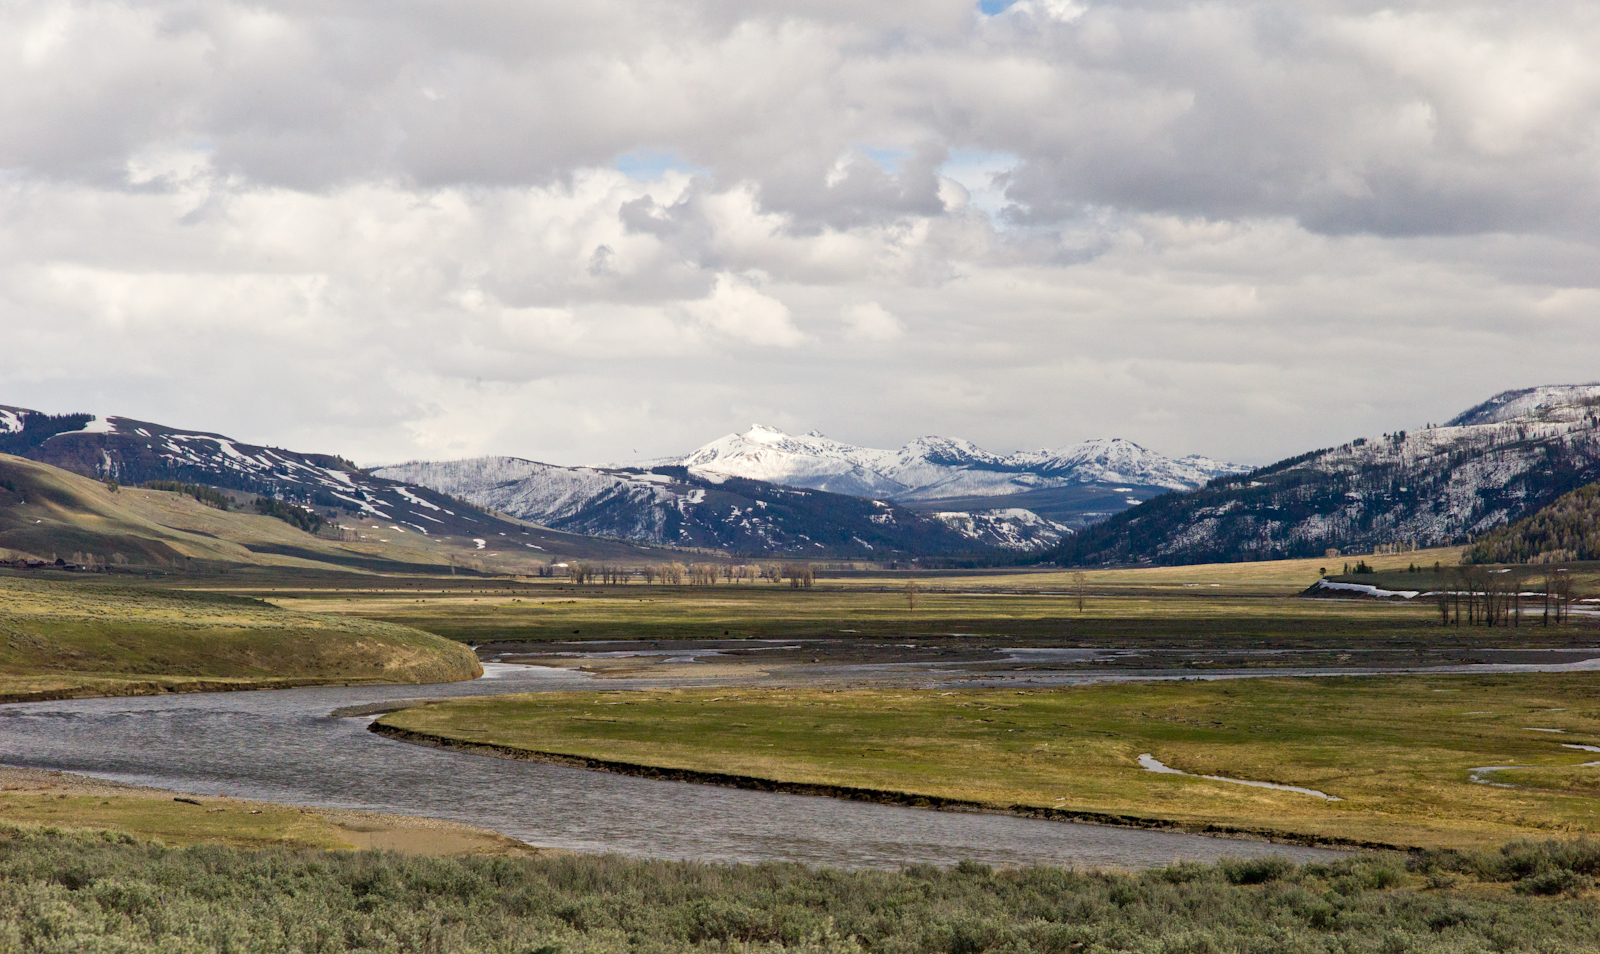
Within the National Park Service there are 59 National Parks, 108 National Monuments, 78 Historic Sites and hundreds of other sites which they administrate and maintain.  The national parks in particular are popular travel destinations which offer beautiful scenery as well as offering hiking, camping, boating and other recreational activities.  Across the United States there are numerous opportunities to enjoy these magnificent parks.  So, get out a map and look for the national parks in your area or plan a longer road trip and visit several along the way.

The first thing to do when planning a trip to a national park is to book lodge or campsite reservations.  Sometimes accommodations within a national park can be very limited and popular destinations book far in advance, so researching the information regarding accommodations is very important.  Facilities can range from luxurious lodges to very rustic campsites and these decisions are determined by your personal preference.  Our family had stayed at all different types of accommodations and we have enjoyed every one of them.  Honestly, unless you are very particular about your sleeping arrangements, in the evening when bedtime comes around you can be so exhausted from the day’s activities that you are asleep before your head hits the pillow!  When we have been on past road trips and visiting several national parks in a period of time longer then a week, we have found that a combination of campsites and lodges accommodations can be a great balance because sometimes you want the luxury of a comfortable bed and a private shower or bath.  If the national park you are visiting is close to a city, sometimes the hotel accommodations are more plentiful and rooms are available in all price ranges.

Visiting a national park can be an exciting adventure for you and your family.  To make the trip a successful one a little advance research is a good idea.  Once you decide on a destination and have accommodation reservations made, try to gather as much information as you can regarding the area in which you are planning to visit.  The local library is a good resource for tour and guide books on a particular national park or check out online book sources like Amazon or Barnes and Noble.  I always like to read a book about the history of the area before visiting.  Then, when we are on the trip, sometimes it is a good idea to have something to read in the evening when you are back at the campsite or lodge.

When I first visited Yosemite National Park I purchased a book by John Muir.  Muir was a naturalist and author who wrote about his adventures in Yosemite and the importance of protecting and preserving areas like Yosemite throughout the United States.  His activism efforts lead to founding the Sierra Club which is one of the most important conservation organizations in the United States.  I really enjoyed reading about his adventures in Yosemite and then visiting the places he was talking about in his books.  I think I appreciated my time in Yosemite more when looking at the beauty of the scenery through the eyes of John Muir.

The next major decision when planning a national park trip is determining a schedule of activities and things to do.  Gathering information about the activities of the national park is a very helpful way to setting the trip budget because it allows for additional expenses such as: guided tours, rock climbing, horseback riding, raft trips, etc.  Once the trip dates are confirmed, I would advise booking any type of popular activities in advance.  Sometimes these activities fill up quickly especially during the peak summer vacation months.  Nothing can ruin a trip more than arriving at a destination and finding out that activity you were looking forward to experiencing has been sold out.  When we visited the Grand Canyon we wanted to take the mule ride on the Bright Angel Trail, so we booked the ride in advance and were able to pick the day and time that fit into our trip schedule.  On this same trip we also reserved a popular river raft tour on the Colorado River in advance so as not to miss out on this exciting adventure.  As early as possible, take the time to get these important reservations made and it will eliminate the stress so you can enjoy the trip knowing that your activities are confirmed!

Listed below are several additional tips and suggestions to help when planning a national park trip.

Tips and suggestions when planning a trip

  • When starting to plan a trip to a national park, a great resource is the National Park Service website at www.nps.gov  This website will have information regarding specific national parks such as: hours, fees, reservation, history, geology, animal, plant info as well as a special section for kids.
  • Be sure to involve the kids in the planning process, talk to them about what sites they would be interested in visiting.  Plan a balance of adult and children activities to keep everyone happy.  Be flexible in planning the activities and don’t over schedule, smaller child need time to simply play and run or maybe even take a nap.
  • When traveling, be sure to break up the trip with frequent stops at rest areas or for meal times.  Sometimes national parks are located far away from cities and facilities may be limited.  Be sure to check in advance for this type of information.  Plan ahead with extra snacks and drinks or perhaps pack a picnic lunch.  When on the hiking trails or outside the car, be sure to carry enough water for everybody and especially in the southwestern national parks in the summer it can get very hot and you will want to avoid dehydration.
  • Before leaving, consider purchasing a special map for the kids so they can enjoy following along during the trip.  This will answer that inevitable question of, “are we there yet”!  Also, when you know the specific national park you are visiting, check out the children’s section in your local bookstore or online at Amazon.com, sometimes you can find a fun book for them to read about that particular park.
  • If you are traveling to several national parks, consider purchasing the National Park Annual Pass.  The pass is $80 and valid for a full year from the month of purchase.  Do the math and see if this would be economical purchase for you.  If you are traveling with a senior citizen, consider the Senior National Park Pass which costs $10 and is valid for a lifetime.  The purchaser must be 62 years or older and the Senior Pass admits the pass holder and up to three additional adults traveling together in the same vehicle.  (Children under 16 are always admitted free in a national park)  We found out about this from a park ranger when we were traveling with my husband’s mother and we joked that from now on when we visit a national park we are taking her with us because basically we could get in for free!
  • When at the national park visitor center, consider purchasing the Passport to Your National Parks Stamp Book.  This is a great way for the kids to collect stamps from the parks they visit and a fun way to remember the places.  One of our first stops in any national park we visit is the visitor center for maps and current park info, while there our daughter always heads to the passport stamp section to get the park’s stamps for her passport book.
  • Another great idea for the kids is the educational Junior Ranger Program and it is totally free.  When you are at the park’s visitor center pick up a copy for your child.  Usually the booklet has activities and questions for them to answer while they are exploring the park.  When the book is completed return to the visitor center for them to participate in a quick ceremony administrated by the park ranger, the child will raise their right hand and repeat the Junior Ranger oath before receiving the park’s Junior Ranger patch.  We always try to do this with our daughter and it is a great photo opportunity!
  • Taking a pet, particularly dogs, on a trip may sound like a good idea but most national parks have rules and regulations.  Always check in advance for information regarding pet limitations as this will be helpful in determining whether to leave them at home and making alternative arrangements.
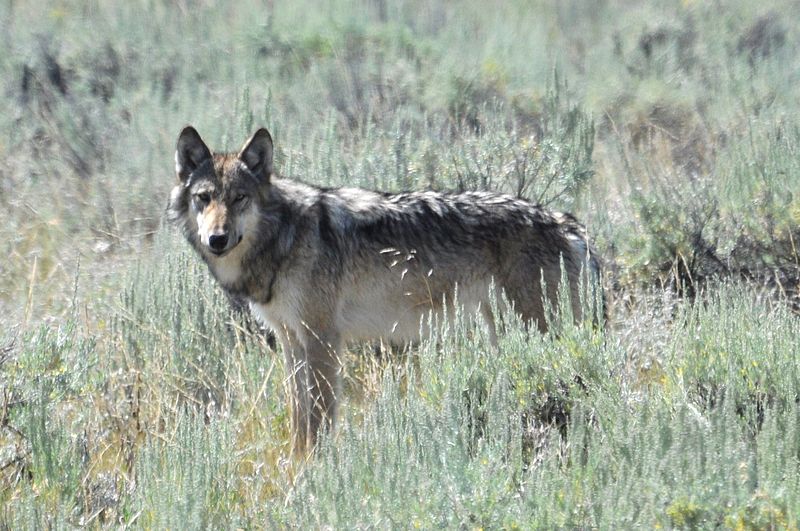
  • When visiting the national parks, be sure to observe all the rules and regulations such as speed limits.  Be sure to take into consideration any special safety signs such as bear warnings.  Respect the park’s wildlife and be sure to observe bear safety rules when on hiking trails and other areas of the park.  It is always a good idea to make a quick check of the weather report at the park’s visitor center and while there also check for road or trail closures.  Heat or high altitude conditions can effect visitor’s health, so take precautions and be prepared.  When we go on hikes in the national parks, we always carry a small backpack with a small first aid kit, flashlight and enough water for everyone.  Consider purchasing a couple of reusable water bottles prior to your visit for use while hiking, this is an excellent way to be green (earth) smart.
  • Since one of the goals of the National Park Service is protecting and preserving our national parks, be aware of your impact on the environment.  Consider parking your vehicle and walk, bike or take the park’s public transportation when available because these simple choices will reduce the carbon emissions into the environment.  Be sure to observe the recycling cans while at the visitor center, lodges, campsites, etc. while in the park.  Conserve water whenever possible while in the parks, such as washing dishes at campsites.  When at the campgrounds be sure to minimize your campfire impact, when leaving extinguish the fire fully and be sure to dispose of waste properly.
  • When camping in the park, before to check all camping equipment before leaving.  If the tent is new, consider setting up and taking down the tent.  Solve any possible problems and check that all equipment is functioning properly, such as the camp stove or lantern.  Be sure to have extra batteries for flashlights, etc.
  • Please stop and take a moment with your family to enjoy the national park with all the beauty and activities that are available.  If you have limited time when visiting the parks, be sure to stop at the visitor center. These facilities offer information and other services, excellent natural and historical displays and orientation movies as well as shopping and sometimes dining opportunities.  Be sure to take a drive on any of the scenic roads because it is a great way to explore the park.  Take the time to get out of your vehicle and walk even a short distance on one of the park’s hiking trails.  This is a great idea especially when a park can be crowded during the busy summer months.

Finally, I hope that you and your family consider a trip to one of our national parks.  There are so many diverse natural and historical sites to see and I’m sure any one of those chosen will provide you and your family with experiences and moments that will be remembered for a lifetime.

For additional ideas and tips when visiting a National Park please check out National Park Travel Tips (Part Two).

Travel – Manzanar, CA

OLYMPUS DIGITAL CAMERA

We have driven California Highway 395 for years heading to and from Mammoth Lakes, CA.  Every time we pass the Manzanar National Historic Site we always want to stop but we never have the time.  Finally in 2005, we made special plans to finally stop there.

Manzanar is a difficult part of the history of the United States and California.  After the Japanese attack on Pearl Harbor, on December 7, 1941, the United States officially entered into World War II.  Citizens became concerned over the threat of another direct attack on the West Coast and California.  The United States Government and the Federal Bureau of Investigation took swift action and arrested 2,192 people of Japanese descent.  This action was meant to monitor and control the activities of these potential hostile “enemy aliens.

On February 19, 1942, President Roosevelt signed an Executive Order authorizing the construction of “relocation centers”. This resulted in the forced relocation of over 120,000 Japanese Americans, two-thirds were actually native-born American, into ten “relocation centers” located in several states, one of those was Manzanar.

NOTE:  Since the end of World War II, there has been debate over the terminology used to refer to Manzanar, and the other camps in which Americans of Japanese ancestry, were incarcerated by the United States Government during the war. Several different terms have been used to describe these camps; “War Relocation Center,” “relocation camp,” “relocation center,” “internment camp”, and even “concentration camp”.  The controversy over which term is the most appropriate is still being currently debated.

OLYMPUS DIGITAL CAMERA

Manzanar was the first of the relocation centers to be established in March 1942.  Originally it was supposed to be a temporary “reception center”, known as the Owens Valley Reception Center, run by the US Army’s Wartime Civilian Control Administration.  In June 1942 it became a permanent facility and was renamed the Manzanar War Relocation Center. The first Japanese Americans, “incarcerees”, to arrive at Manzanar helped to build the administration offices, barracks, recreational hall and the additional buildings needed.  The number of incarcerees increased steadily until July 1942 when there were 10,000.

Manzanar vintage photo 1    Manzanar sign 2

Manzanar is located in California’s Owens Valley between the towns of Lone Pine and Independence, about 230 miles northeast of Los Angeles.  Situated at the foot of the Sierra Nevada mountain range, this area had long been the home of the Paiute Native Americans, who had several villages throughout the valley.  Ranchers and miners established the town of Manzanar, a Spanish word that means apple orchard, in 1910 but the town was abandoned when the City of Los Angeles purchased the water rights of the Owens Valley in 1929.

The Manzanar Relocation Center leased 6,200 acres from the City of Los Angeles.  The residential area where the incarcerees lived covered about one square mile and had 36 blocks of 20 ft. by 100 ft. barracks.  Each barrack was divided into 20 ft. by 20 ft. separate living areas for each incarceree family, the partitions did not reach the ceilings and offered very little privacy.  In addition, each residential block had a communal mess hall, laundry room, recreation hall and a communal latrine used by both the women and the men.

Manzanar also had 34 additional blocks that provided staff housing, administration office, two warehouses and a garage.  The facility also had a school and auditorium, a post office and store, and even a newspaper office.  Each relocation center was intended to be self-sufficient and Manzanar provided various services, such as: beauty and barber shops, shoe repairs.  In addition, the incarcerees raised chicken and hogs, and they also grew vegetable gardens and cultivated the existing apple orchards.  The incarcerees even made their own soy sauce and tofu.  The facility offered almost every convenience found in most American cities.  The visual exception was the sentry posts at the main entrance, eight watchtowers manned by armed Military Police located around the perimeter and the entire facility was enclosed by barbed wire.

For the Japanese American incarcerees, life in Manzanar became their new normal.  Meals were based on the military daily requirements.  Since wartime rationing made meat scare, the chicken and hog farms helped to supplement their meals of rice and vegetables.  The incarcerees did earn some money and were employed in various jobs at Manzanar, with workers earning $8 to $19 per month depending on their skill level and in addition each incarceree received $3.60 per month as a clothing allowance.  Even given the Owens Valley extreme weather conditions, summer temperatures exceeding 100 degrees and winter temperatures of 40 degrees with occasional snowfalls, the incacerees became accustomed to the conditions.  Some were able to build elaborate gardens with bridges over water with waterfalls and rock ornaments found in a typical Japanese garden, some of these garden ruins can still be found at Manzanar.  Incacerees were also able to participate in a variety of sports including baseball, football, martial arts and even golf on a nine-hole golf course.

Manzanar gardens 1    OLYMPUS DIGITAL CAMERA

Although the majority of the incarcerees accepted their fate during World War II, there was some resistance with problems concerning unfair wages, black marketing of sugar, shortage of meat and rumors of camp informers that reported any suspicious behavior to the camp administrations and even the FBI.  One serious incident occurred in December 1942 and became known as the Manzanar Riot.  When the Japanese American Citizens League leader, Fred Tayama, was beaten by six masked men after months of tension in the camp, a man named Harry Ueno was suspected of involvement in the planned attack and was arrested.  A few days later a crowd of several hundred incarcerees gathered in protest and the military police threw tear gas to disperse them.  Suddenly, the military police fired into the crowd, one man died and nine others were wounded before the situation ended.

Manzanar was closed permanently in November 1945.  The incarcerees were officially released and each person was given $25 and a one-way train or bus fare.  Many left the camp voluntarily but some refused to leave because they had no place to go after losing everything at the time of their forced incarceration.  During the time Manzanar was open, 146 people died.  The cemetery site at Manzanar is marked by a monument built by an incarceree stonemason in 1943, the inscription written in Japanese 慰靈塔 reads, “Soul Consoling Tower”.  When we visited, there were strings of origami and often Manzanar survivors or visitors leave other items or offerings.

OLYMPUS DIGITAL CAMERA

OLYMPUS DIGITAL CAMERA     OLYMPUS DIGITAL CAMERA

After the camp closed, the barracks and other structures were removed with the exception of the two sentry posts.  Over the years since closing, former incarcerees formed the Manzanar Committee which worked to establish Manzanar as a National Historic Site to provide historical and cultural interpretation of the relocation of Japanese Americans during World War II.  Finally in 1992, Manzanar was designated a National Historical Site  and five years later the National Park Service acquired 814 acres of land from the City of Los Angeles.

OLYMPUS DIGITAL CAMERA    OLYMPUS DIGITAL CAMERA

In 2004, an Interpretative Center was created inside the restored Manzanar High School which has exhibits that tell the story of the Manzanar Relocation Center.  At the site, all that remained where several building foundations, the cemetery monument and the garden ruins.  The National Park Service has restored the sentry posts at the camp entrance and built a replica of a guard tower and provided a self-guided road tour and informational markers.  At the time that we visited in 2005, there were plans to reconstruct on of the residential blocks.

TRAVEL NOTE: Since the subject of Manzanar and the War Relocation Center for Japanese Americans during World War II is such a serious one, we would advise visiting with older children.

RECOMMENDED READING:  “Farewell to Manzanar”, is a book first published in 1973 and written by Jeanne Watatsuki Houston, who was incarcerated there as a child.  The book tells the story of the Watatsuki family and their experiences at Manzanar.

Celebration – Children’s Parties (Part Two)

As I discussed in part one of children’s birthday parties, I’ve enjoyed the entire planning process from deciding on a theme, to shopping for invitations and party supplies, to creating party decorations, special party favors and gift bags, to deciding on what type of birthday cakes.  Most blogs give ideas about specific theme parties, but I’m going to talk about the process involved and give some tips and suggestions.  Part one discussed party themes, decorations, food and birthday cakes.  In part two, I will discuss birthday activities/entertainment, gift bags, and special parties.

Birthday Party Activities/Entertainment

Activities are a wonderful way to make a birthday party more fun!  For our daughter’s Ladybug birthday party, we made a very simple Ladybug game using red and black foam.  A strip of black foam was used with white foam numbers 1-6 glued onto the black foam.  Red foam was cut into a ladybug shape, six for each “number strip”, and with a black marker I made dots on each of them. One ladybug had one dot, two dots, etc. until the final ladybug had six dots.  With a toss of a big white foam dice, each girl rolled a number, and then covered the number on the black strip with a ladybug having the corresponding number of dots.  The first one to roll all six numbers, and fill their strip with ladybugs, won a prize.  It was a very easy game but fun for this group of six year old!

OLYMPUS DIGITAL CAMERA

Our daughter’s seventh birthday party had an animal safari theme.  We had sold our house in California and were moving to the Midwest, so we knew it would be the last party with her California friends and we wanted to make it memorable.  In keeping with the animal theme, we hired a local animal rescue that brought some animals to our house, like an iguana, several snakes and even a monkey to name a few of the animals.  The kids really liked the informative show that Animal Encounters put on and at the end everybody had their picture taken with the monkey, we included the photo with the thank you notes.  That wasn’t the only entertainment, my husband took the kids on a fun-filled animal themed scavenger hunt all over the backyard and front yard of our house ending with everyone climbing to the top of our backyard wooden jungle gym/fort to get a prize out of the treasure box and the children down the slide to finish the game.  It was a very fun party and the kids really enjoyed the animals and the scavenger hunt!

OLYMPUS DIGITAL CAMERA

Always keep in mind the theme of the party when planning activities.  For example, for a “Littlest Pet Shop” themed party I found bobble-head cats and dogs that looked like a larger version of a Littlest Pet Shop animals and cardboard “dog houses” at my local craft store.  The girls painted the animals and then decorated the houses with stickers and colored markers.  Another activity we planned for a cupcake themed party was simply having the girls decorate their cupcakes, my daughter and I are big Cupcake Wars fans.  To make it easy we made all the cupcakes before the party in both vanilla and chocolate flavors.  Then, the girls were supplied three different types of frosting; vanilla, chocolate and strawberry.  We bought  a variety of different kinds of sprinkles in a several shapes and colors.  The girls were very creative in decorating the cupcakes and had a great time.  Once the cupcakes were frosted and decorated the girls needed a container to take the cupcakes back to their homes.  To solve this problem I found white cardboard boxes at the craft store that were the perfect size to fit six cupcakes each.  The girls enjoyed decorating the boxes with stickers and colored markers.

2009 Littlest Pet Shop - painted pets     2009 Littlest Pet Shop - pet homes2012 Cupcake party - cupcake

Special Birthday Parties

For special birthdays, sometimes the party will be more elaborate and a little more expensive.  As I mentioned before, our daughter’s fifth birthday coincided with Disneyland’s 50th Anniversary and we thought it would be a great way to combine the two celebrations.  About two months before the party, we sent out “Save the Date” notices to everyone on the invitation list.  We told them the date, the schedule of events for the day and a request to submit pictures of their family Disneyland pictures for a special video we were making.  On the day of the party, we wanted to meet everyone in front of the castle, take a group photo, and hand out a game packet with a Disneyland trivia game and scavenger hunt.  Guests were free to enjoy the day at Disneyland and then meet at Goofy’s Kitchen for a birthday/dinner celebration later in the afternoon.  At the restaurant, after eating we handed out the prizes to the game winners and distributed the gift bags which included a special DVD video made from their family Disneyland photos that we requested months earlier.  It was a very expensive event but everyone had a great time and it was a very fun day!

2005 May Group photo Castle 2

Party Favors and Gift Bags

When having a children’s birthday party always send the guests home with gift bags because it is a wonderful way to say thank you for coming to the party.  When shopping and assembling the gift bags keep in mind the party’s theme.  The gift bags and decorations along with the items purchased for the gift bags should be about the party theme.    For example, at an Ariel theme party I used white bags tied with green raffia and a starfish glued onto a white tag.  At a local retail store  I found small Ariel coloring and activity books, some Ariel stickers and an Ariel party noise makers. Also included in the gift bag were a box of crayons, a small bag of goldfish crackers and a seashell.  For our big birthday party at Disneyland I again used white paper bags but this time I glued on a red/white polka dot ribbon and lined it with red tissue.  On previous Disneyland visits, I shopped for gift bag items which included two small postcards of Mickey and Minnie Mouse, Disney stickers, a Mickey Mouse lollipop and party noise maker, a small Donald Duck toy and a Disney dollar bill, also included were magic bubbles.

OLYMPUS DIGITAL CAMERA OLYMPUS DIGITAL CAMERA

For an animal safari theme party I used brown paper bags with white gift tag that read “supply rations” and personalized with the child’s name.  I shopped for animal themed items online at a party supply website and purchased animal print bracelets and stickers.  At a local retail store I found toy compasses, since we having an safari animal themed scavenger hunt, and I also included bubbles and a box of animal shaped cookies.  For a cupcake birthday party, the decorations were polka dots, daisies and the colors were bright green, blue, purple and pink.  I purchased paper gift bags/tissue in these colors and glued on a matching polka dot ribbon and white daisy.  Inside the gift bags were strips of polka dot candies, bright colored rubber bracelets, a couple of small polishes, a tube of lip gloss and a cupcake scented body spray.

OLYMPUS DIGITAL CAMERA    2012 Cupcake party - gift bags

Birthday Photos

When celebrating a children’s birthday party be sure to take lots of photos, these are the moments to remember!  Before the party starts, we always take a photo of our daughter with her birthday cake and wearing her special birthday outfit.  When picking out an outfit we try to keep in mind the party’s theme.  For the ladybug party I found a cute pink dress with an embroidered lady bug.  I also made lady bug visors for all the girls, I used a simple red visor, black pipe cleaner curled with a pom-pom on top for the antennae and each black dot spelled out the girl’s names, this was also a party favor for them to take home.    During the party I made sure to take a group photo of the girls wearing their lady bug visors!  For the animal safari party, I was lucky to find a leopard crown at my local party shop and even though she only wore it for a short time at the party I was able to get a photo of her wearing it.

OLYMPUS DIGITAL CAMERA     OLYMPUS DIGITAL CAMERA

For a princess sleepover the girls decorated foam crowns with sparkly letters and shiny gems, the girls enjoyed this activity took their crowns home as a party favor.  After they were done decorating them, I made sure to take a group photo of the girls wearing their princess crowns.  For the cupcake theme party, I found white chef’s hats and blue aprons that read “junior baker”.  During the party I made sure to take a photo of our daughter wearing them. I made sure to take a group photo of the girls with them all wearing their lady bug visors.

PARTY NOTE:  Group photos are a great idea to include in the thank you notes!

2008 Princess sleepover - party hat    2012 Cupcake party photo

Special Birthday Photos

Every year since my children were each born I have always taken them to JC Penney for their annual birthday photo.  Every year I would buy our daughter a beautiful dress and have her photo taken and some years when her birthday is a very special one I bring her birthday outfit and take additional photos.  For her Disneyland birthday, in keeping with the Disney theme she wore her birthday dress and her Mickey Mouse Ears.  For her animal safari birthday, I brought several stuffed animals to the photo shoot and had a cute picture taken with her wearing  her safari outfit with all the animals scattered around.

 2005 Disney party photo     2007 Animal party photo

Birthday parties are a very special time in our children’s lives, so take the time  to plan a fantastic party and make those wonderful memories!!  I would love to hear from you about your ideas, suggestions or tips on your children’s birthday  parties.

P.S.  Recently for my daughter’s birthday we had a Mall Scavenger Hunt themed party, for more information please click on the link.

Celebration – Children’s Parties (Part One)

2012 Cupcake party - sign

Over the years I have planned many birthday parties for my children.  I’ve enjoyed the entire planning process from deciding on a theme, to shopping for invitations and party supplies, to creating party decorations, special party favors and gift bags, to deciding on what type of birthday cakes.  When I was a single Mom and planning my son’s birthday parties I purchased mostly store bought items for their convenience and held most of the parties at pizza places or park venues.  With my daughter’s birthday parties I was able to create most of the decorations and have most of the parties at our house.  Either way, during the planning process there are a lot of decisions to be made concerning a children’s birthday party, like the date, location, budget.  Most blogs give ideas about specific theme parties, but I’m going to talk about the process involved and give some tips and suggestions.

Theme/Decorations

When deciding on themes there are a lot of different choices, but try to think of ideas to personalize the theme in some unique and different ways to make it special for your children.  After a theme is determined the next step is setting a reasonable budget.  With the cost of children’s birthday parties being so expensive, my idea is to keep the budget from getting out of control by creating the party decorations myself or if I do purchase party items I make sure they can be recycled or re-purposed after the party.

As an example, for our daughter’s fourth birthday party we decided on an Ariel theme, her favorite Disney character.  We could have gone crazy with mass produced Ariel items from the party supply store but instead I made most of the decorations with seashells.  There was a seashell front door wreath to welcome the guests, a hallway column decorated with inexpensive ocean netting covered with more seashells, and a seashell “rose” arrangement for the buffet table.  I know these decorations sound unusual for an Ariel party but I was able to recycle and repurpose these items after the party.  (Check out how I recycled the seashell “rose” arrangement in this month’s post, Floral Arrangements)   For the other Ariel party decorations, our family room fireplace mantel was decorated with an Ariel doll and Sebastian, Flounder and Scuttle stuffed toys.  To add a personal element, I framed two photos of our daughter taken with Ariel on our visits to Disneyland and also two autographed Ariel photos signed by Jodi Benson, the voice of Ariel.  Our daughter played with all the Ariel items for years after the party and the framed photos and autographed pictures are now displayed in our home.

OLYMPUS DIGITAL CAMERA    OLYMPUS DIGITAL CAMERAOLYMPUS DIGITAL CAMERA

Another example of keeping party costs within budget are the decorations we used for our daughter’s Ladybug theme sixth birthday party.  I found several inexpensive small stuffed ladybugs from the dollar store that I hung from the kitchen chandelier over the buffet table, inexpensive lady bug masks also purchased at the dollar store were used as decorations and foam/paper/letter stickers were used to create a Happy Birthday banner.  With all these low cost items we were able to keep within our budget.

OLYMPUS DIGITAL CAMERA     OLYMPUS DIGITAL CAMERA

In keeping with the idea of creating the party decorations, the scrapbook aisle of the local craft store is an excellent source for solid and pattern paper.  Also in the craft store there is a wide selection of foam colors to make birthday banners and signs.  For a seventh birthday animal theme party, I used several different animal print papers to make a Happy Birthday banner and another sign that said “the Jones Safari Headquarters” that we put on our backyard wooden swing set/fort.  Another example, for an eighth birthday princess sleepover party, I made a “The Royal Bedroom” sign leading down to our basement where the girls were spending the night.  For a ninth birthday Littlest Pet Shop party, which was another sleepover party, I made a “Pet Den” sign for her bedroom and on our front door I added a welcome sign and enlarged copies of Littlest Pet Shop animals tucked into our front door wreath.  For a twelfth cupcake theme birthday party, I made a Happy Birthday banner out of several bright colored foam pendents and white foam letters.  After the party, this banner was stored away in our basement waiting to be recycled and used again for another party.

OLYMPUS DIGITAL CAMERA OLYMPUS DIGITAL CAMERA2009 Littlest Pet Shop - home decoration
Food and Birthday Cakes

When planning your child’s birthday party try to keep the food menu limited to easy to make and simple to serve foods.  Years ago, we had two different birthday parties for my son’s at our local Chuck E. Cheese Pizza restaurant.  It was so easy because the food and entertainment were all provided by the restaurant and the best part was that there was no clean-up afterwards.  Check other local venues with activities like miniature golf, bowling, aquatic parks and movie theaters   These are some fun ideas if you are looking for an easy and simple party and the entertainment can easily be provided by the venue.

When having a child’s birthday party at your home consider ordering a pizza delivery or a 4-6 foot long sandwich for a local sandwich shop.  Add some drinks like soda, juice or bottled water, serve some simple snacks like vegetables/dip and maybe a salad and don’t forget the birthday cake for an easy to serve party menu.

Birthday cakes are such an important part of the birthday celebration and we have such a fun time coming up with ideas to fit the theme for each party.  For our daughter’s Ariel party we had a birthday cake that was frosted to look like a sandcastle with seashells scattered around the base of the cake.  For her Ladybug party we had a birthday cake with a Boyd’s Bear Ladybug figurine on top and it was decorated with leaves and more ladybugs.  For her animal themed birthday my husband baked, frosted and decorated a large green snake cake, the kids really like that one!  For our daughter’s first sleepover party, my husband made a really fun birthday cake.  It was made to look like the girls were sleeping in a cute pink bed.  Twinkies were used to make the sleeping girls who had their heads on marshmallow pillows.  The girls loved this cake!

OLYMPUS DIGITAL CAMERAOLYMPUS DIGITAL CAMERA    2008 Princess sleepover - birthday cake

There is so much information, ideas and suggestions for children’s birthday parties that I have to divide it into two different posts.  Please check out the Birthday Party (Part Two) post about birthday activities/entertainment, gift bags, etc.