Craft – Butterfly in a Jar

Butterfly in a Jar

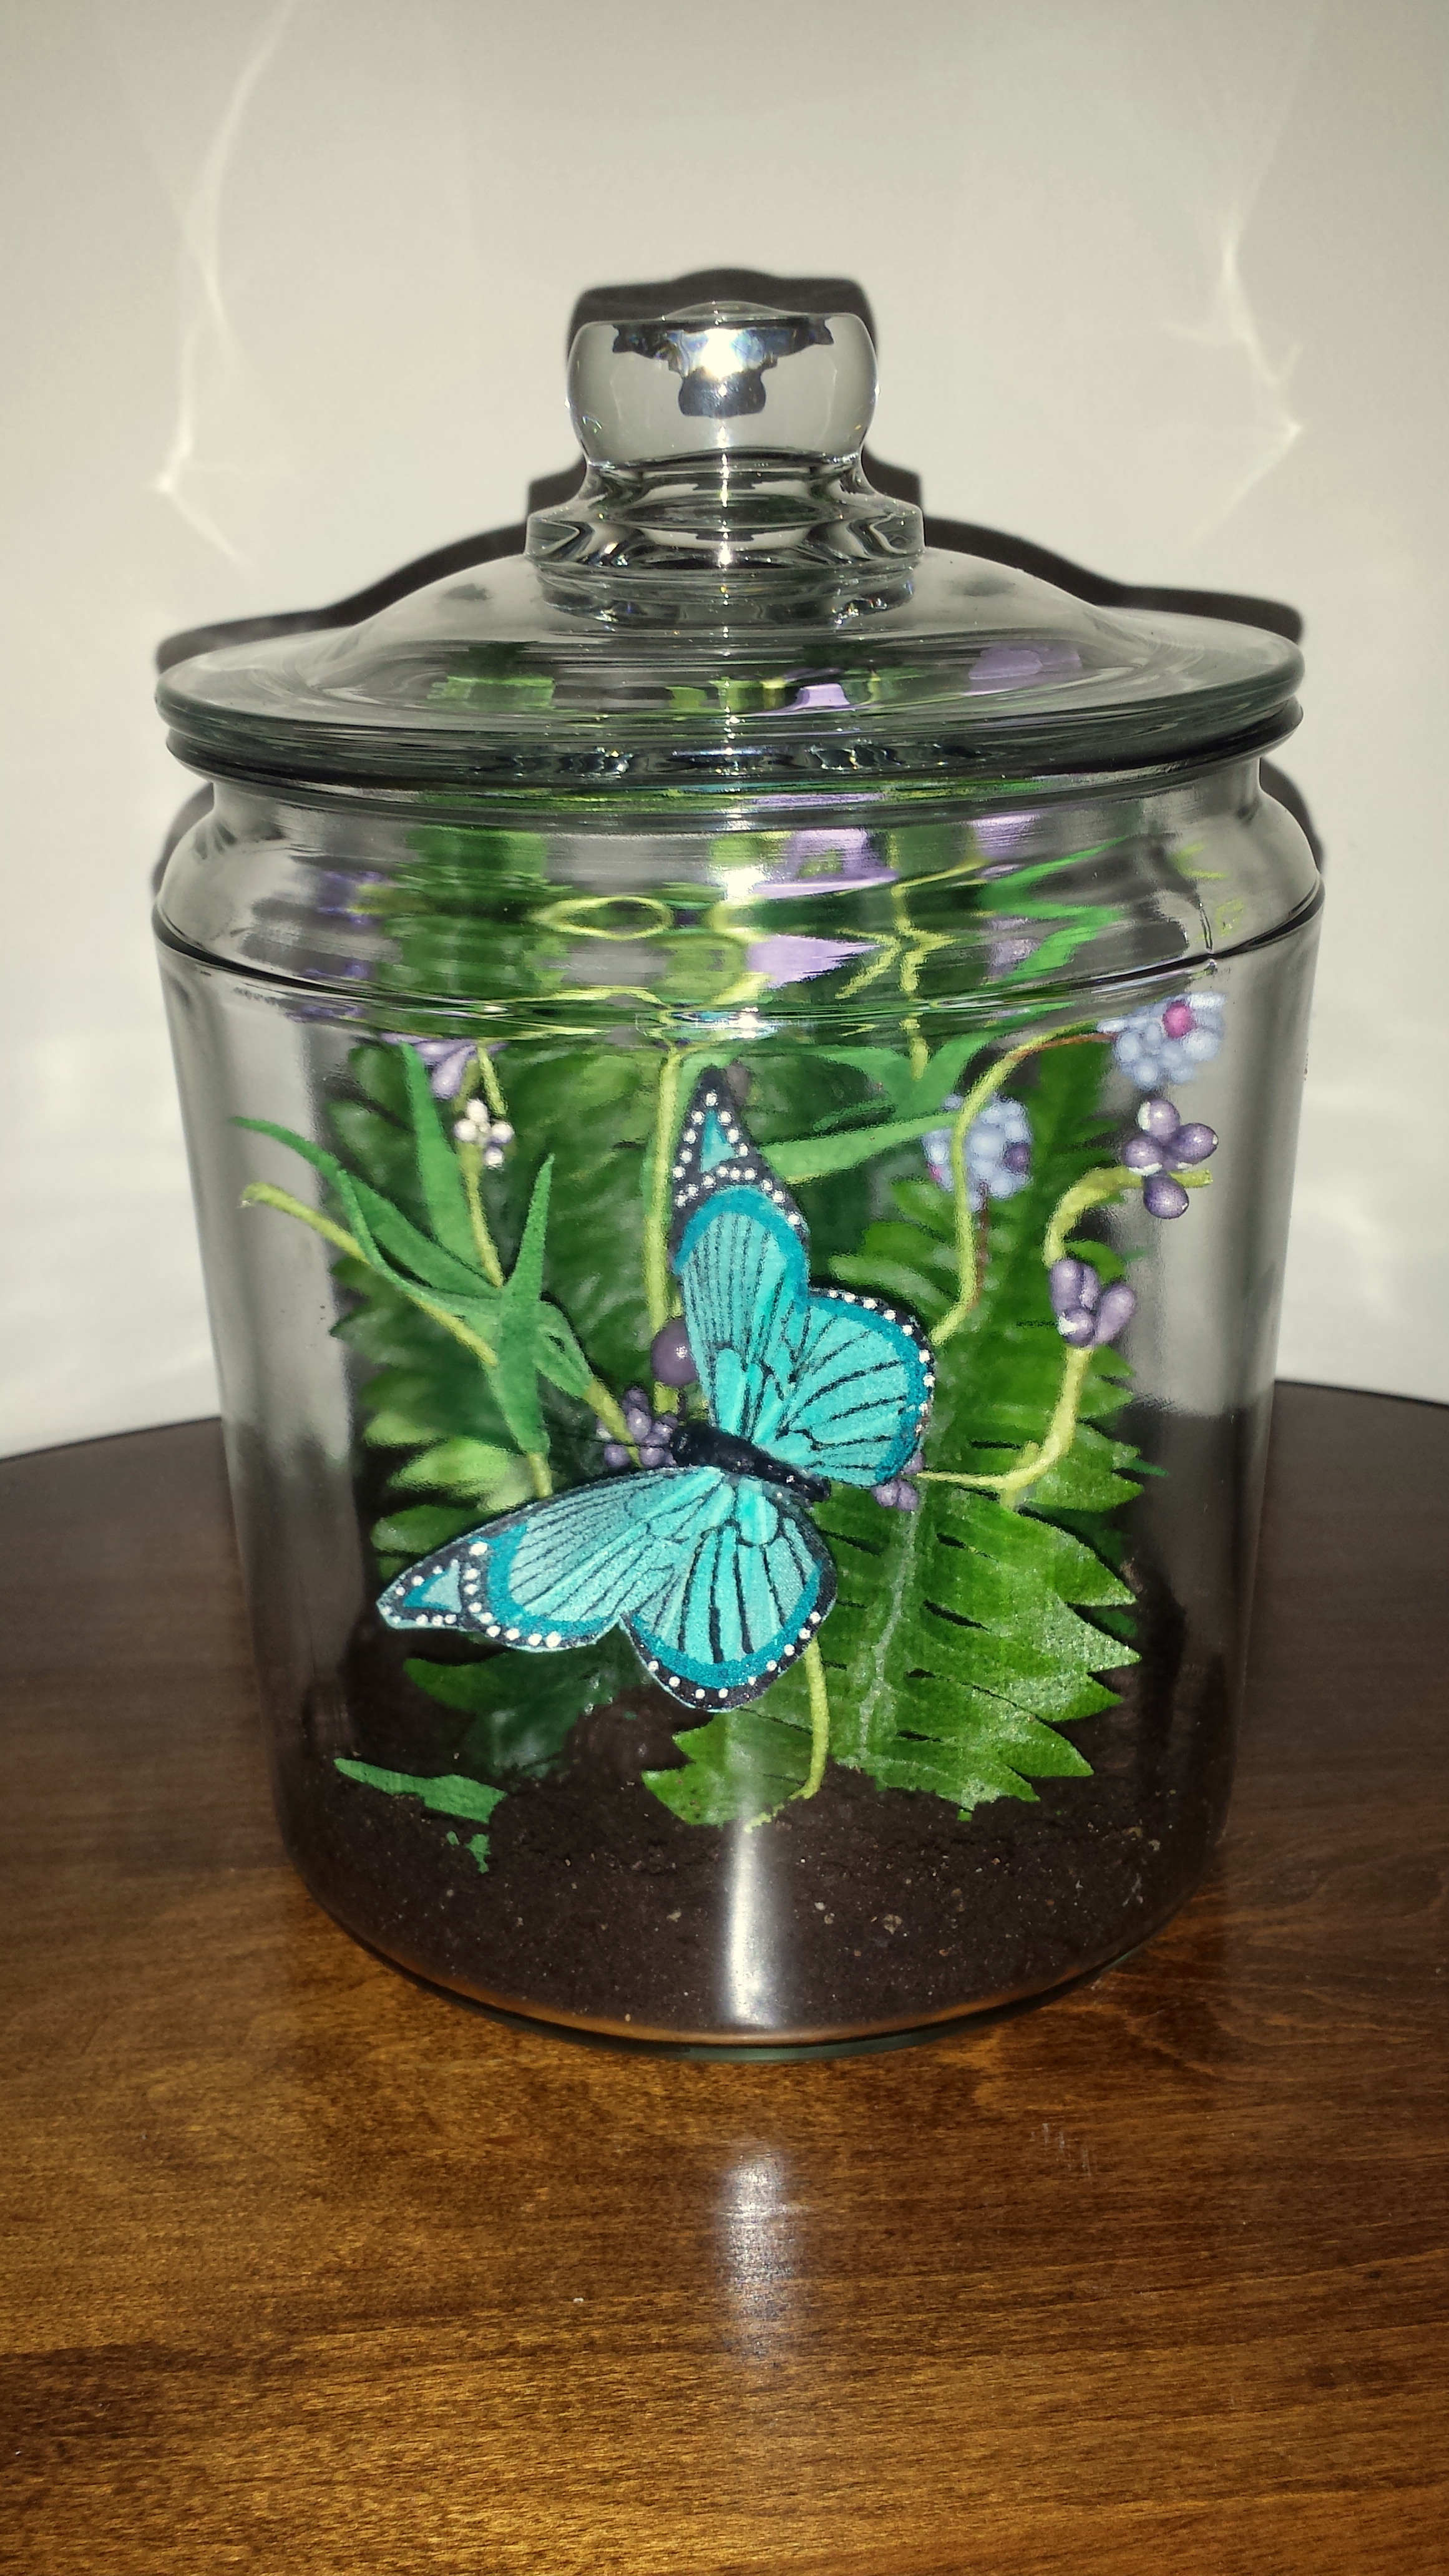
With the end of summer and the start of autumn, I thought this craft project would be a fun way to “preserve” those wonderful summer days as the weather starts to get colder.  Below are the supply list and instructions needed to complete this easy “Butterfly in a Jar” craft project.

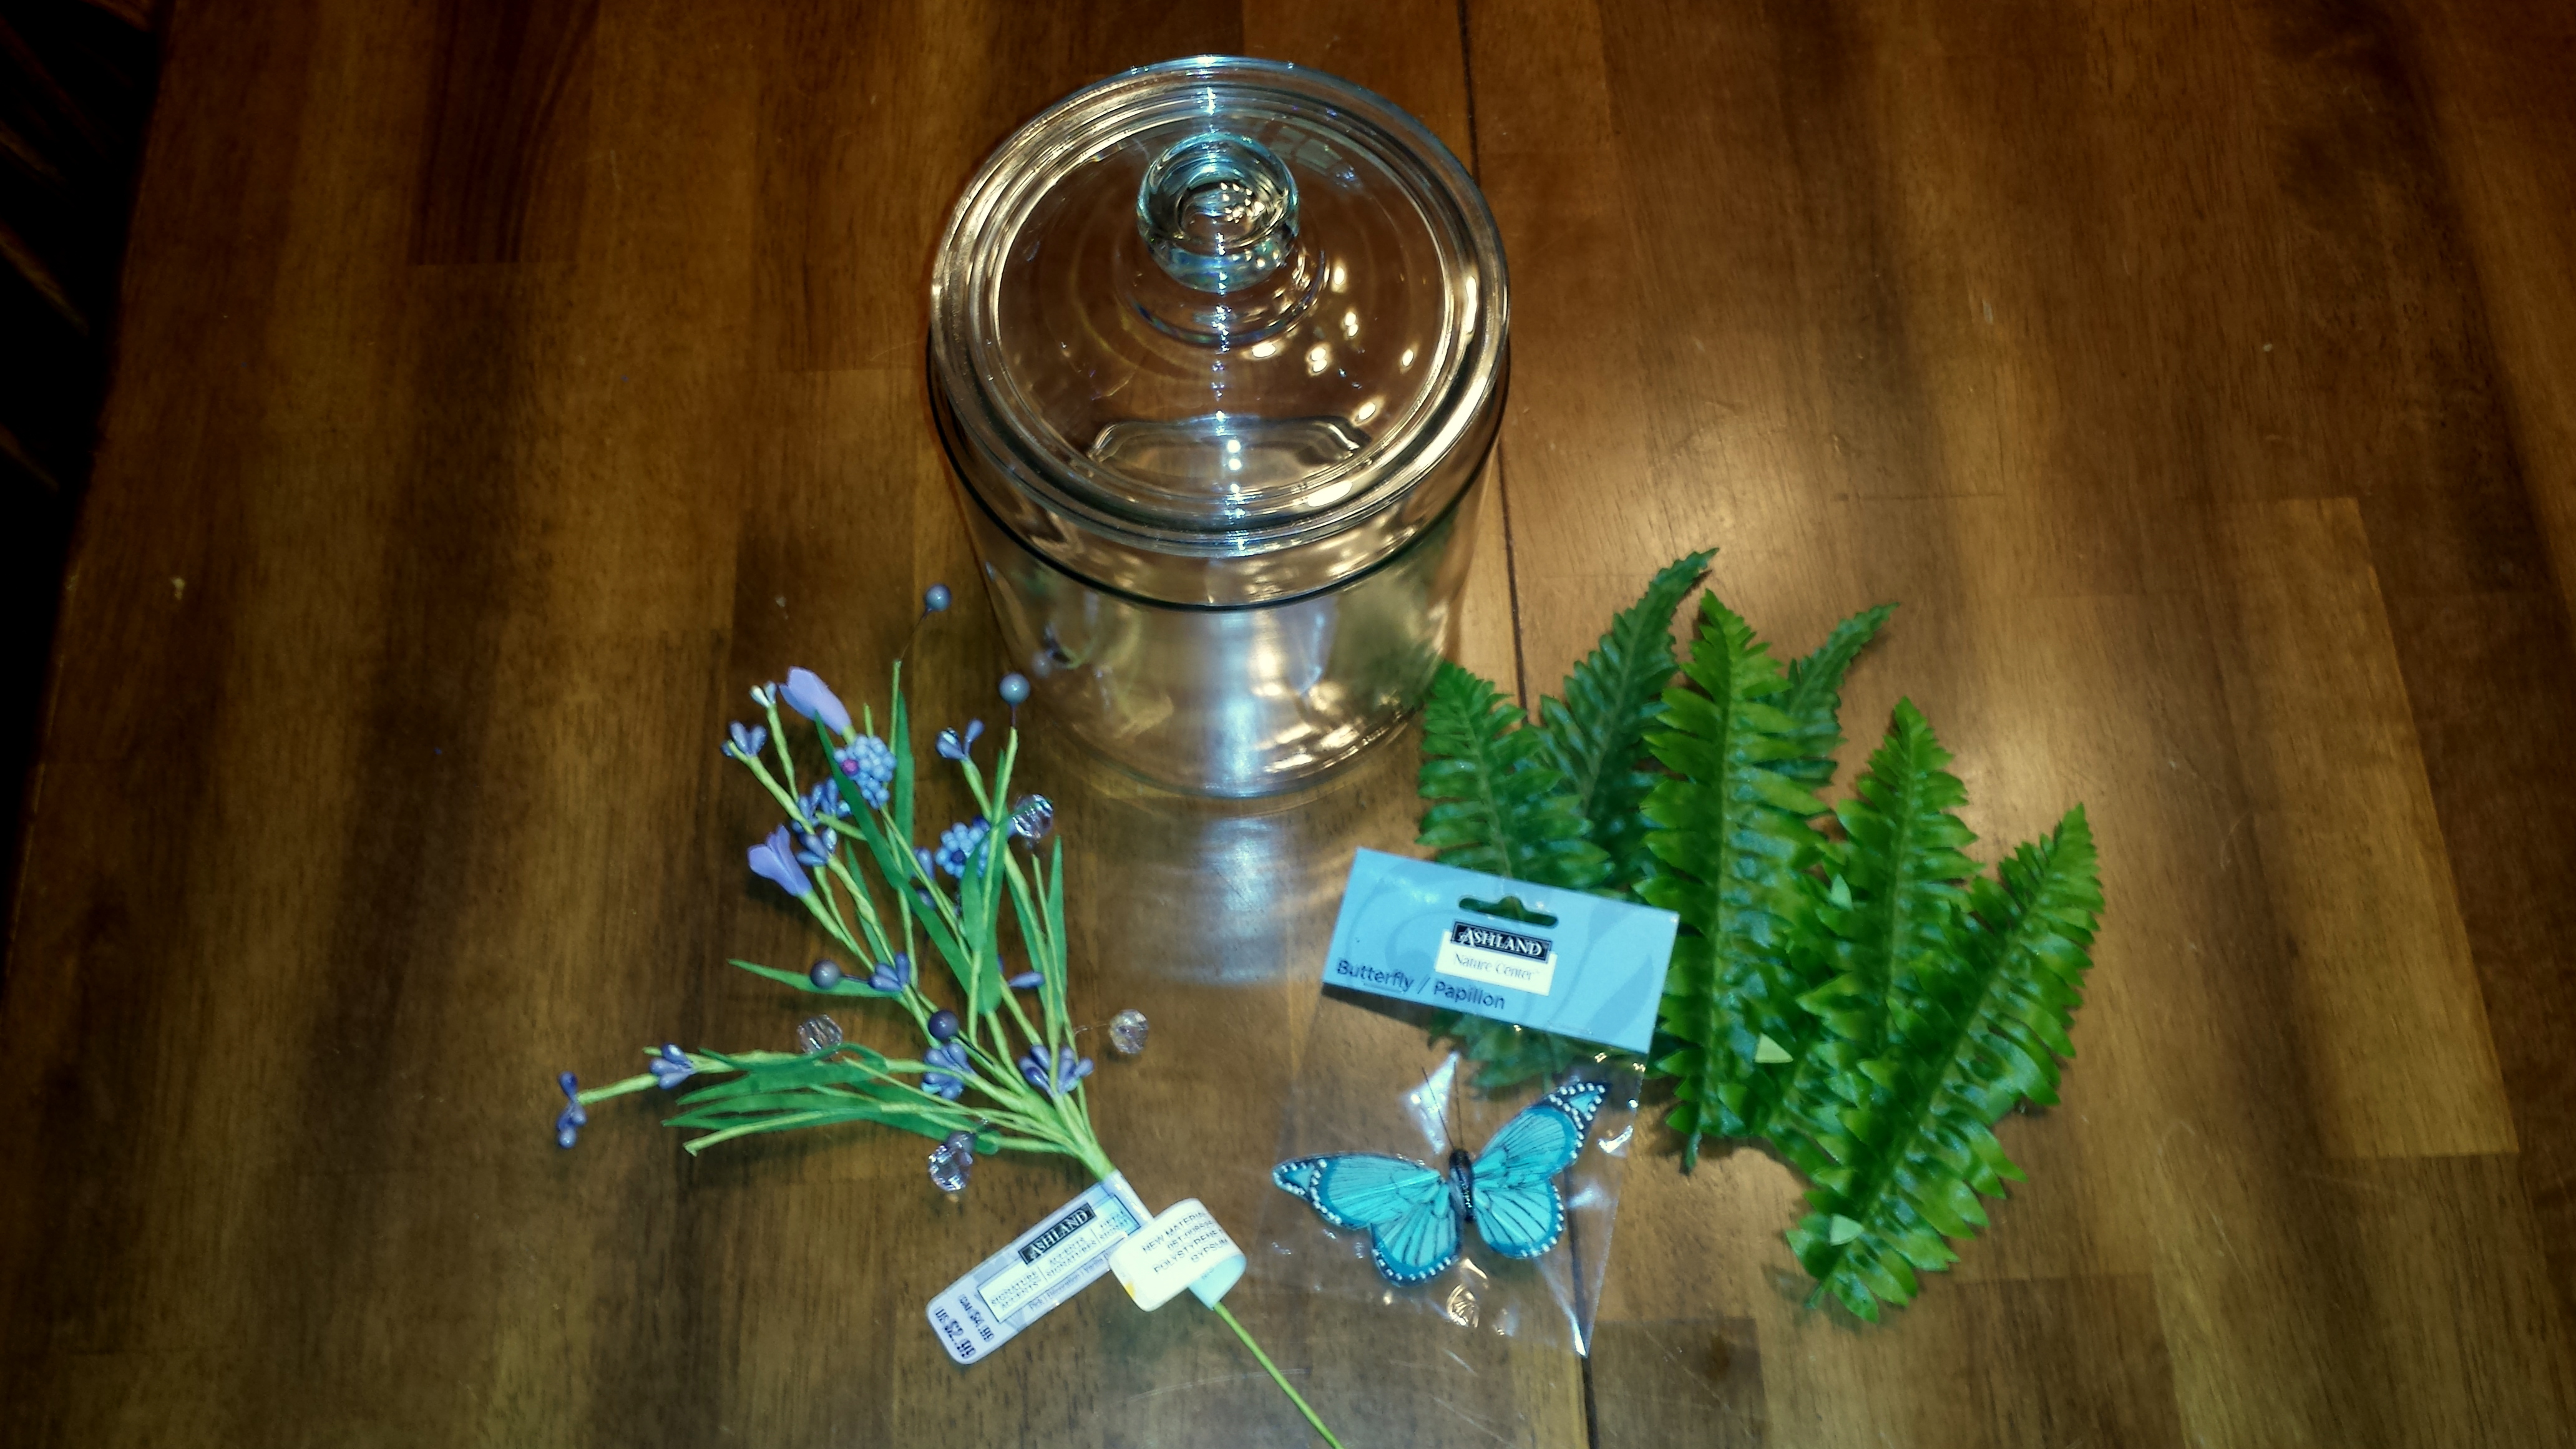
Butterfly in a Jar – supplies
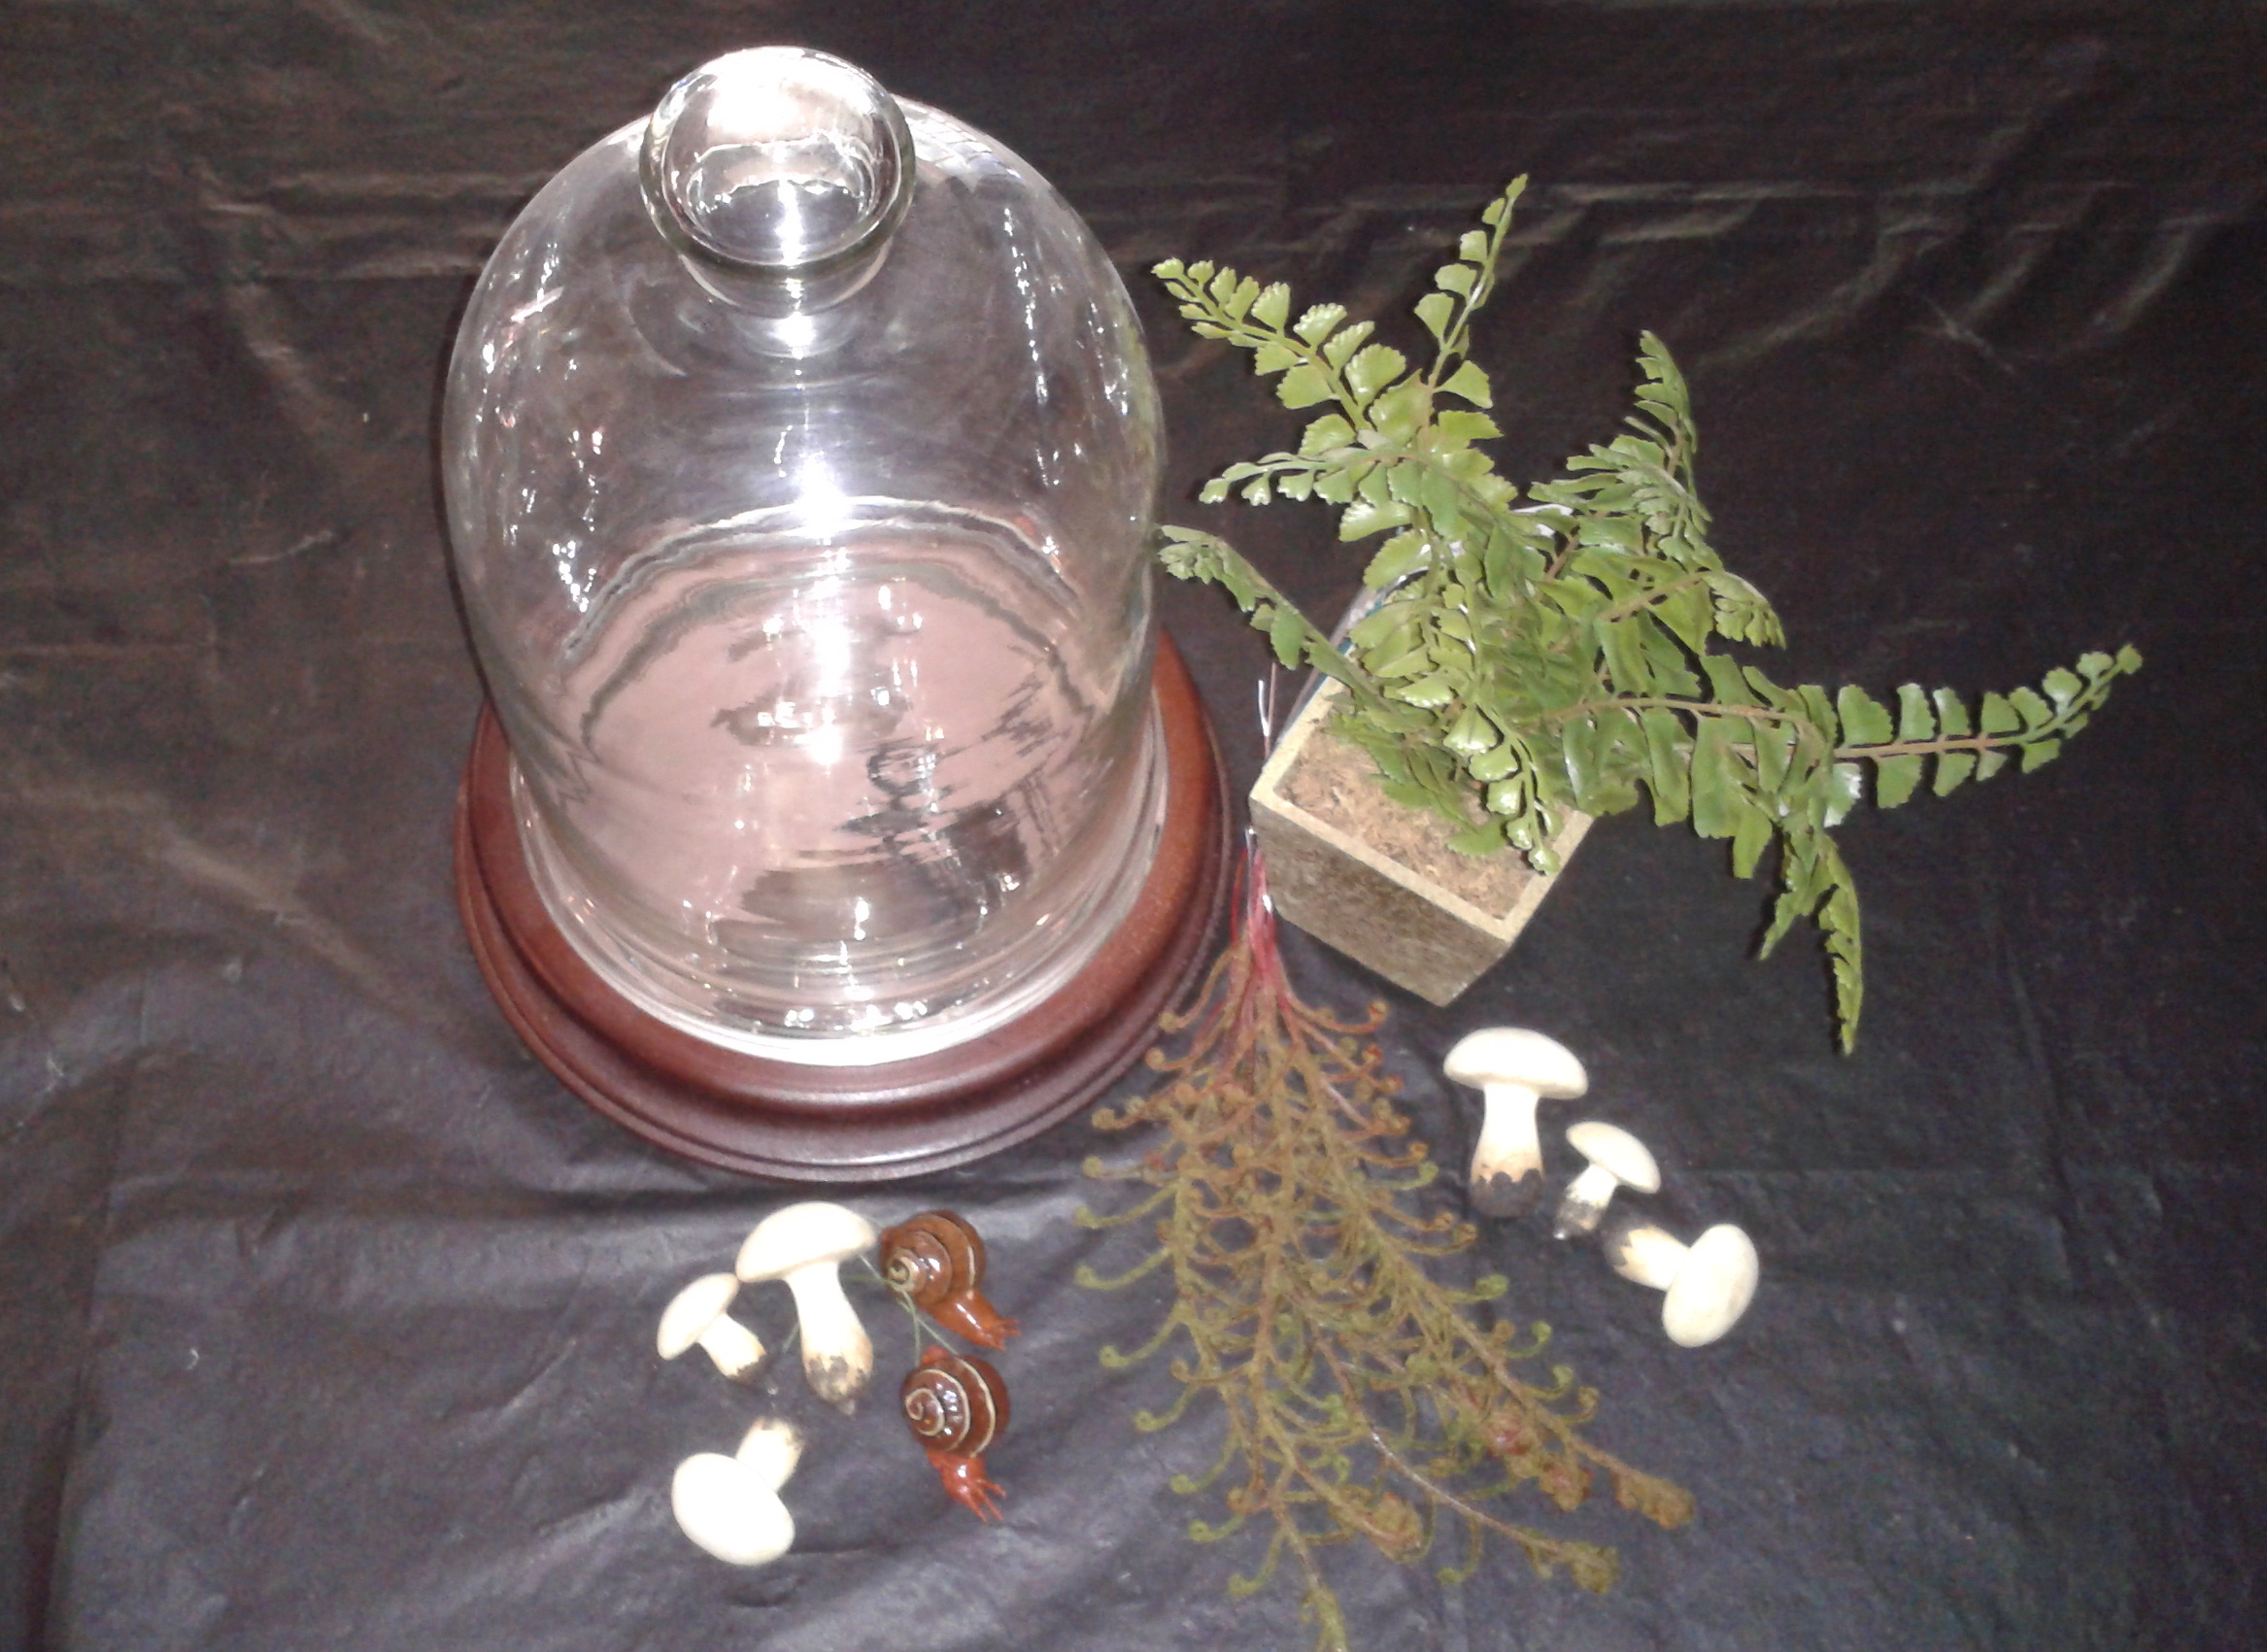
Jar with a lid
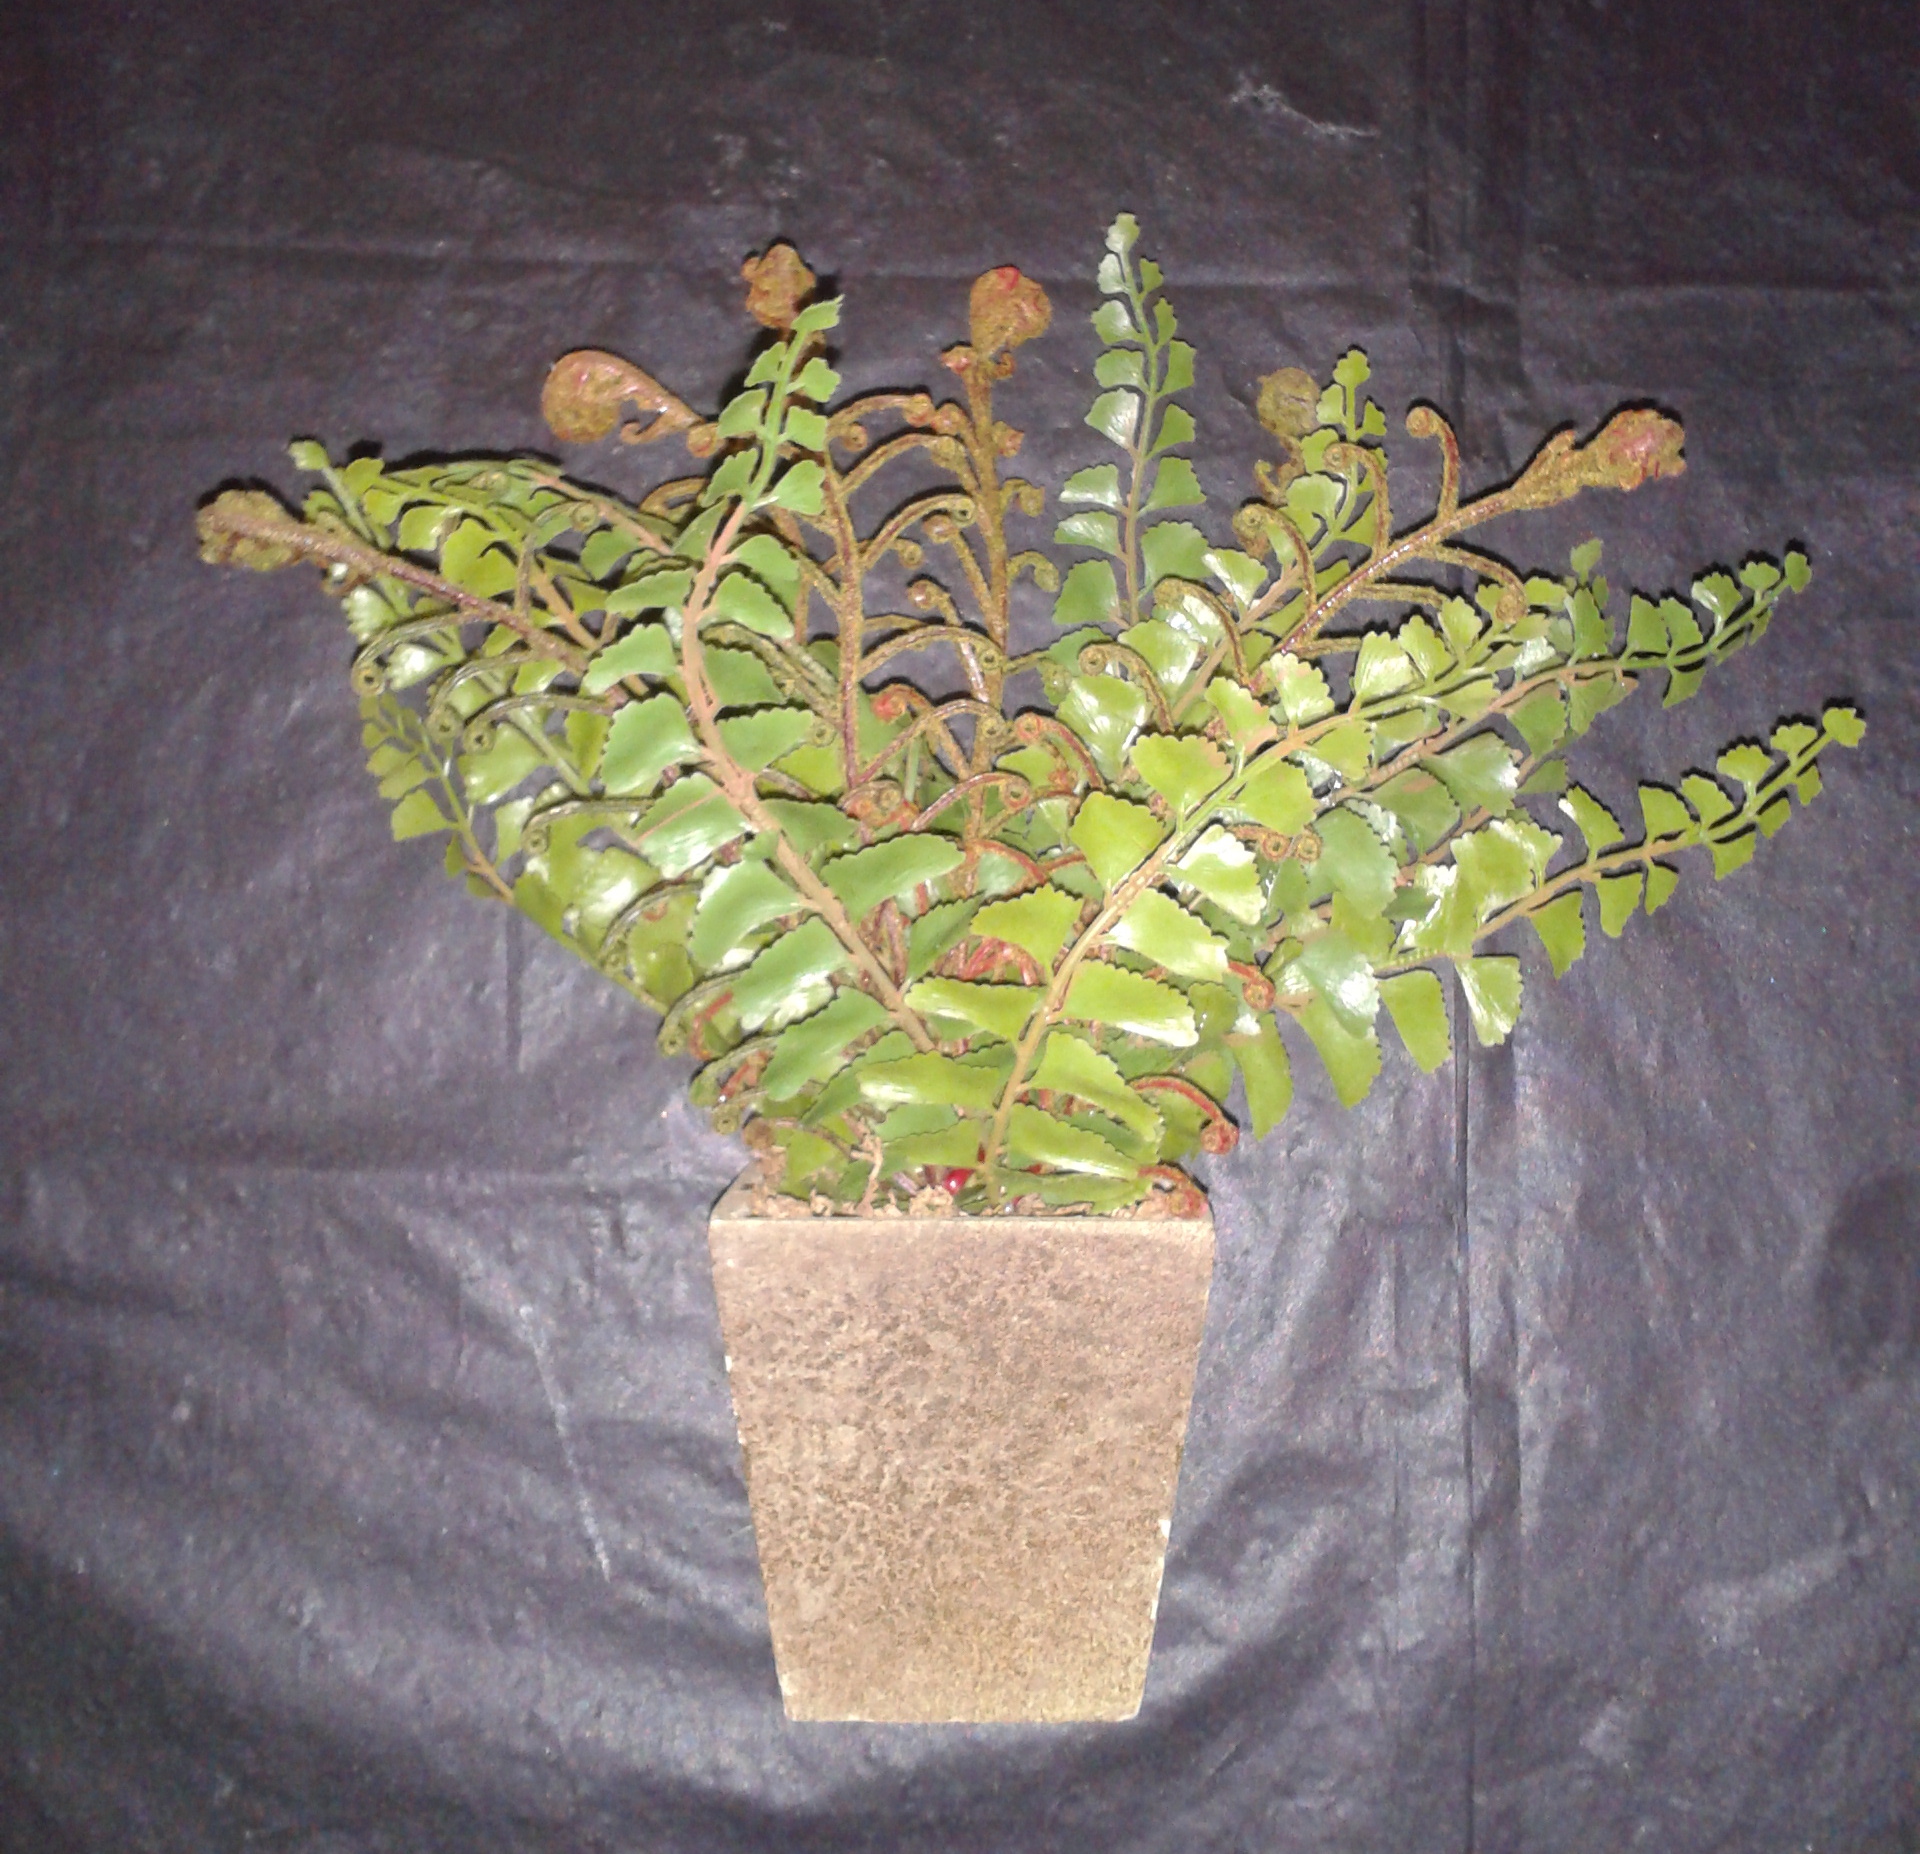
A few artificial ferns or other greenery
A floral spray to add a little color
An artificial butterfly
Hot glue gun and glue sticks
A small amount of potting soil, sand or small rocks

Butterfly in a Jar - supplies

Butterfly in a Jar – instructions

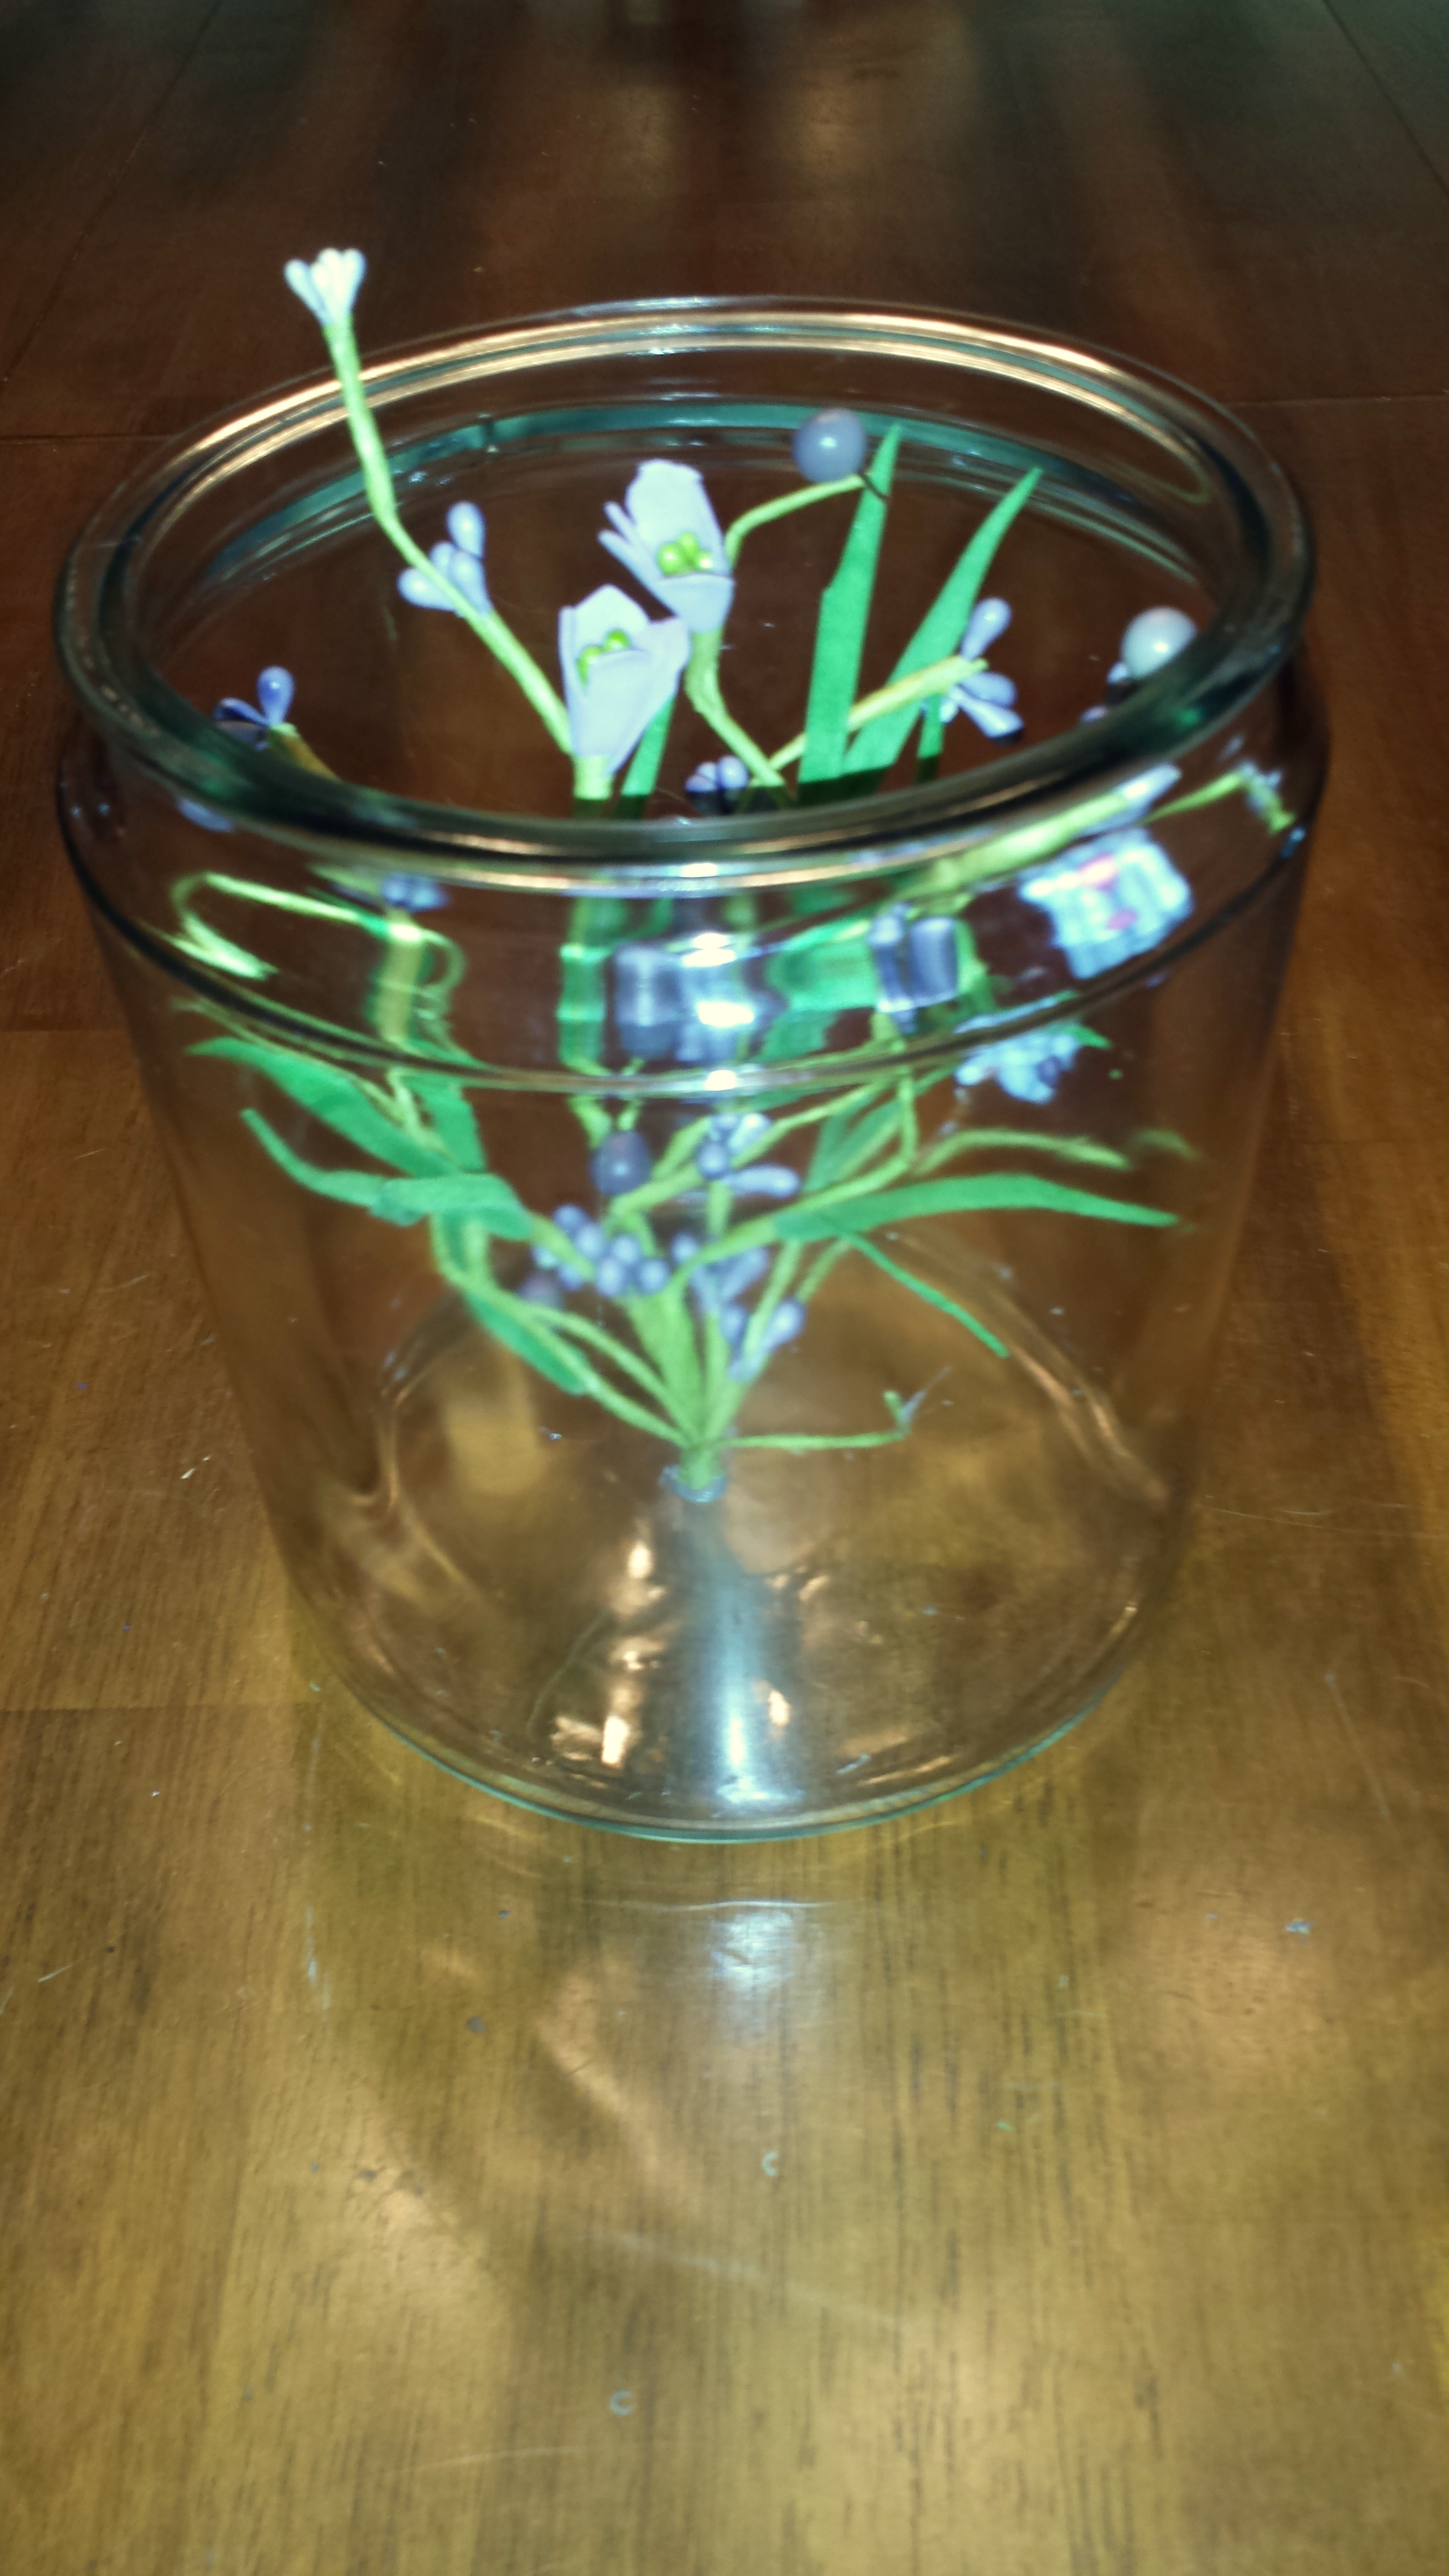
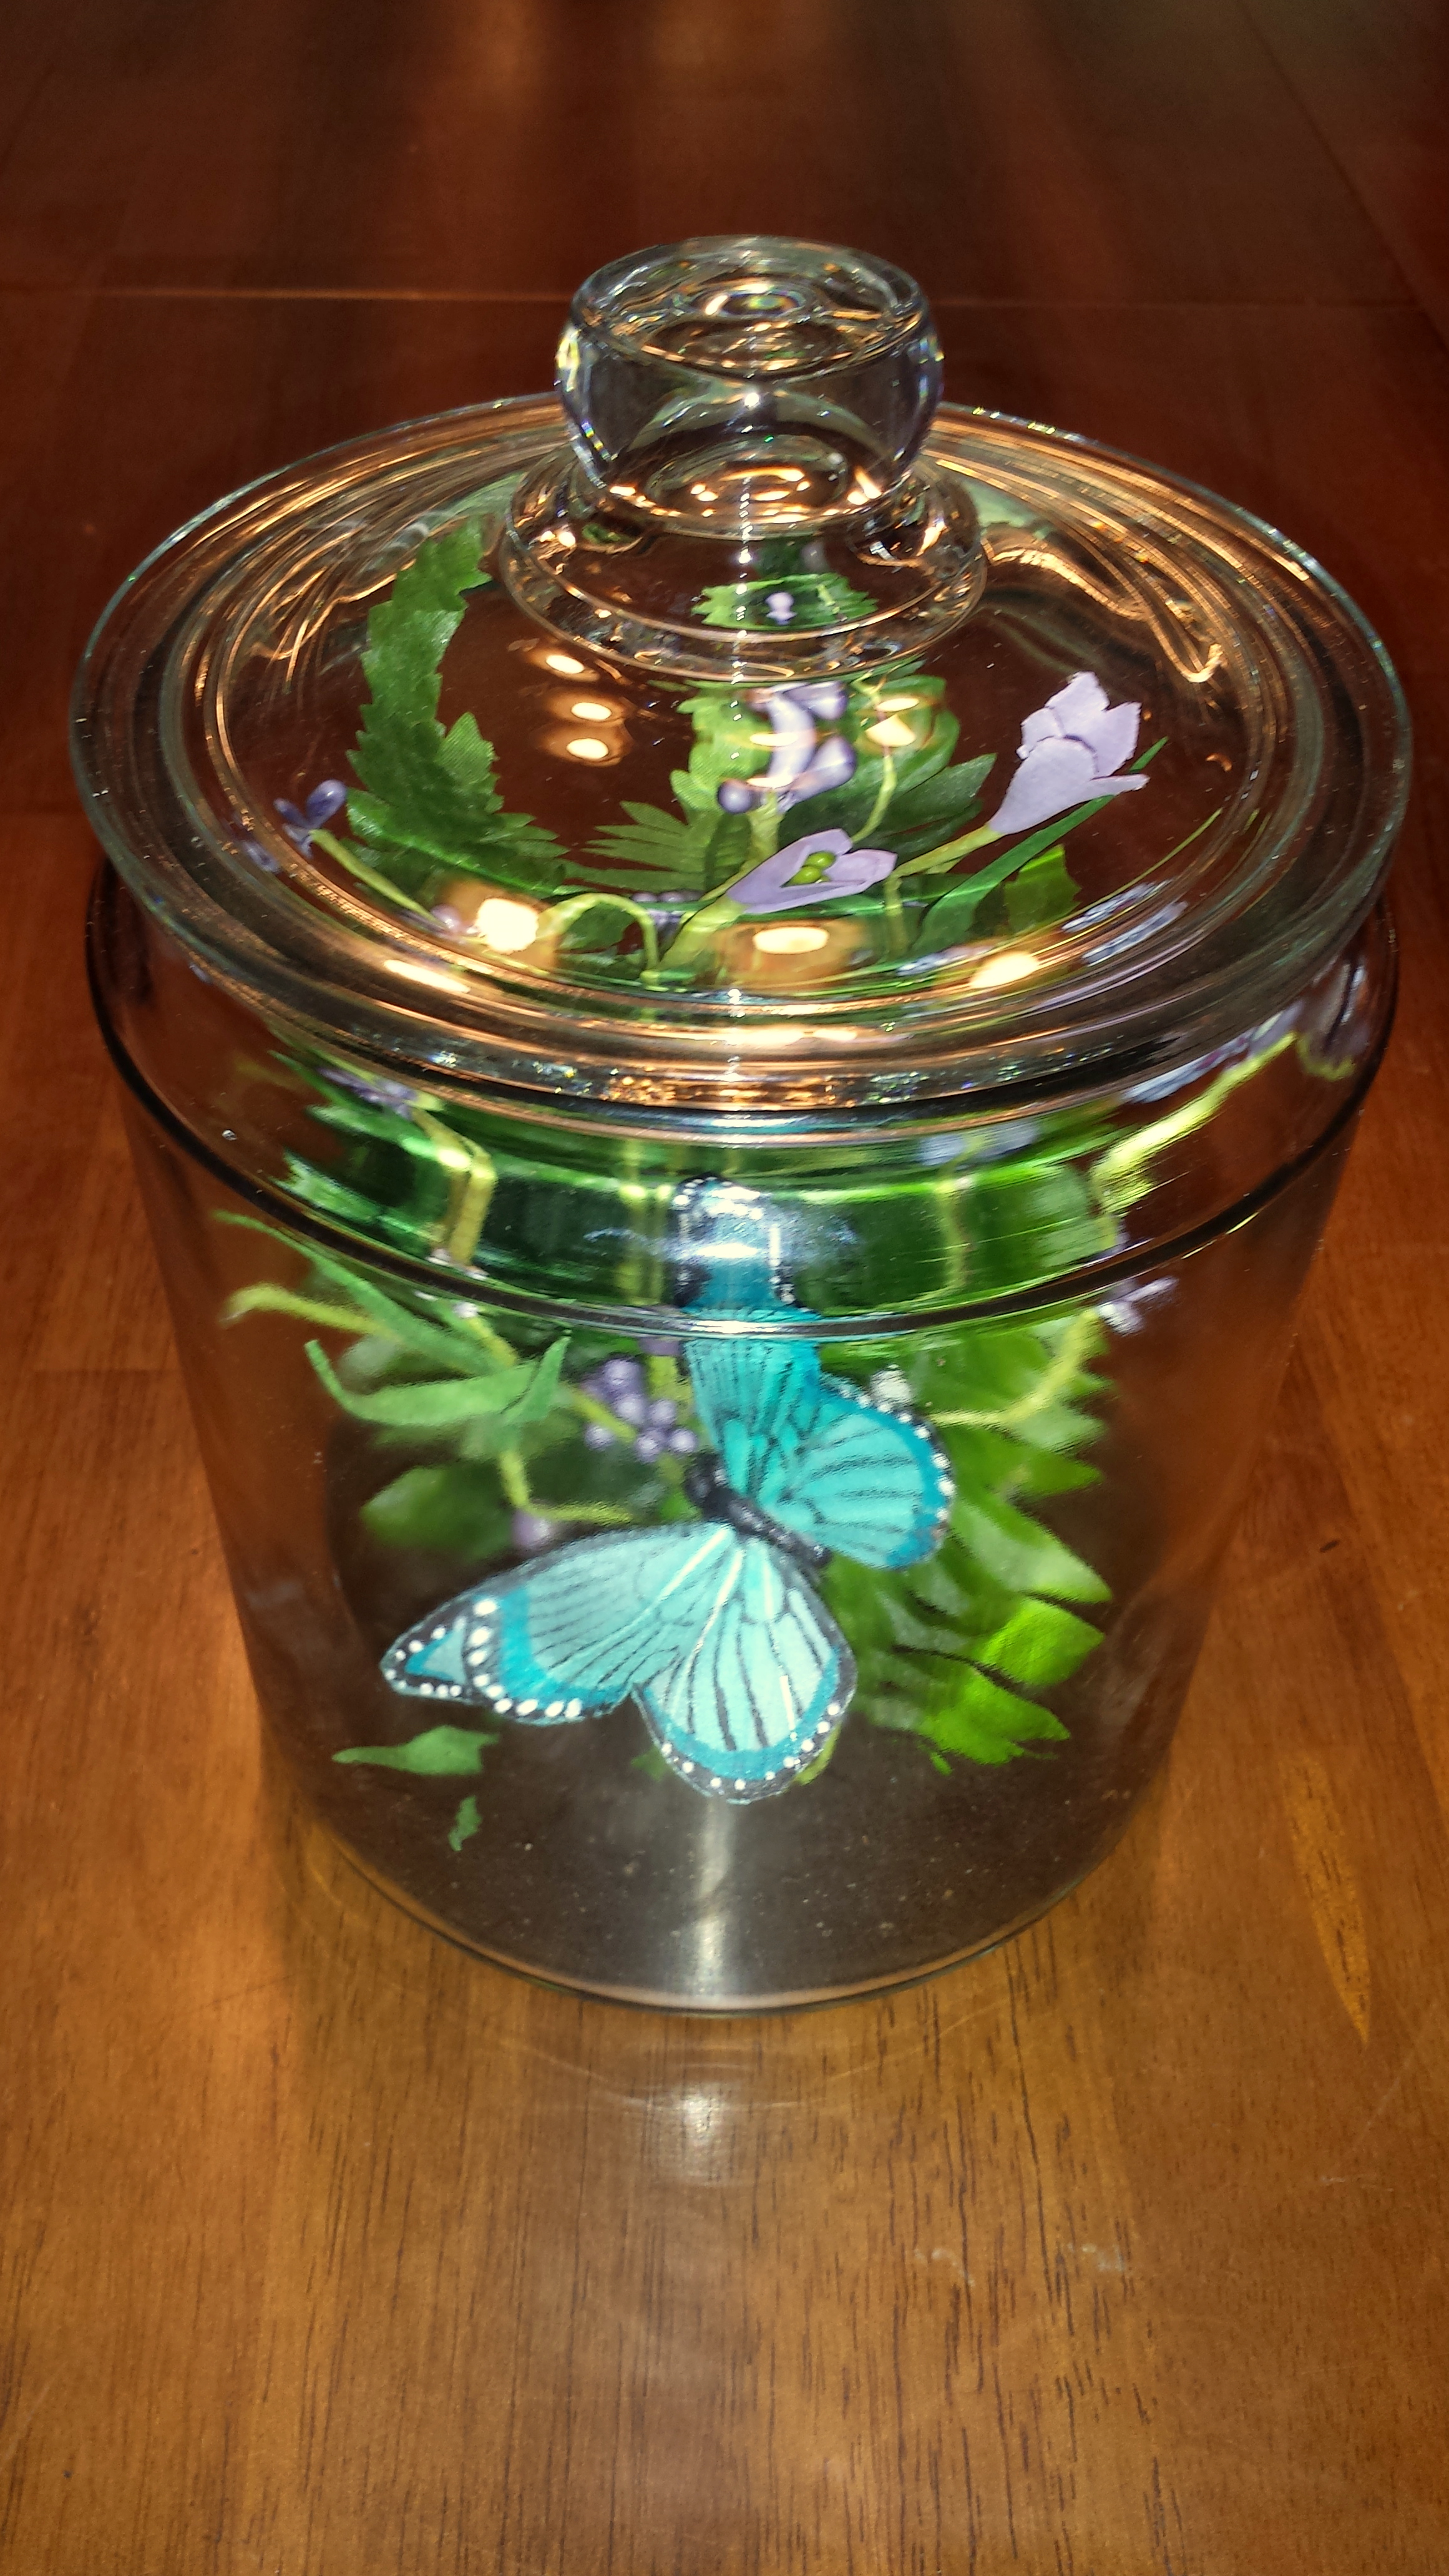
  1. Start with a clean glass container with a lid. (A lid is important because we don’t want the butterfly to fly away!)
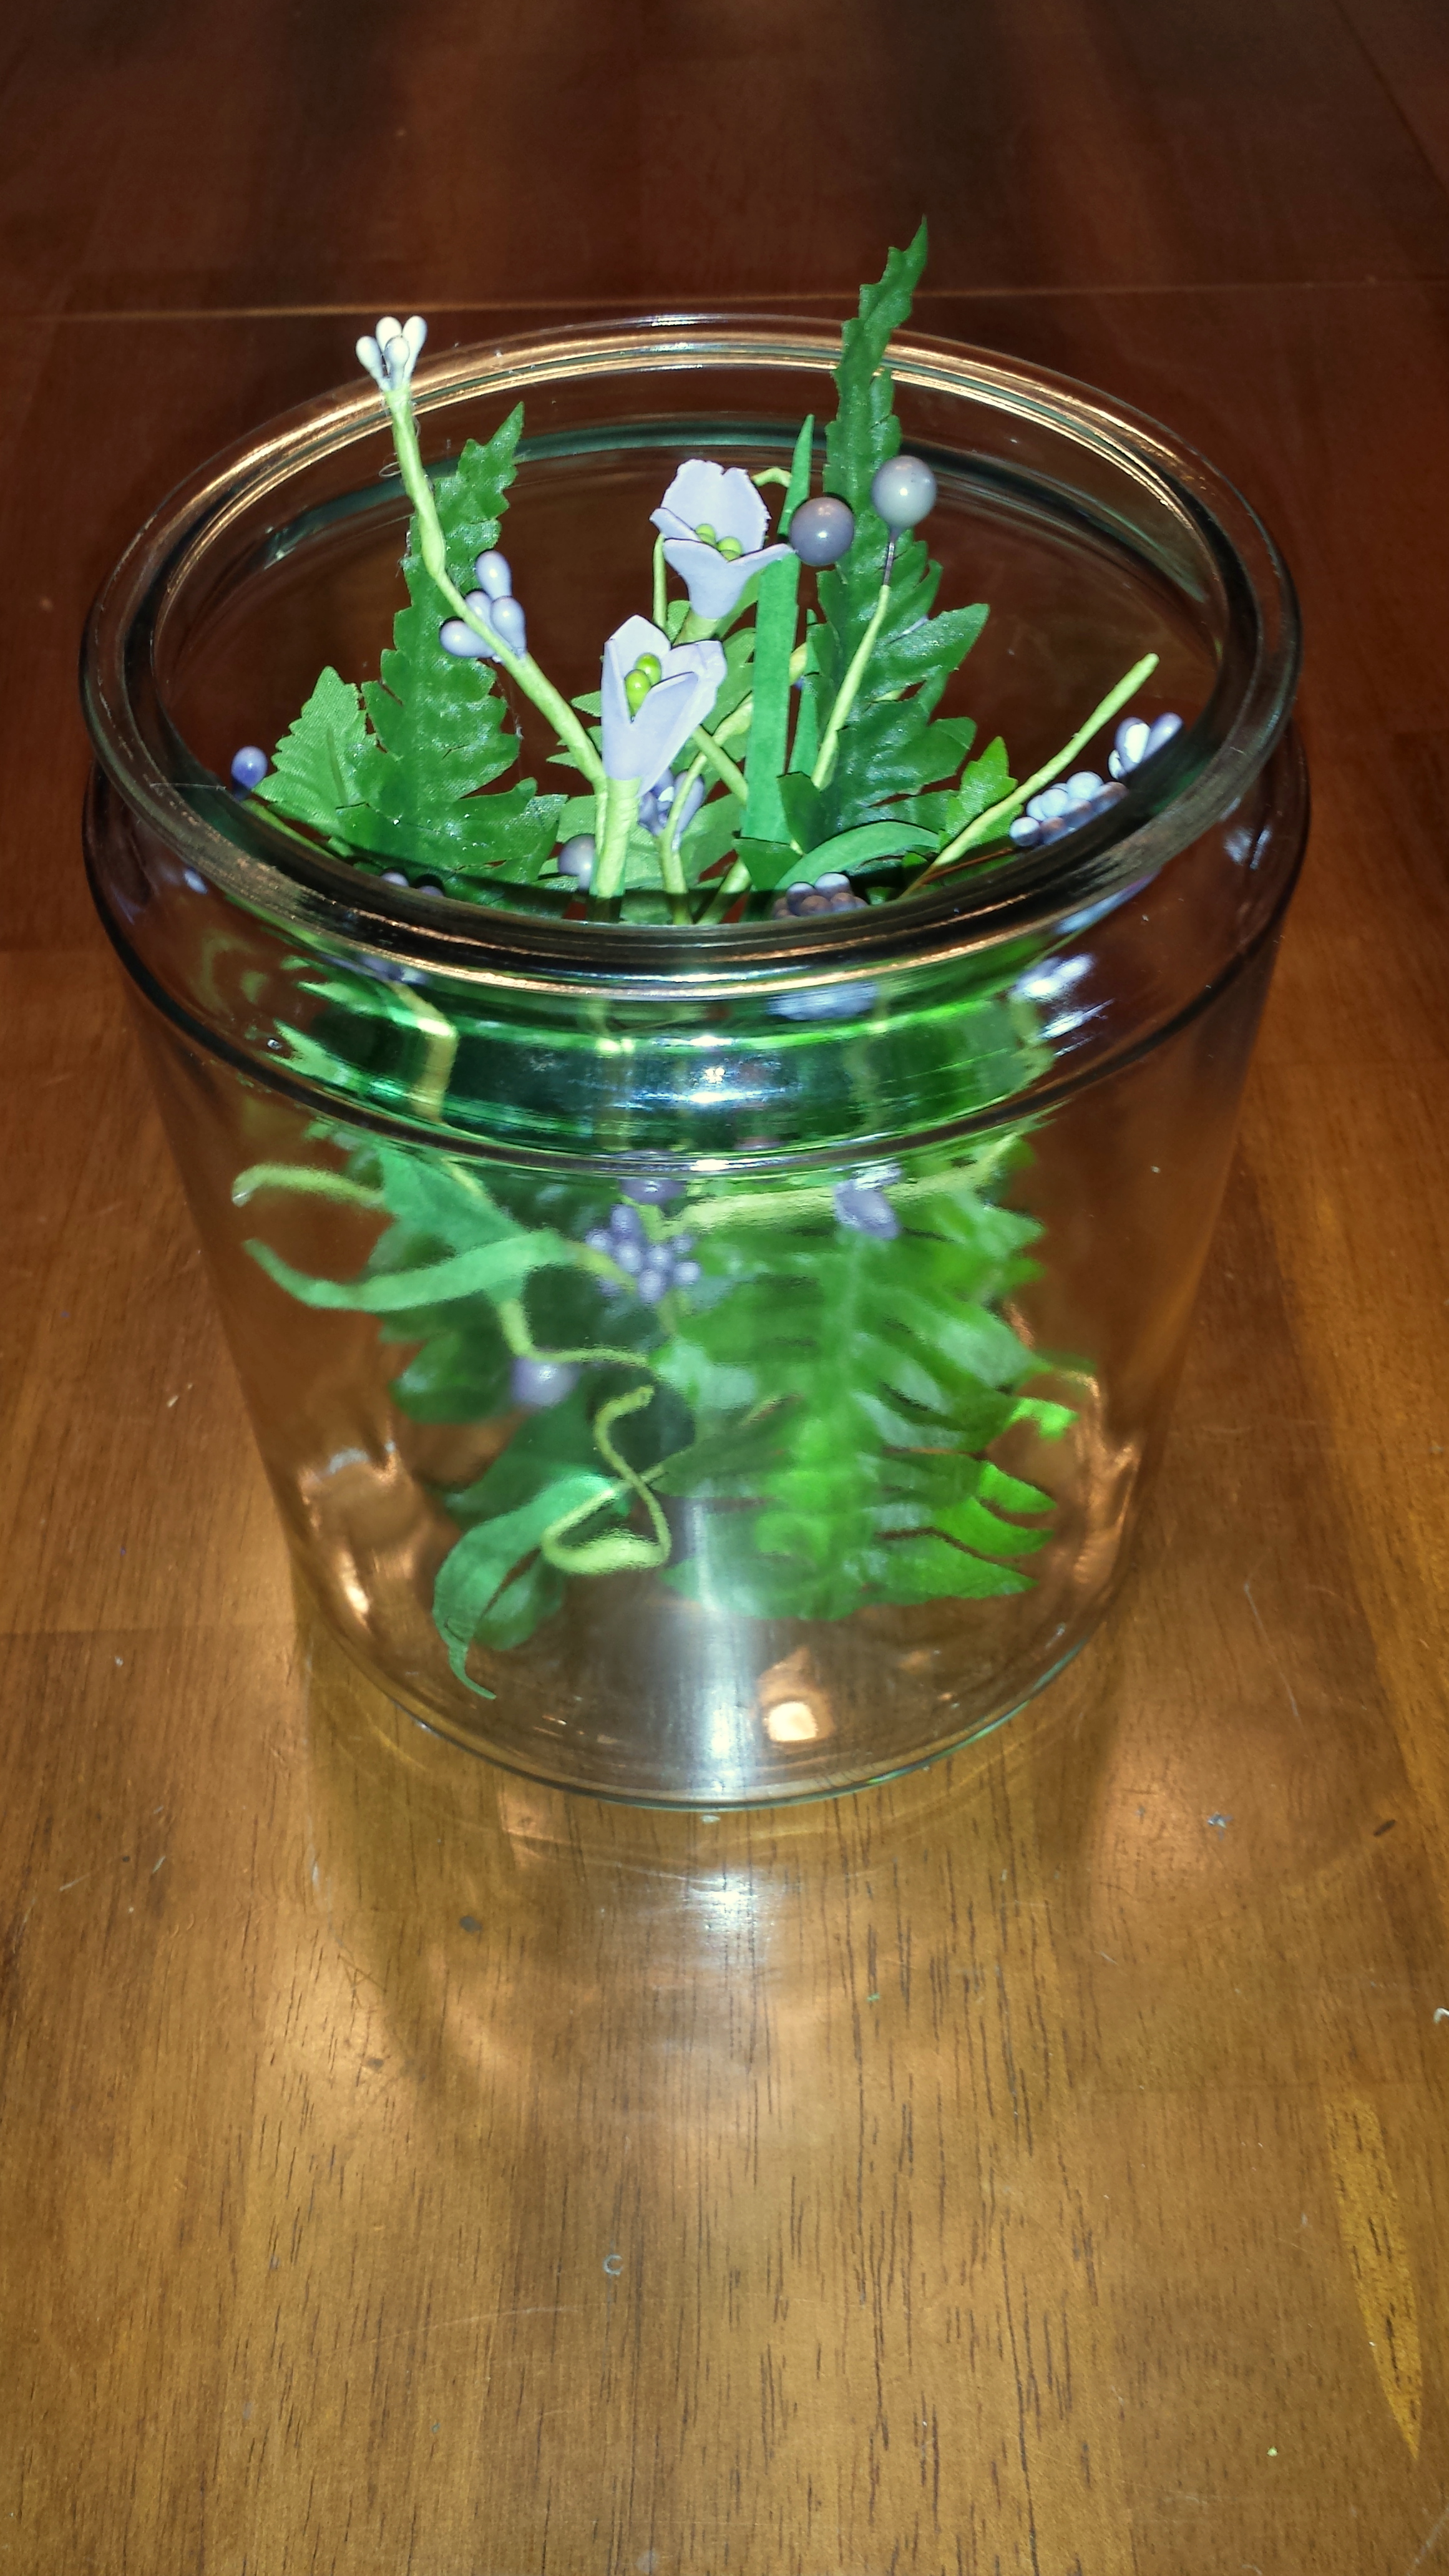
  2. Cut the floral spray to fit the size of the container, hot glue the floral spray to the bottom of container.
  3. Cut several ferns in varying lengths to fit the size of the container, hot glue the ferns in various places to the bottom of the container.
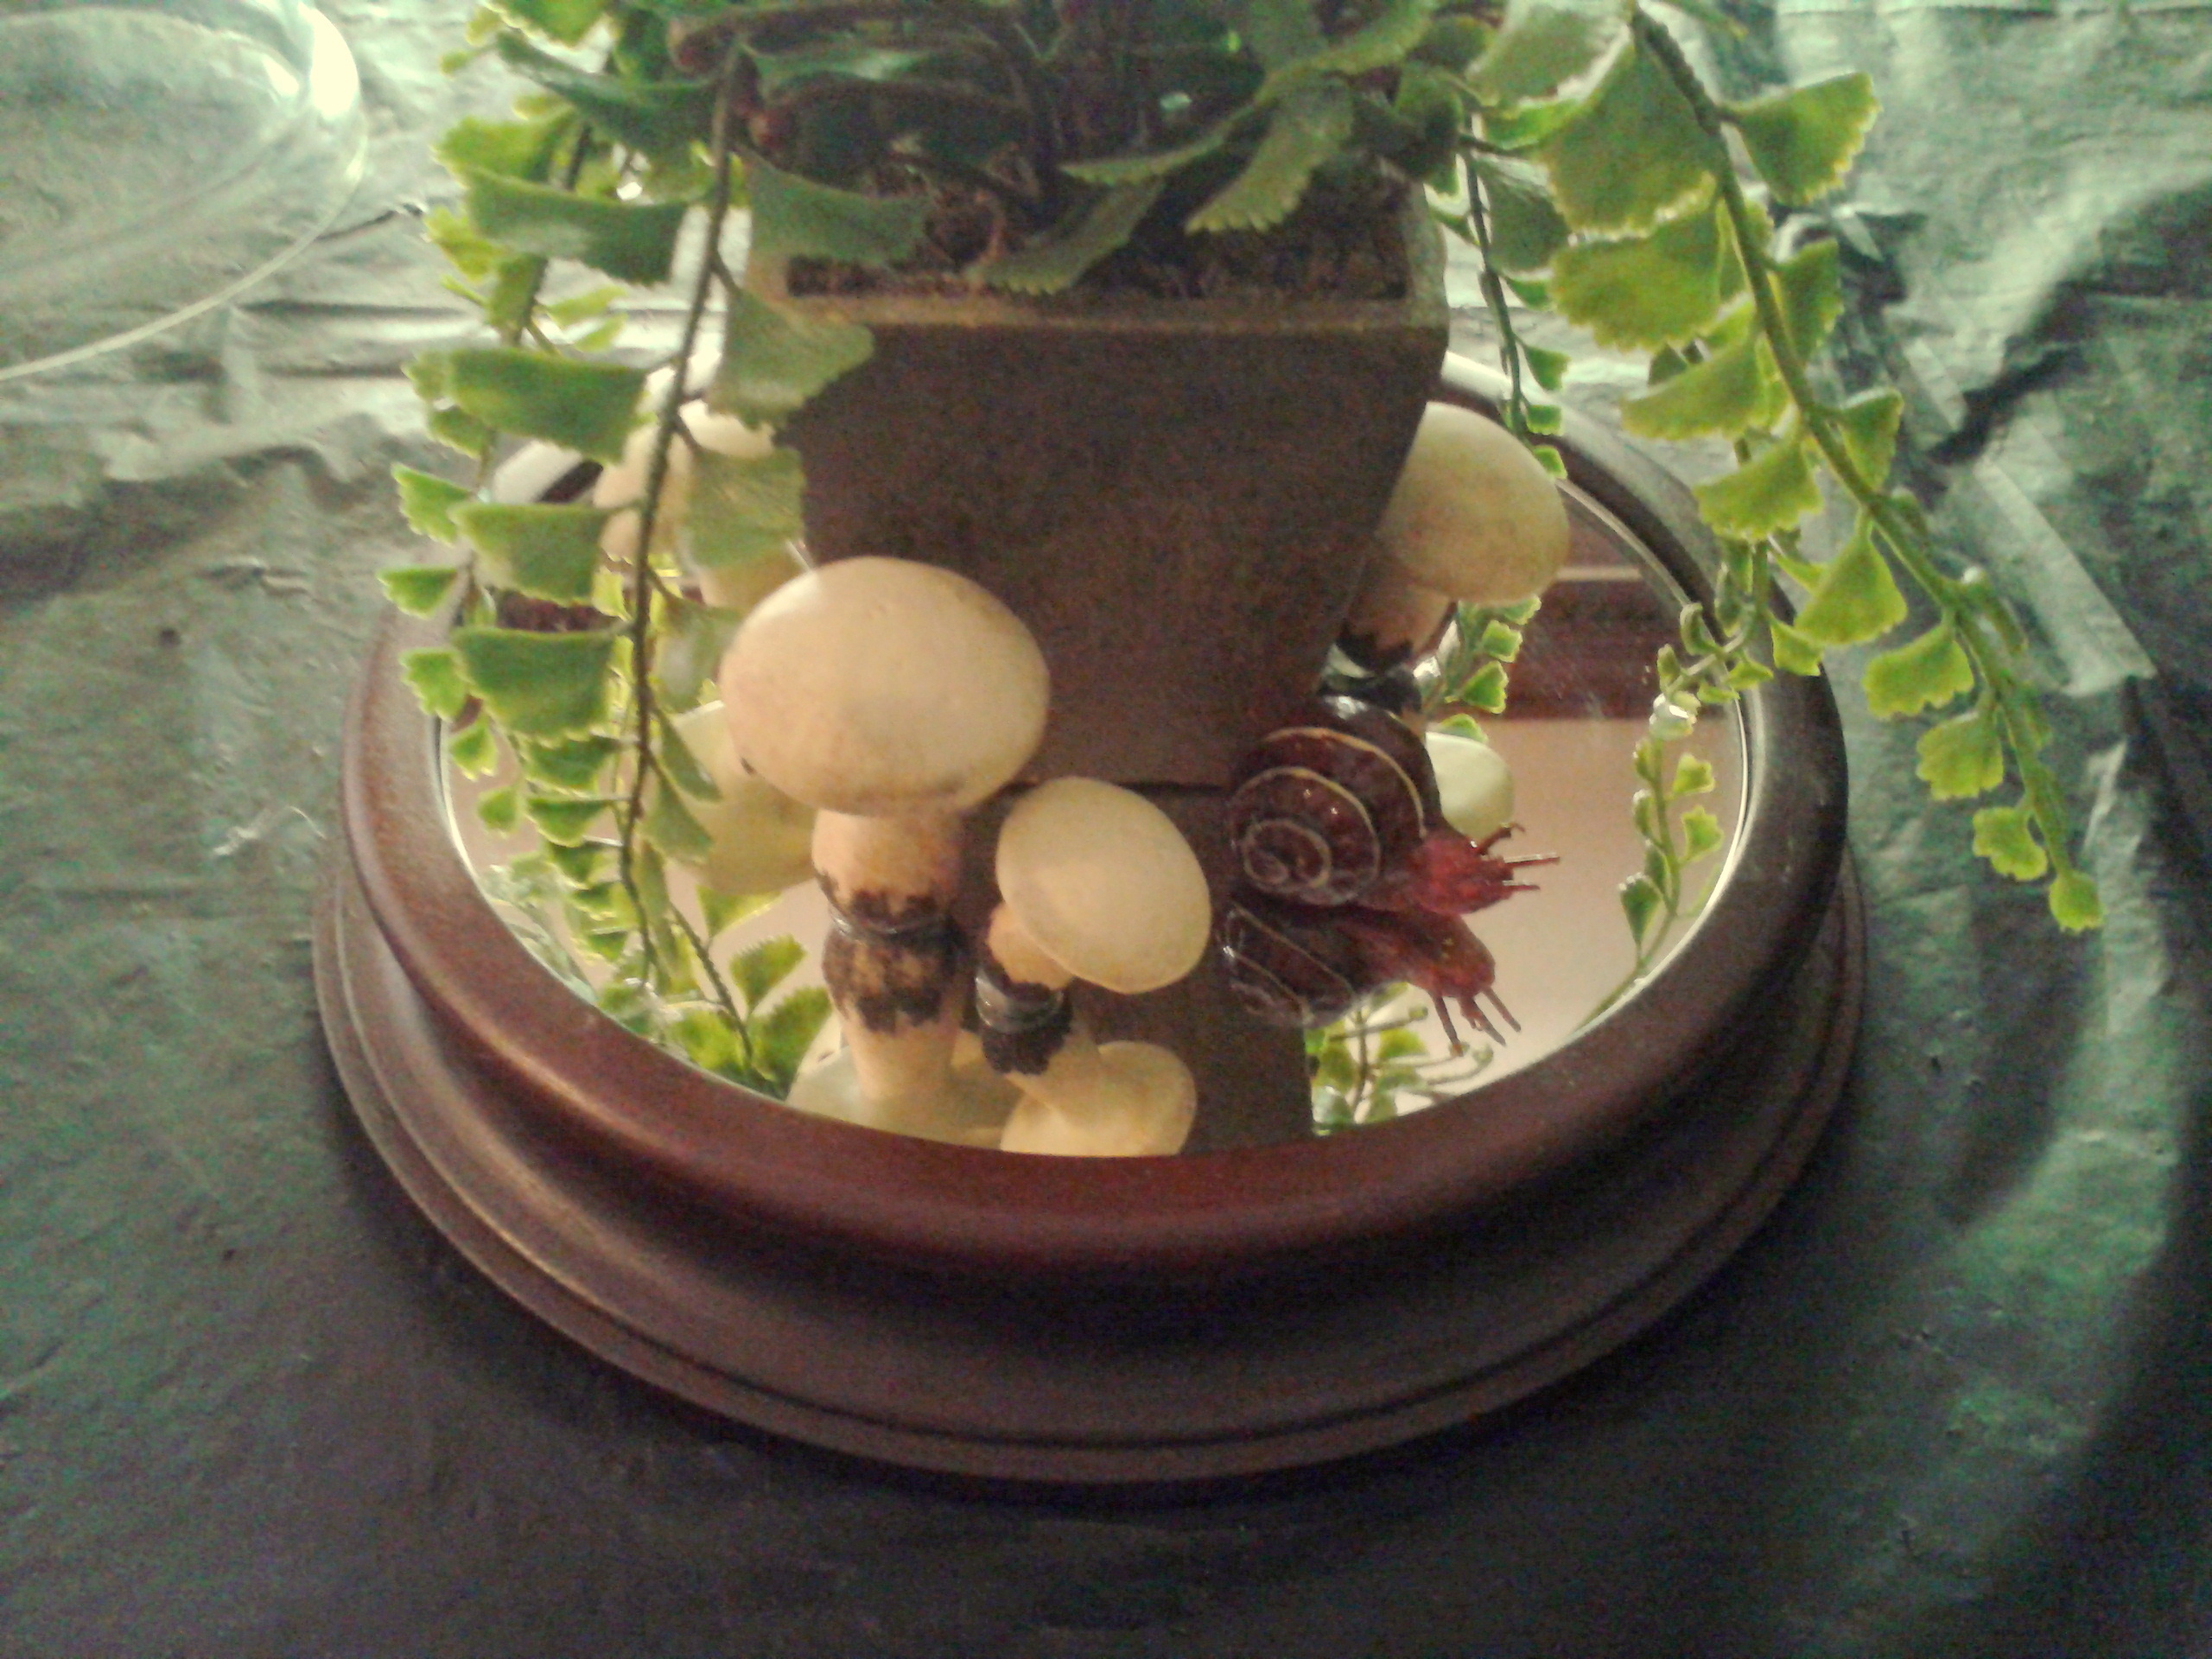
  4. Hot glue the butterfly to a wire, then hot glue the wire to the bottom of the container.  When selecting a color for the butterfly, remember to use a color contrast for a visually appealing display.
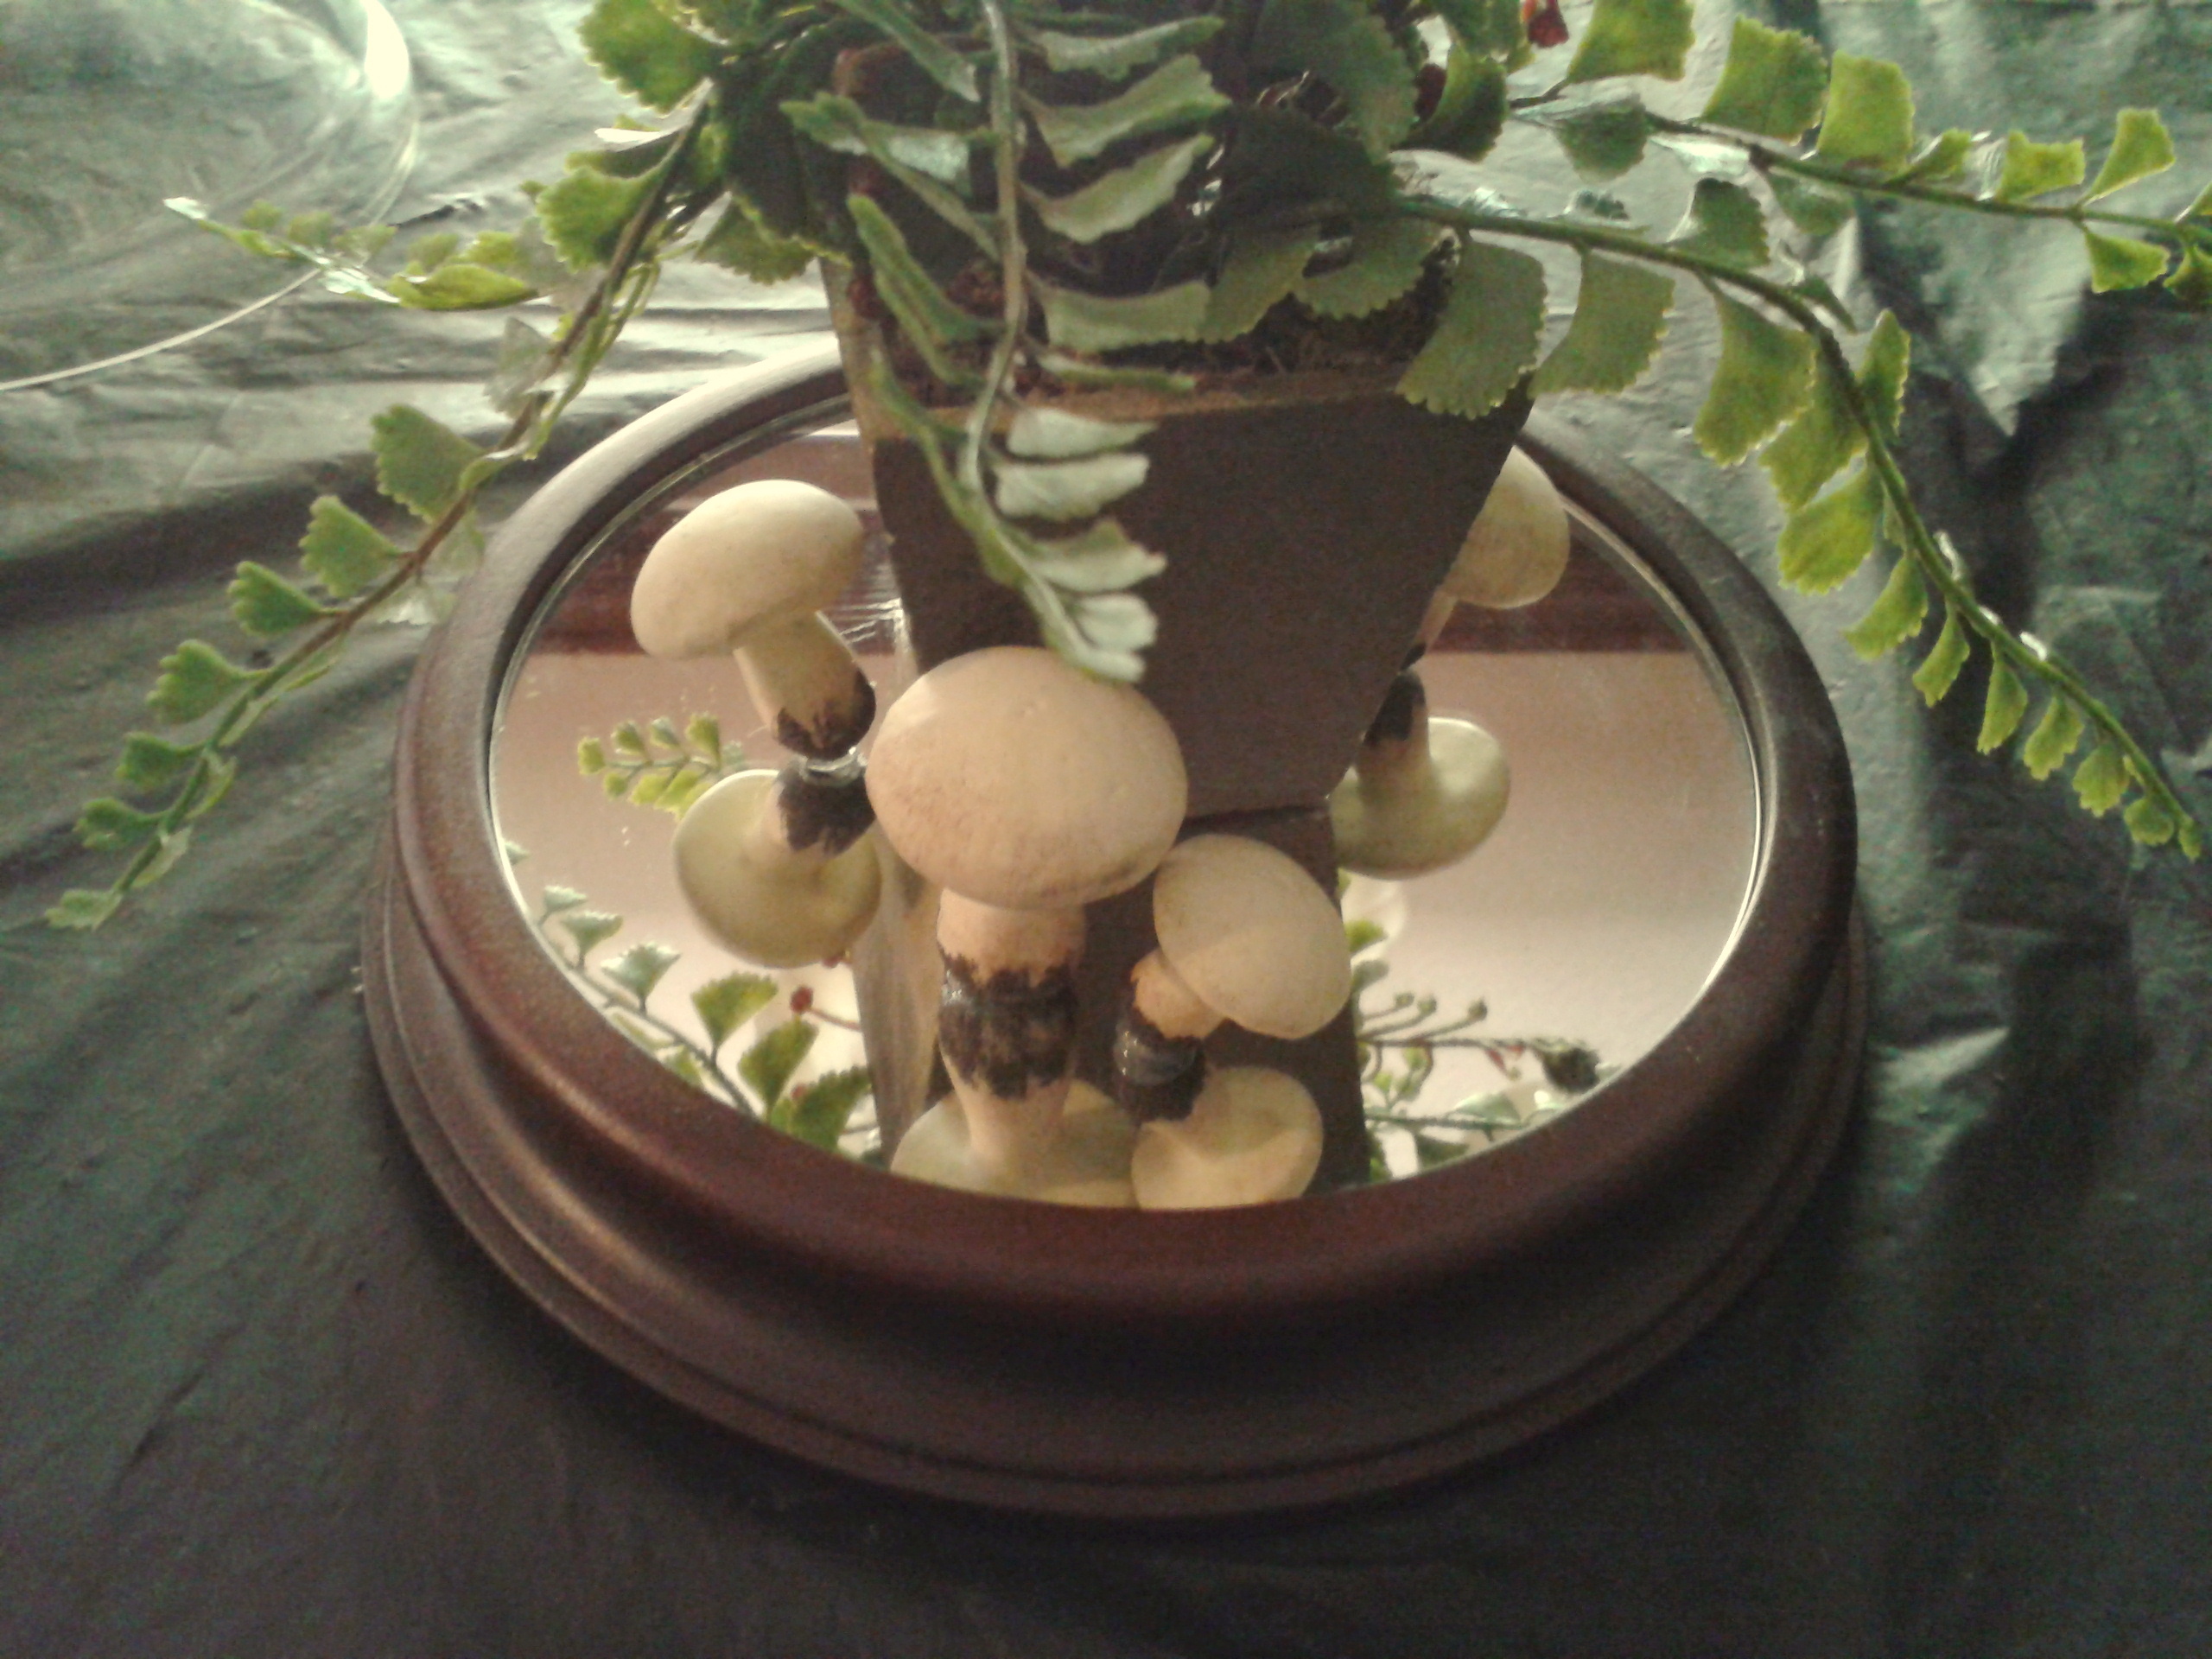
  5. To give the container a finished and realistic look, scoop potting soil into the container to fill the bottom.  Sand or gravel can be used as other options to fill the container.

Butterfly in a Jar 1 Butterfly in a Jar 2 Butterfly in a Jar 3

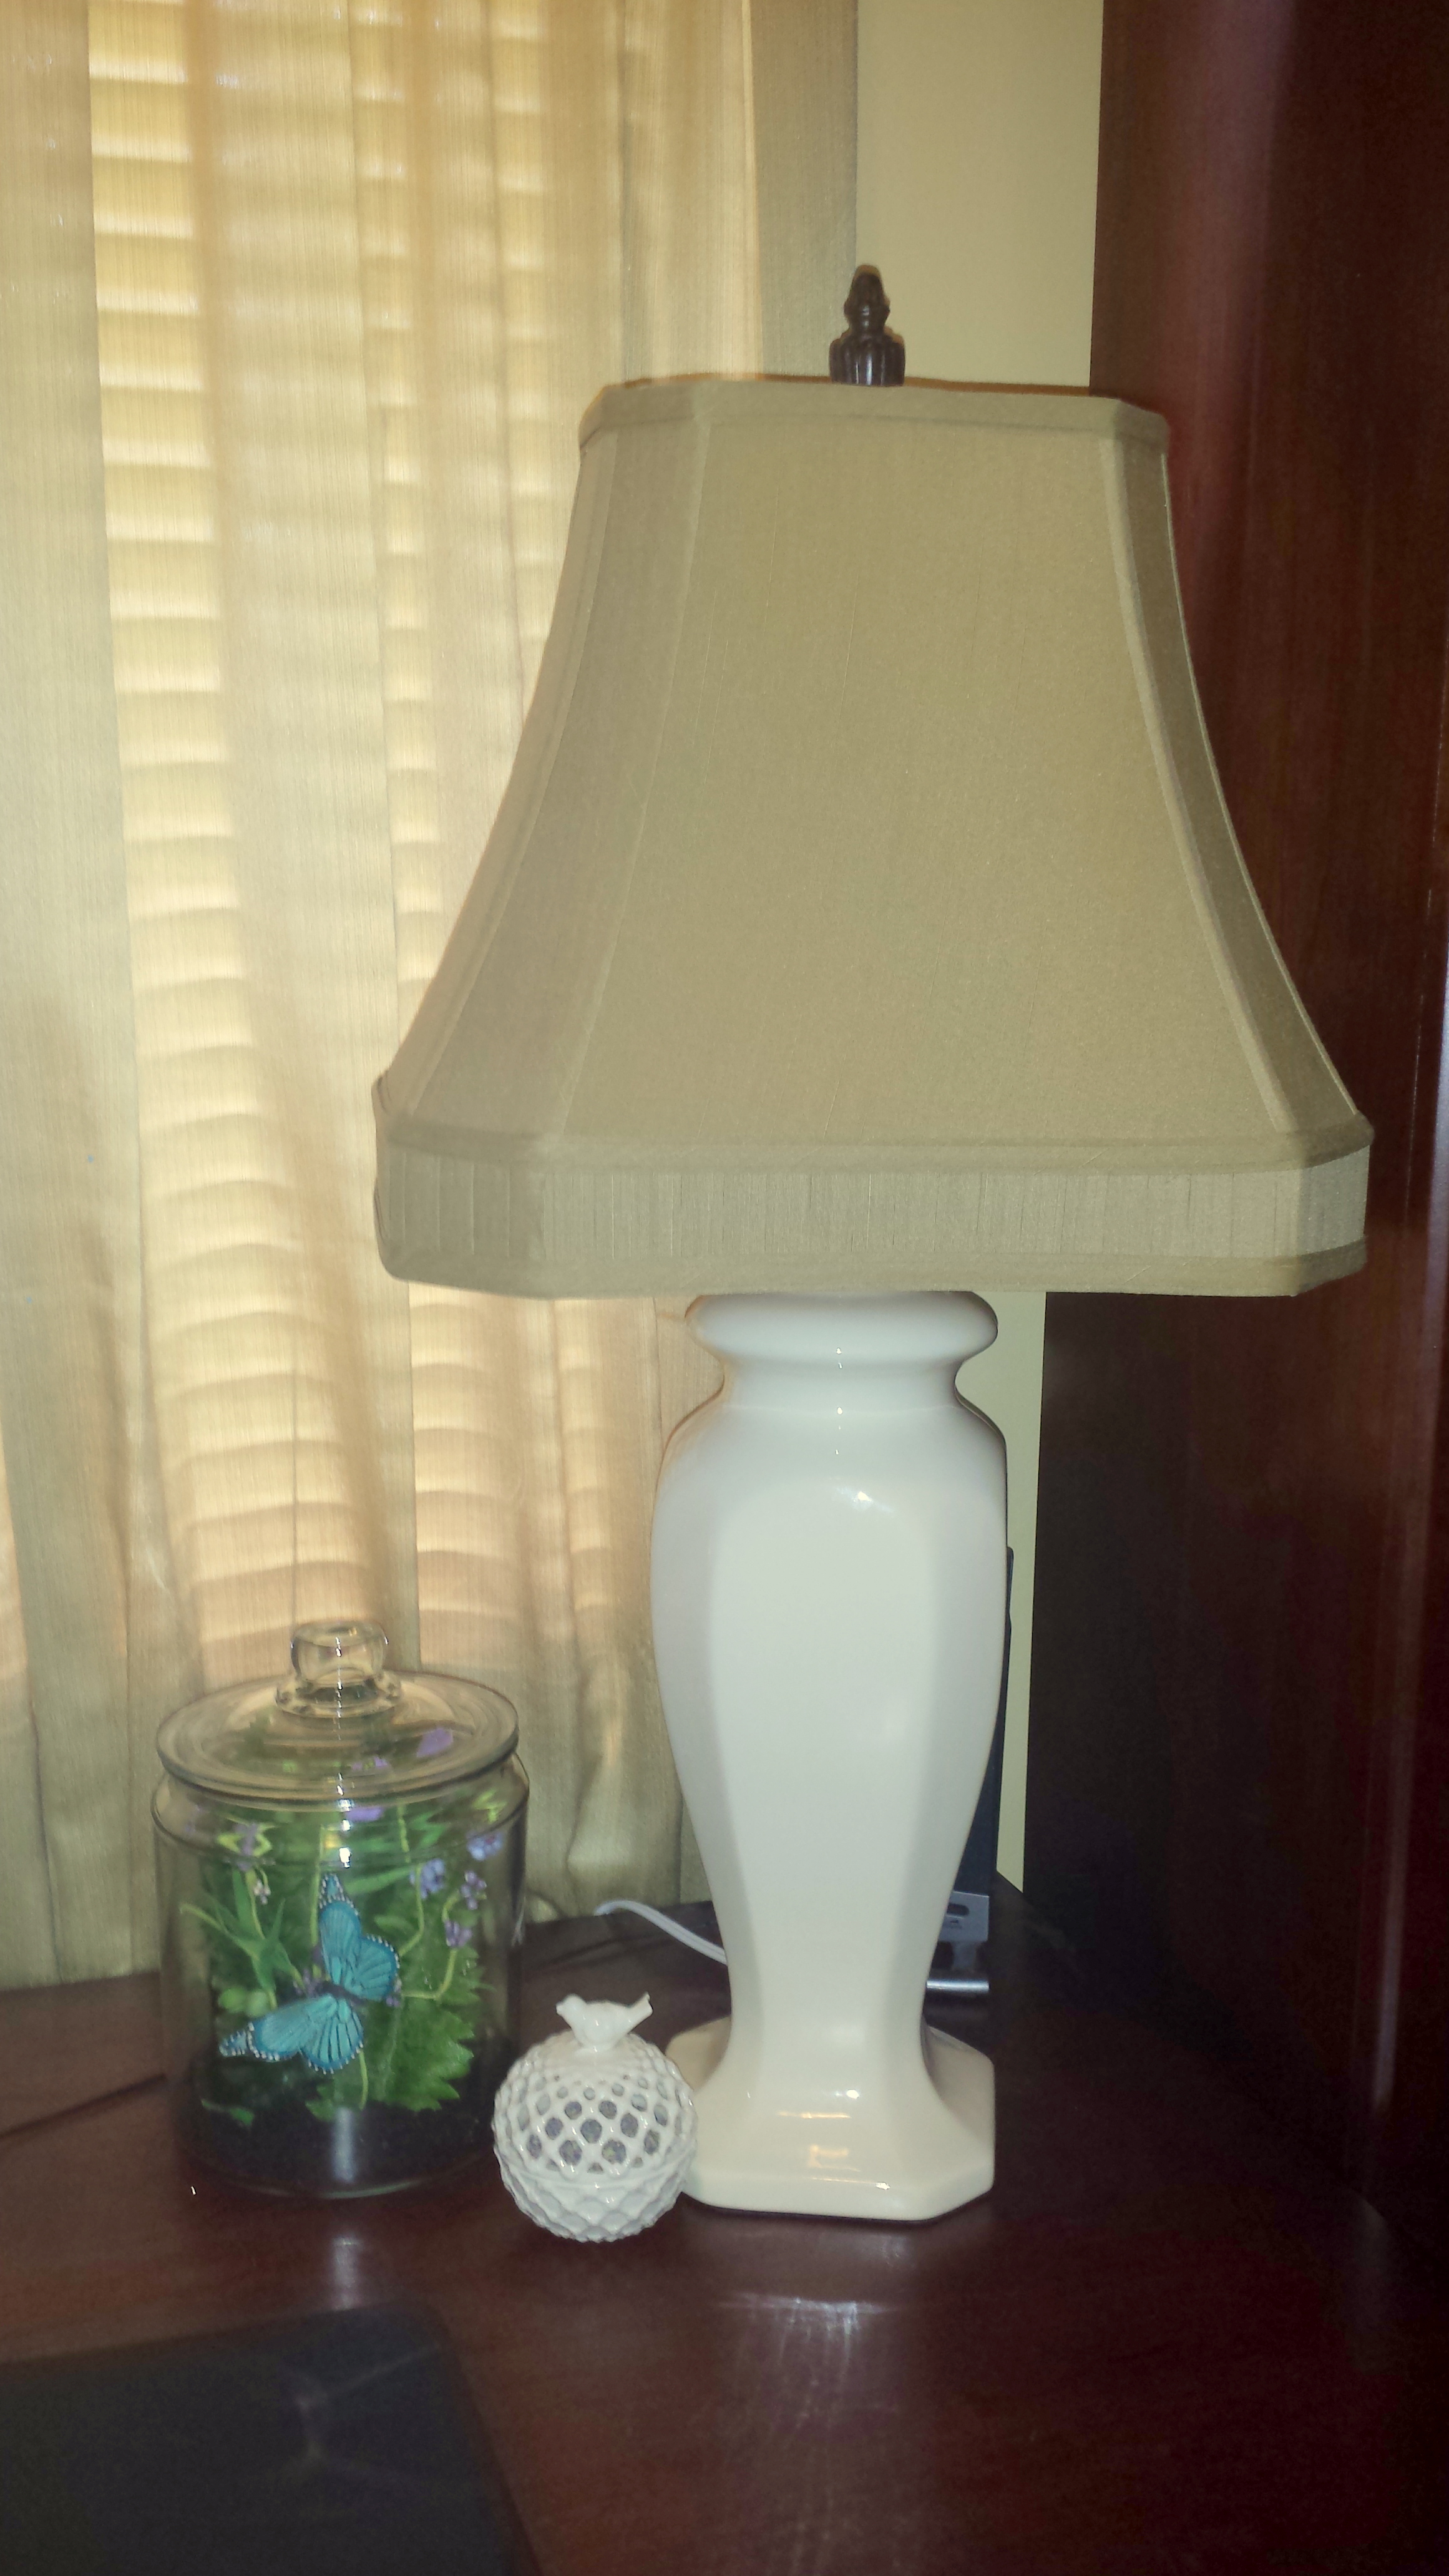
After I finished the “Butterfly in a Jar”, I put it on my office desk to replace the floral arrangement already there.  I enjoy glancing at it during the day – it is like having a little bit on summer sitting on my desk!

Butterfly in a Jar - final

For another variation of a container arrangement, please see last months’s Craft post – Glass Dome Arrangement.

Craft – Glass Dome Arrangement

Glass dome arrangement final

One of the most popular trends right now in home accessories is the terrarium container.  I have been looking at these decorative terrariums in the local retail and craft supply stores all summer long.  I knew I had a glass dome container I had bought on clearance a few years ago with the thought that I would use it for a future craft project.  Now, I finally had the idea to create a glass dome arrangement with the container.  I found some additional items from my floral supply box and the only item I purchased was a small container of ferns from my local craft store that were on clearance.

Craft Note: Shopping the craft stores in my area weekly, I find items on clearance that I purchase for a minimum amount and then later finding a craft project that I can use them for.  This glass dome arrangement craft project is a great example of using items that I previously purchased and buying a few additional items to create a beauty decorative arrangement for our home.

Glass dome arrangement supplies

Glass Dome Arrangement – supplies

  • Glass dome with base or terrarium
  • Ferns and leaves, amount will be determined by the size of the container
  • A small pot for the ferns and leaves (Spanish moss for the pot is optional)
  • A few container accessories, amount will be determined by the size of the container
  • Hot glue gun and glue sticks

Glass Dome Arrangement – instructions

  1. Any type of glass dome with base can be used or any size of terrarium. If you are using a glass dome it is very important to have a matching base because this is needed to attach the fern or leaves and container accessories.  Using the glass dome with base, I hot-glued a small container with ferns that I had purchased on clearance from my local craft store.  (To add more fullness to the container I used several additional ferns and the contrast of the two different types of ferns looked great!Glass dome arrangement 1
  2. Next, attach the accessories to the base with hot glue.  (I had found several small mushrooms and snails that I had previously purchased)  Any type of container accessories can be used but the scale of the items should be relatively small.  I have seen items such as small fairies, miniature garden benches and trellis –there such a nice selection in the craft stores.
    Glass dome arrangement 2a Glass dome arrangement 3
  3. This next step can be tricky if you are using a glass dome, if you are using a terrarium or an open-topped container this next step is not required.  As you fit the glass dome onto the base, be sure to be aware of where the ferns and leaves are being placed.  (I used my fingers to move the ferns so that they were not blocking the view any of the container accessories)

This Glass Dome Arrangement craft project was very easy to do and only took about 30 minutes to complete.