Craft – Framed Button Crafts

Buttun Craft - version 1 - finished

This post is about craft projects that take lots of buttons, lots and lots of buttons!!  Maybe you inherited a box of buttons from your mother or grandmother and are looking for something special to do with them.  Or maybe you are inspired by the button aisle in your favorite craft store and are looking for a craft project to use them.

When I decided to do this button craft project I searched on the internet for some ideas that I liked., the internet is a great source for ideas for all kinds of craft projects.  I usually find ones that I like and then give it my own personal style with the supplies that I select.  Walk the aisles of your favorite craft store to get inspiration for a variety of buttons, scrapbook paper and embellishments.  Be creative and use your imagination to design a personalized button craft project.

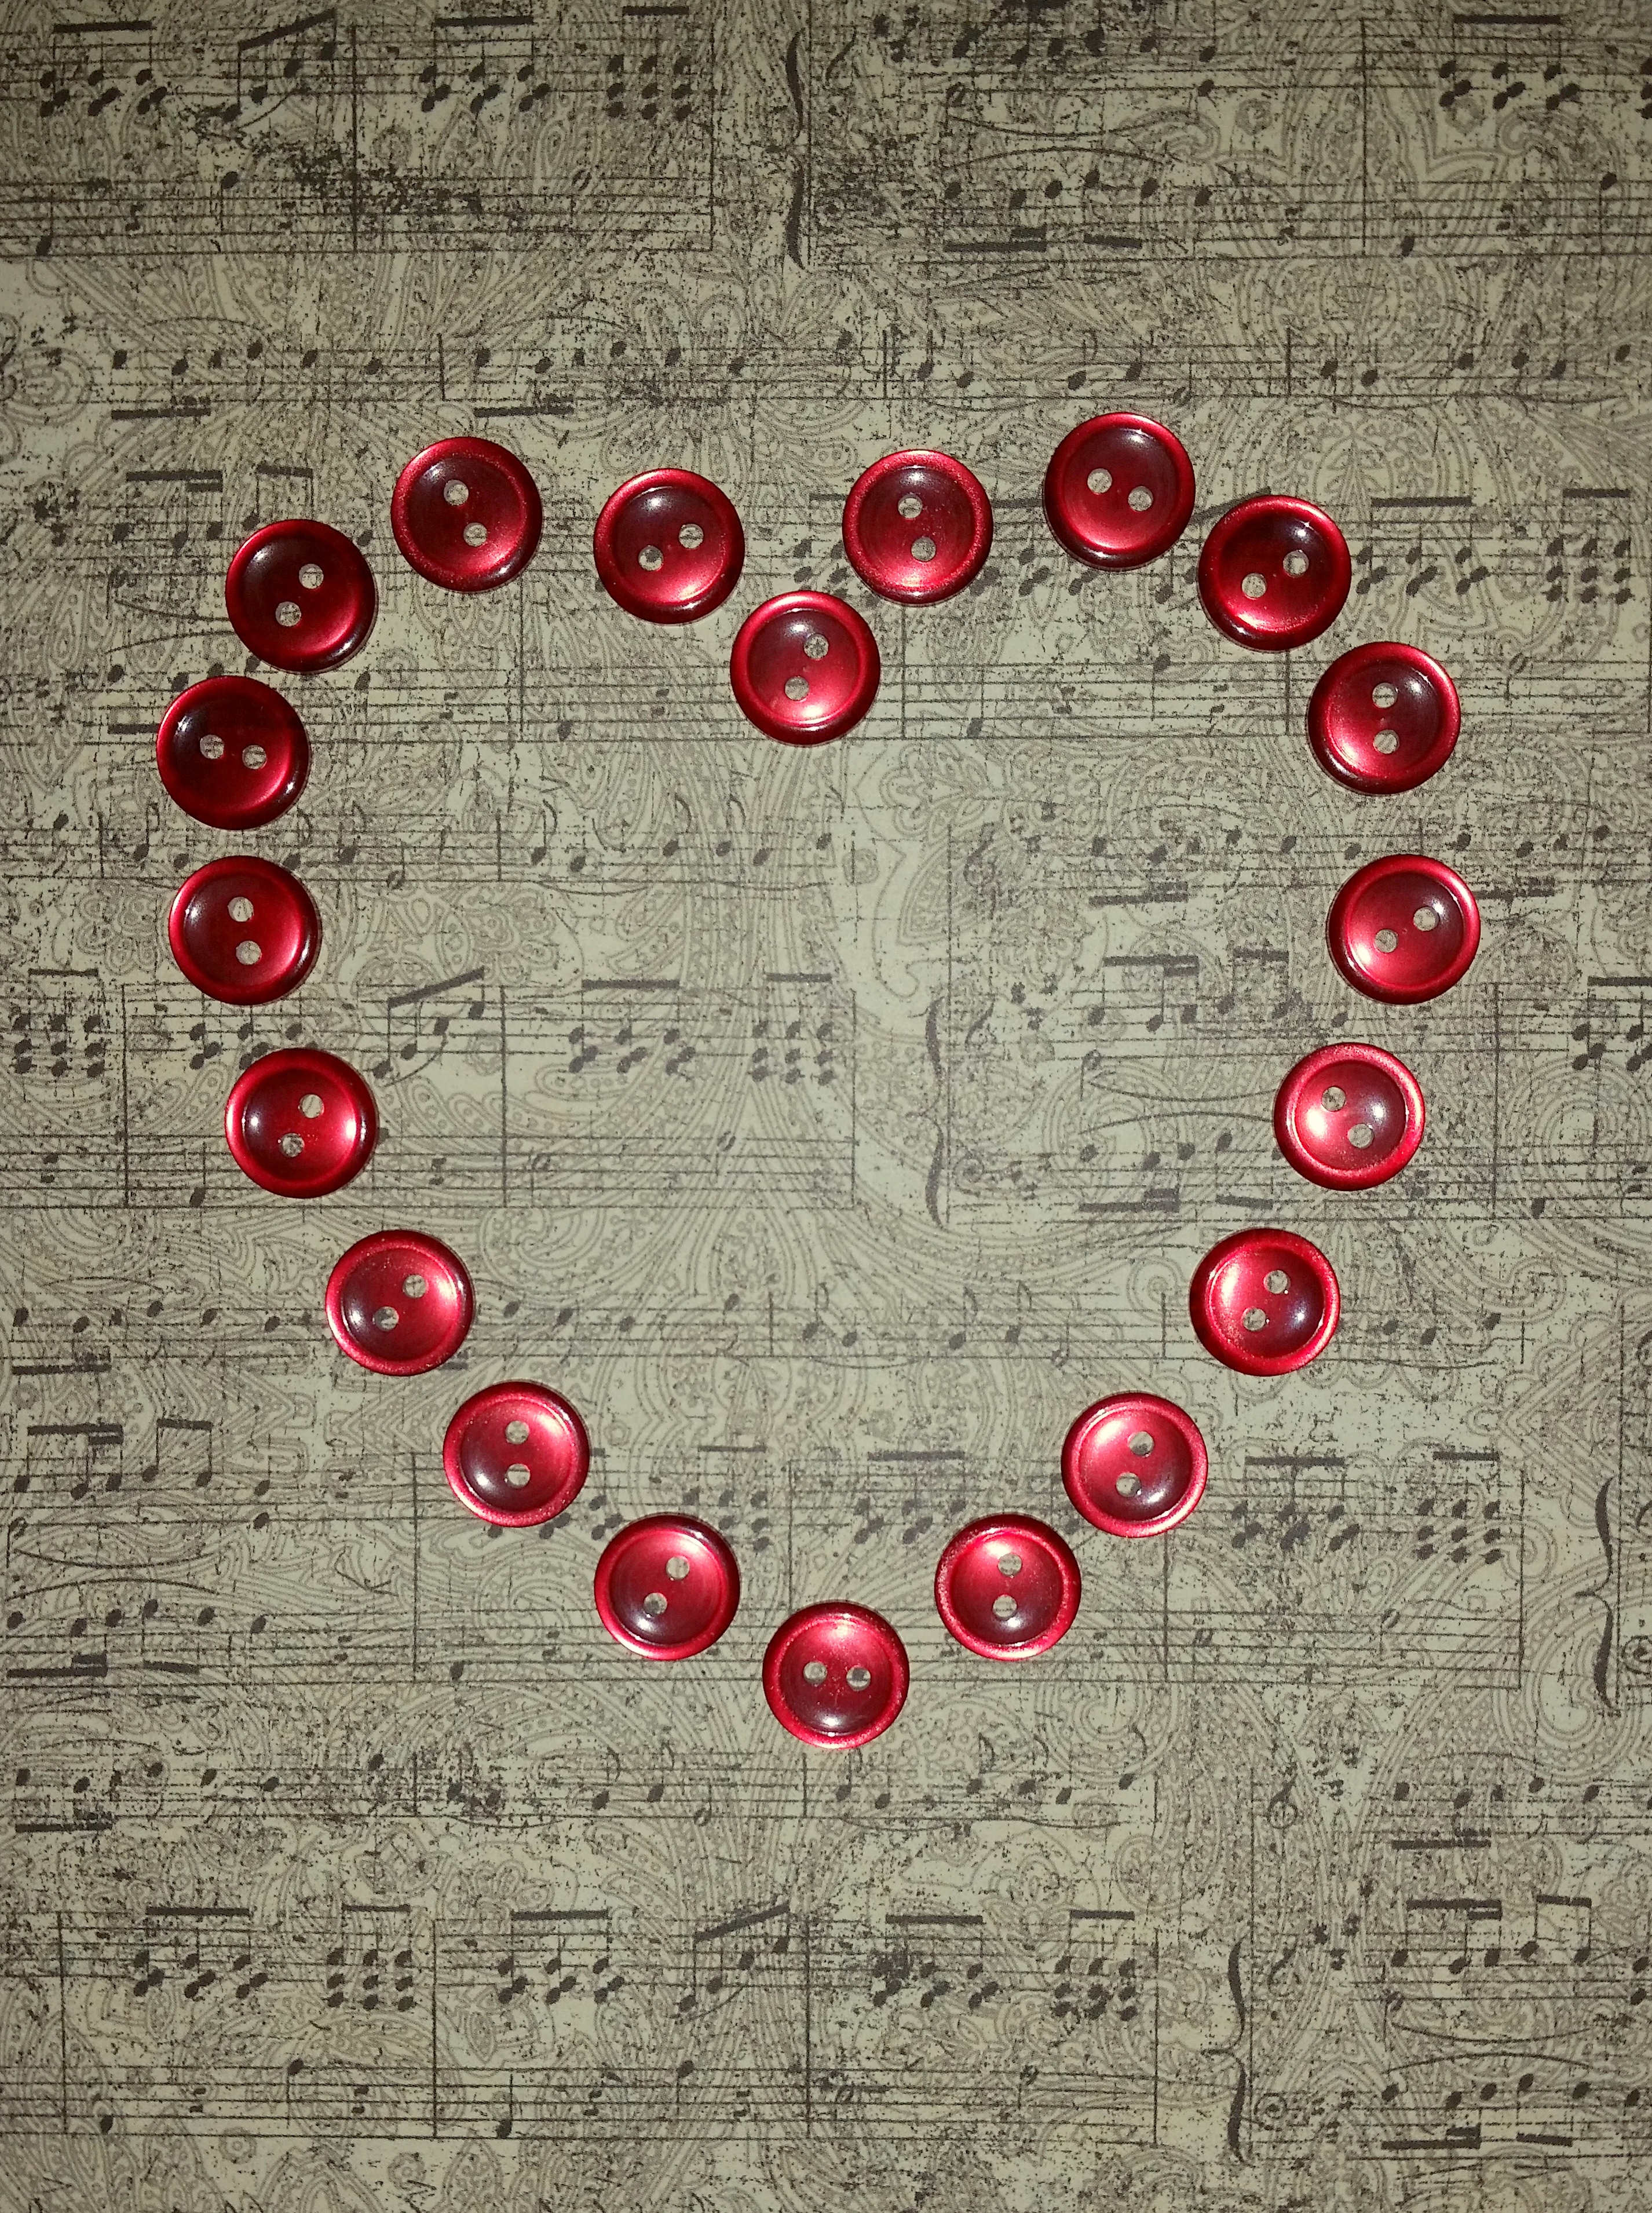
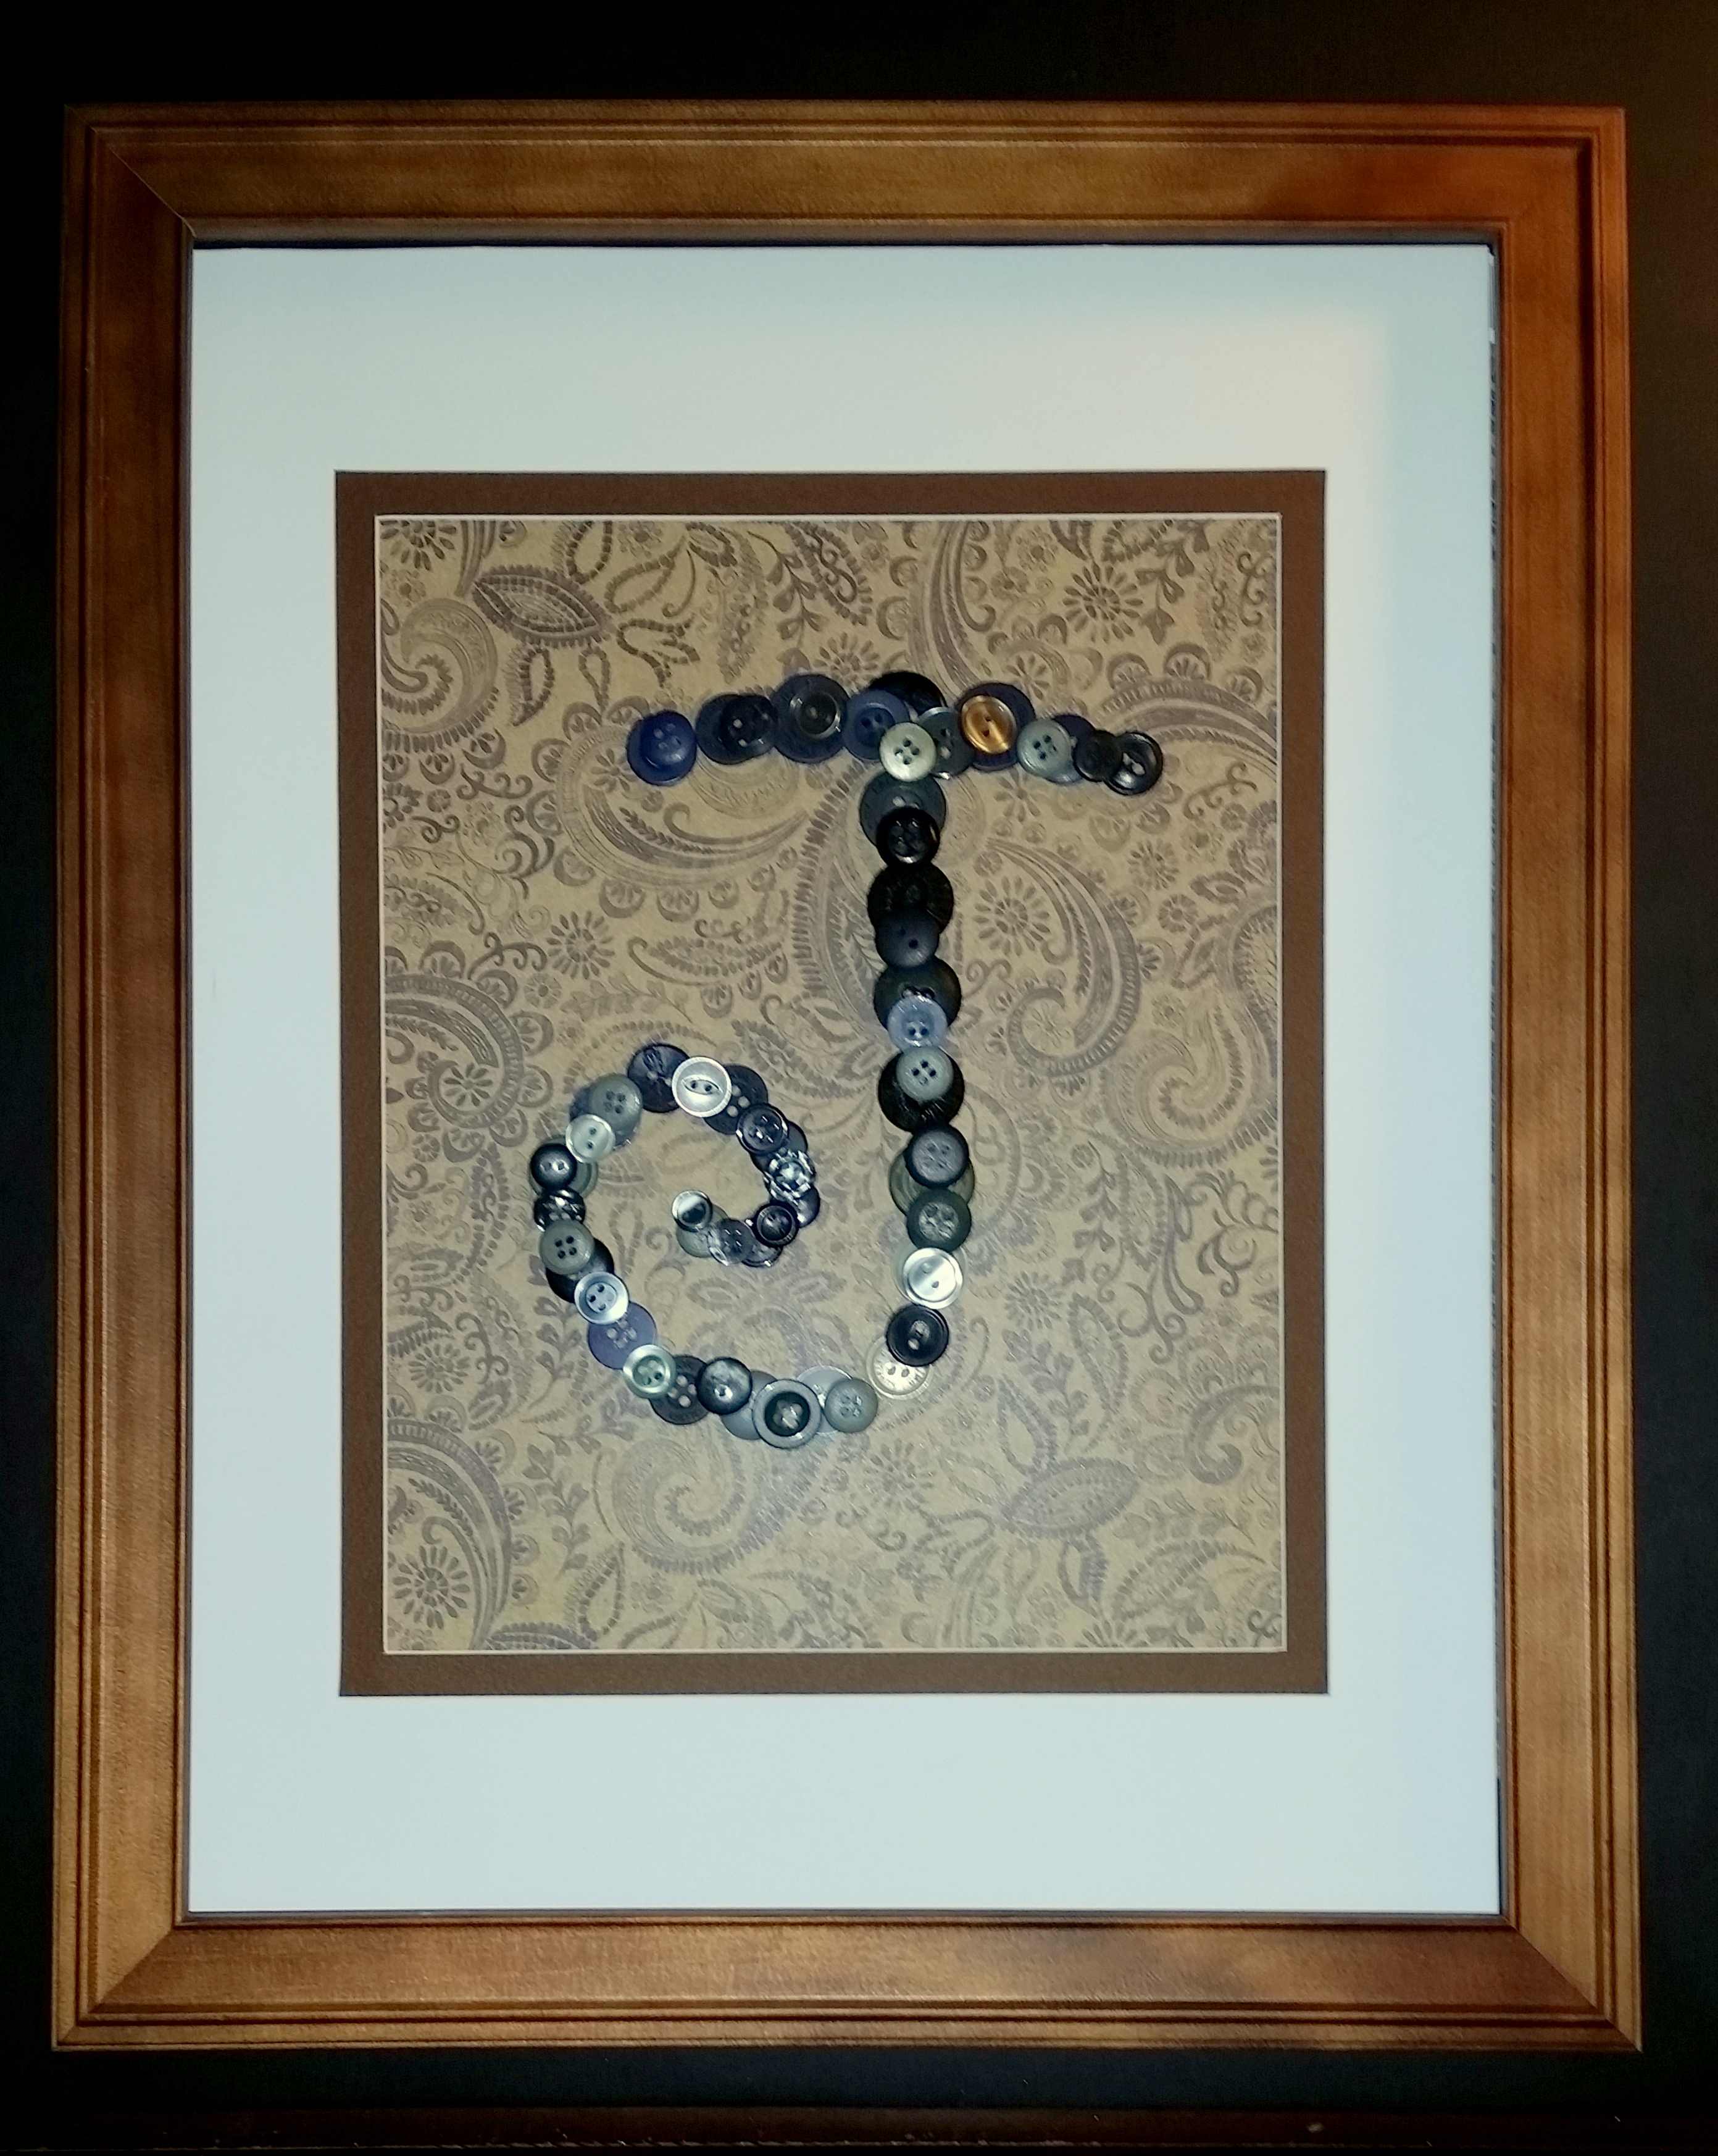
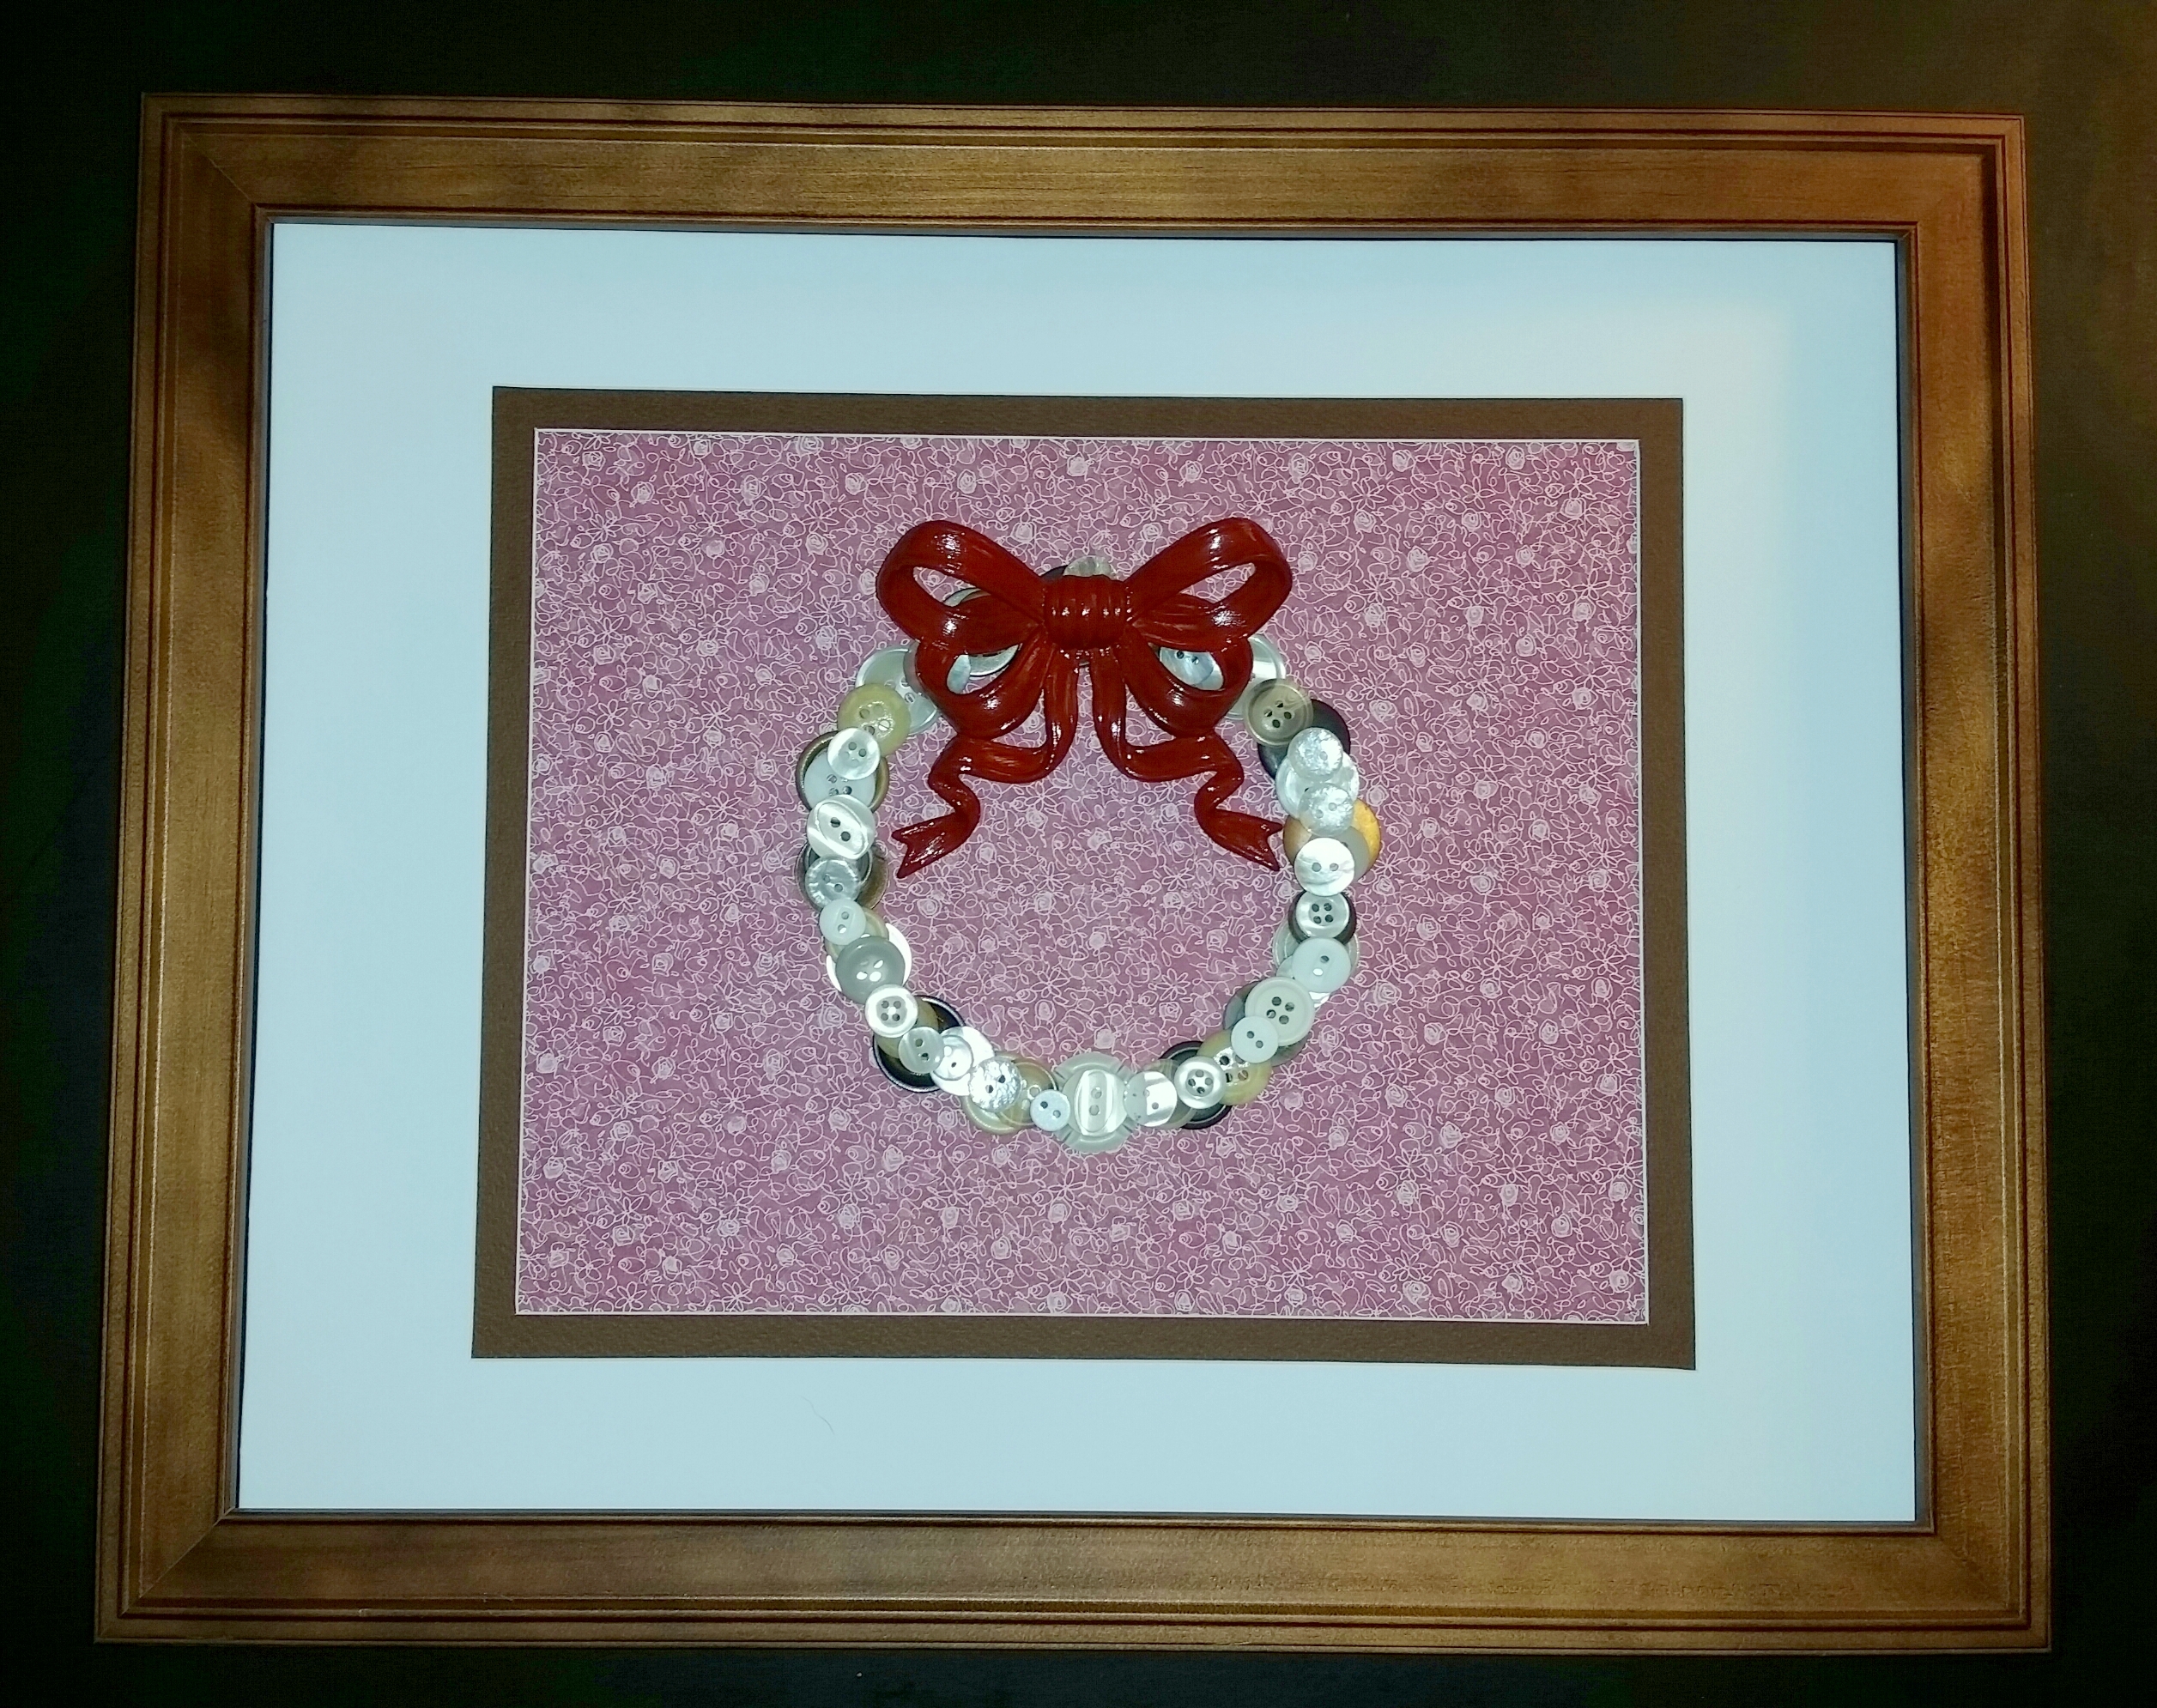
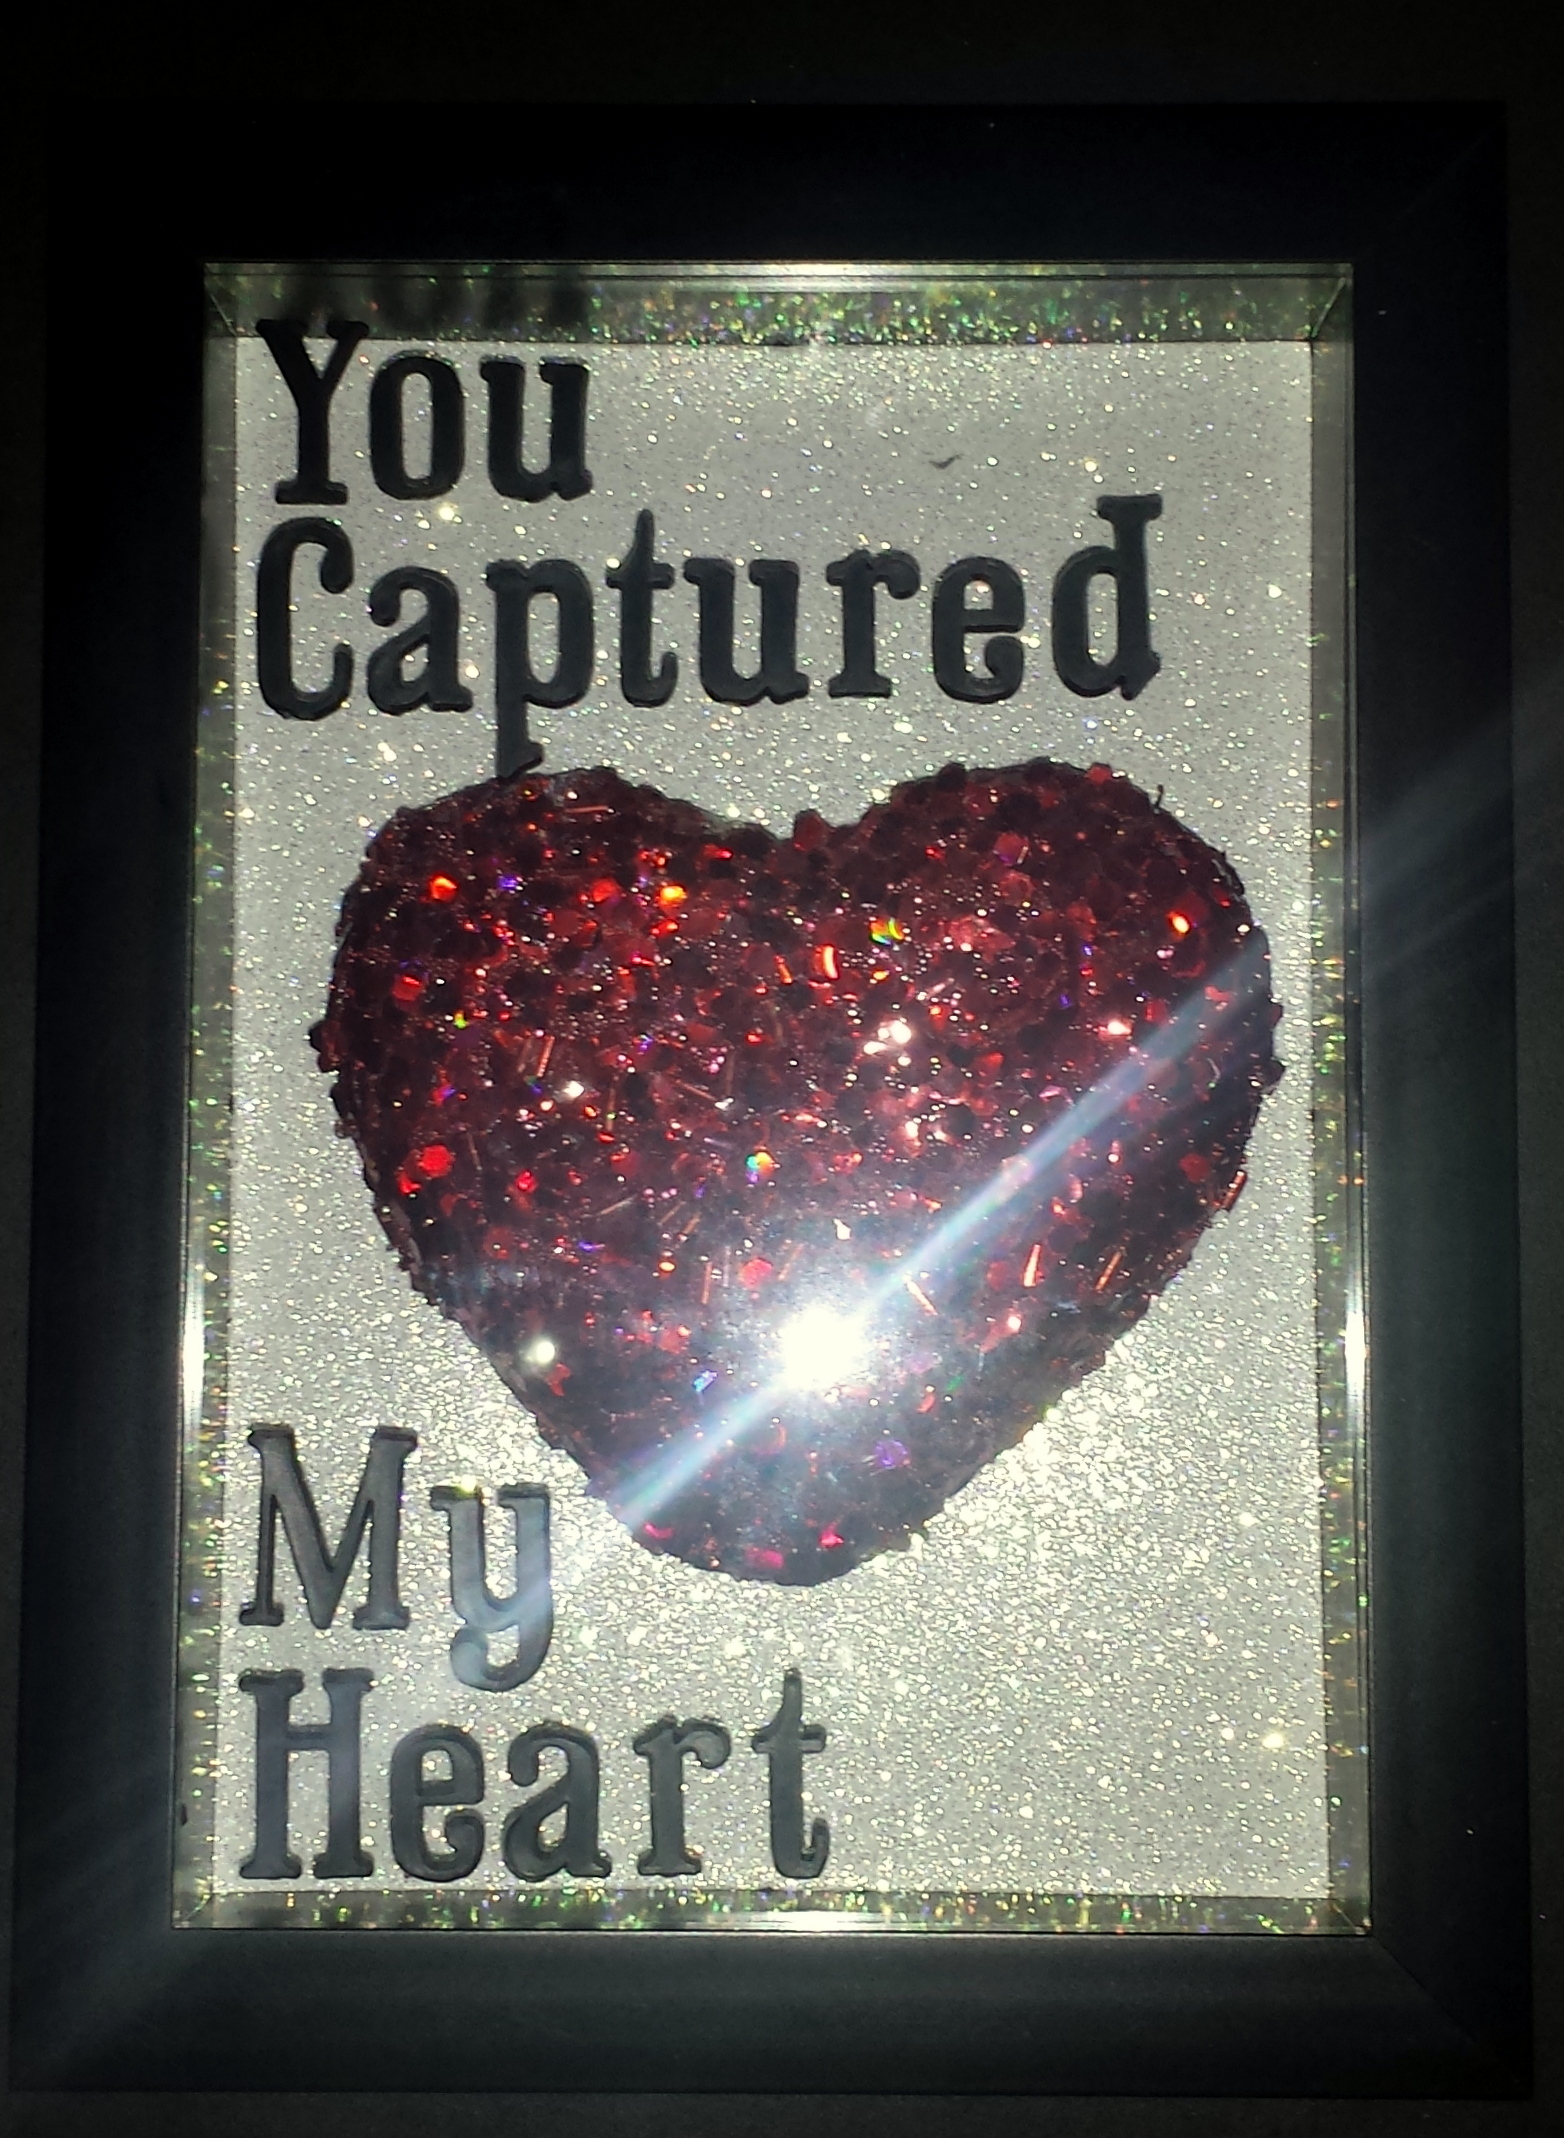
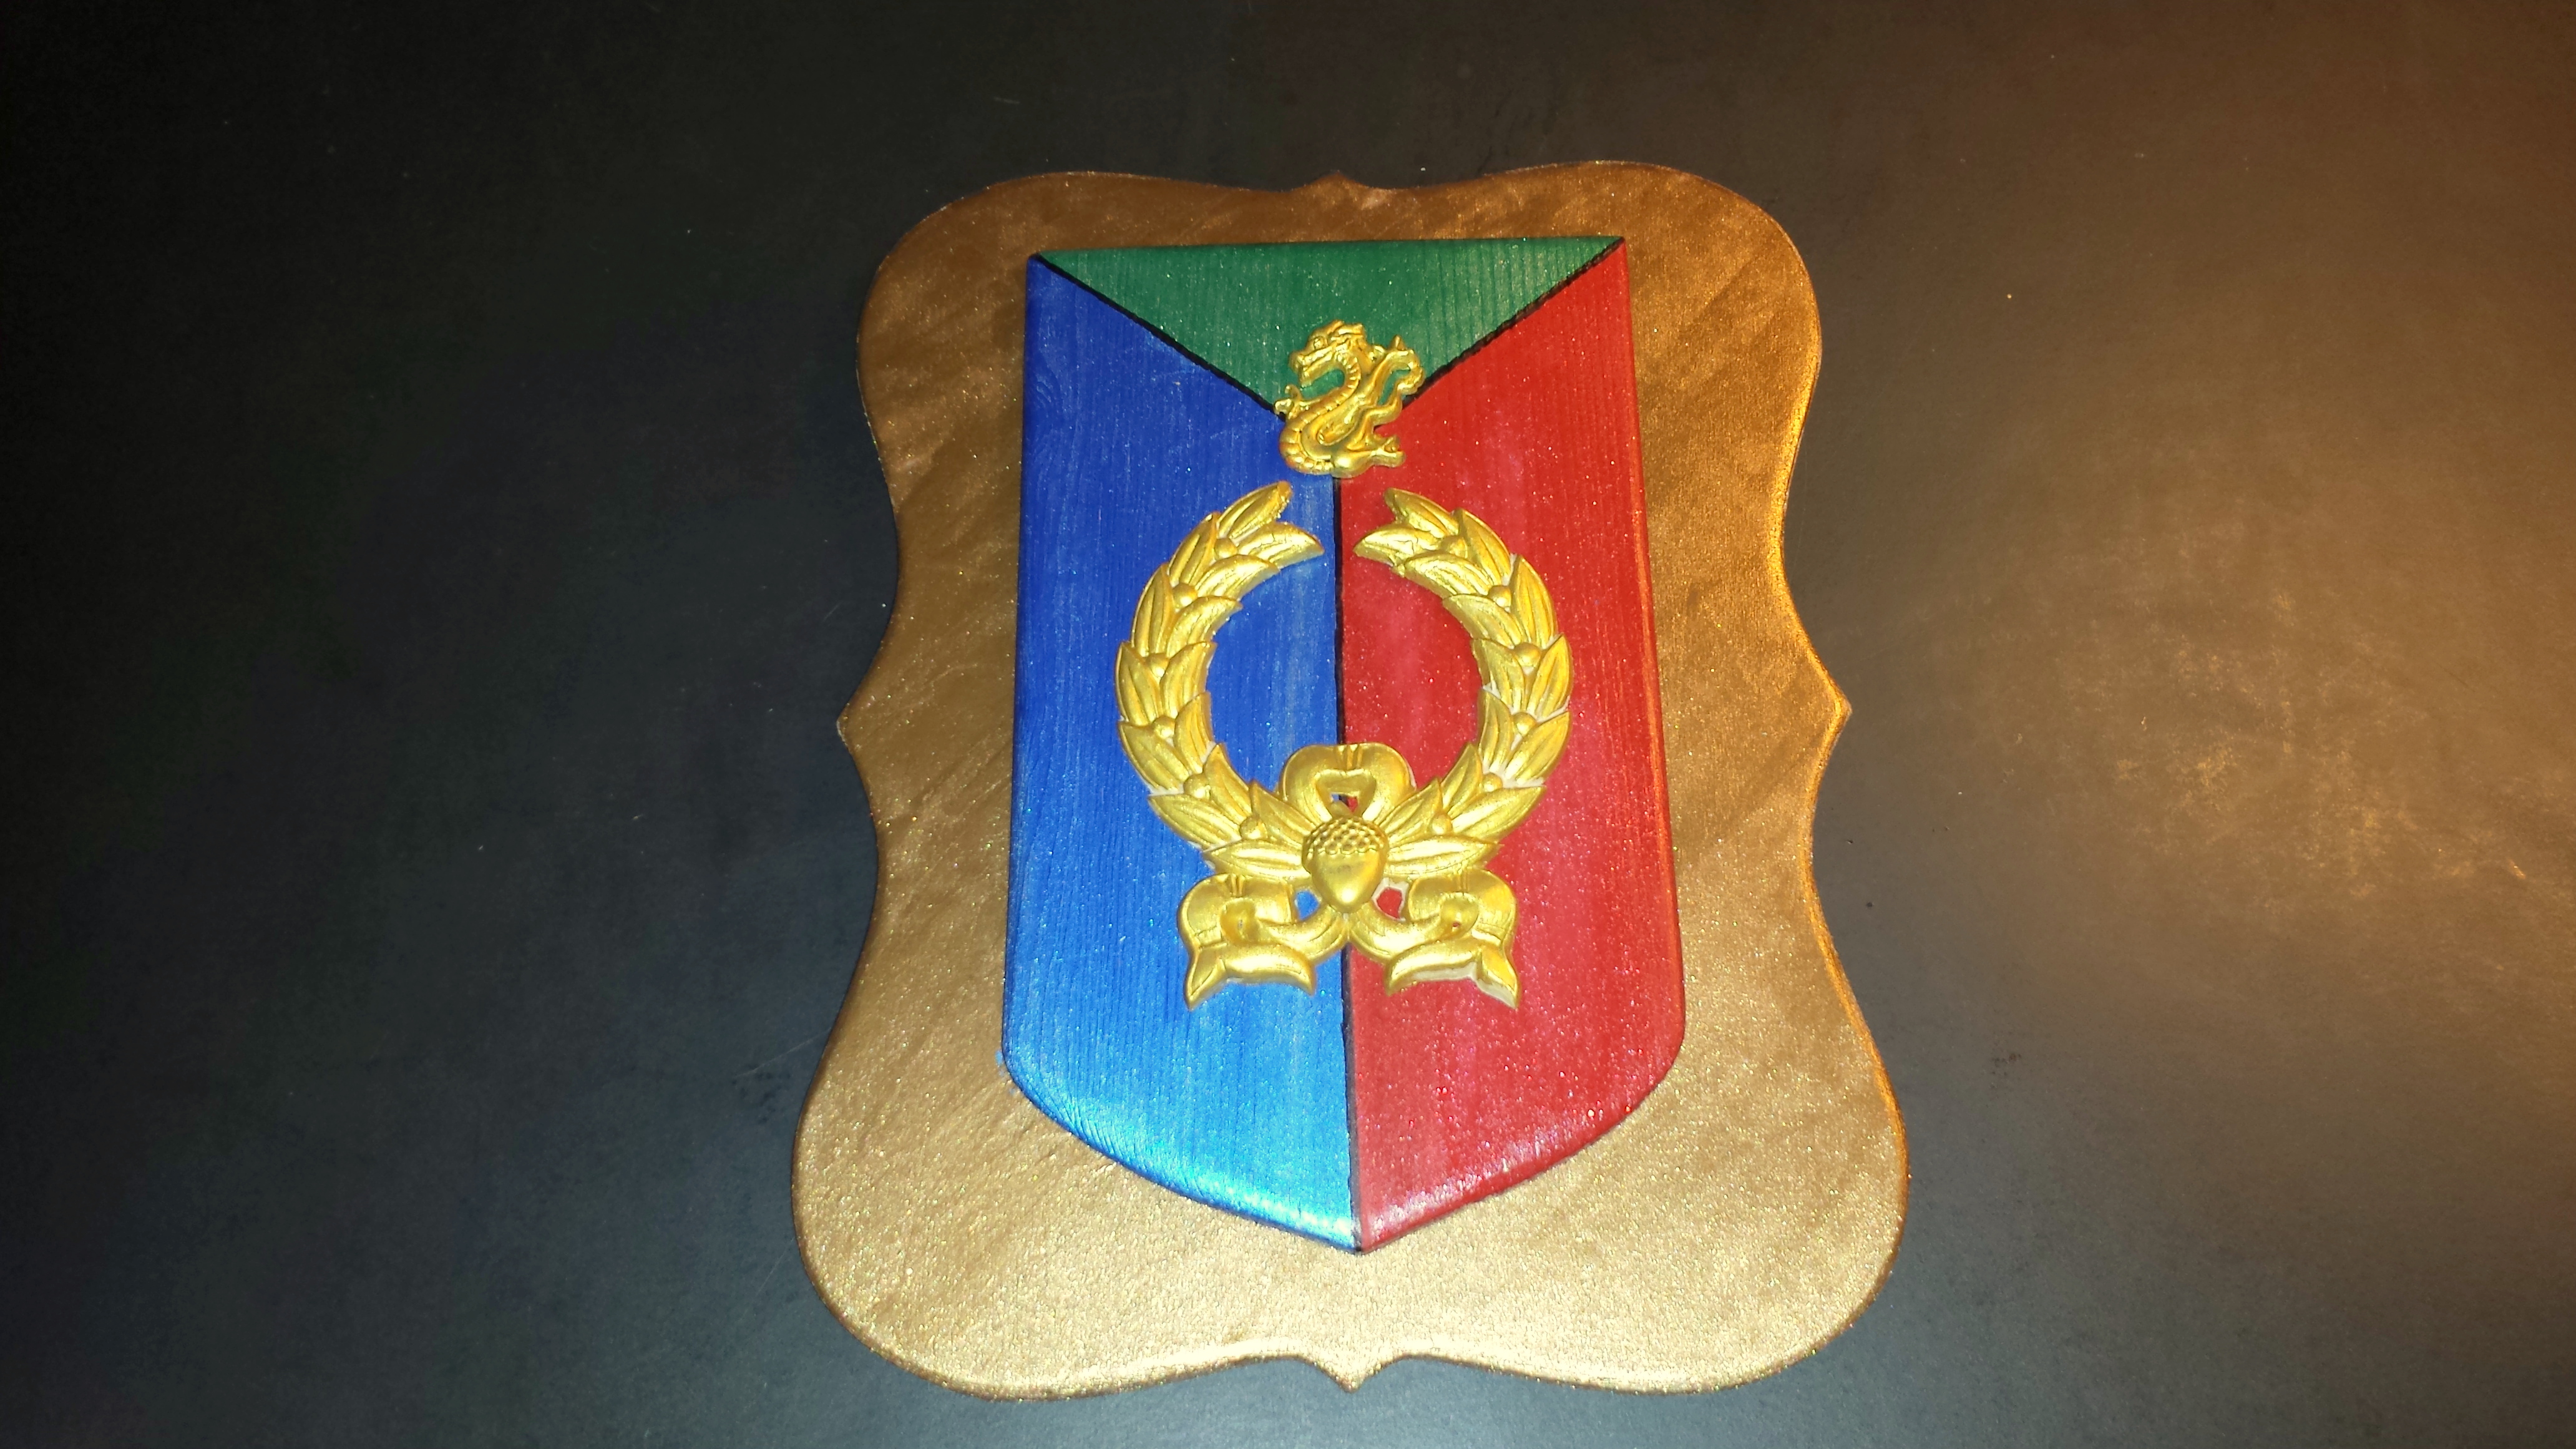
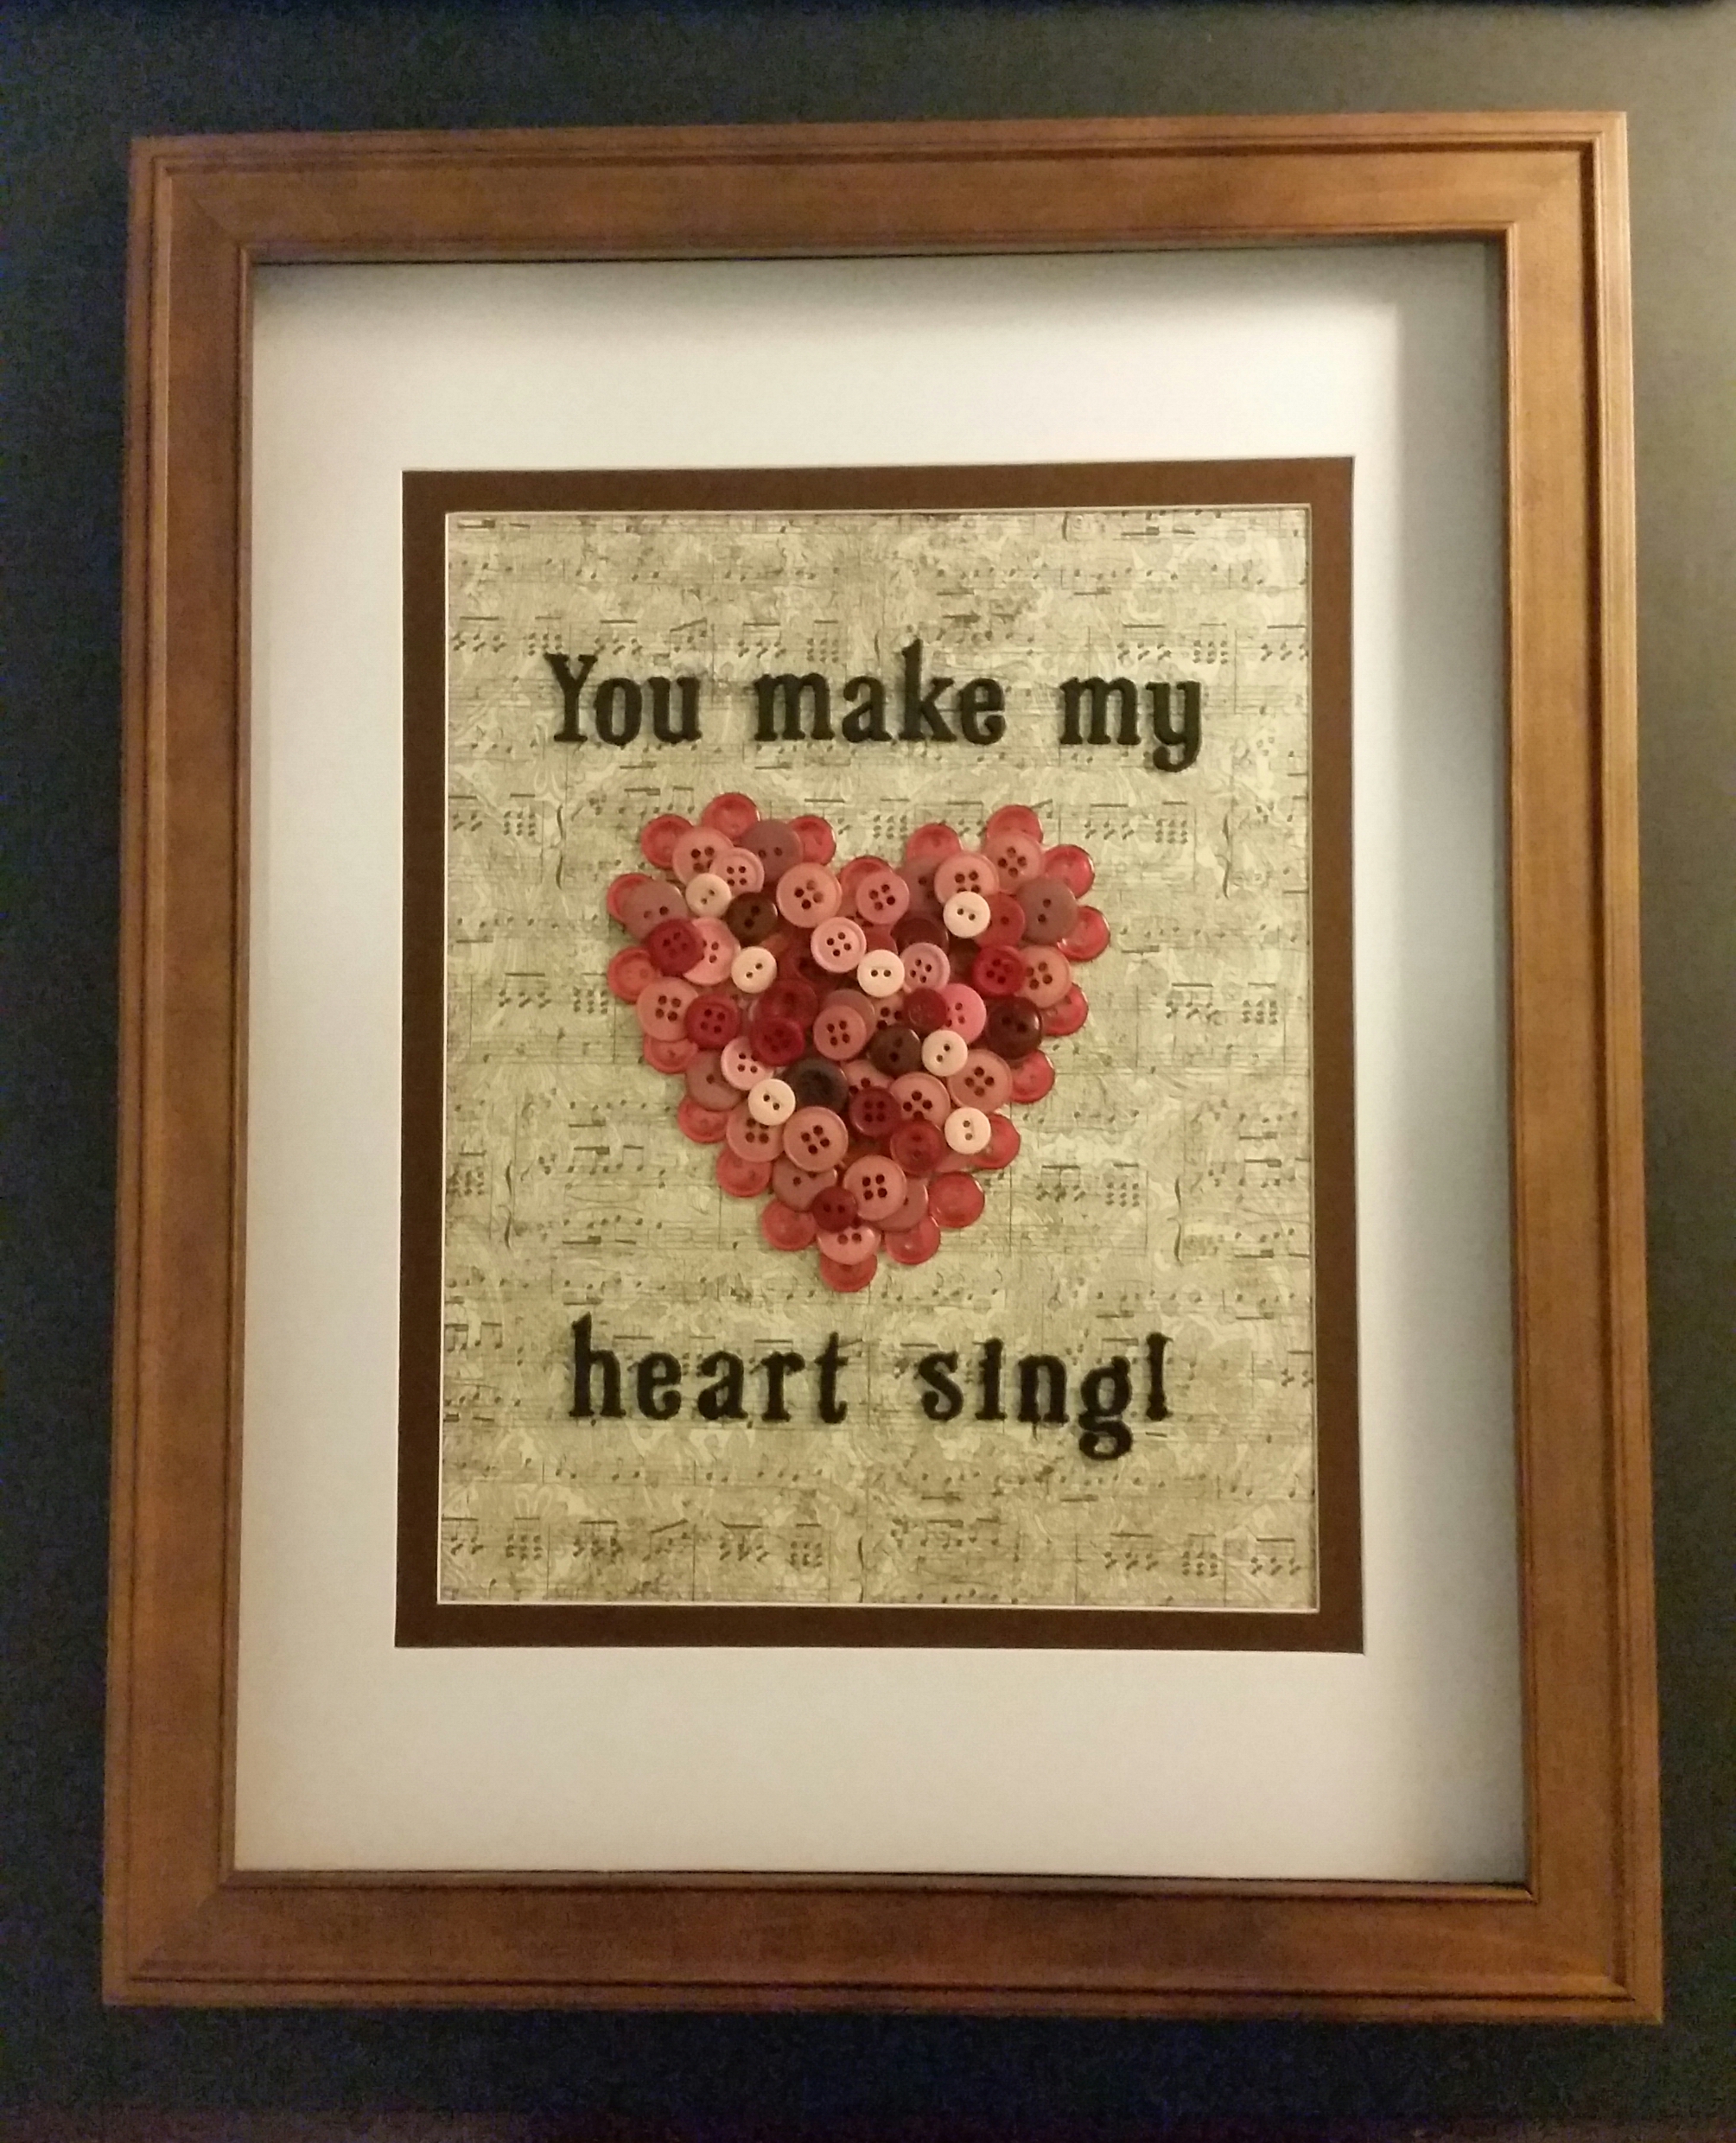
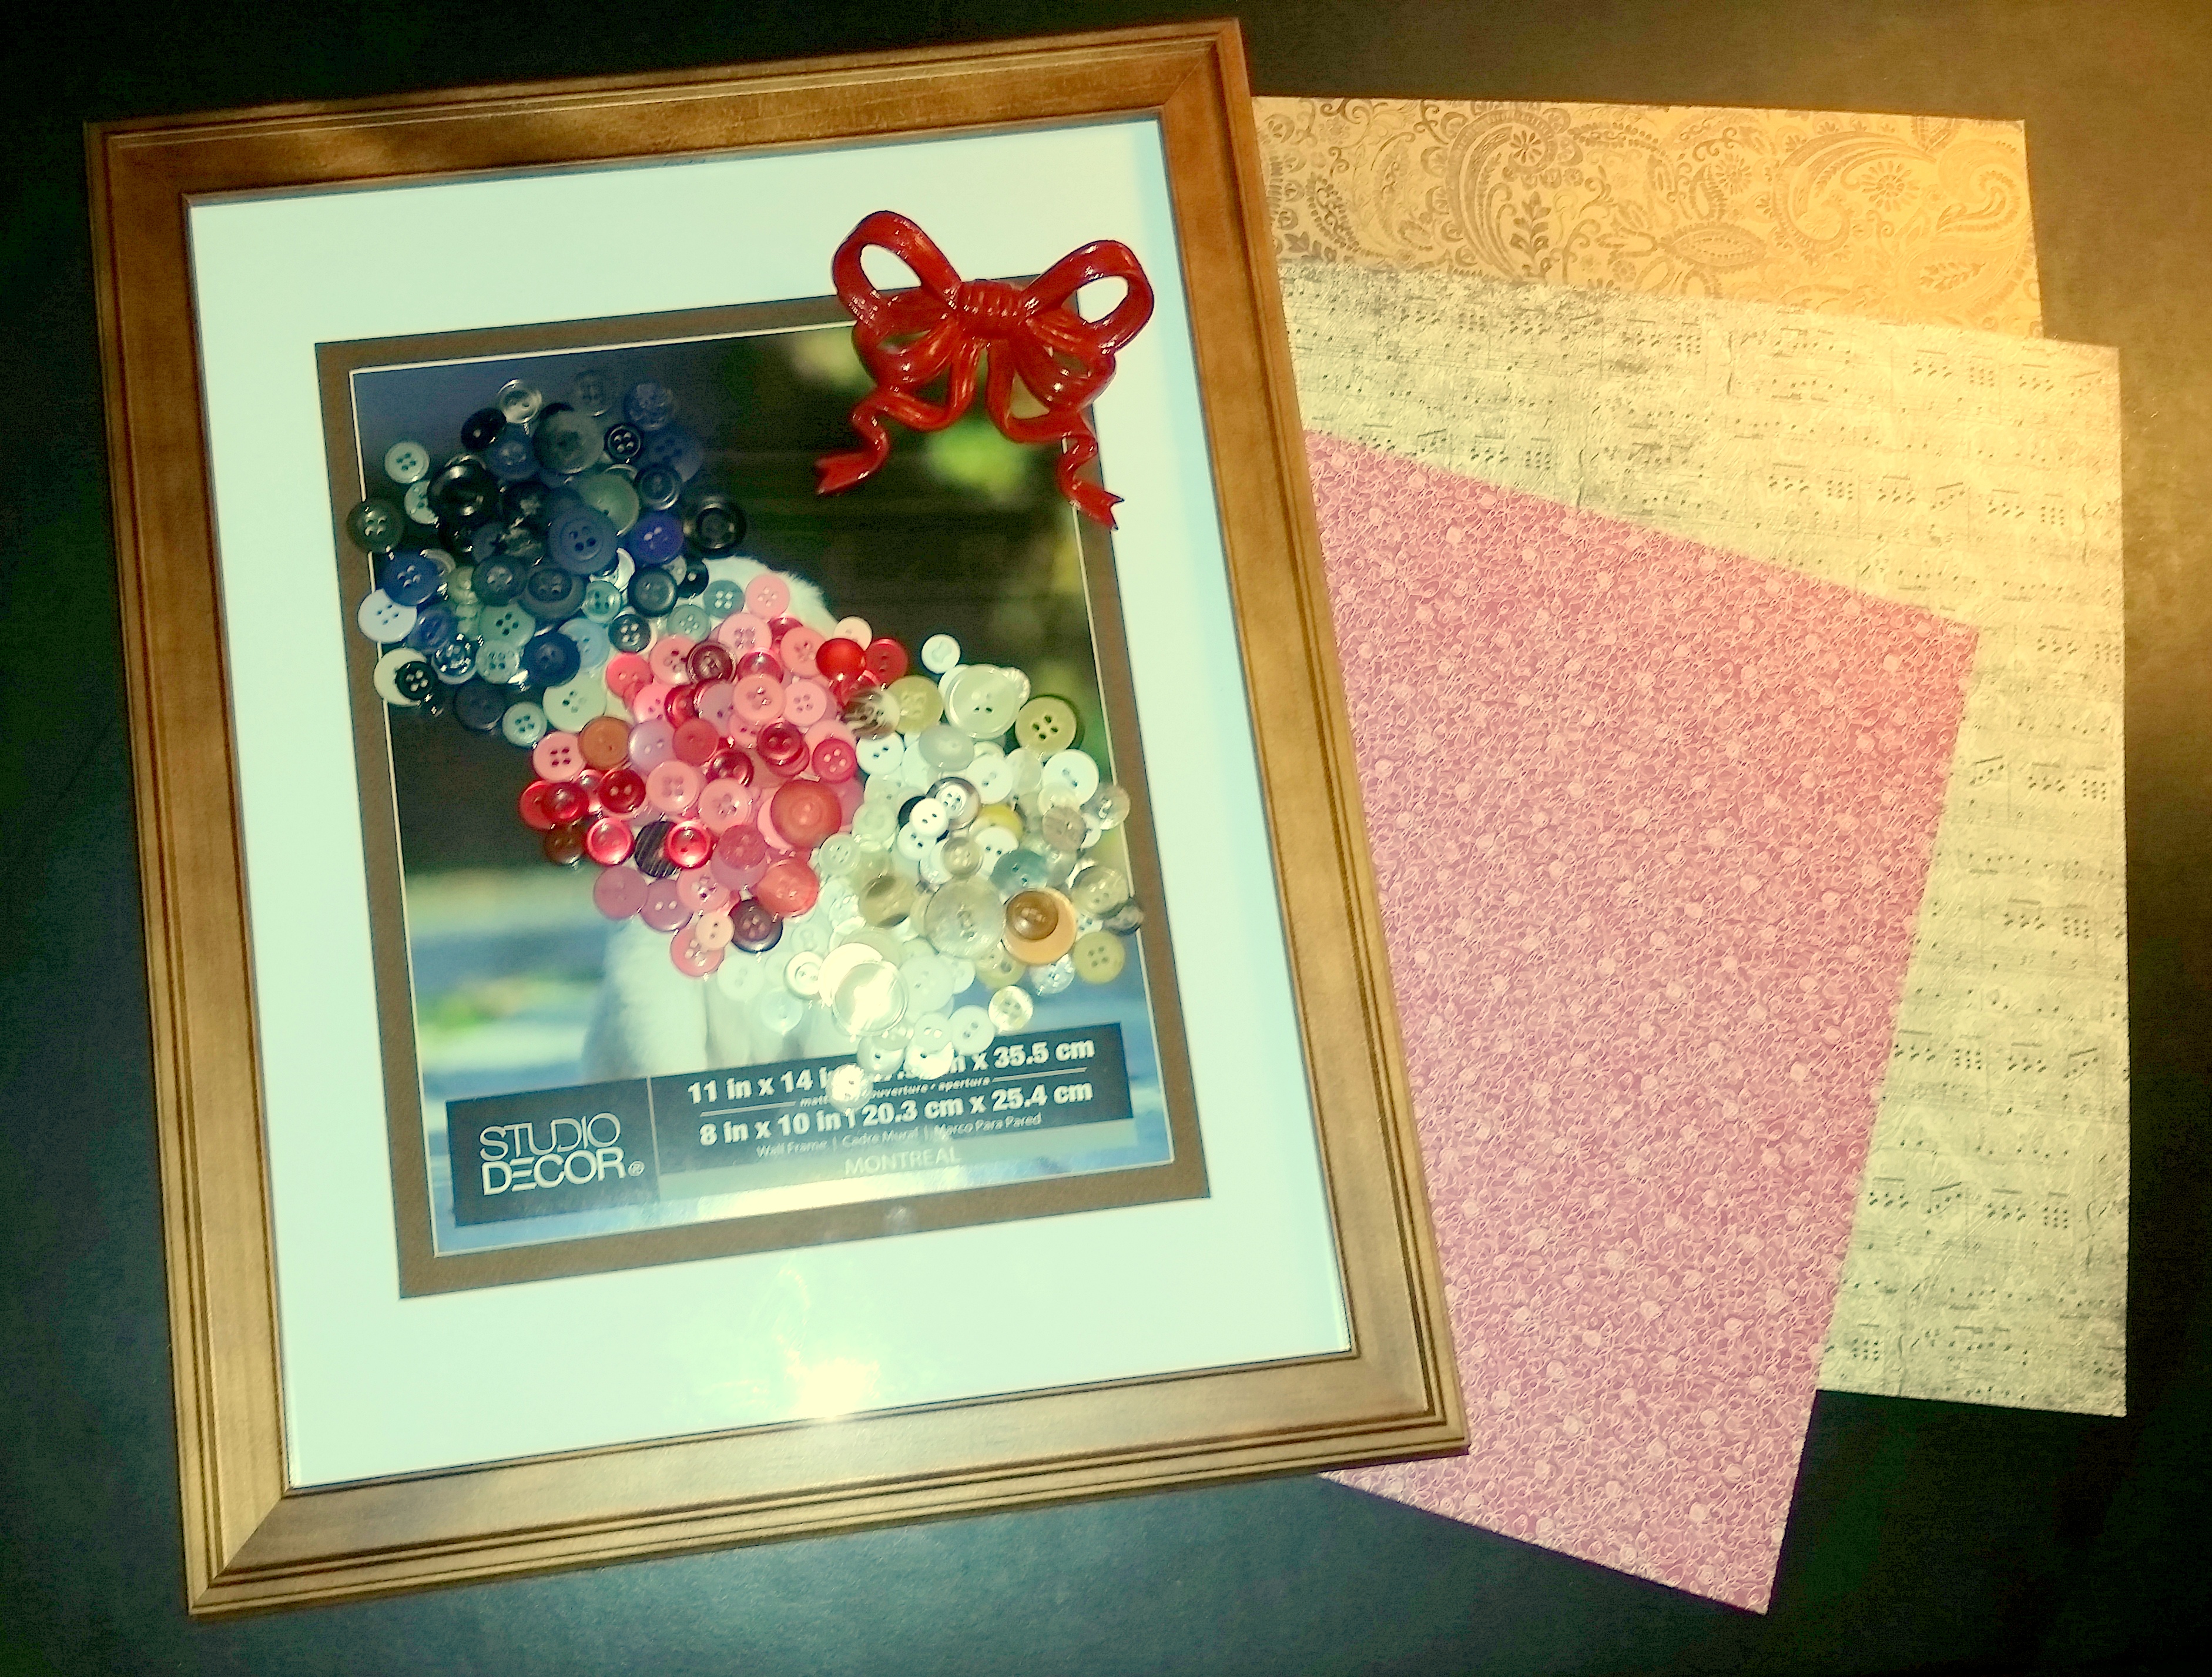
So, here are three different variations of craft projects using buttons.  The first used buttons to form a heart shape, the second is a wreath shape and the third uses buttons to form the initial of our last name.  Listed below are the supply list and instructions for all three versions.

Button Craft - supplies

Button Craft – supply list

  • Buttons – you are definitely going to need a lot of buttons!
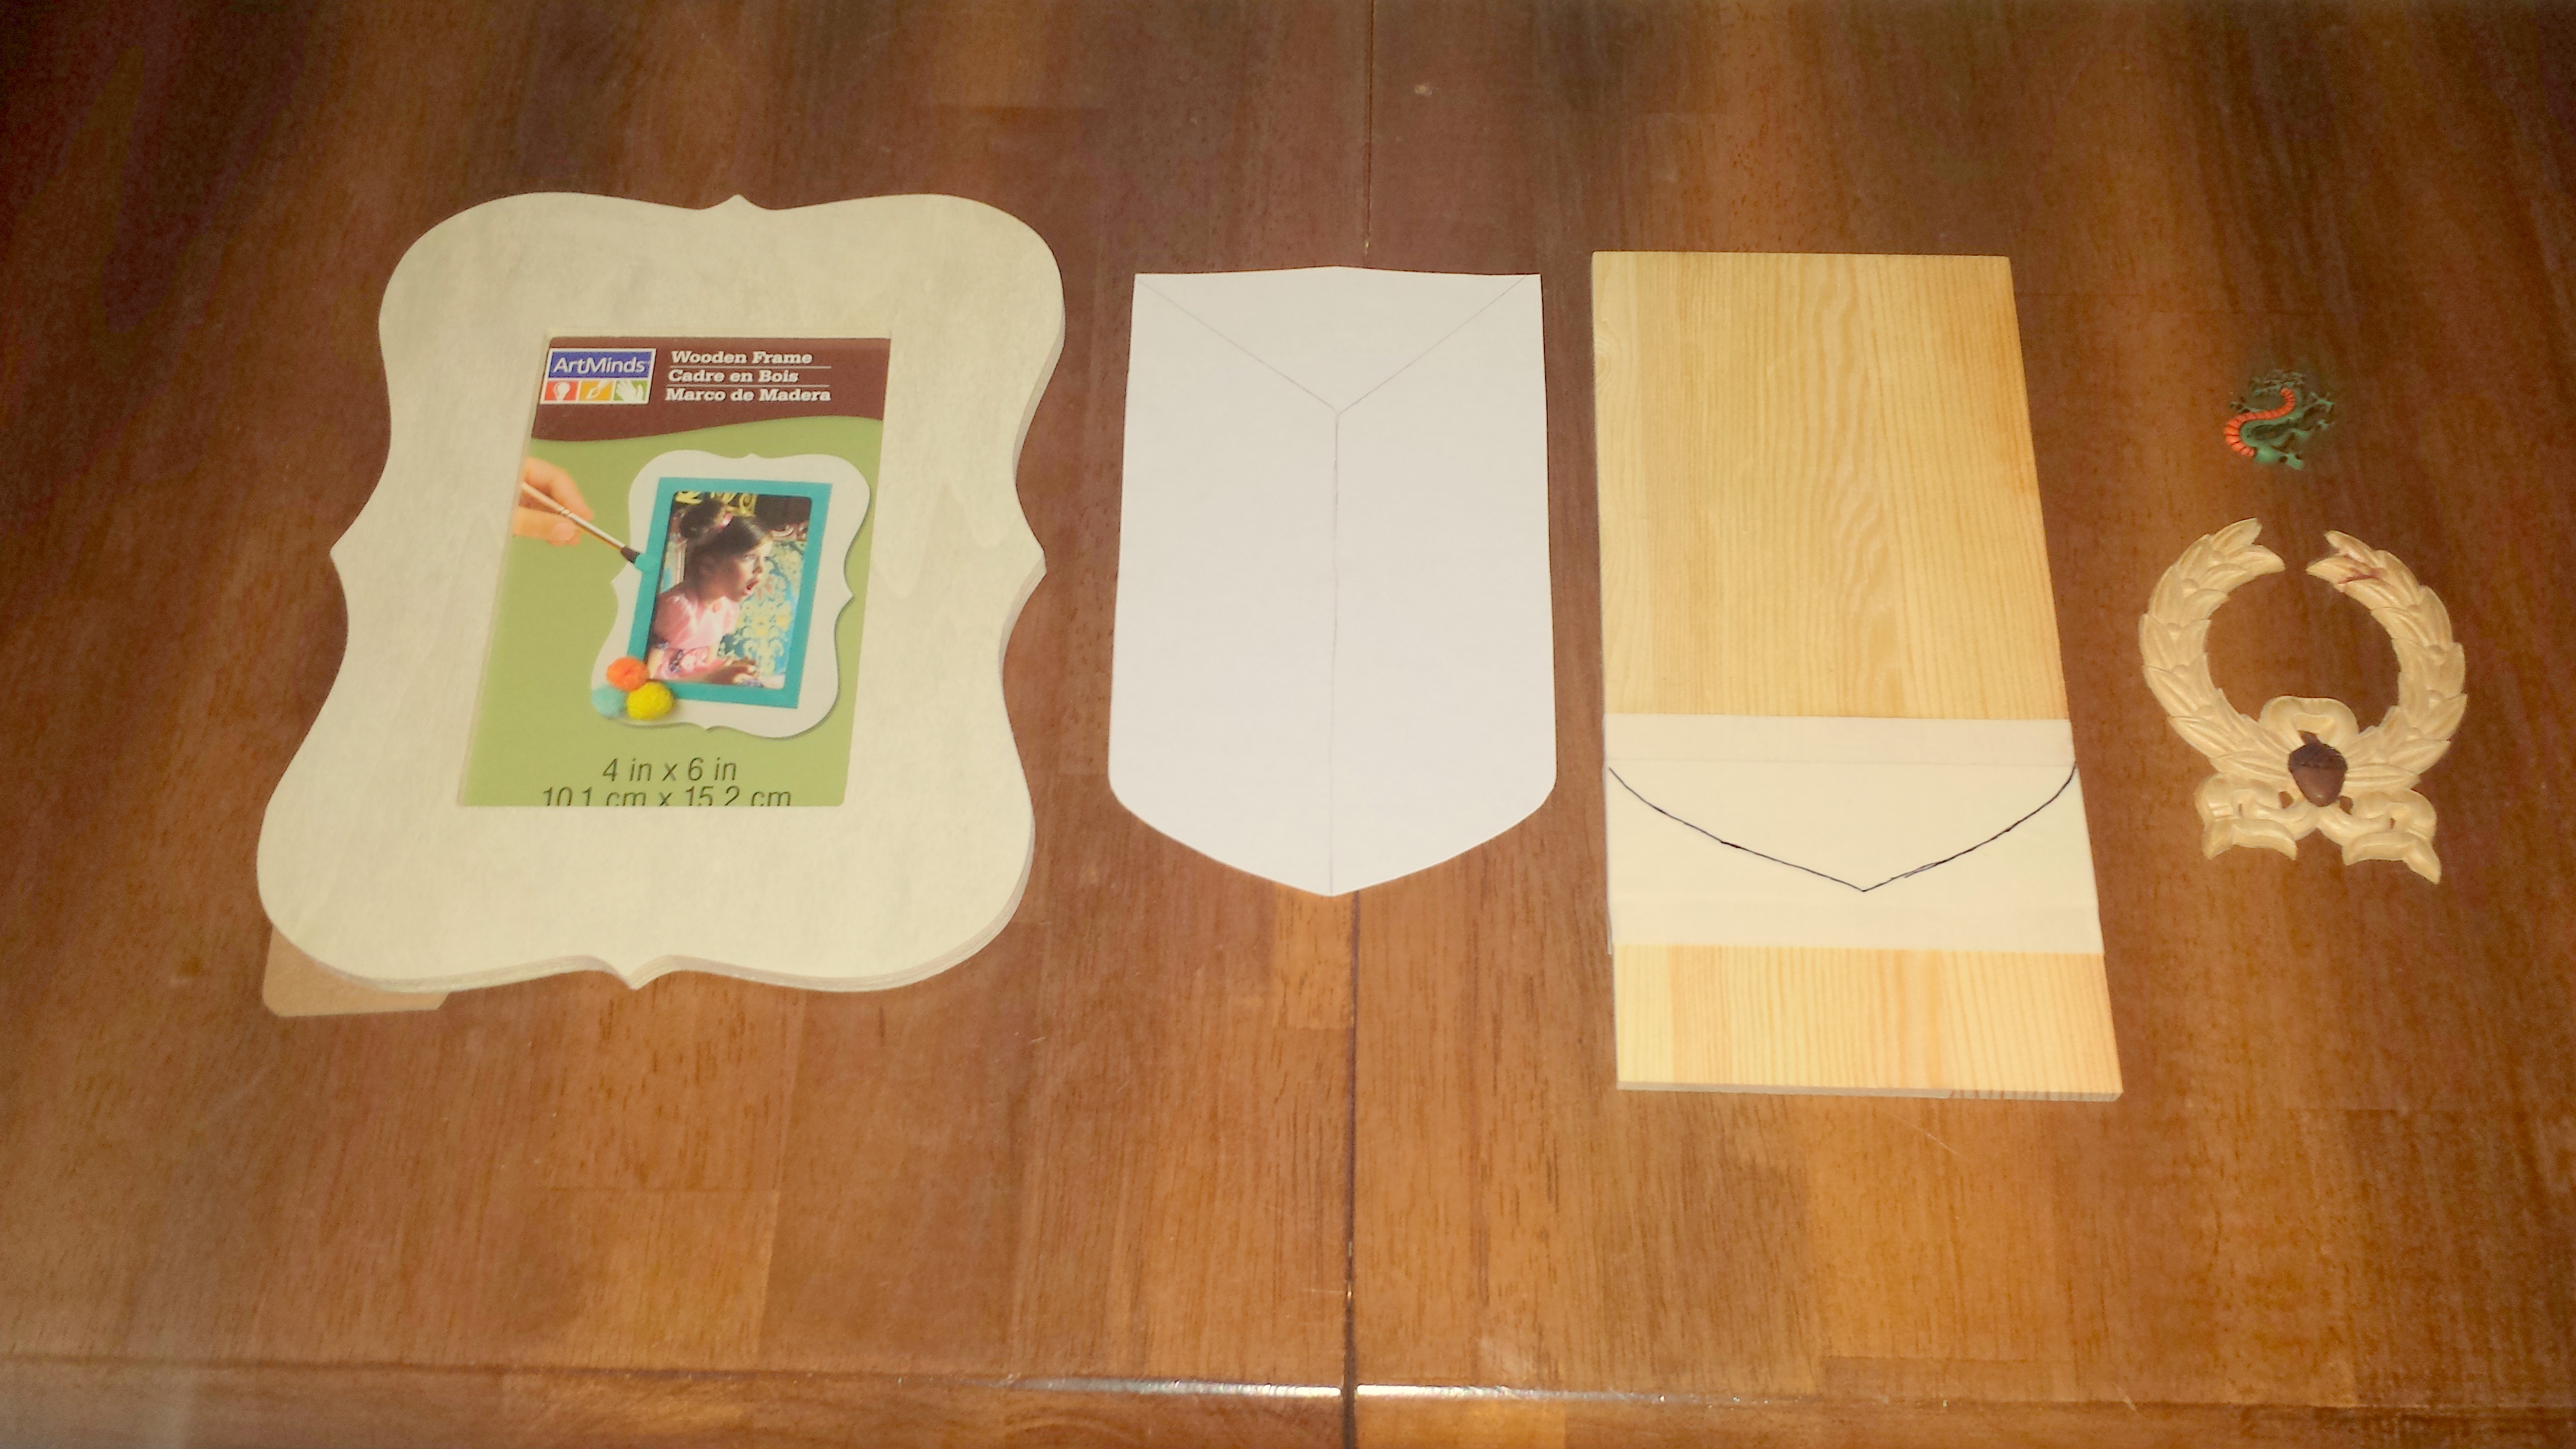
  • Frame
  • Scrapbook paper
  • Hot glue gun and glue sticks
  • Plastic self-adhesive letters – black – I used letters for version #1
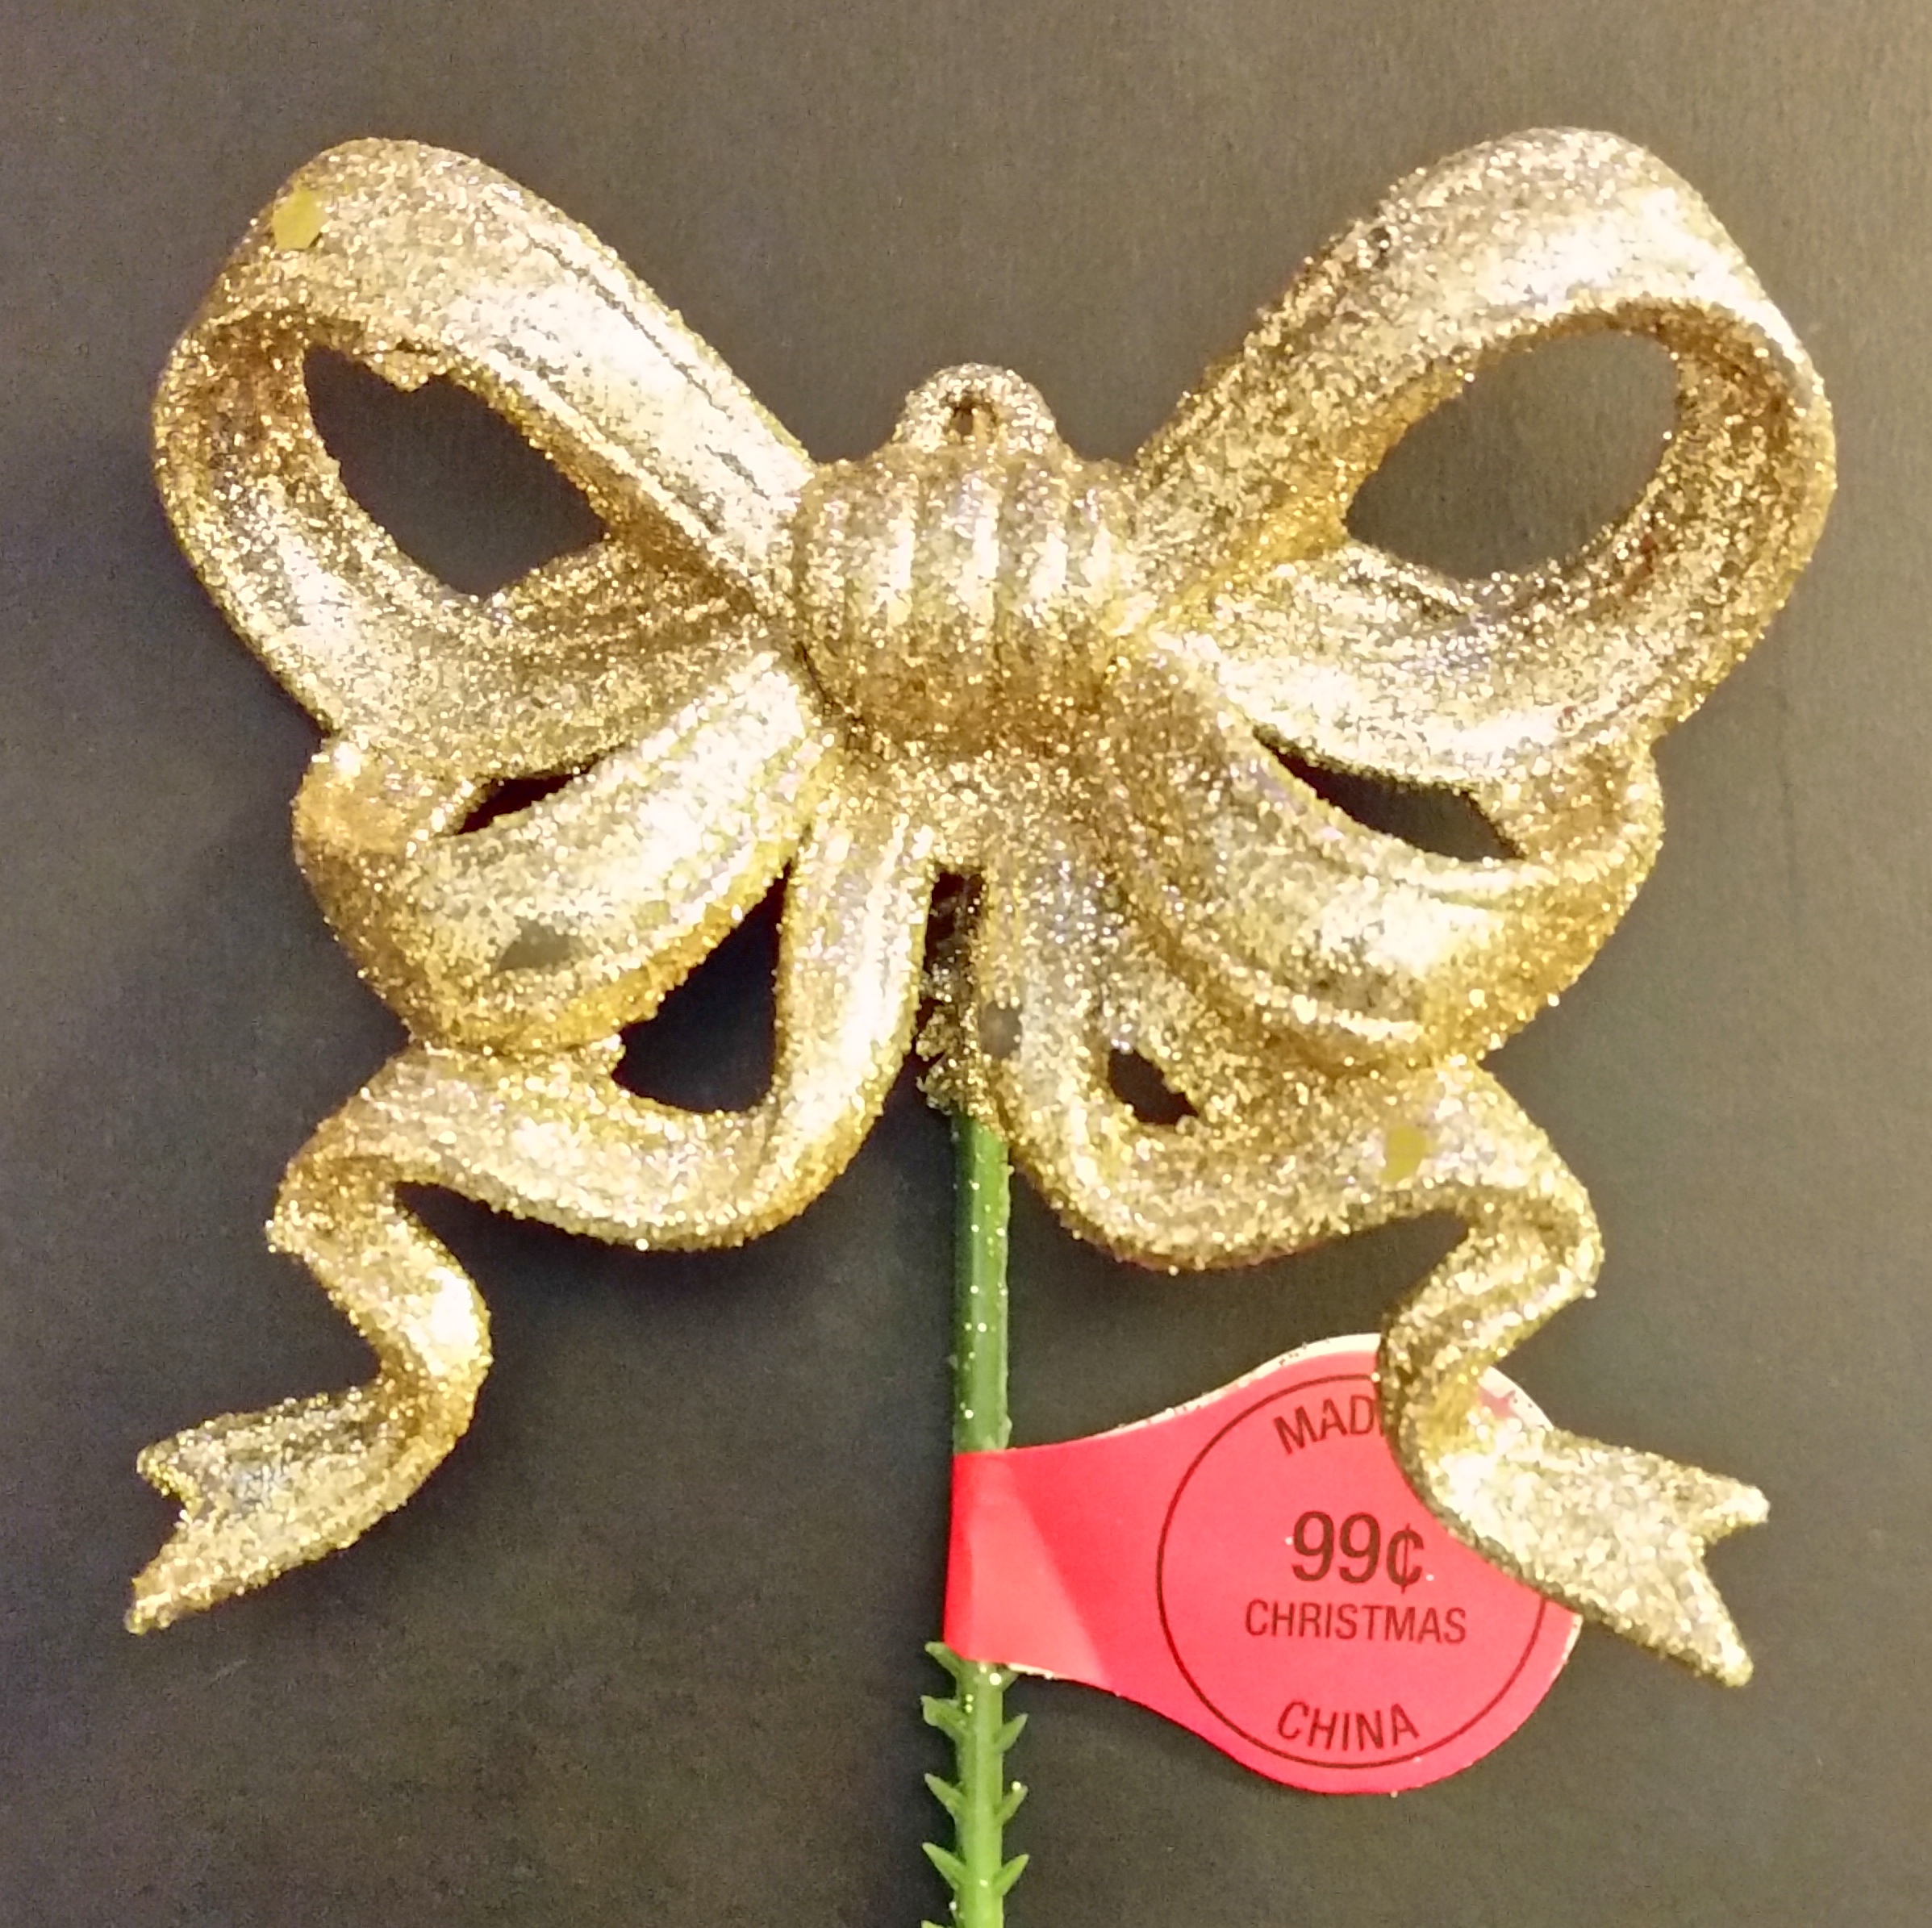
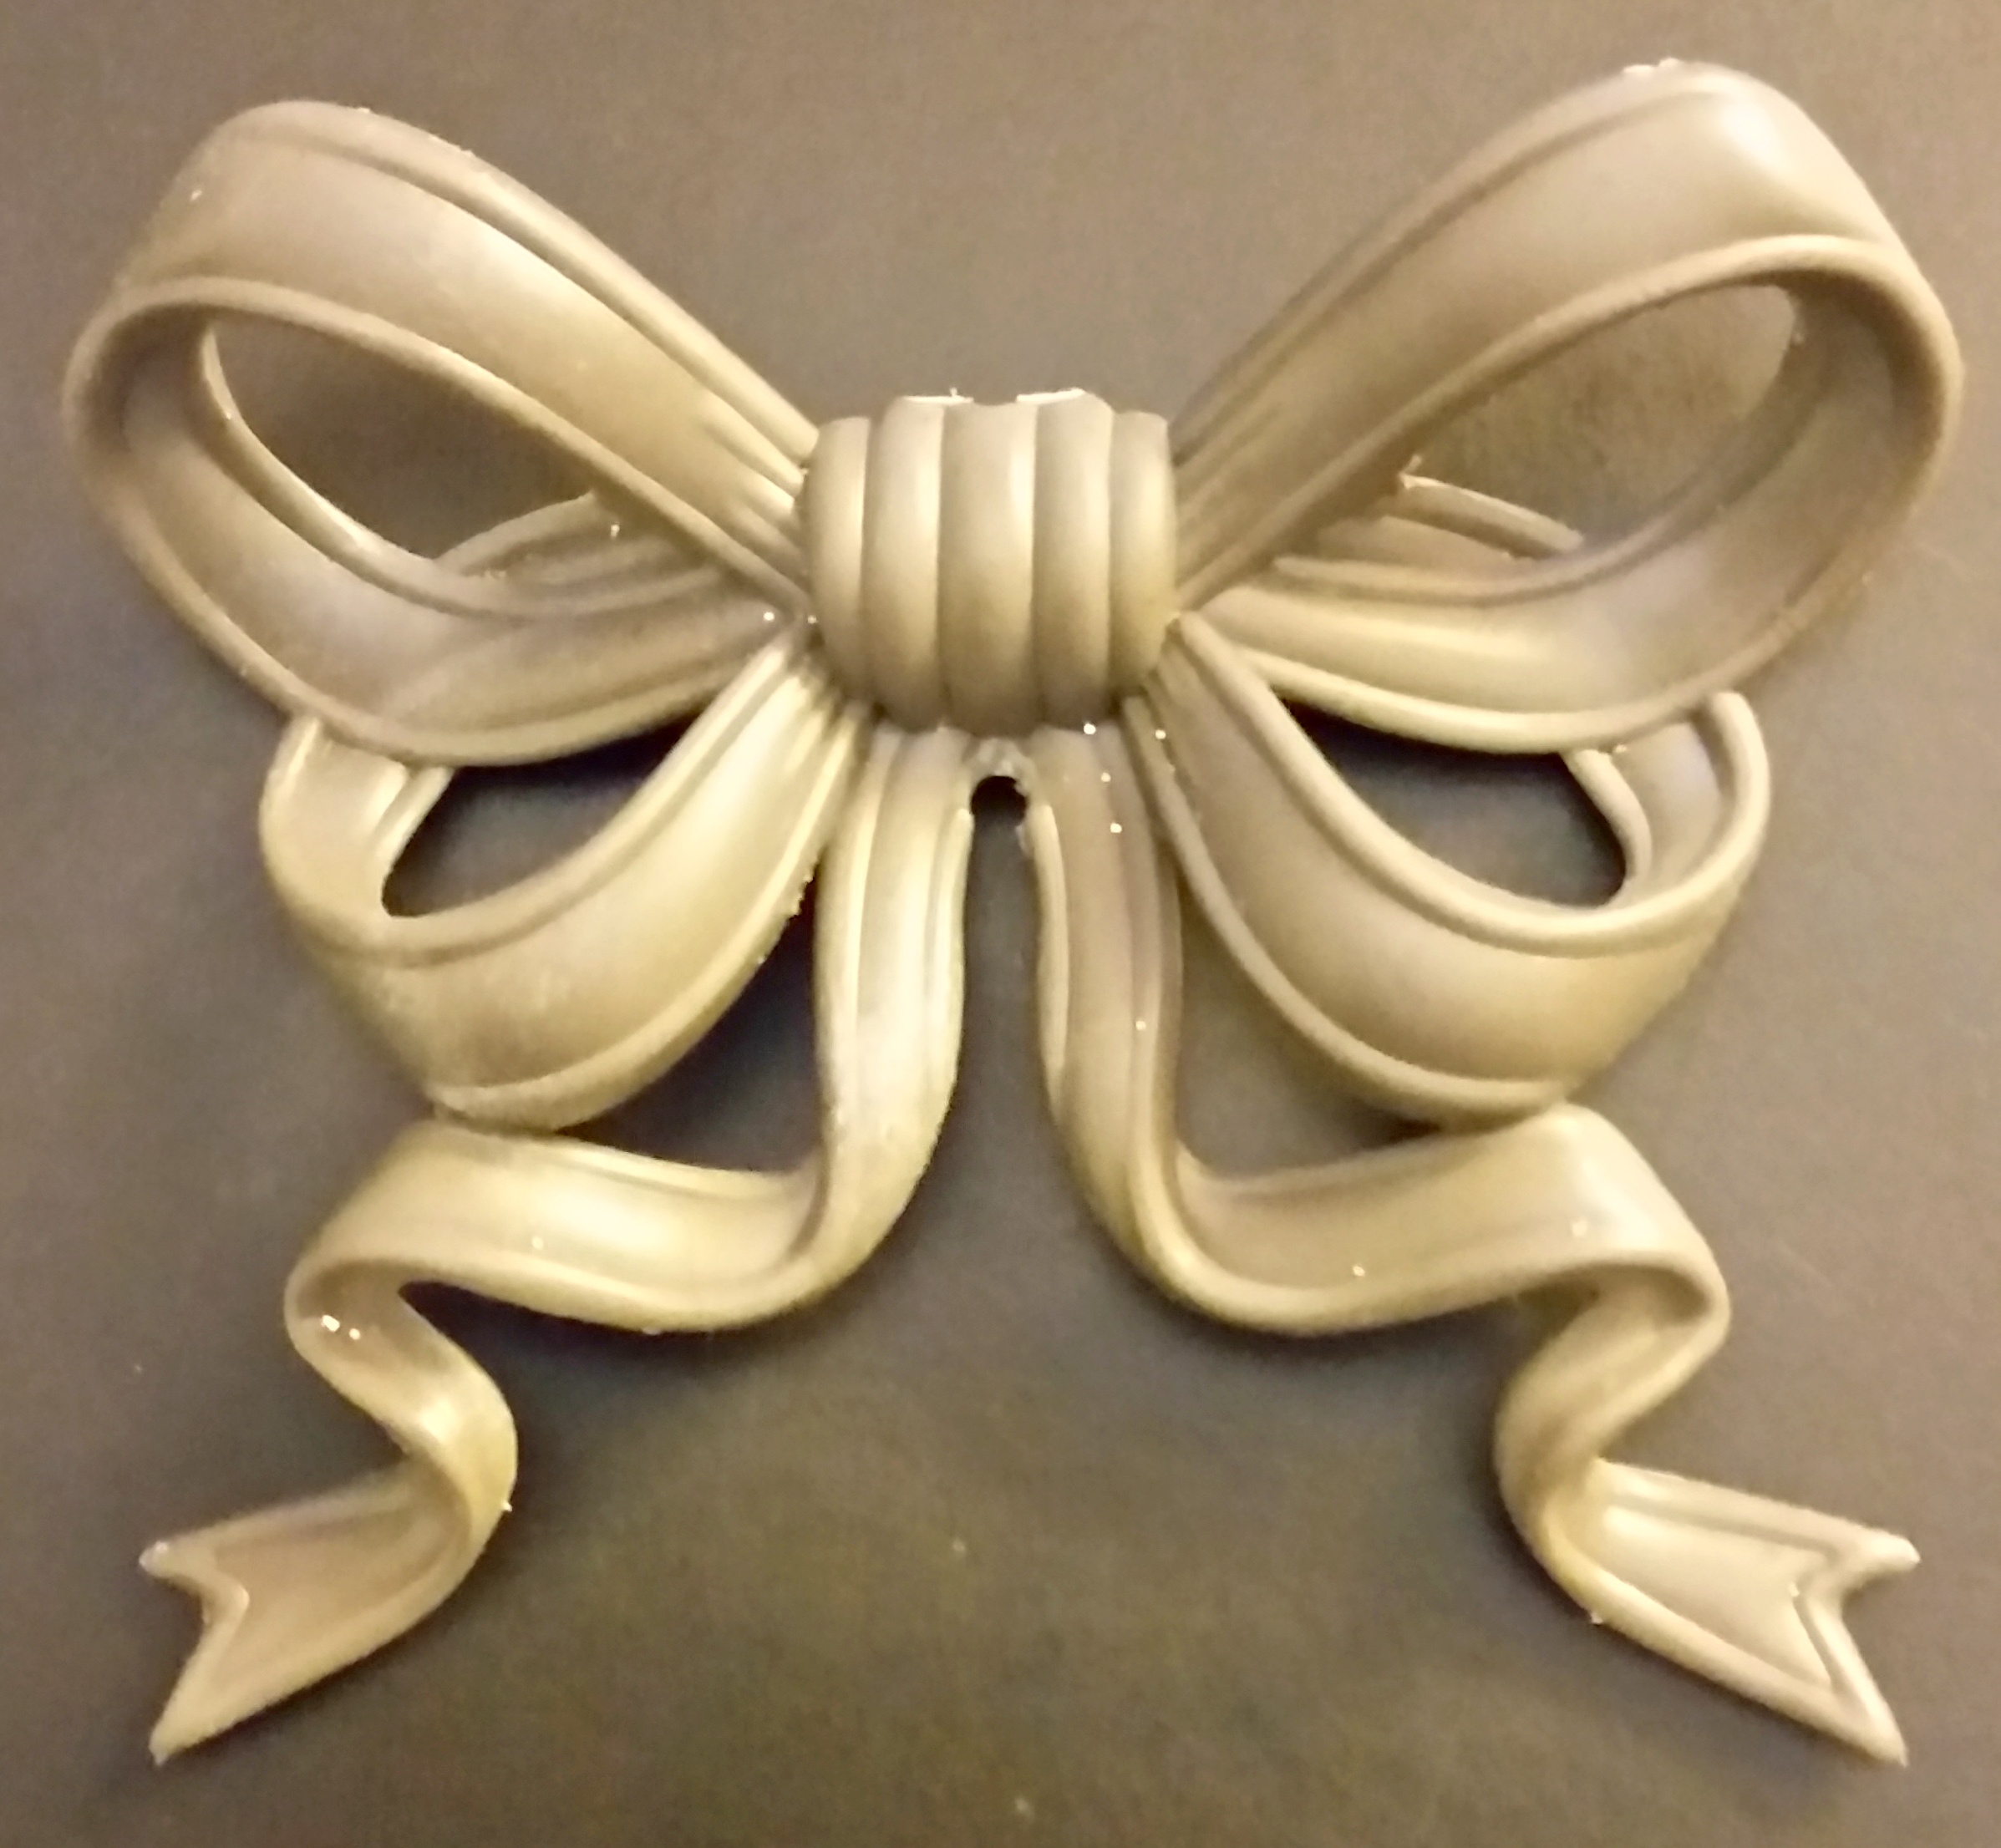
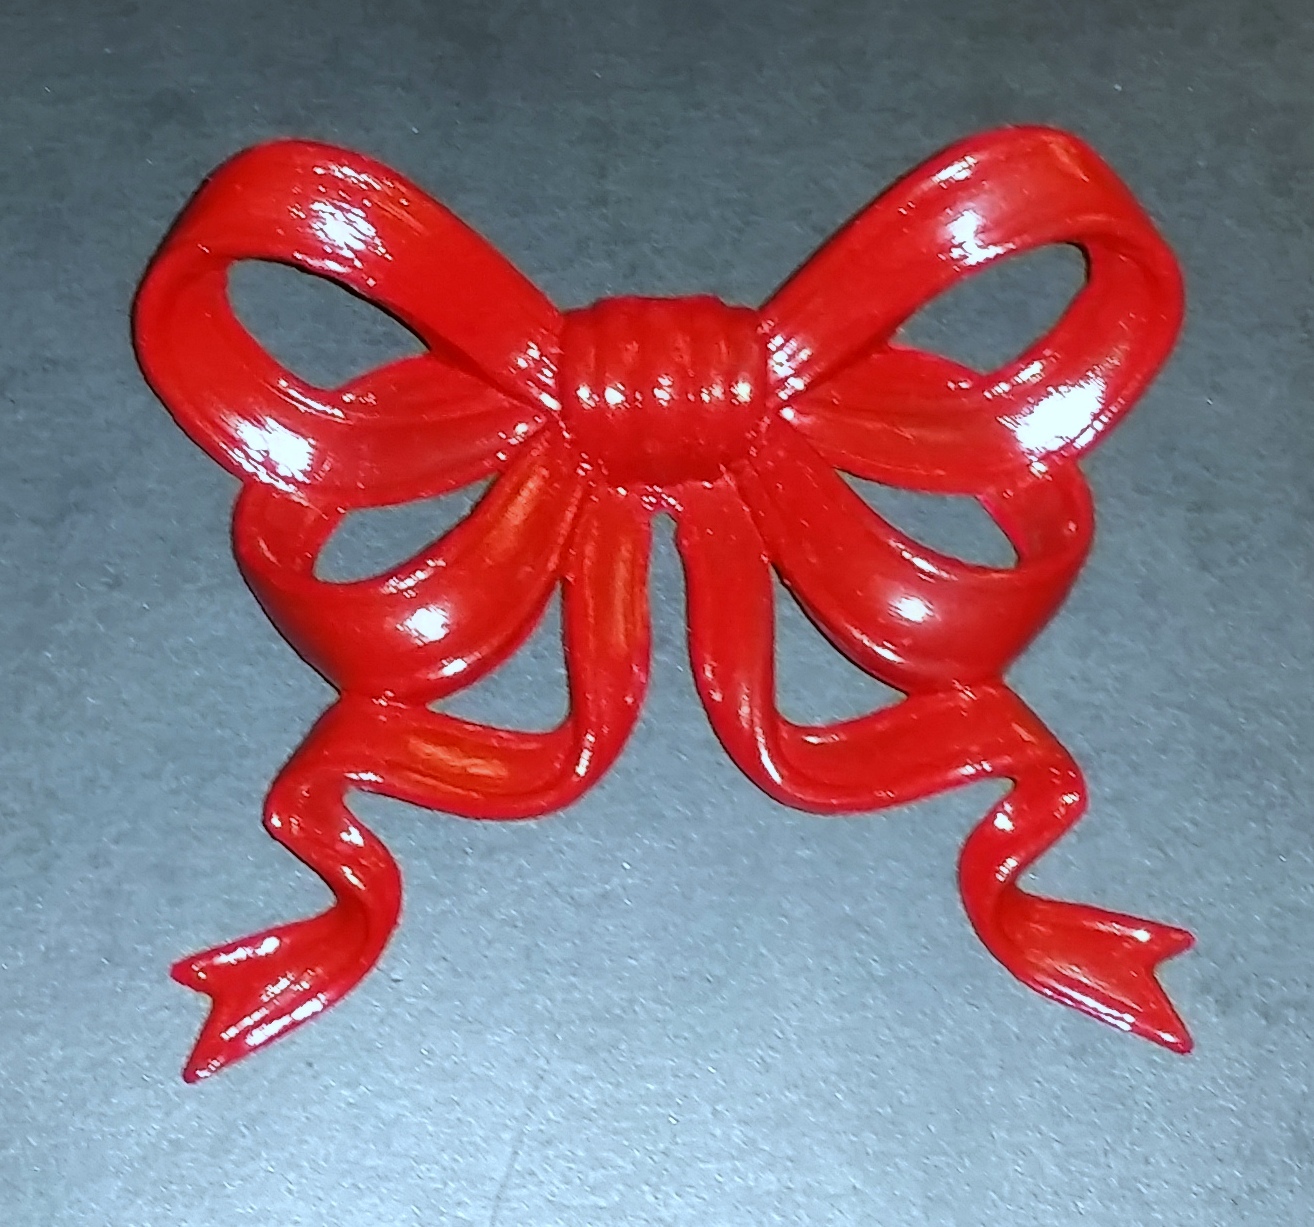
  • Embellishments – I used a plastic bow for the button wreath for version #3

Button Craft – instructions

  1. Disassemble the frame, remove the backing, picture mat and glass, set them aside
  2. Place the picture mat back into the frame
  3. Place the selected scrapbook paper into the frame
  4. Place the glass and the frame backing into the frame and secure it with the tabs provided.  By reassembling the items of the picture frame it will provide a solid surface to work on that will support the weight of the many layers of buttons
  5. Before adding the first layer of buttons I determined the position, this is important to make sure that the buttons are centered properly.  Also this first layer of buttons will help to form the desired shape, such as the heart, wreath or letter initial.  (Craft Tip: I used the dark colored buttons for the first layer to add depth to the finished project)Buttun Craft - version 1 - heart form
  6. Continue placing buttons, add several layers and overlap the buttons  (Craft Tip: I started with the larger buttons first and with each layer I added buttons decreasing in size until the last layer used the smallest buttons)
    Button Craft - bow - glitter  Button Craft - bow - plain  Button Craft - bow - red paint
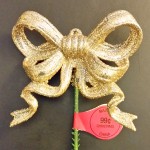
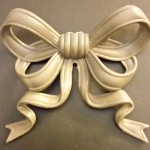
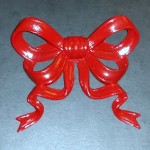
  7. After the last layer of buttons is glued into place, add the embellishments.  For version #1 I used the black plastic self-adhesive letters to spell out a clever saying!  For version #3 I used a plastic bow that I found in the Christmas aisle but it had gold glitter paint, I removed the glitter and repainted it a deep red color that coordinated with the red floral pattern scrapbook paper I selected.

Buttun Craft - version 1 - finished  Buttun Craft - version 3 - finished
Buttun Craft - version 2 - finished

Craft – Fairy Under Glass

Fariy Under Glass complete

A couple of years ago I did a Craft post, Glass Dome Arrangement and at the time the popular trend in home accessories was a terrarium containers.  The arrangement was set on a cabinet in our home and I really liked it.  Another Craft Post that I did several years ago was a Butterfly in a Jar and that arrangement sit on the desk in my home office during the spring and summer seasons.

For this craft project, it was the end of summer I thought it would be a fun idea to “trap” a fairy under glass to keep throughout the fall and winter months until I could let her “escape” in the springtime!!

The Fairy Under Glass craft project was very easy and took less than an hour to create, I re-purposed most of the items used in the previous arrangements so the cost was keep to a minimum.  But, if you are going to create this craft project from scratch the items required are very inexpensive.

Listed below are the supplies and instructions for the Fairy Under Glass craft project.

Fariy Under Glass suppliesFairy Under Glass – supplies

  • Glass container (the dimensions will be determined by the floral and fairy size)
  • Fairy figurine
  • Floral items (I used two different types of ferns and flowers to add color)
  • Artificial Mushrooms
  • Moss (optional)

Fariy Under Glass complete - dome off 2a

Fairy Under Glass – instructions

  1. Prepare the glass container for the craft project, clean or dust if necessary
  2. Arrange ferns and flowers (for this project I re-purposed the ferns from a previous arrangement and added flowers for a little bit of color)
  3. Place the fairy figurine at the front of the arrangement (I add a little bit of sparkle paint to the fairy’s wings to allow them to glimmer)
  4. Scatter a few mushrooms around the fairy
  5. (Optional) Add a little bit of moss to the arrangement, place some around the fairy and the mushrooms

Fariy Under Glass complete - dome off 1


Craft – Easter Floral Eggs

Floral Easter Eggs

This Easter I wanted to create beautiful Floral Eggs to add to our Easter decorations.  I had seen these types of eggs in magazines and I thought they looked different from the other Easter Eggs that I had previously made.  When shopping in the local craft store I found several colors of small plastic flowers that would be perfect for the craft project.

Below is a list of supplies and instructions to make the Floral Eggs:

Floral Easter Egg supplies

Floral Easter Eggs - supplies

  • Wooden egg (be sure to purchase one with a flat base)
  • Small flowers (when shopping for supplies calculate the amount of flowers required to cover the surface of the egg)
  • Paint (to match the color of the flowers selected)
  • Scissors (for clipping the flowers from the stem)
  • Hot glue gun and glue sticks
  • Sandpaper (optional)

Floral Easter Egg instructions  

  1. Start by sanding any rough edges of the wooden eggs (this is considered optional)
  2. Paint the entire surface of the wooden egg with the exception of the bottom, let paint dry completely.
    Floral Easter Eggs - step
  3. Prepare the flowers by snipping the flowers from the stems (be sure to clip the flowers as close to the bottom as possible, this will help the flowers sit flat against the wooden egg)
  4. Start at the top of the wooden egg and glue the first flower, work down the surface of the egg placing each flower tightly together. (Craft Tip: when I first started this craft project I glued each flower one at a time.  Then, I found a faster way but putting a one inch section of hot glue on the wooden egg and quickly placing several flowers at one time)

Easter Floral Eggs - step 4 start    Floral Easter Eggs - step 4 complete

Other types of supplies can be used to create different Easter egg variations, simply following steps 1, 2, skip 3 and 4.

  • Pearls beads – white, ivory or a variety of colors can be used
  • Crystals beads – clear, aurora borealis or a variety of colors can be used

For additional ideas for decorating a home or creating a wonderful variety of decorated Easter eggs with complete instructions and supply lists, please click on the following links:  Elegant Easter Eggs décor post, Faberge Inspired Eggs and Elegant Eggs craft post.

Craft – Valentine’s Day Shadowboxes

Love

Today’s Craft project will show three different versions of Valentine’s Day Shadowboxes.  These would make wonderful holiday decorative items and would look great on a fireplace mantel or bookshelf.  They could also be given as gifts for family, friends or maybe a special teacher.

The tip for making this craft project is that after you have selected the shadowbox that you will use, check out your favorite craft store for inexpensive items that would fit into the dimensions and depth of the shadowbox.  This is where your creatively can be used to make a customized and one-of-a-kind Valentine’s Day Shadowbox.

The three items that I selected were a red sequin heart for shadowbox #1, a wooden love for shadowbox #2 and two interlocking puzzle photo frames for shadowbox #3.

Valentine’s Day Shadowbox #1 – supplies and instructions

  • Shadowbox
  • Red sequin heart
  • White sparkle scrapbook paper
  • Black self-stick black letters
  1. Disassemble the shadowbox, remove the backing.
  2. Using the cardboard backing, trace the size onto the scrapbook paper and cut.
  3. Attach the red sequin to the scrapbook paper using glue, allow time to dry completely.
  4. Reassemble the shadowbox.
  5. Using the self-stick letters, spell out “You Captured My Heart” and attach letter to the glass front.

 You Captured My Heart

Valentine’s Day Shadowbox #2 – supplies and instructions

  • Shadowbox
  • Wooden word (I used one that spelled “love” which I painted red and black, then I attached self-stick black sequin onto the black letters for extra sprakle!)
  • Valentine’s Day themed scrapbook paper
  1. Disassemble the shadowbox, remove the backing.
  2. Using the cardboard backing, trace the size onto the scrapbook paper and cut.
  3. Attach the wooden love to the scrapbook paper using glue, allow time to dry completely.
  4. Reassemble the shadowbox.

Love

Valentine’s Day Shadowbox #3 – supplies and instructions

  • Shadowbox
  • 2 pink puzzle photo frames
  • 2 small black and white photos, copied to fit the size of the puzzle frames
  • Valentine’s Day themed scrapbook paper
  1. Disassemble the shadowbox, remove the backing.
  2. Using the cardboard backing, trace the size onto the scrapbook paper and cut.
  3. Copy/print two black and white photos to fit the size of the puzzle frames.
  4. Attach the photos to the puzzle frames using glue or tape.
  5. Attach the puzzle frames to the scrapbook paper using glue.
  6. Reassemble the shadowbox.

Puzzle Pieces

Craft – Heraldic Shield

Heraldic shield - final

Inspired by the three part series on Hampton Court that I recently posted, I decided to create a coat of arms similar to the ones seen at that grand palace which sits near the River Thames.  Shown below is the ceiling of the Great Gatehouse at Hampton Court which shows a wonderful example of a heraldic shield in the center and several additional symbols set around the circle.

Great Gatehouse ceiling

Before starting this craft project, I would advise doing some research on the internet to get an idea of the various parts of a heraldic shield or a coat of arms.  This will help to determine the different ways to create a personalized heraldic shield that tells a story about your family.

Shape and general appearance –

To start this project, I first determined the shape of the shield (there are so many different shapes!).  Once I decided on the shape, I knew I wanted to divide the shield into three parts to represent myself, my husband and our daughter.

Color for the shield –

I selected three different colors for each of the three sections of the shield.  The colors I choose were: red which meant patient and victorious, blue which meant truth and loyalty and green which meant hope and joy.  The red would represent me, blue would be my husband and green would be for my daughter because it is her favorite color.

Symbols –

Next, I thought about what symbols I wanted to use on the shield.  This was the fun part of the project because I walked the aisles of my local craft store in search of the items that I needed.  In the scrapbook section I found a small plastic acorn (my terrier-mix dog is named “Acorn”) and a plastic dragon (my daughter was born in the “Year of the Dragon”) and in the wood section I found a ready-made wooden laurel wreath.  Each element had a specific meaning: the acorn meant independence and strength, the dragon meant valiant defender and protector and the laurel wreath meant peace and triumph.

Heraldic shield -supplies

Heraldic Shield Supplies

  • Un-finished wooden picture frame
  • Piece of wood
  • Various symbols (I used a plastic acorn and dragon and a wooden laurel wreath)
  • Paint (I used metallic bronze, gold, red, blue and green)
  • Paint brushes
  • Black Sharpie
  • Hot glue gun, glue sticks
  • Sandpaper
  • Jig saw
  • Piece of paper (to create the shield template)

Heraldic Shield Instructions

  1. Before starting, determine the shape of the shield and the placement of the different symbols.
    Heraldic shield - mock-up
  2. Using a sheet of white paper, create a template for the shape of the shield that will fit the dimensions of the piece of wood.
    Heraldic shield 1    Heraldic shield 1a
  3. Using a jig saw, cut the piece of wood to the shape of the shield.  (Craft Tip: My husband taped the area where the cut was to be made to prevent the wood from splitting)
  4. Using sandpaper, smooth the rough surfaces of the shield and the frame to prepare them for painting.
  5. Next, glue the plastic acorn to the wooden laurel wreath.
  6. Paint the wooden frame using a metallic bronze paint.  Then, paint the acorn/laurel wreath and the dragon using a gold paint.  Allow paint to dry completely.
    Heraldic shield 2    Heraldic shield 2a
  7. Using a pencil, draw lines on the wooden shield to create three sections.  Paint the first section with a red metallic paint, the next with metallic blue paint and the final section with a green metallic paint.  Allow the paint to dry completely.
  8. Using a black Sharpie pen, draw lines dividing each of the three sections.
  9. Using a hot glue gun, attach the shield to the wooden frame
  10. Using a hot glue gun, attach the acorn/laurel wreath and dragon to the wooden shield.

Heraldic shield 4    Heraldic shield - final

P.S. – Since finishing this craft project of the Heraldic Shield, I thought that painting the acorn and the dragon in silver added an extra dimension to the finished shield and you could see the acorn better.

Heraldic shield - final with silver paint