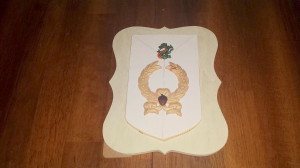
Inspired by the three part series on Hampton Court that I recently posted, I decided to create a coat of arms similar to the ones seen at that grand palace which sits near the River Thames. Shown below is the ceiling of the Great Gatehouse at Hampton Court which shows a wonderful example of a heraldic shield in the center and several additional symbols set around the circle.

Before starting this craft project, I would advise doing some research on the internet to get an idea of the various parts of a heraldic shield or a coat of arms. This will help to determine the different ways to create a personalized heraldic shield that tells a story about your family.
Shape and general appearance –
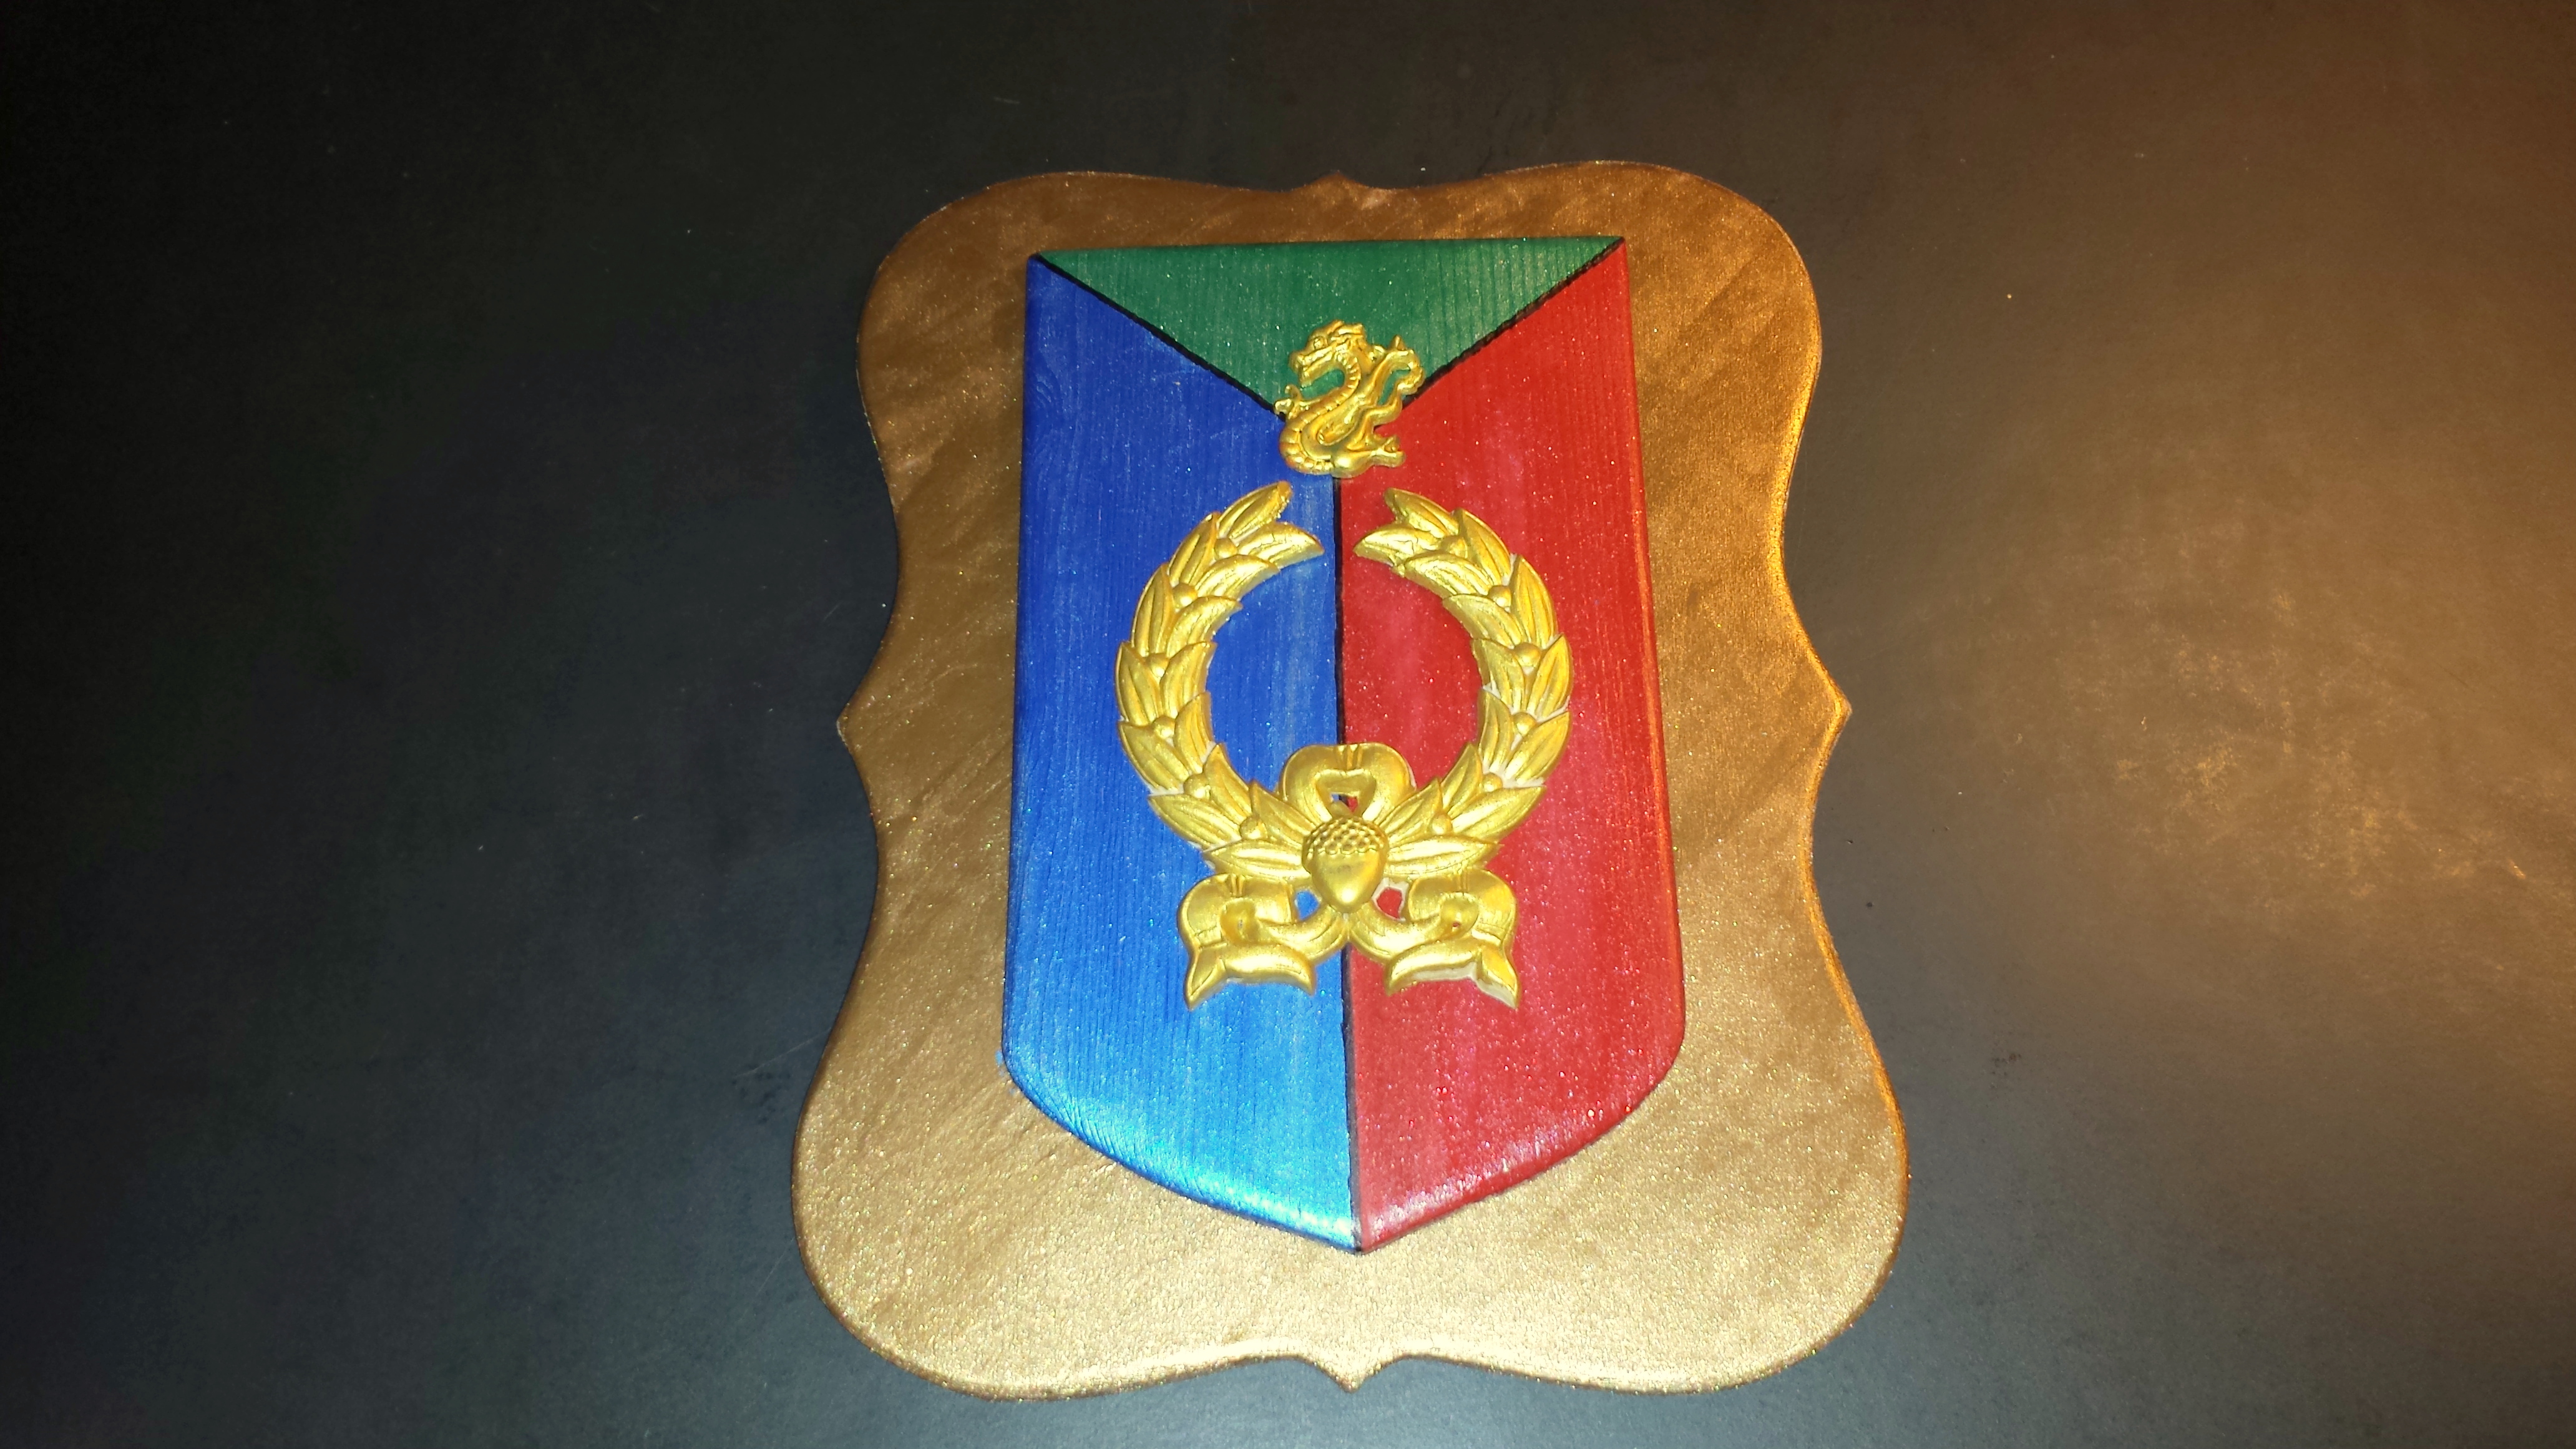
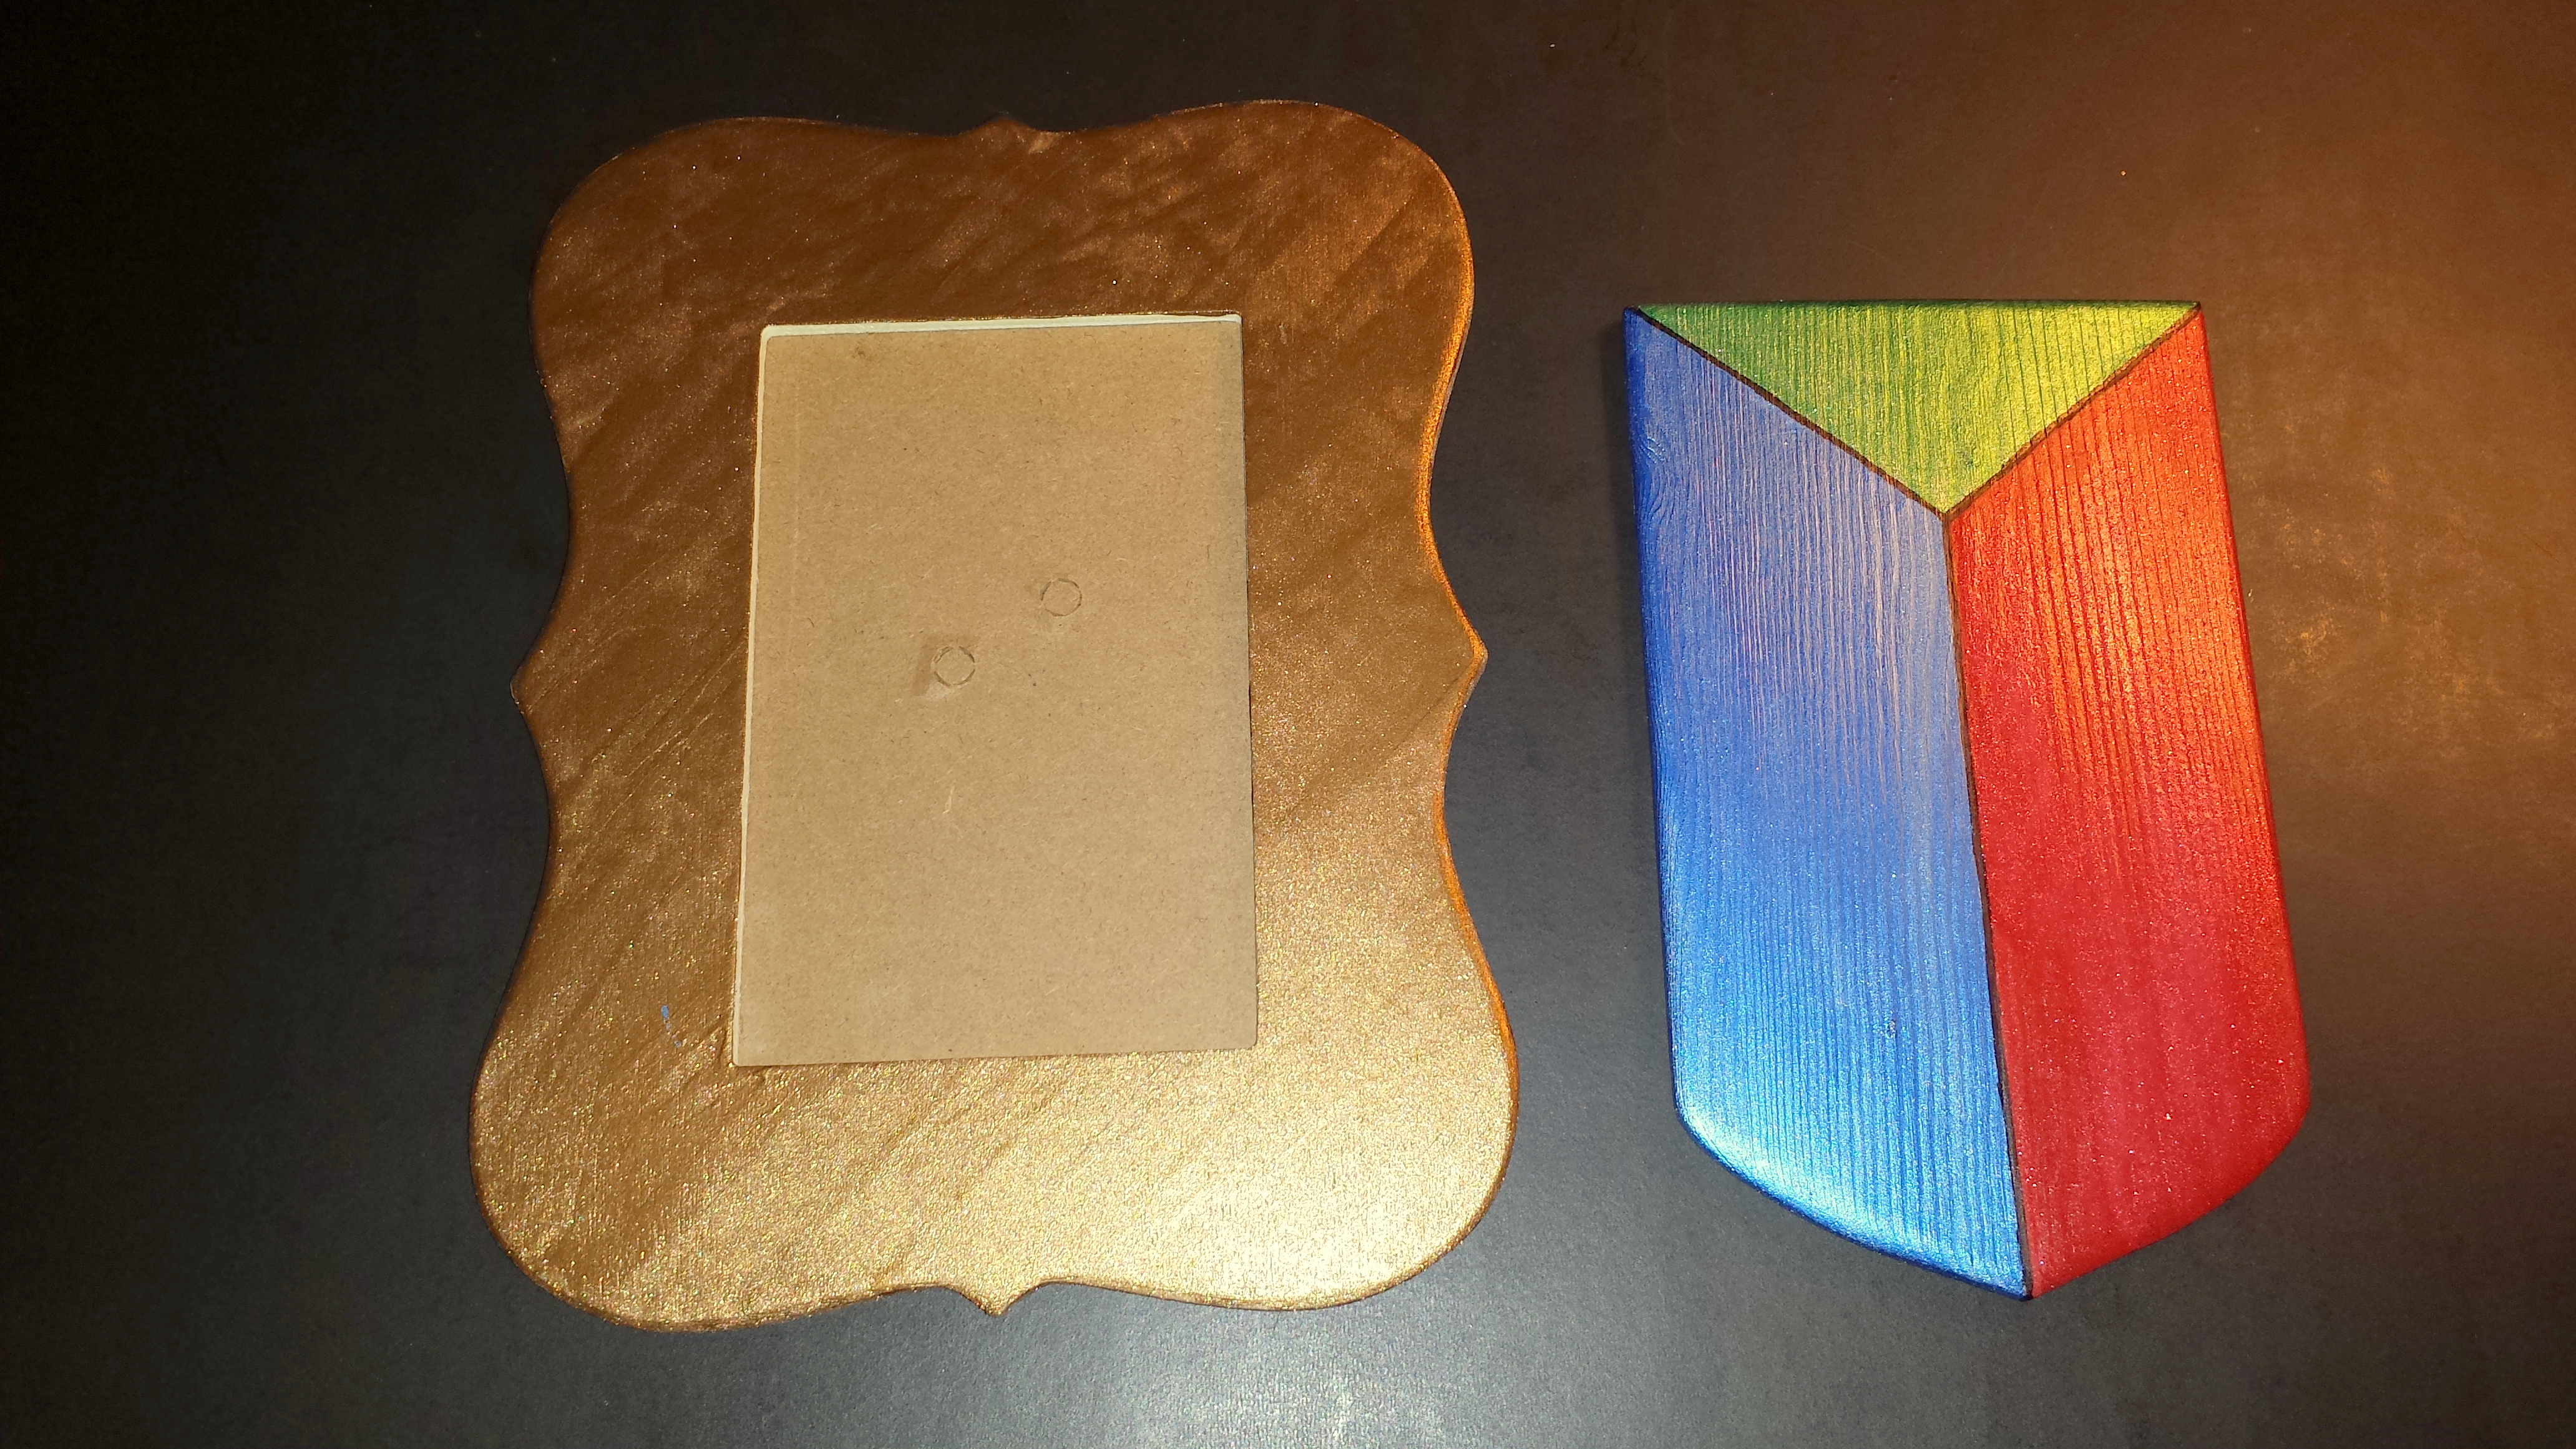
To start this project, I first determined the shape of the shield (there are so many different shapes!). Once I decided on the shape, I knew I wanted to divide the shield into three parts to represent myself, my husband and our daughter.
Color for the shield –
I selected three different colors for each of the three sections of the shield. The colors I choose were: red which meant patient and victorious, blue which meant truth and loyalty and green which meant hope and joy. The red would represent me, blue would be my husband and green would be for my daughter because it is her favorite color.
Symbols –
Next, I thought about what symbols I wanted to use on the shield. This was the fun part of the project because I walked the aisles of my local craft store in search of the items that I needed. In the scrapbook section I found a small plastic acorn (my terrier-mix dog is named “Acorn”) and a plastic dragon (my daughter was born in the “Year of the Dragon”) and in the wood section I found a ready-made wooden laurel wreath. Each element had a specific meaning: the acorn meant independence and strength, the dragon meant valiant defender and protector and the laurel wreath meant peace and triumph.
Heraldic Shield Supplies
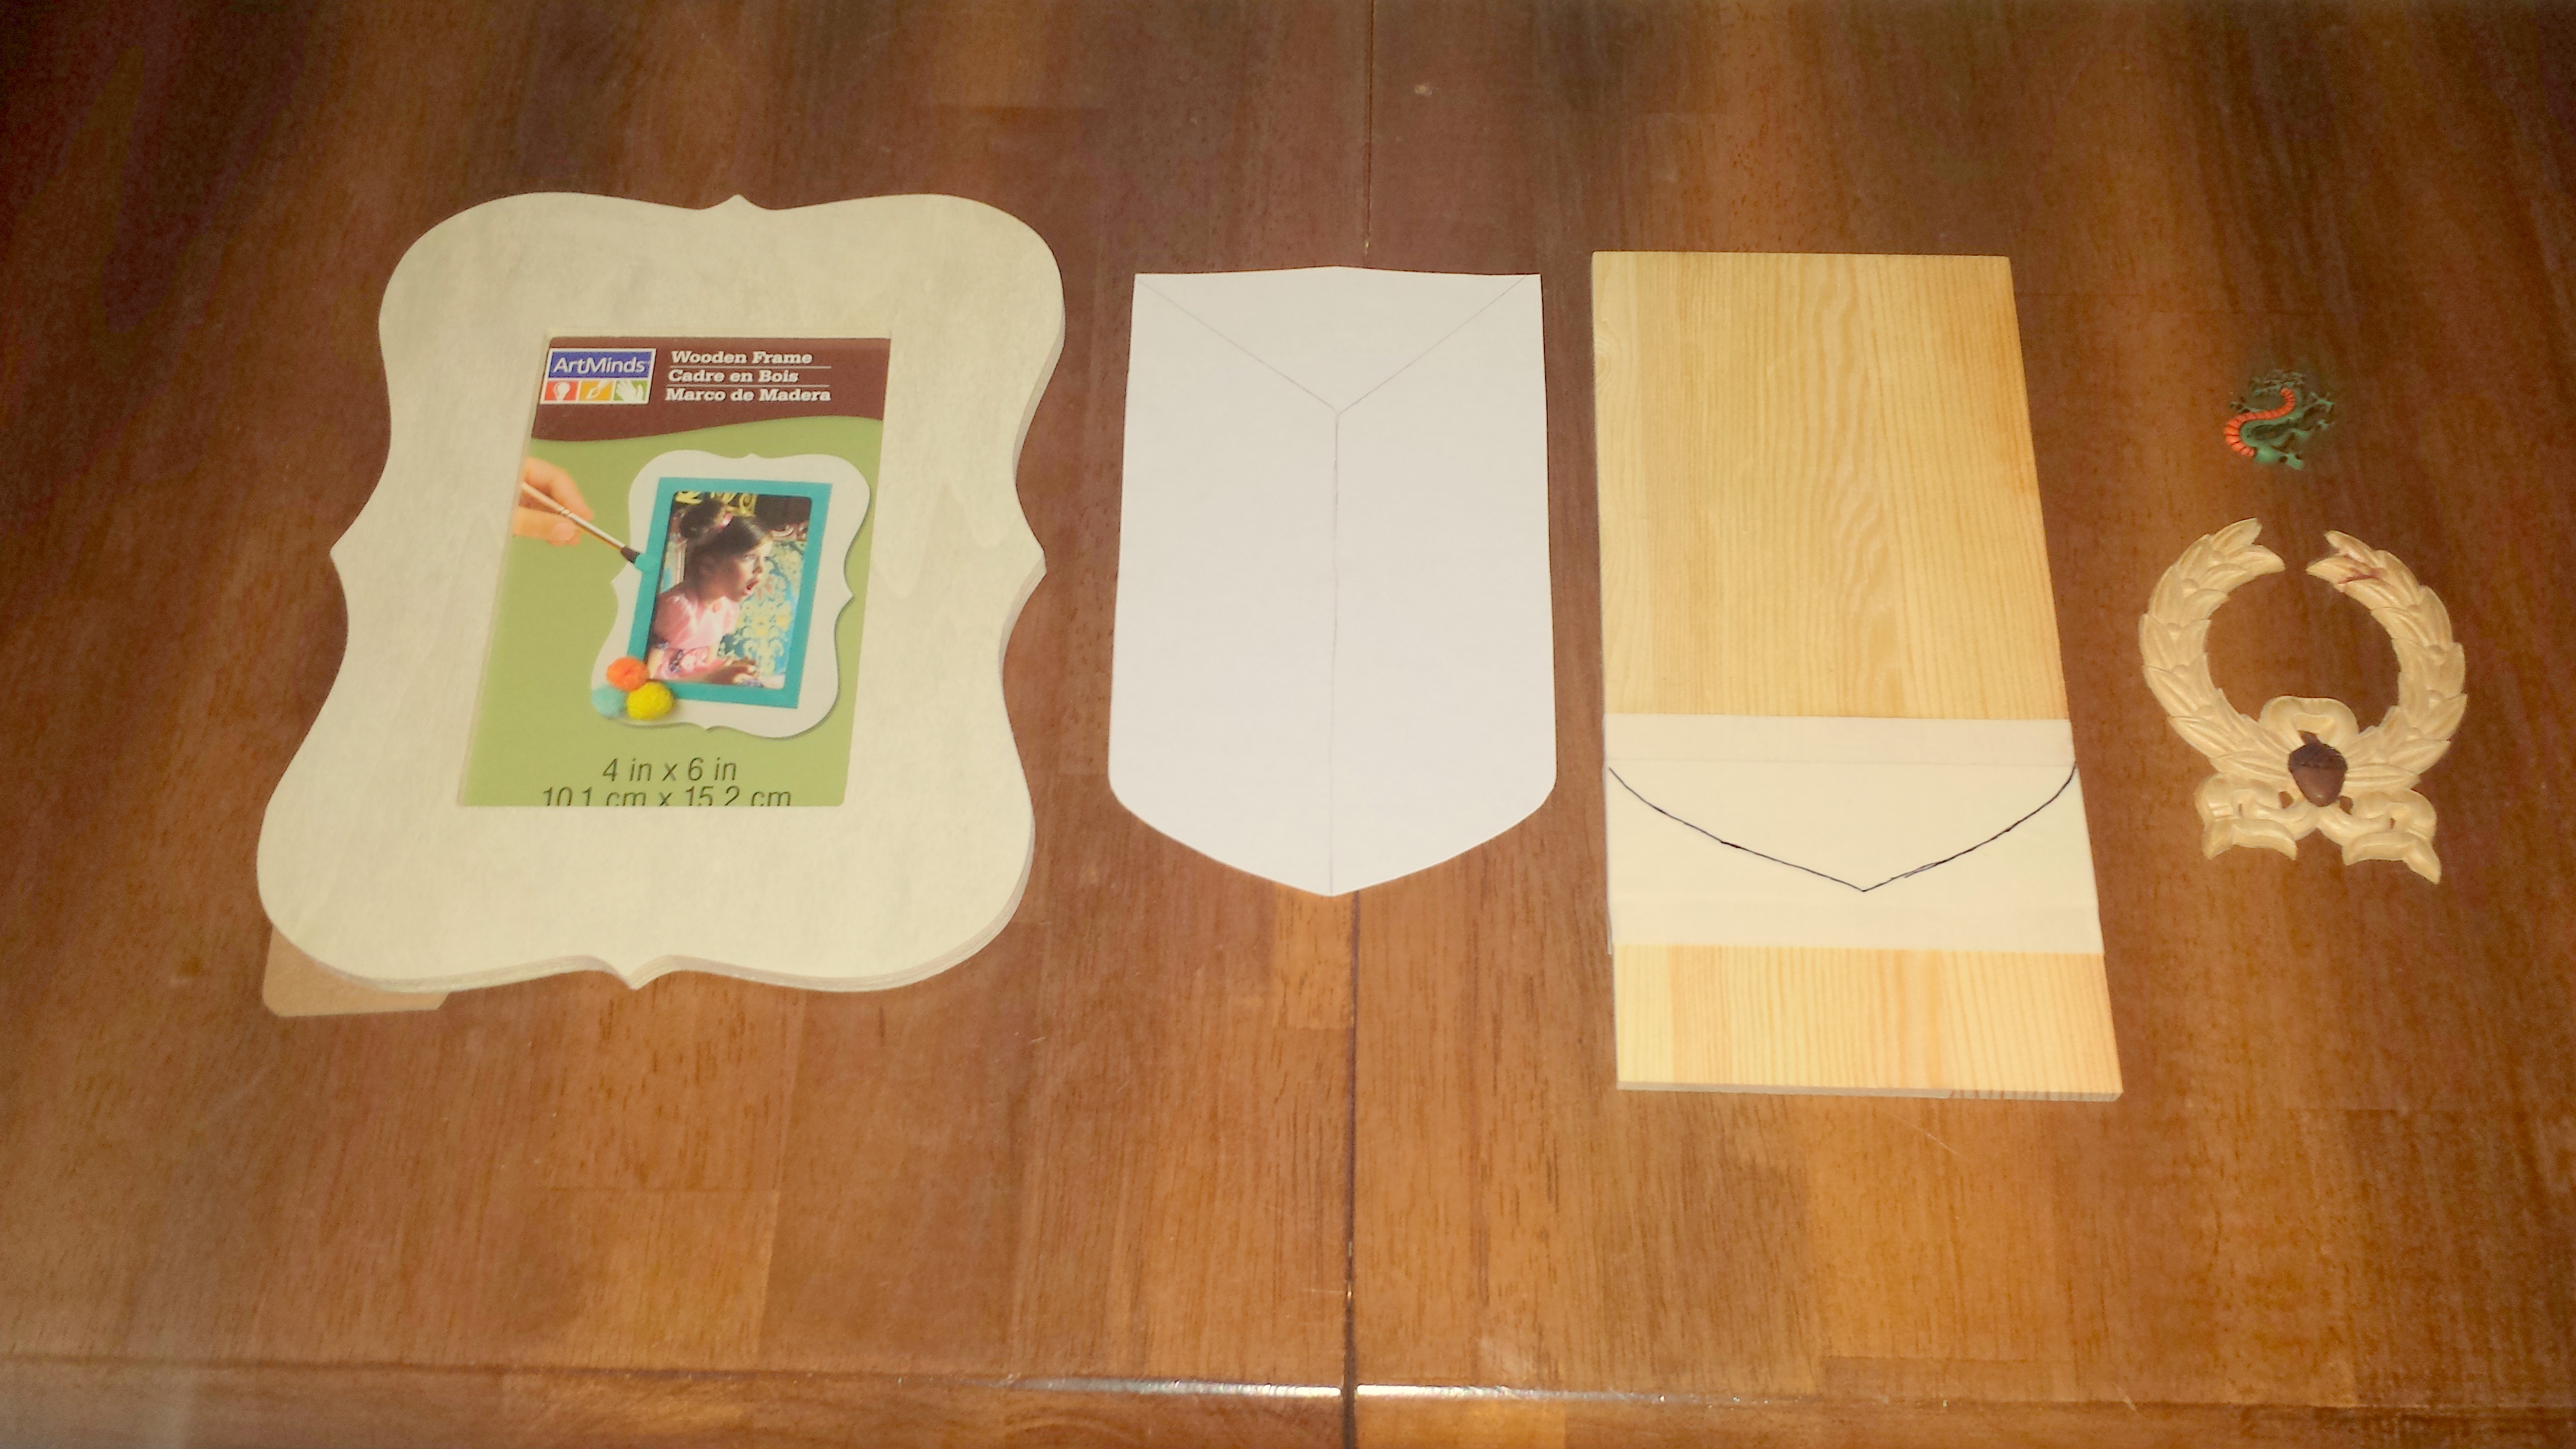
- Un-finished wooden picture frame
- Piece of wood
- Various symbols (I used a plastic acorn and dragon and a wooden laurel wreath)
- Paint (I used metallic bronze, gold, red, blue and green)
- Paint brushes
- Black Sharpie
- Hot glue gun, glue sticks
- Sandpaper
- Jig saw
- Piece of paper (to create the shield template)
Heraldic Shield Instructions
- Before starting, determine the shape of the shield and the placement of the different symbols.
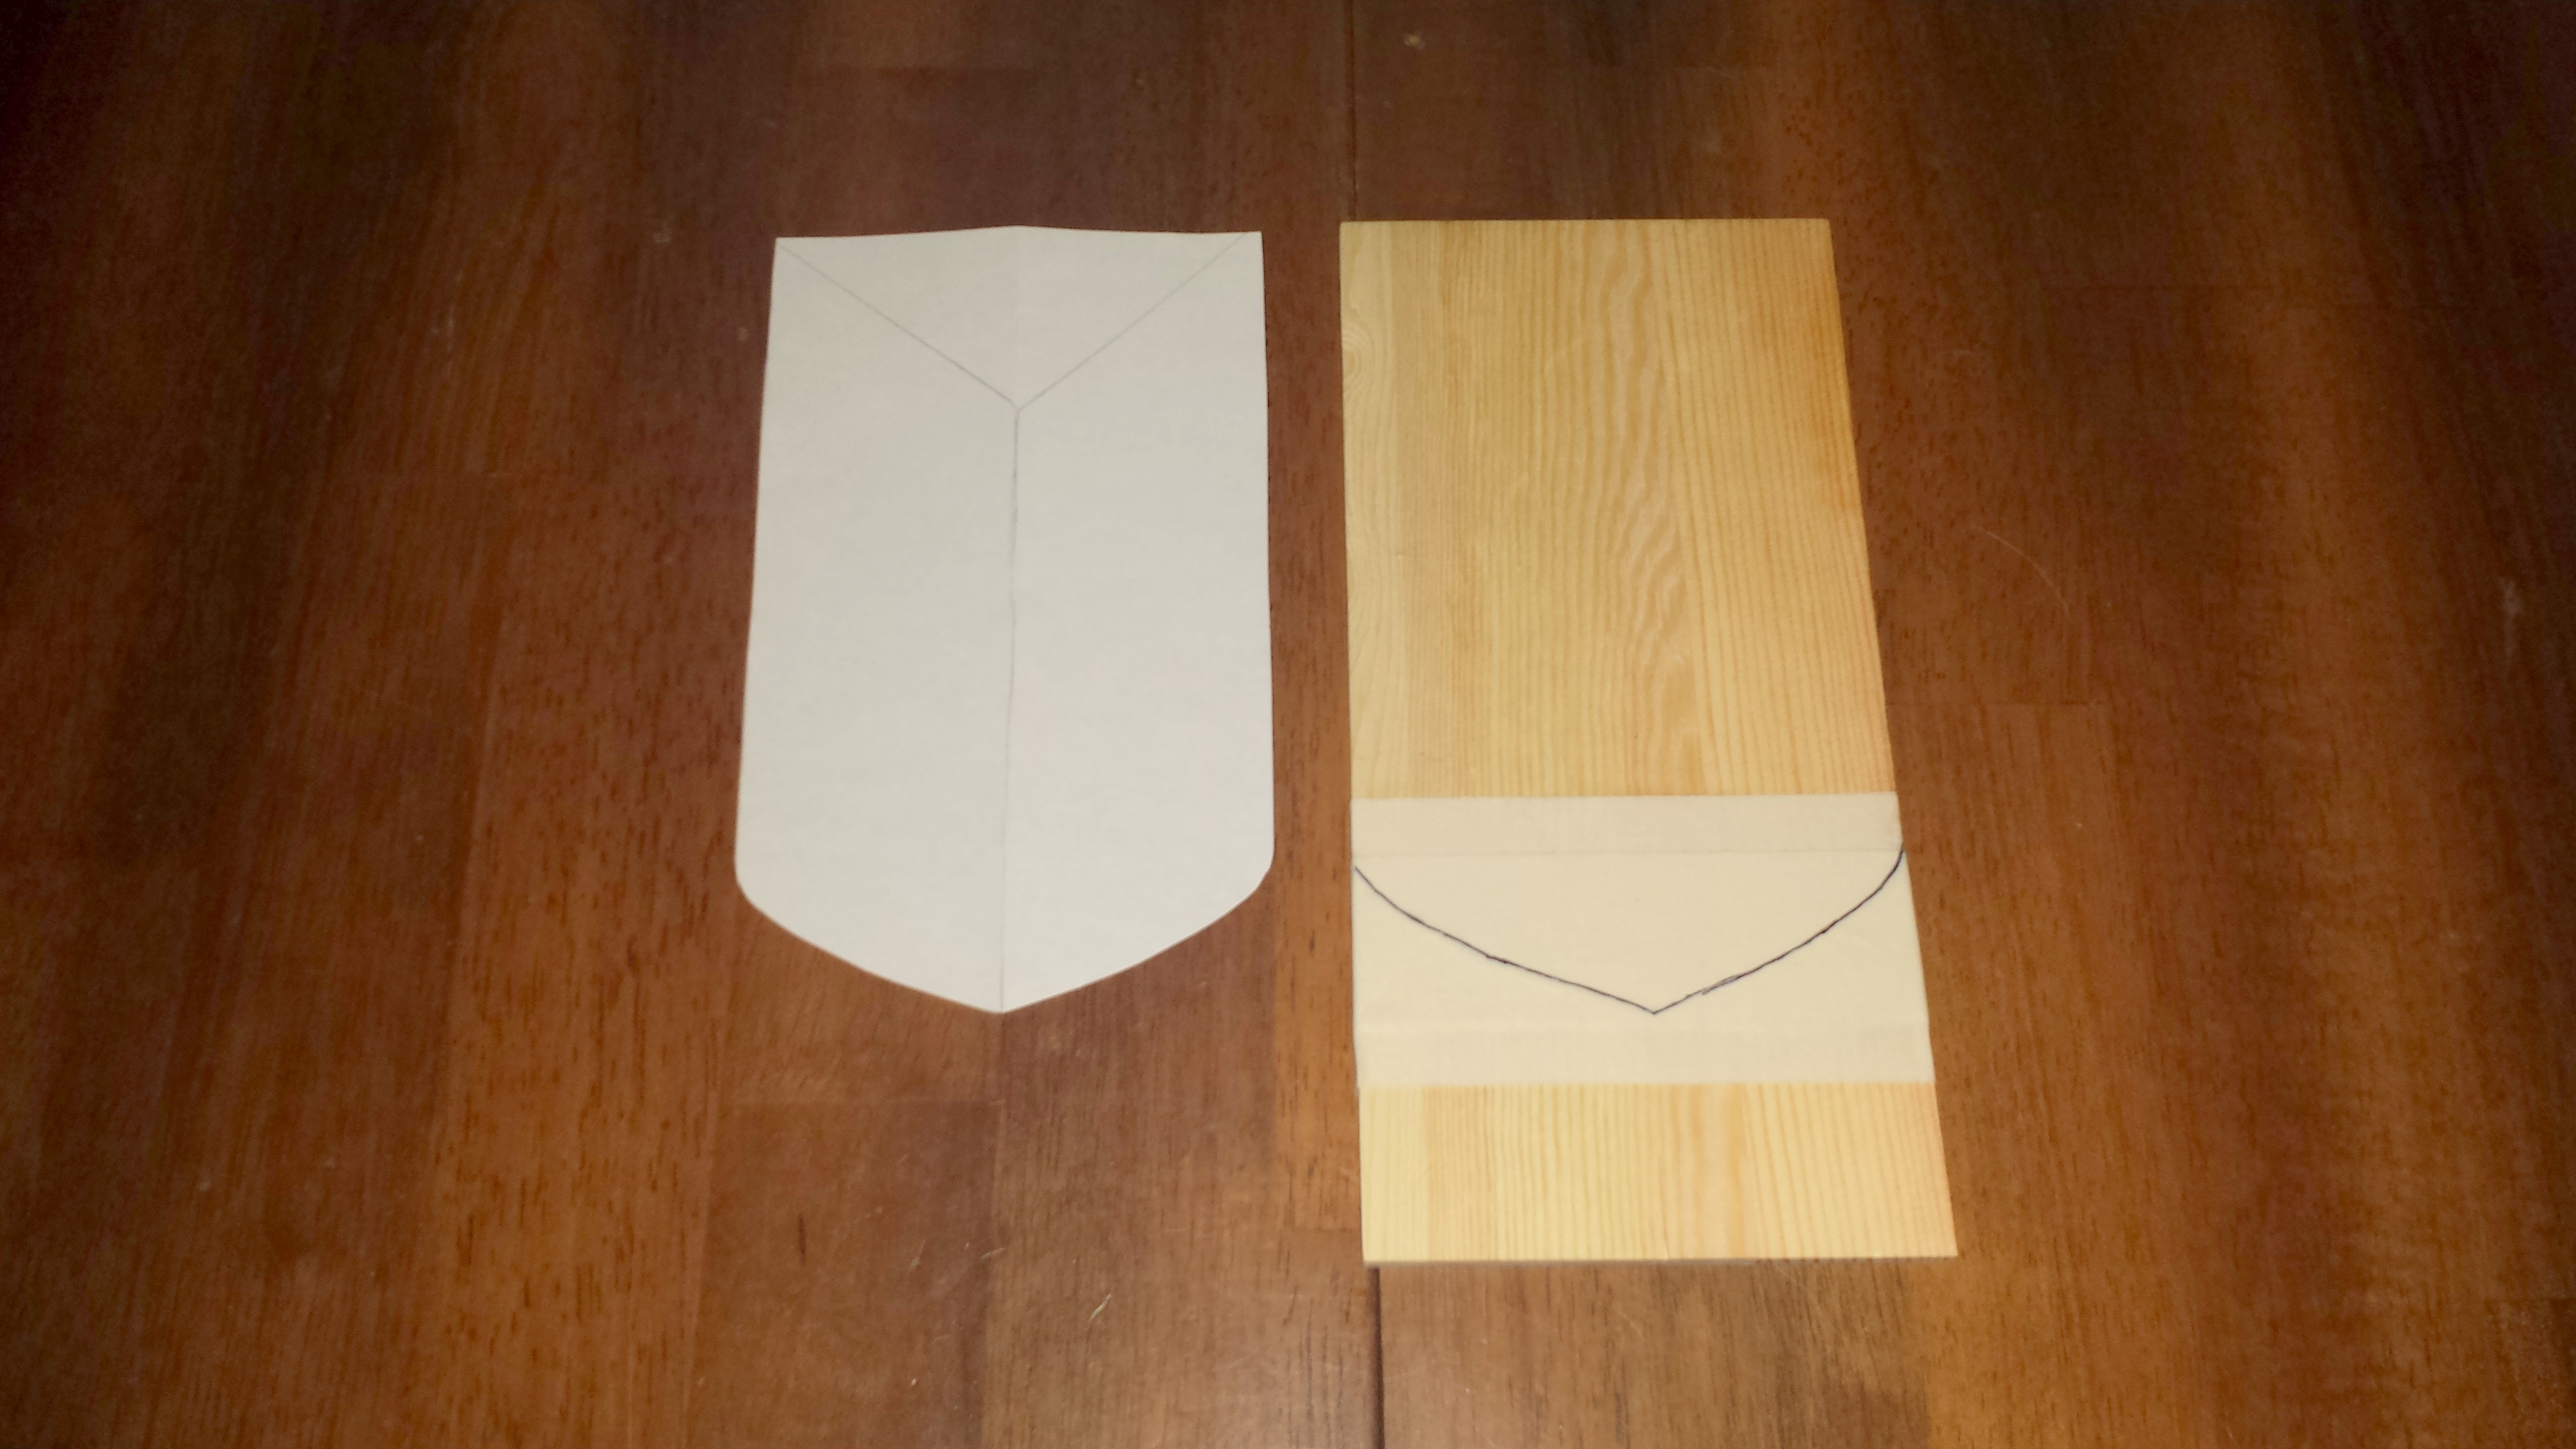
- Using a sheet of white paper, create a template for the shape of the shield that will fit the dimensions of the piece of wood.

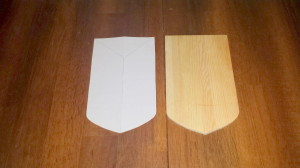
- Using a jig saw, cut the piece of wood to the shape of the shield. (Craft Tip: My husband taped the area where the cut was to be made to prevent the wood from splitting)
- Using sandpaper, smooth the rough surfaces of the shield and the frame to prepare them for painting.
- Next, glue the plastic acorn to the wooden laurel wreath.
- Paint the wooden frame using a metallic bronze paint. Then, paint the acorn/laurel wreath and the dragon using a gold paint. Allow paint to dry completely.

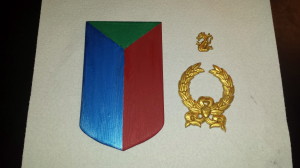
- Using a pencil, draw lines on the wooden shield to create three sections. Paint the first section with a red metallic paint, the next with metallic blue paint and the final section with a green metallic paint. Allow the paint to dry completely.
- Using a black Sharpie pen, draw lines dividing each of the three sections.
- Using a hot glue gun, attach the shield to the wooden frame
- Using a hot glue gun, attach the acorn/laurel wreath and dragon to the wooden shield.


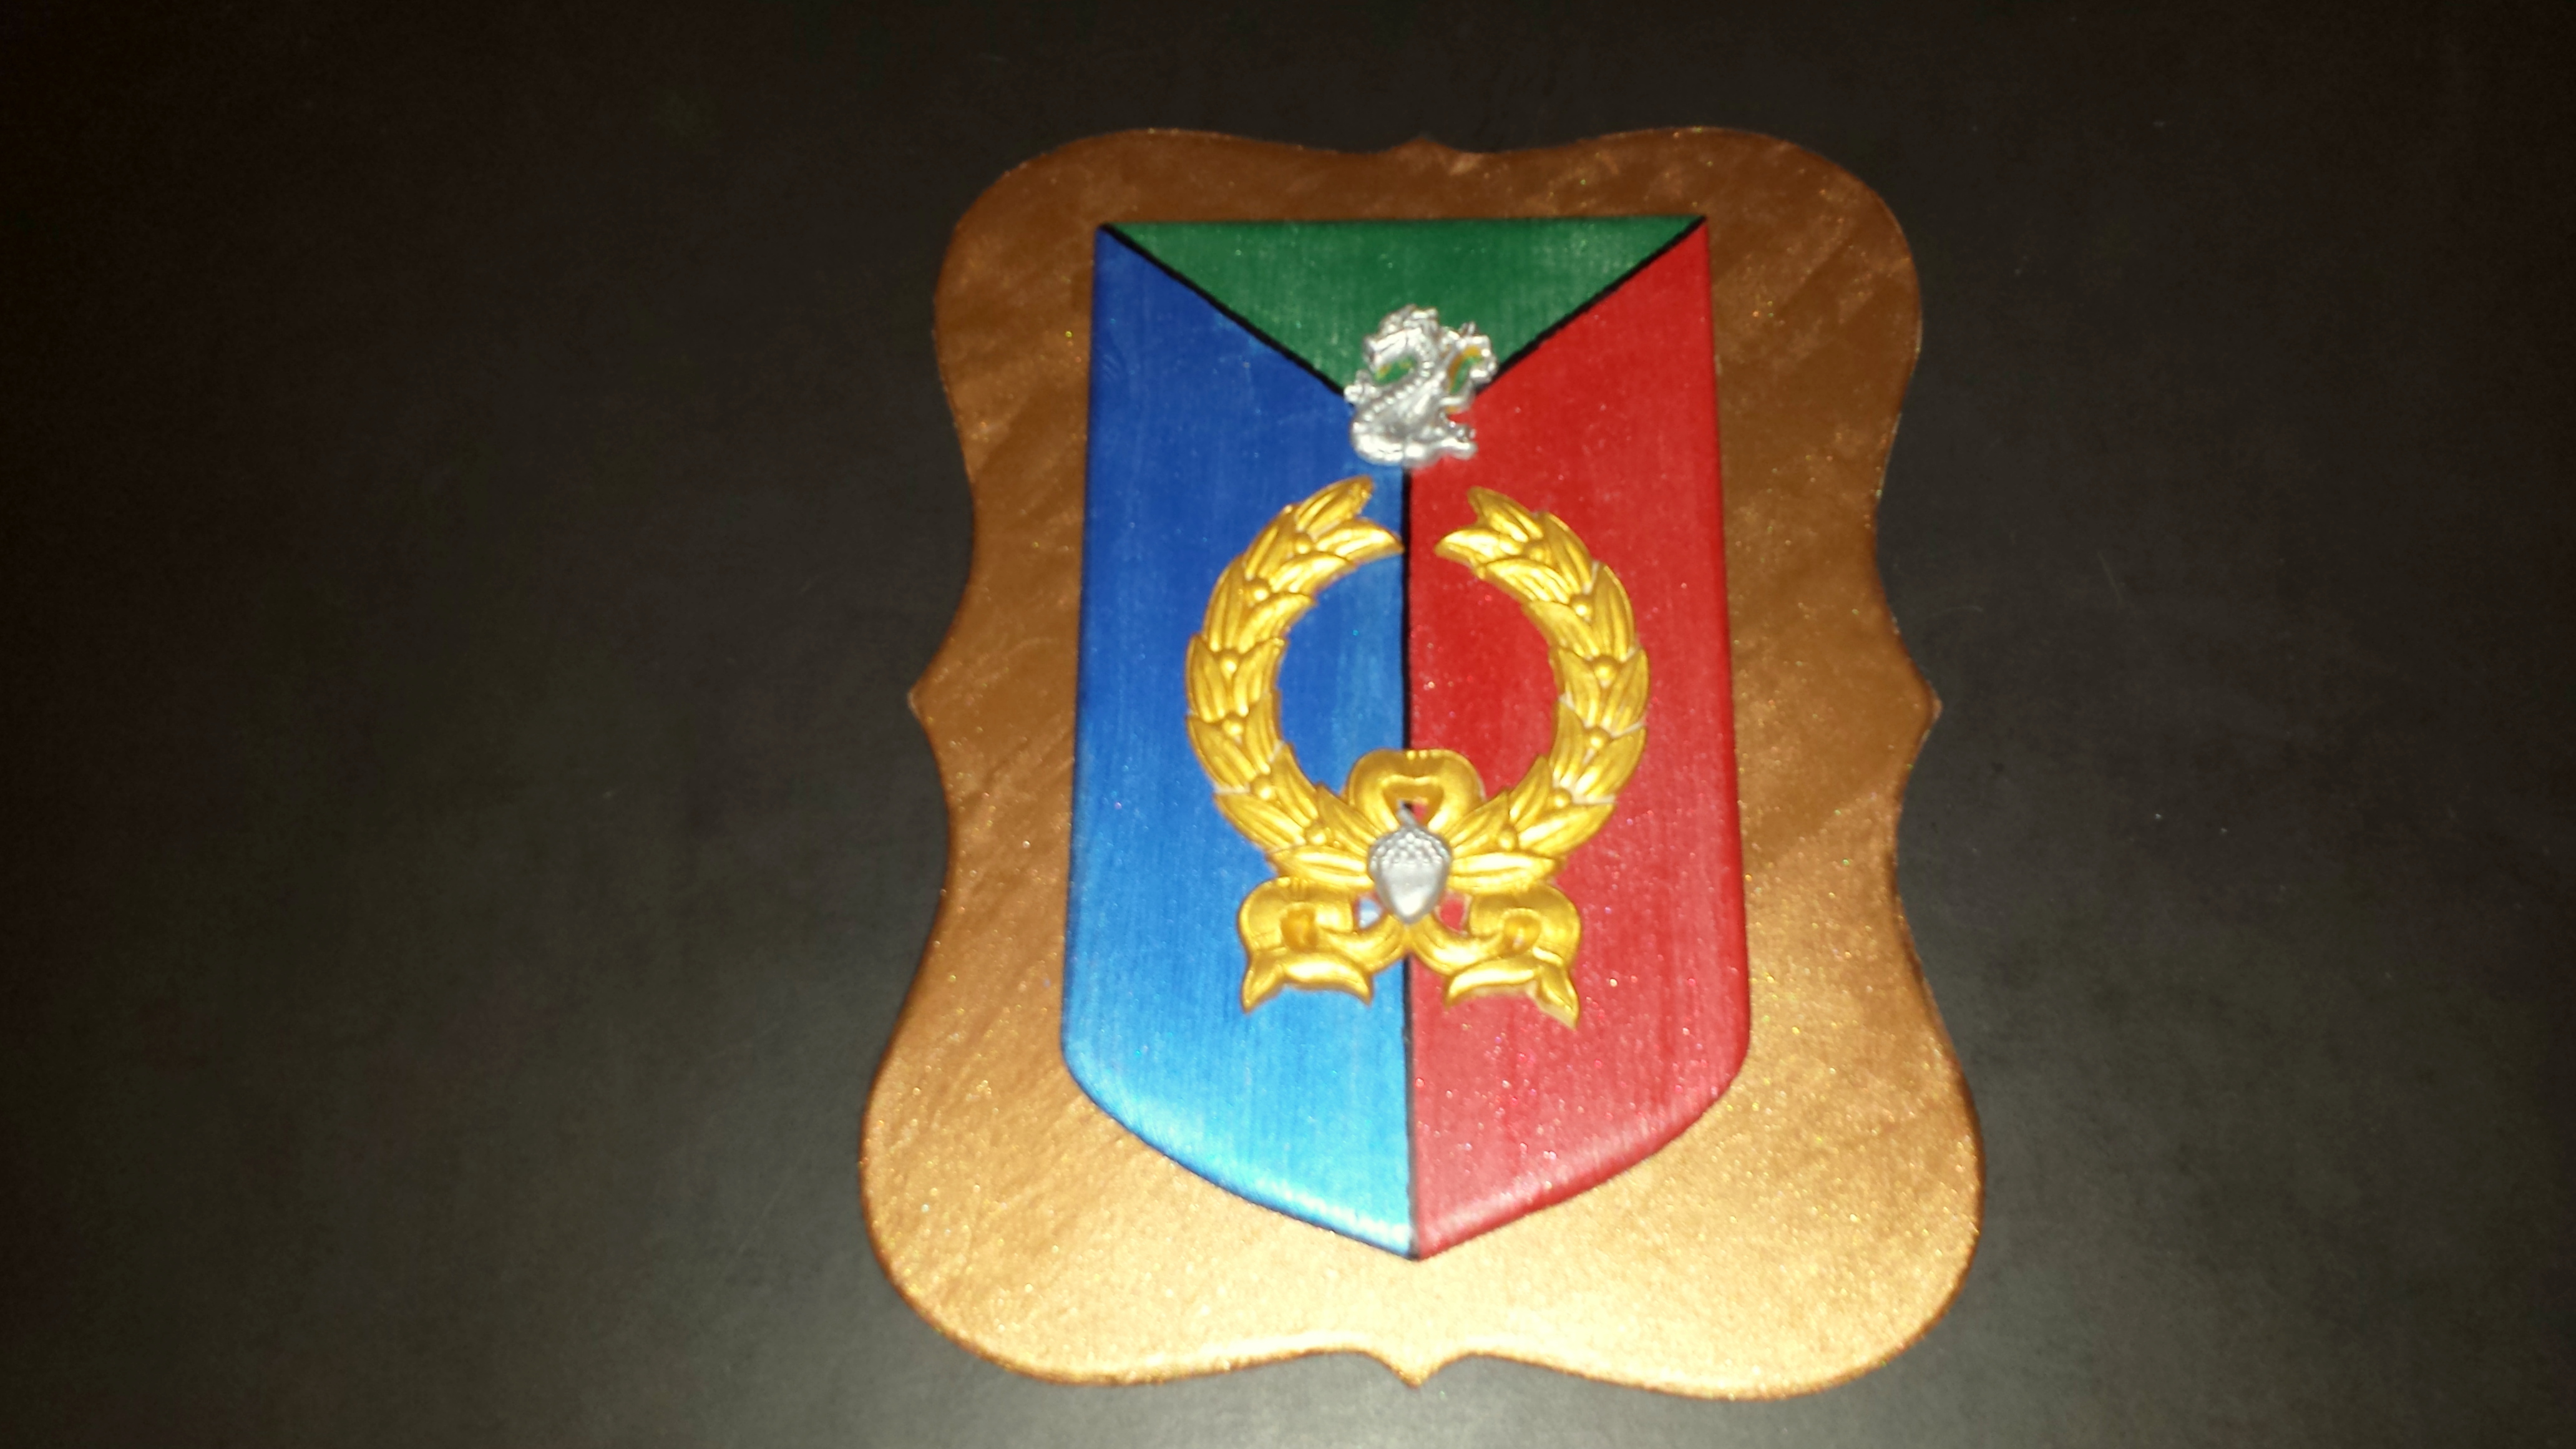
P.S. – Since finishing this craft project of the Heraldic Shield, I thought that painting the acorn and the dragon in silver added an extra dimension to the finished shield and you could see the acorn better.