Decor – Changing Christmas Displays (Part Two)

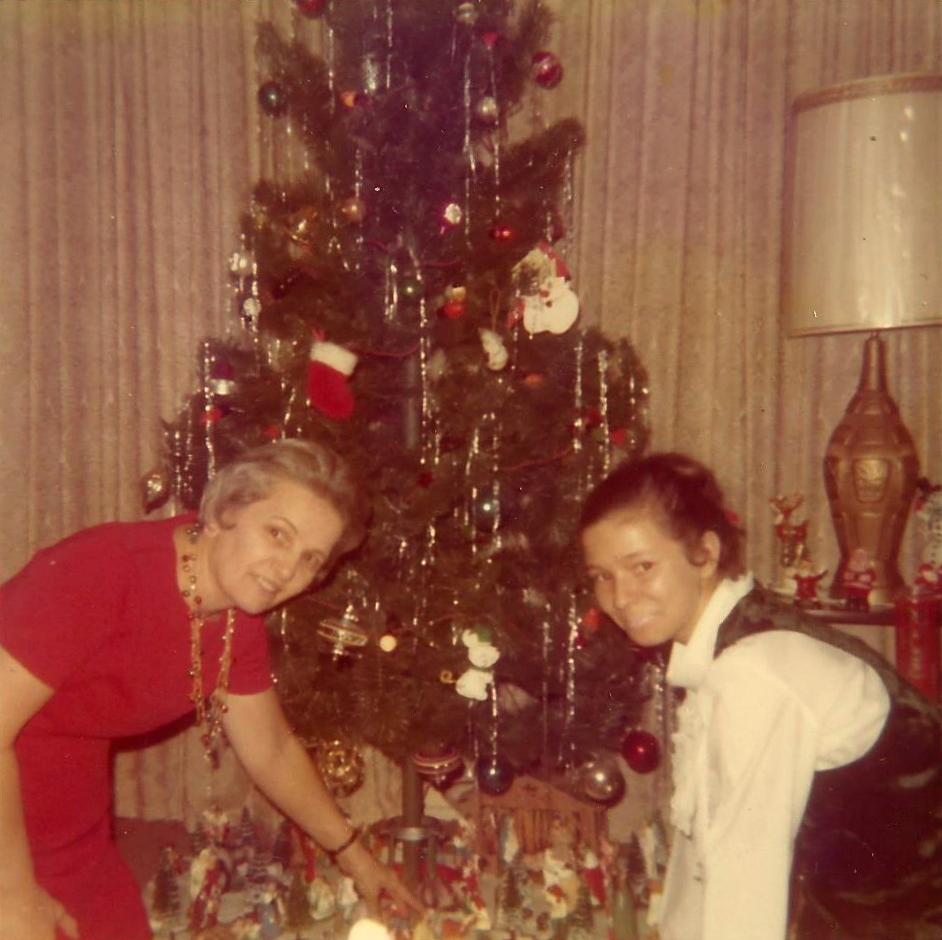
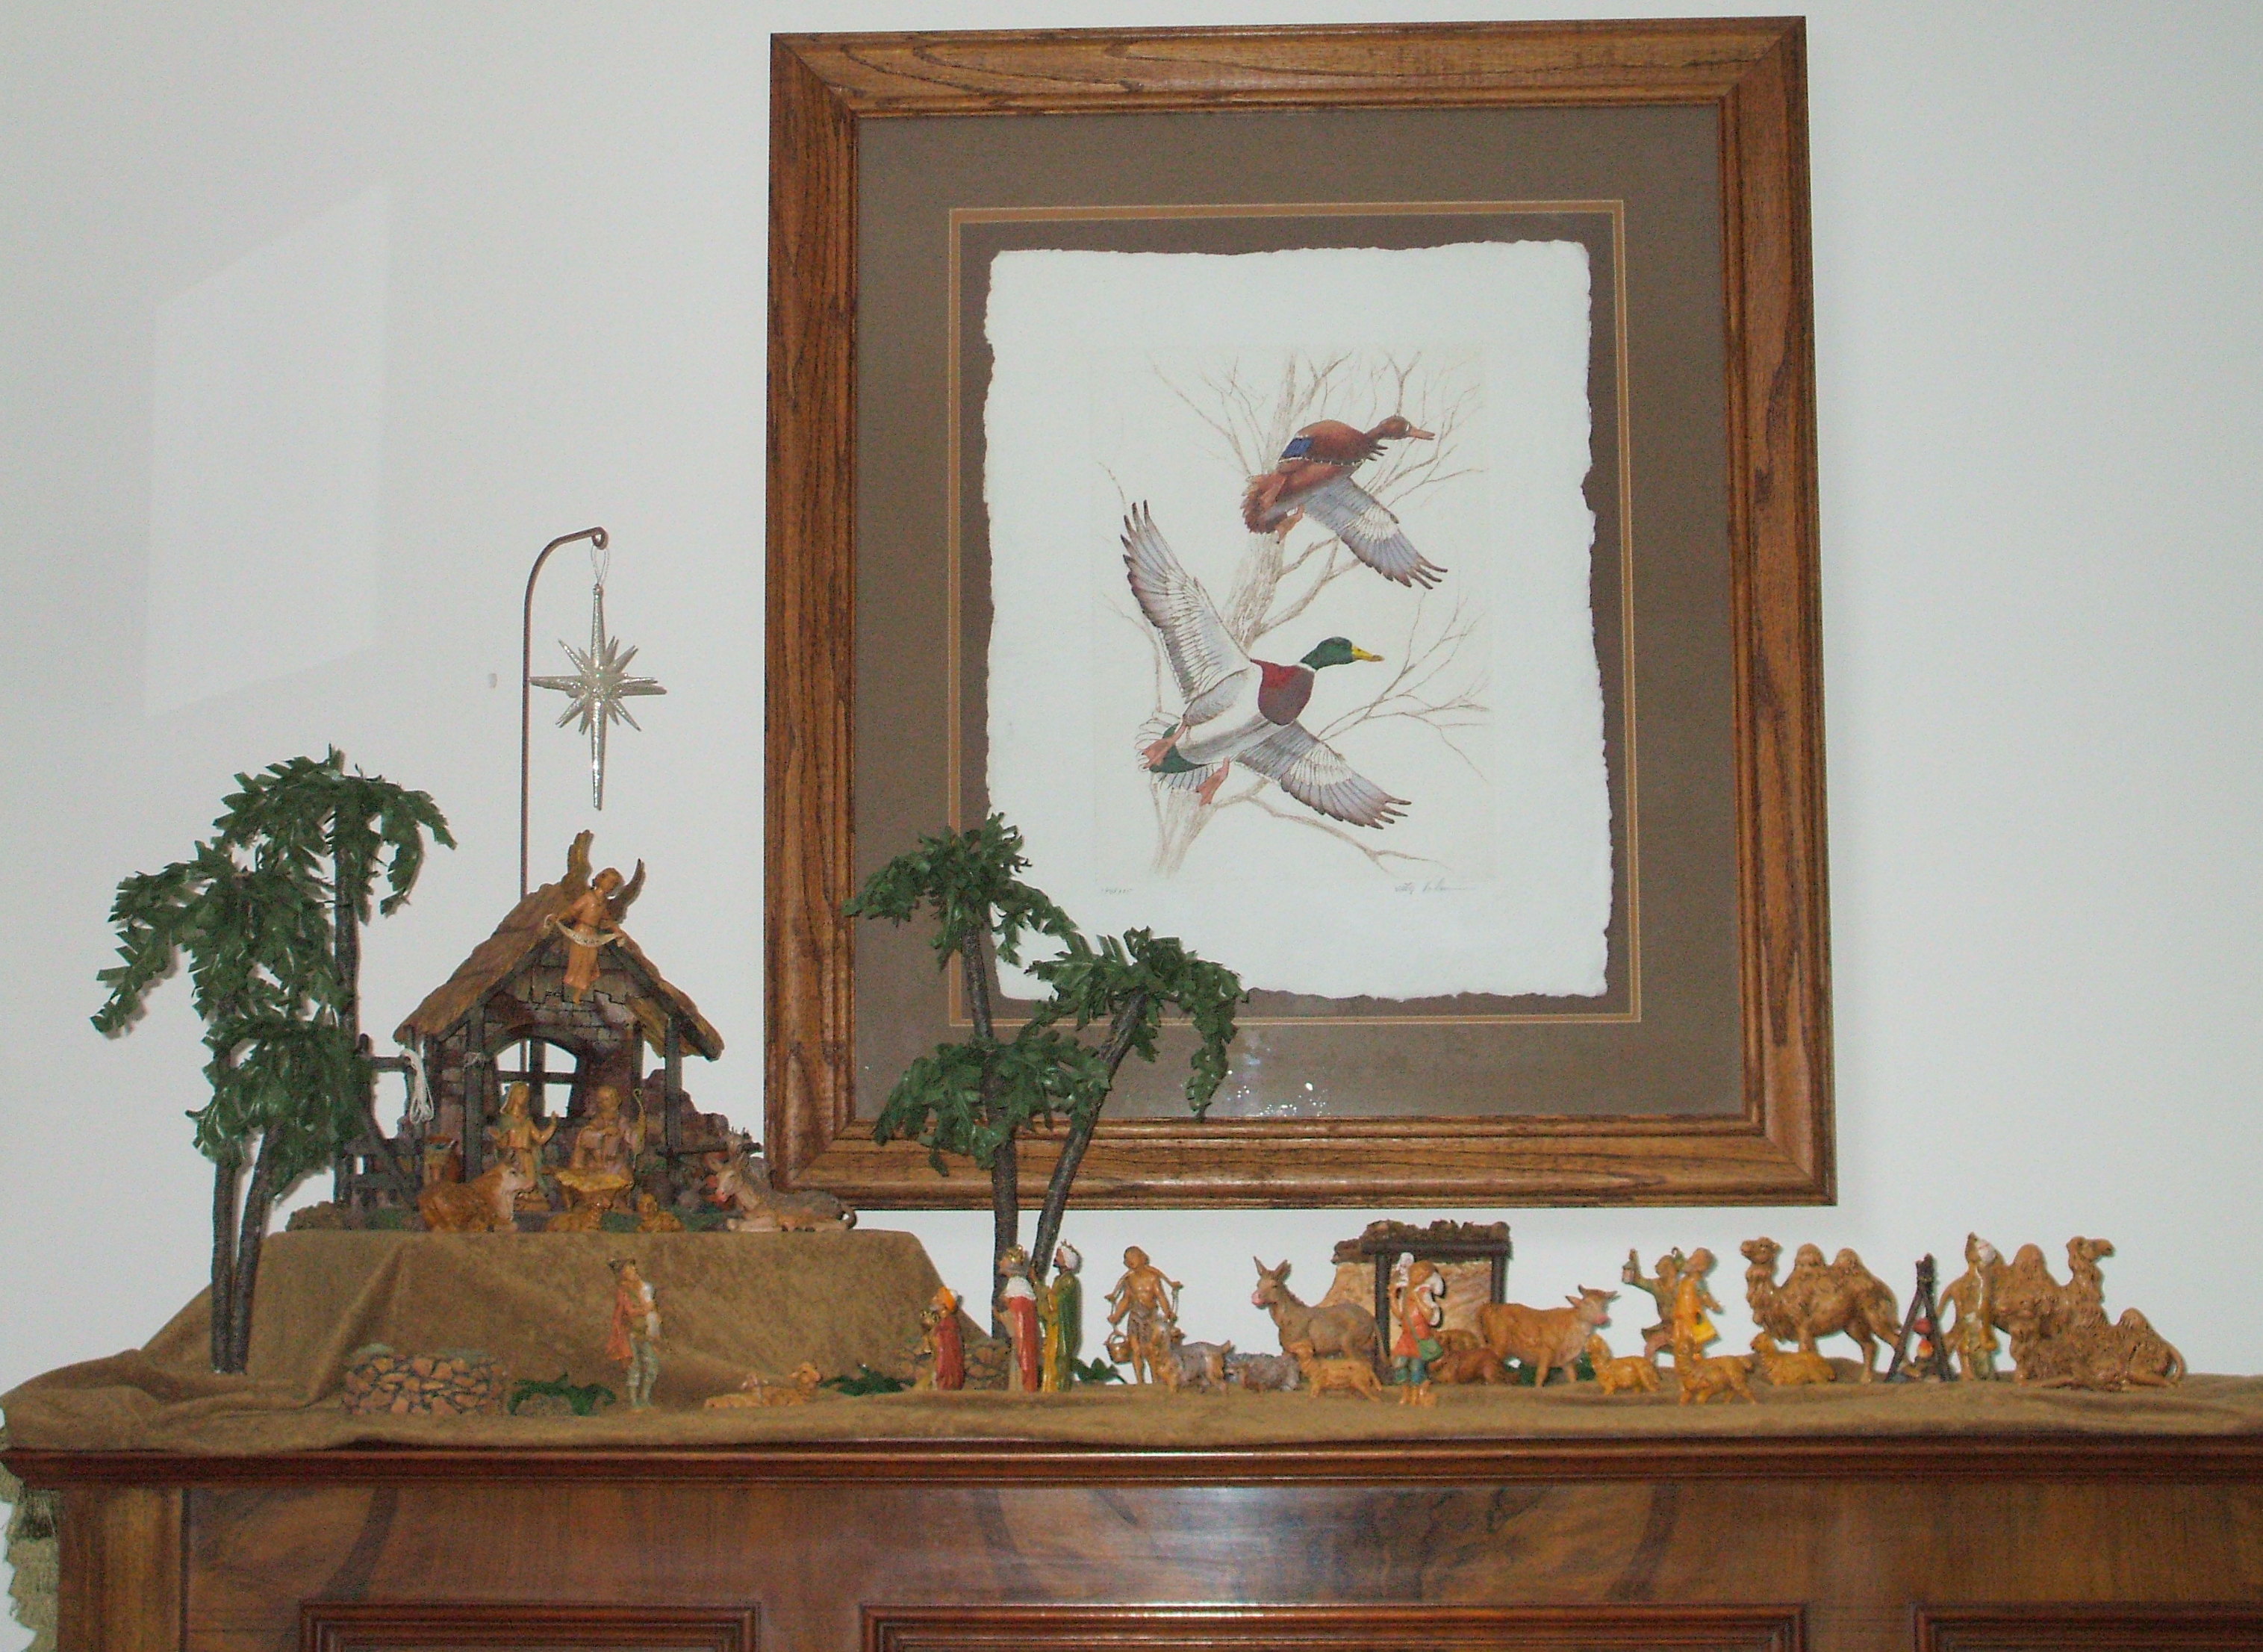
In the Changing Christmas Displays – Part One post, I discussed how I changed my Fontanini Nativity display from year to year.  I frequently change my seasonal displays by moving them into various rooms of our house or adding different accessories.  In Part Two, I will feature my Department 56 North Pole village display.

One of my favorite Christmas decorations is our Department 56 North Pole Village.  Almost twenty years ago I purchased four of these whimsical buildings; they were the Home of Santa & Mrs. Claus’ home, Santa’s Workshop, Elves’ Bunkhouse and Reindeer Barn.  I also purchased two other important pieces – Santa & Mrs. Claus and the sleigh and eight reindeer set (can’t have a North Pole without Santa!). Over the years, I have added other buildings and accessories, such as the North Pole Gate, the North Pole Train Station and North Pole Forge & Assembly Shop, Candy Cane Lamp Posts, a variety of elves figurines and other accessories.  When I unpack my Christmas boxes from storage every year, I always try to arrange the various North Pole buildings and accessories in different ways and sometimes I will also change the room where I set up the display. 

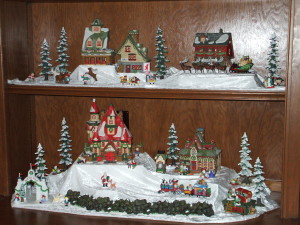
Shown below are photos from past North Pole Village displays: 

The first year I displayed the North Pole Village in our kitchen bookshelf.  It was very simple and small display with four buildings (Santa & Mrs. Claus’ home, Santa’s Workshop, Elves’ Bunkhouse and Reindeer Barn) and the North Pole Gate.  I used Styrofoam pieces used as platforms for each building and then I covered each shelf with white velvet material to create the illusion of snow (the white material was very inexpensive and it would be used repeatedly over the following years).  At the time, I only had a few accessory pieces which were Santa & Mrs. Claus, the sleigh and eight reindeer and two North Pole pine trees which were placed in the display. 

OLYMPUS DIGITAL CAMERA

The next year I displayed the North Pole Village in the same kitchen bookshelf but arranged the buildings and accessories differently.  I also added several more accessories; such as elves and a few more Christmas trees.  As you can see from the photo above and the photo below, even though I was using the same buildings of my North Pole Village the display looks different from one year to the next.

OLYMPUS DIGITAL CAMERA

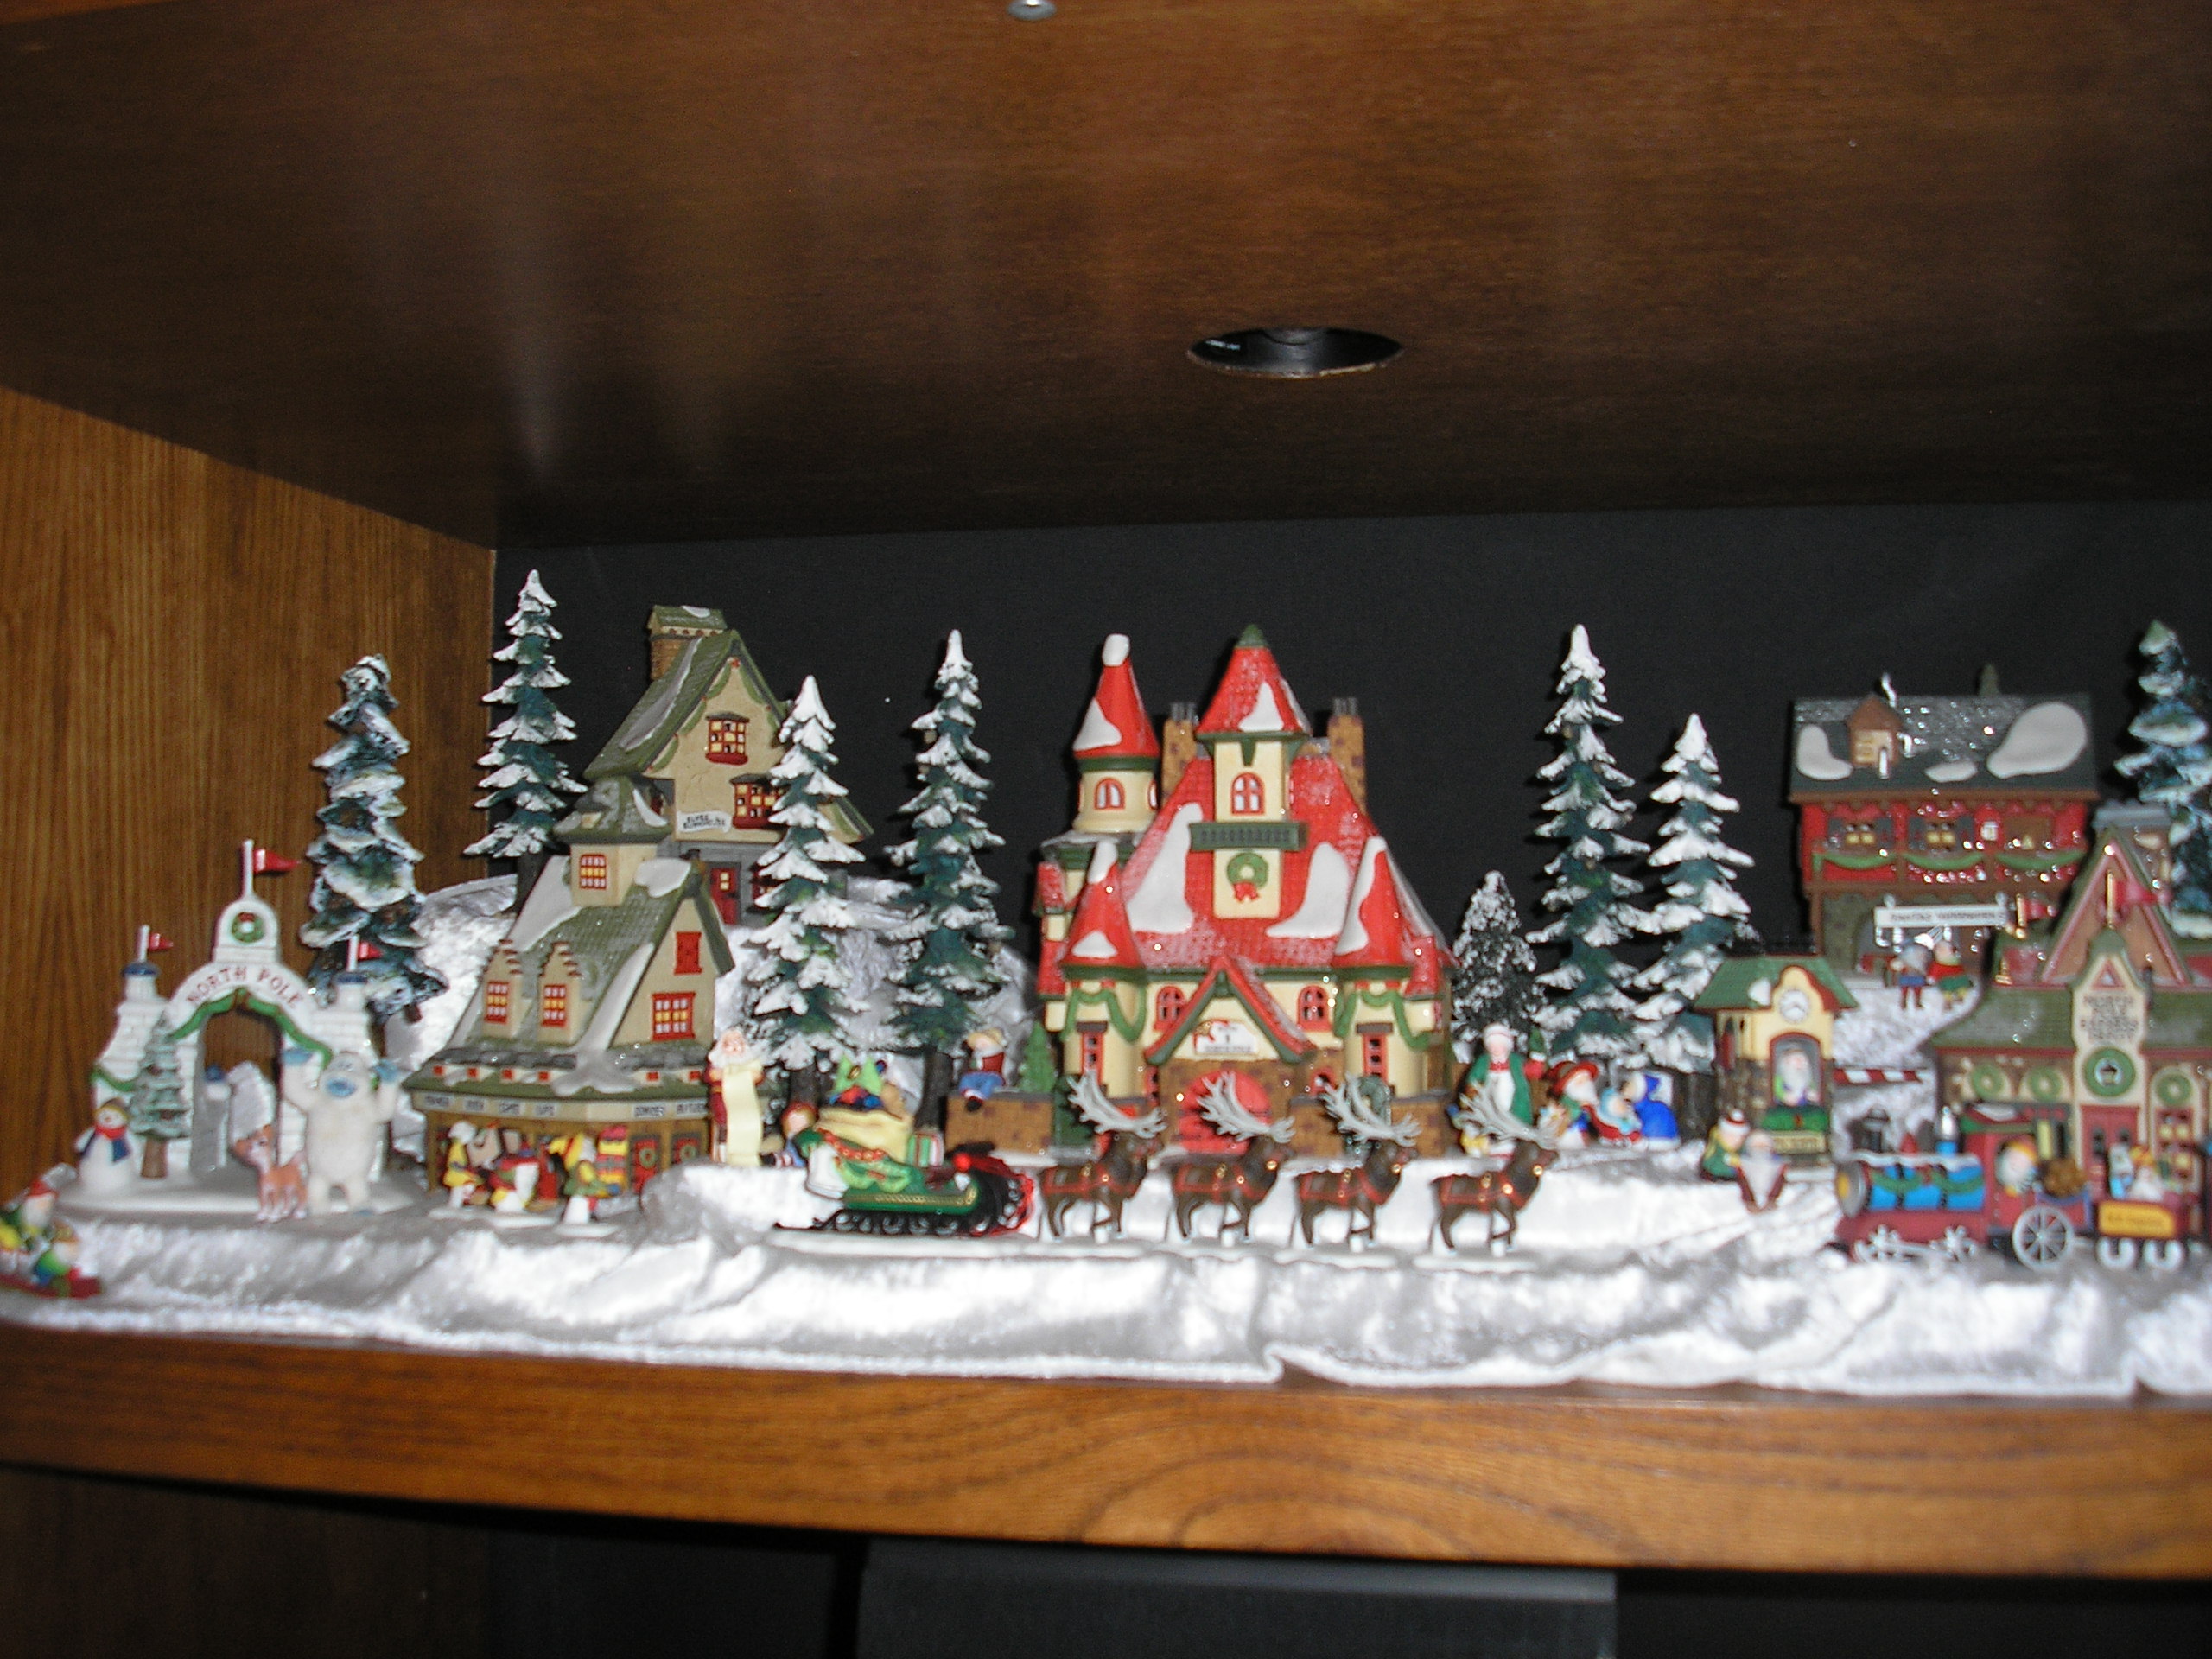
The following year, I decided to move the North Pole Village into our living room.  The oak entertainment center had a shelf above the TV that was a perfect place for setting up the display.  I used the same buildings and accessories which I arranged on several different sized boxes to create some interest with a variety of levels and then covered everything with the white velvet material.  Next, I placed the four North Pole buildings and the North Pole Gate onto the shelf.  That year I added a few new pieces; the North Pole Train Station, the North Pole Express Train and the Ticket Booth which were placed on the far right side of the shelf.  Of course, I bought several more elves to add to the display … you could never have too many elves at the North Pole!  I also purchased three sets of three resin Christmas trees for a total of nine trees and I placed these around the display (these trees are an example of using non Department 56 pieces in a display and they were less expensive).

OLYMPUS DIGITAL CAMERAOLYMPUS DIGITAL CAMERA

The next Christmas, we had recently moved from California to the Midwest and our new living room had wonderful built-in wooden bookcases on either side of the fireplace and this is where I set up the North Pole Village.  I arranged the five North Pole Village and North Pole Gate on two shelves and once again I used several different boxes to create a variety of levels covered with the white material.  I had bought a new Department 56 North Pole piece called “Untangling the Christmas Lights” and it was added to the display.  When shopping that year I found a set of miniature “Rudolph the Red-nosed Reindeer” ornaments and also a set of resin rock wall which I thought would be great additions to the display (these ornaments and the rock wall would be another example of using non Department 56 pieces).

2007 Christmas 1

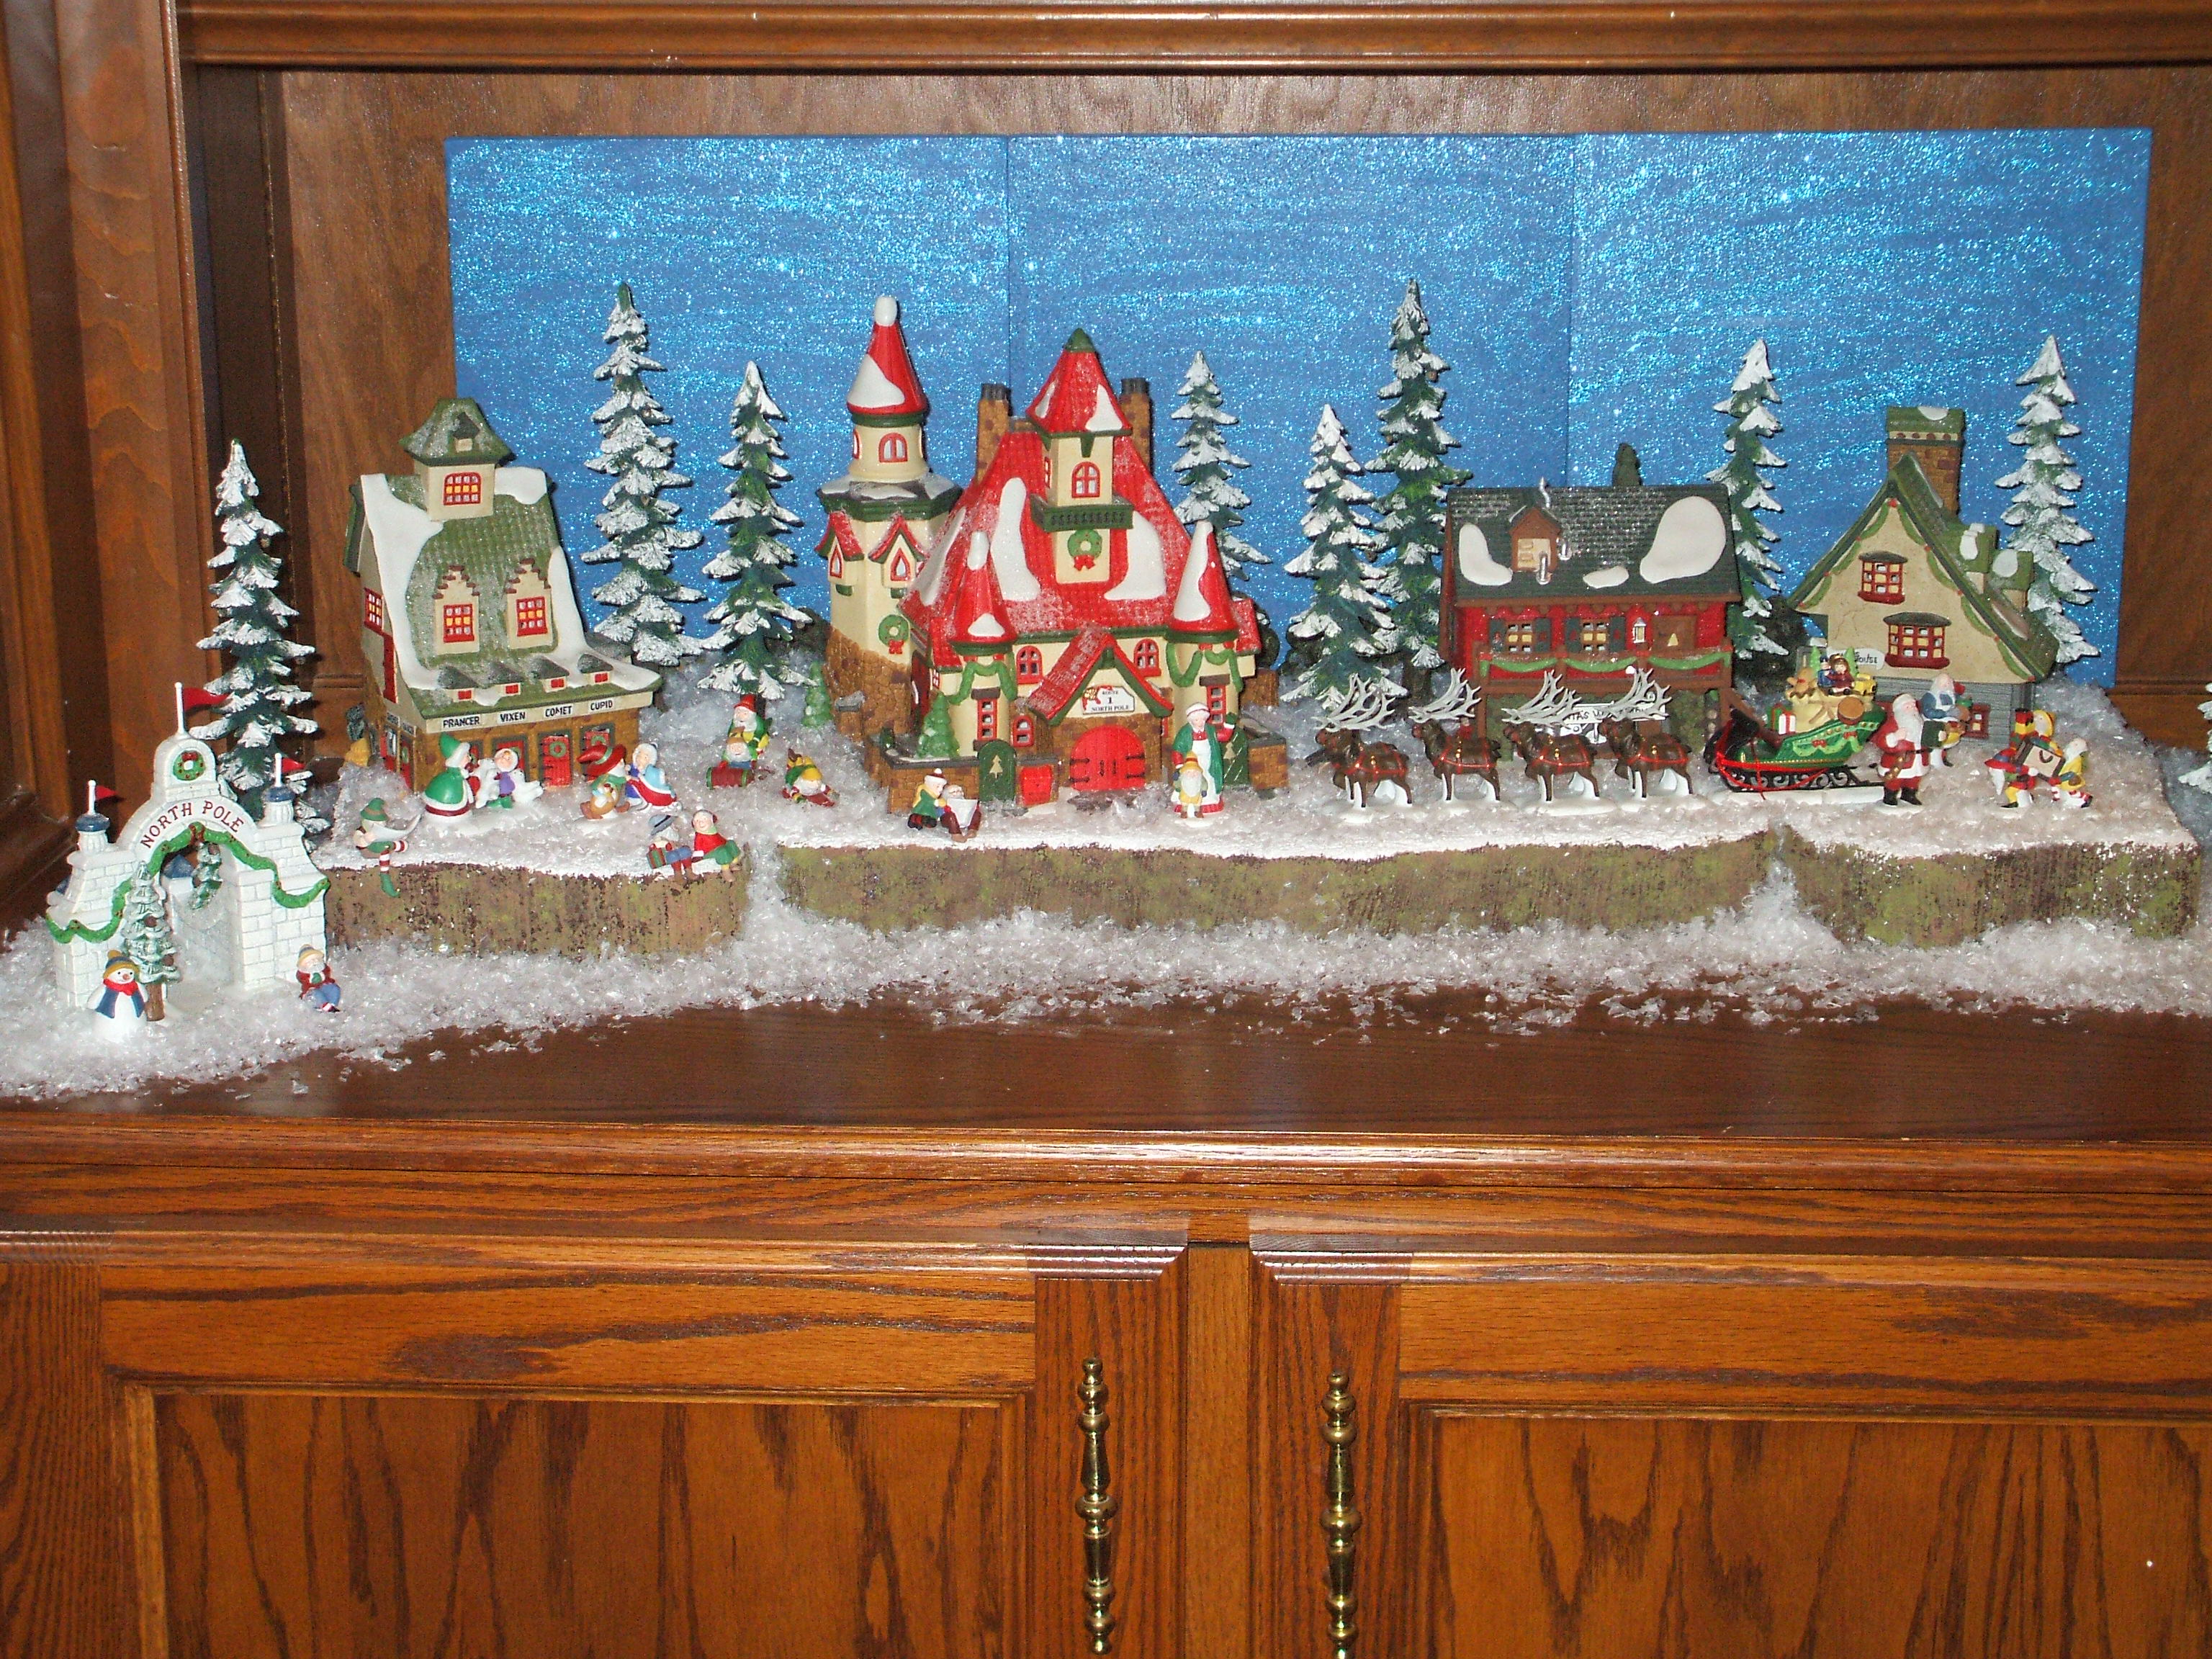
For Christmas the following year I had added a three piece Styrofoam base which I had purchased the previous year at an after-Christmas clearance sale.   The base would prove to be very versatile because it could be placed linked together for one long piece or separated and stacked to create two levels (this is a great example of shopping and taking advantage of sale items after the holidays)  To conceal the three separate pieces and create a unified look, I sprinkled artificial snow.  I also added a background using a tri-fold display foam boards usually used for school projects or presentations, I painted the board with blue metallic paint and clear sparkle paint.  As you can see from the two photos below, the one on the left shows an electrical outlet that I wanted to hide and the one on the right shows the background board which cleverly covers the outlet while enhancing the overall look to the display (this is an example of solving the problem of unsightly outlets, cords, etc.).

2011 Christmas North Pole Village  2011 Christmas North Pole Village with background

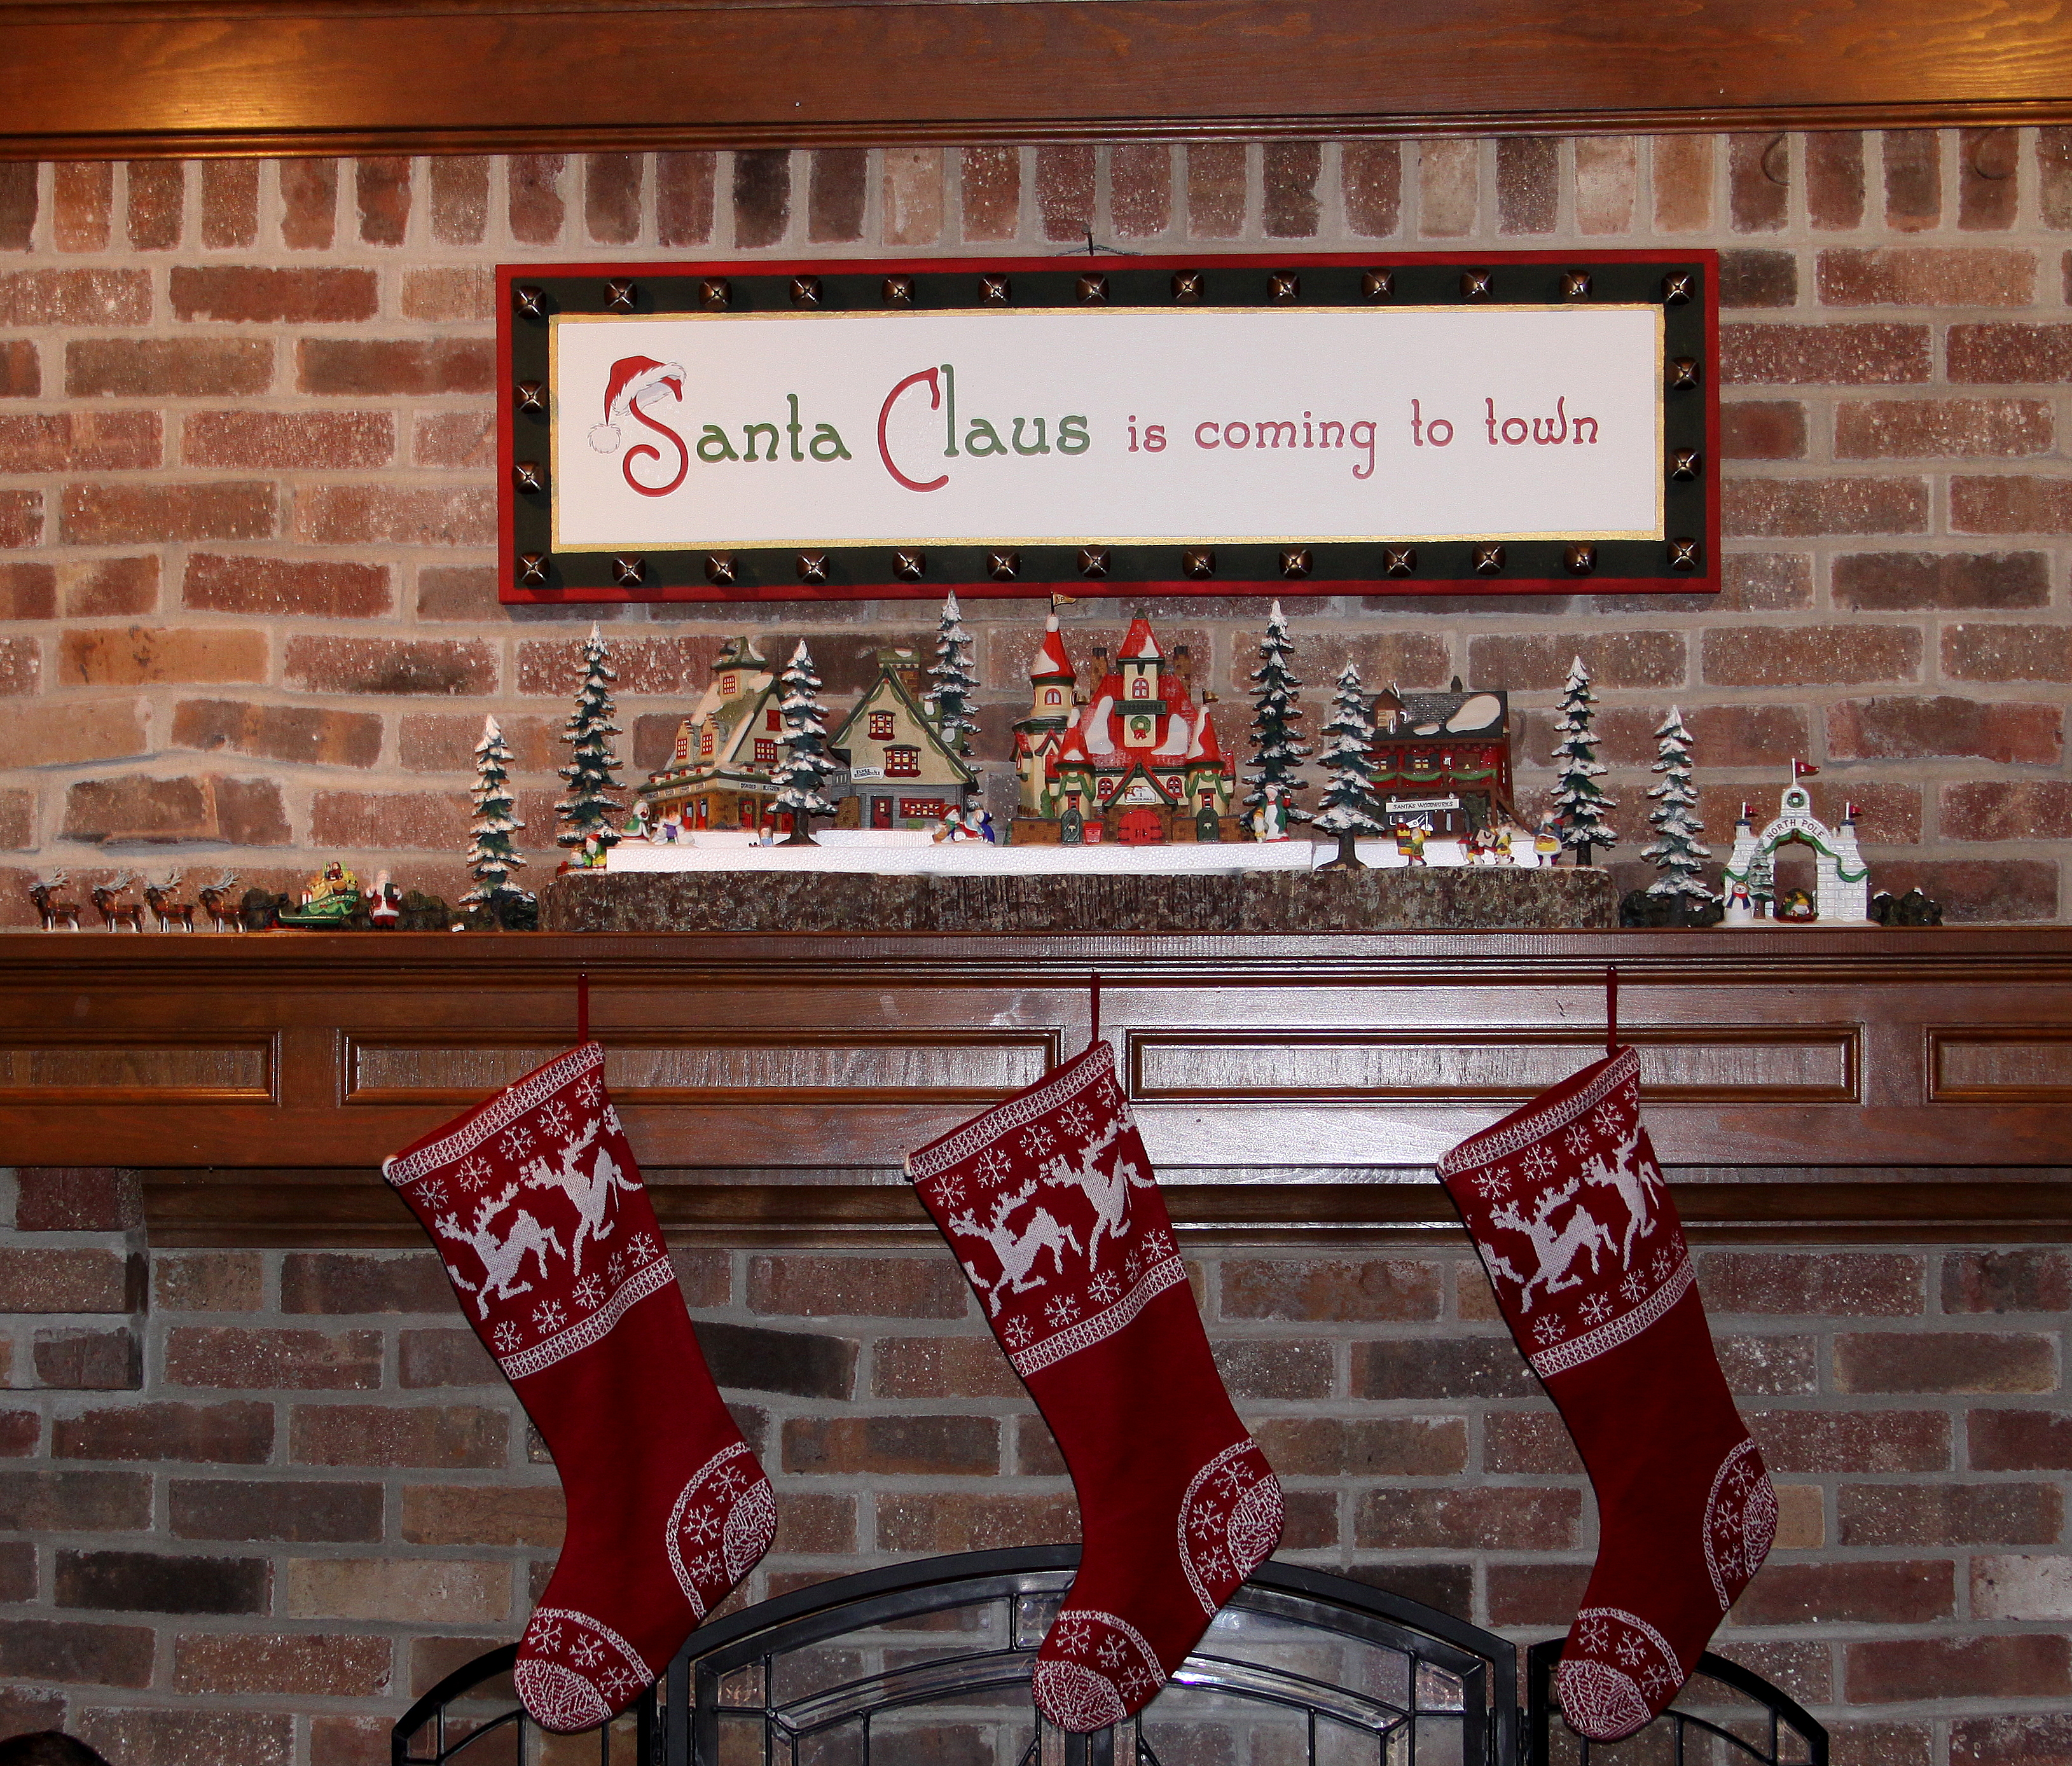
The next year I decided to move the North Pole displayto the fireplace mantel in our living room.  Throughout the year a beautiful English landscape painting normally hangs over the fireplace and I replaced it with a special Christmas sign that I made using a Christmas window/wall decal that said “Santa Claus is coming to town” which I knew would look great with my North Pole Village displayed underneath it on the fireplace mantel.  The sign is accented with bronze jingle bells that were the perfect decorative touch!  Next, I used two of the base sections but I had to make a third section because the original middle one was too wide to fit the narrow fireplace mantel.  Then I set out four North Pole buildings, the North Pole Gate and the various accessories.  (This display was featured in a previous post from my blog and for more detailed information on how it was created please click on the link to Setting up a Department 56 Village)

2012 Christmas  Family room fireplace mantel

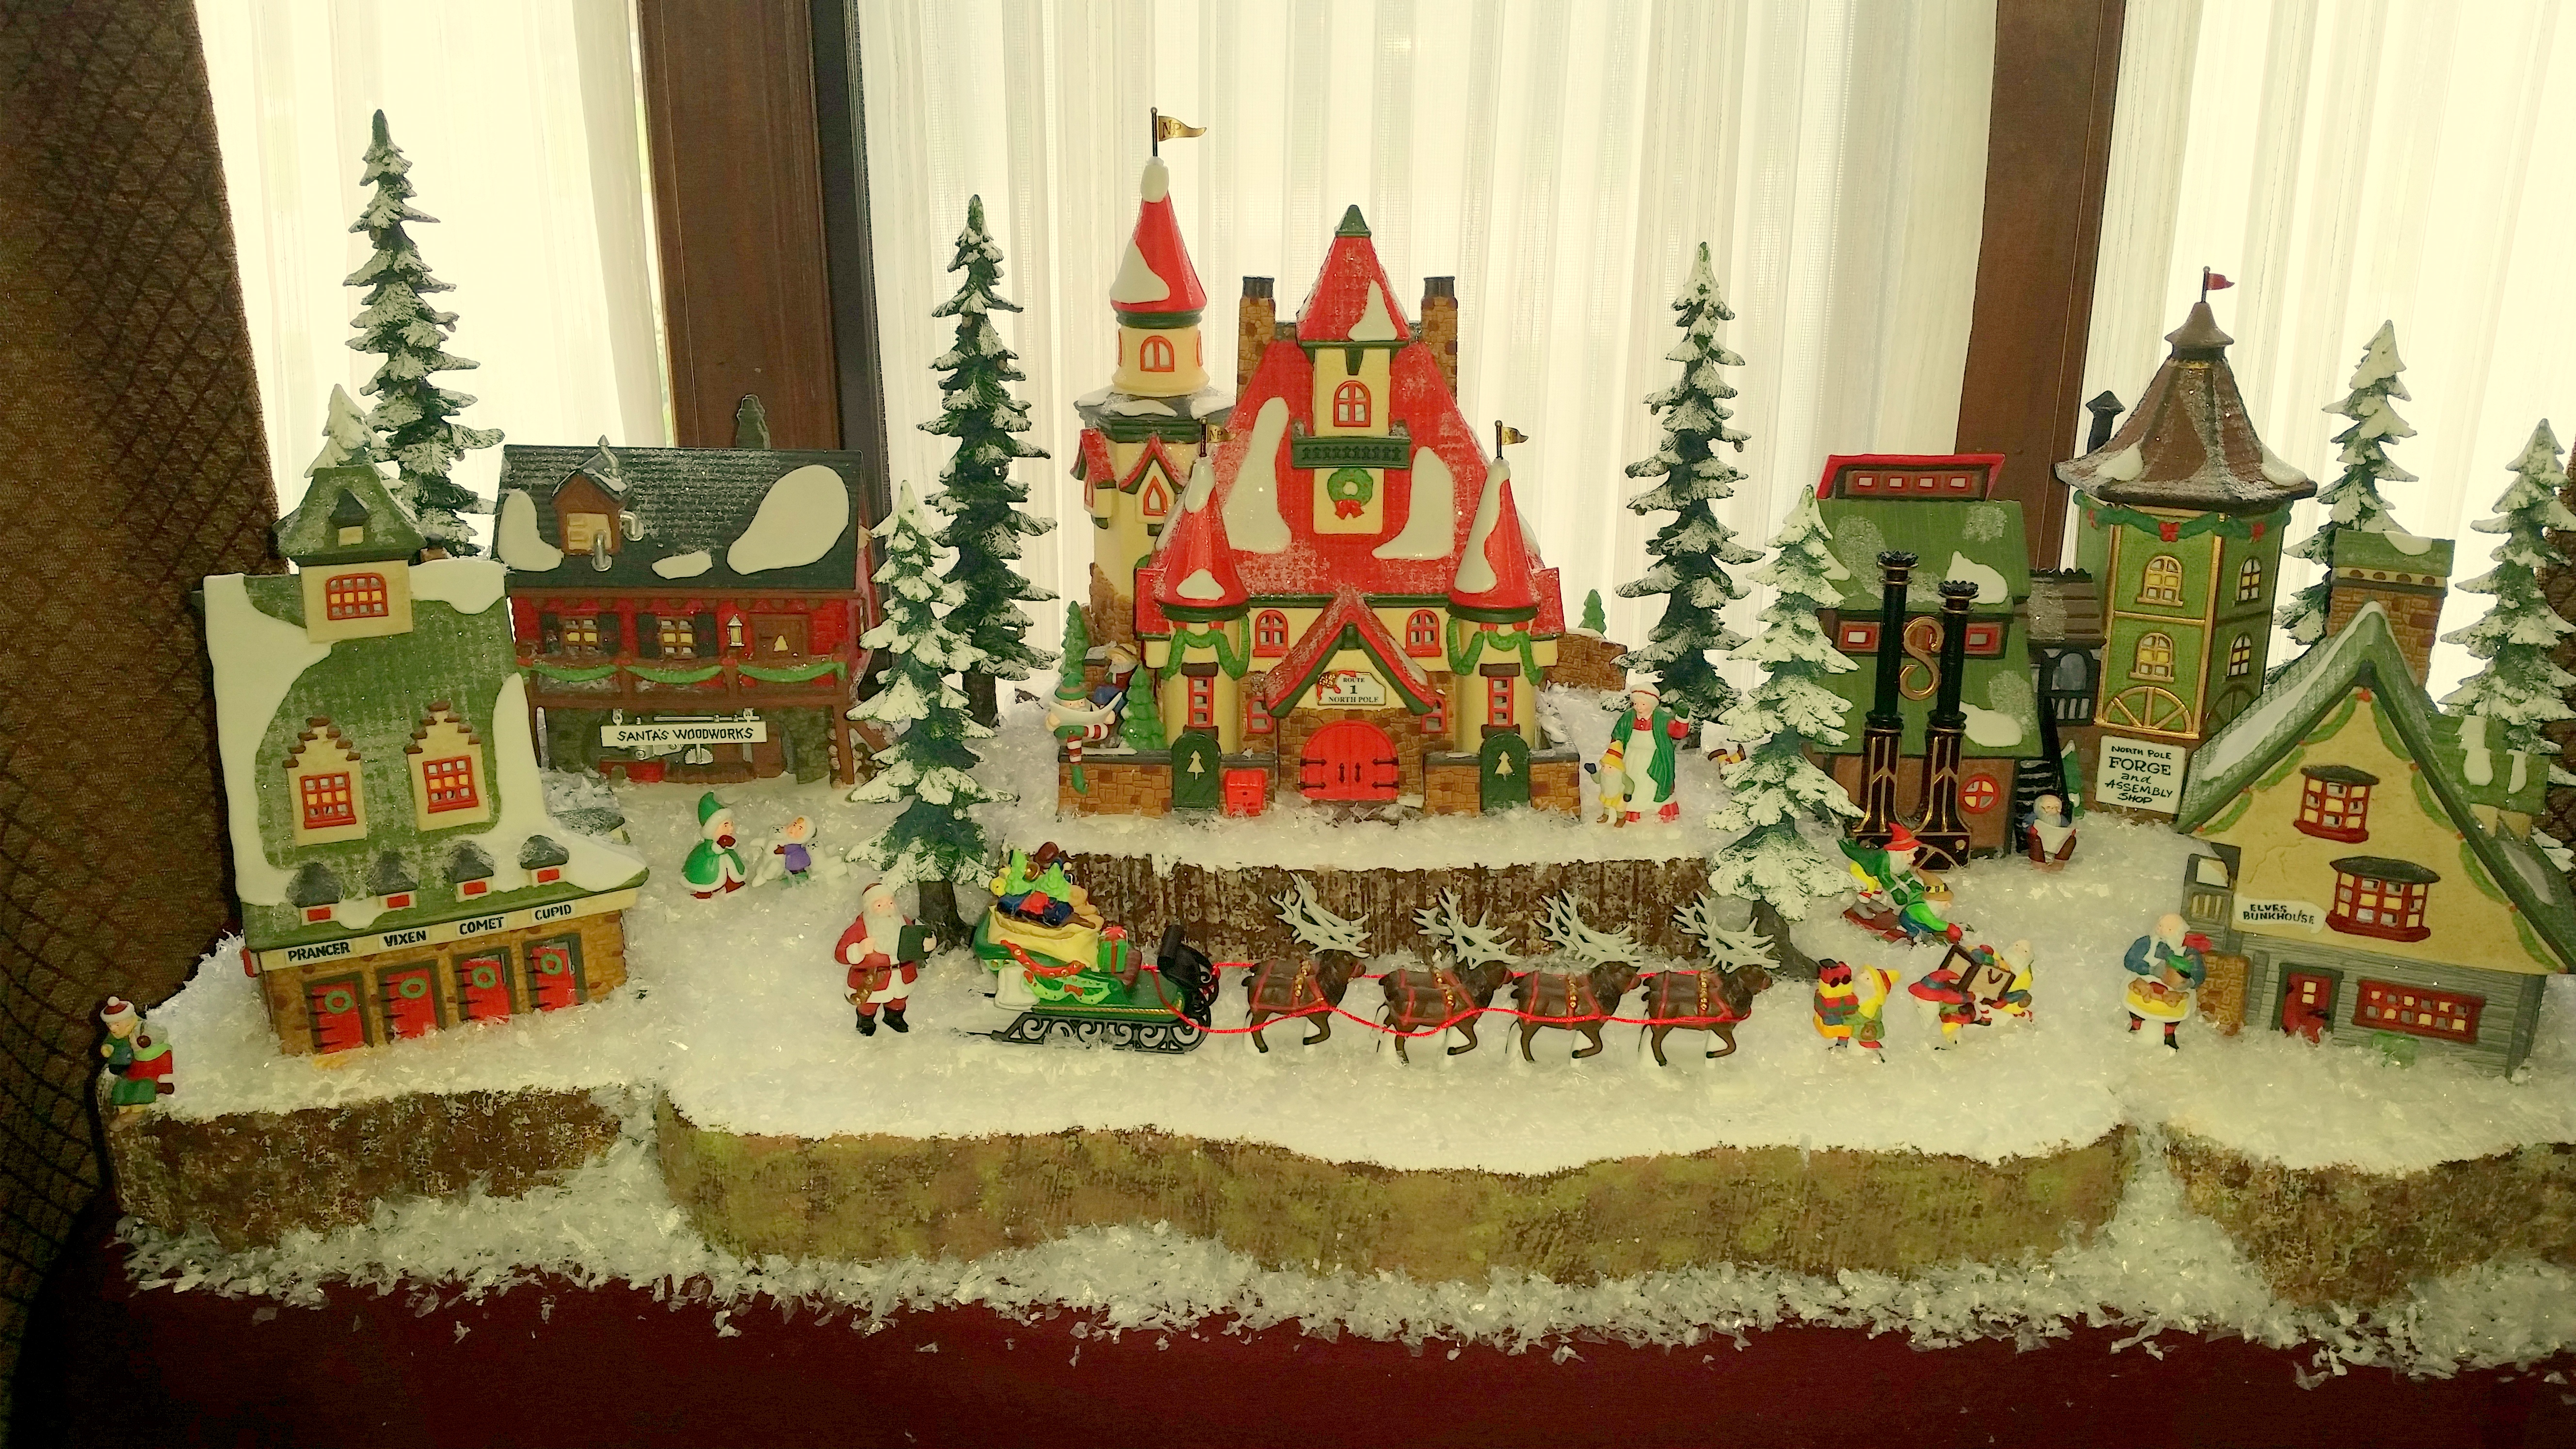
The following year I decided to move the North Pole display to the library in our home.  I set the display on the same long table that I had previously put my Fontanini Nativity display.  I started by covering the table with burgundy material (this fabric has been used over several Christmas seasons and has been repurposed from year to year)  Then, I used the same three base section from the previous year as well as the four North Pole buildings, the North Pole Gate and accessories.

2014 Christmas 3

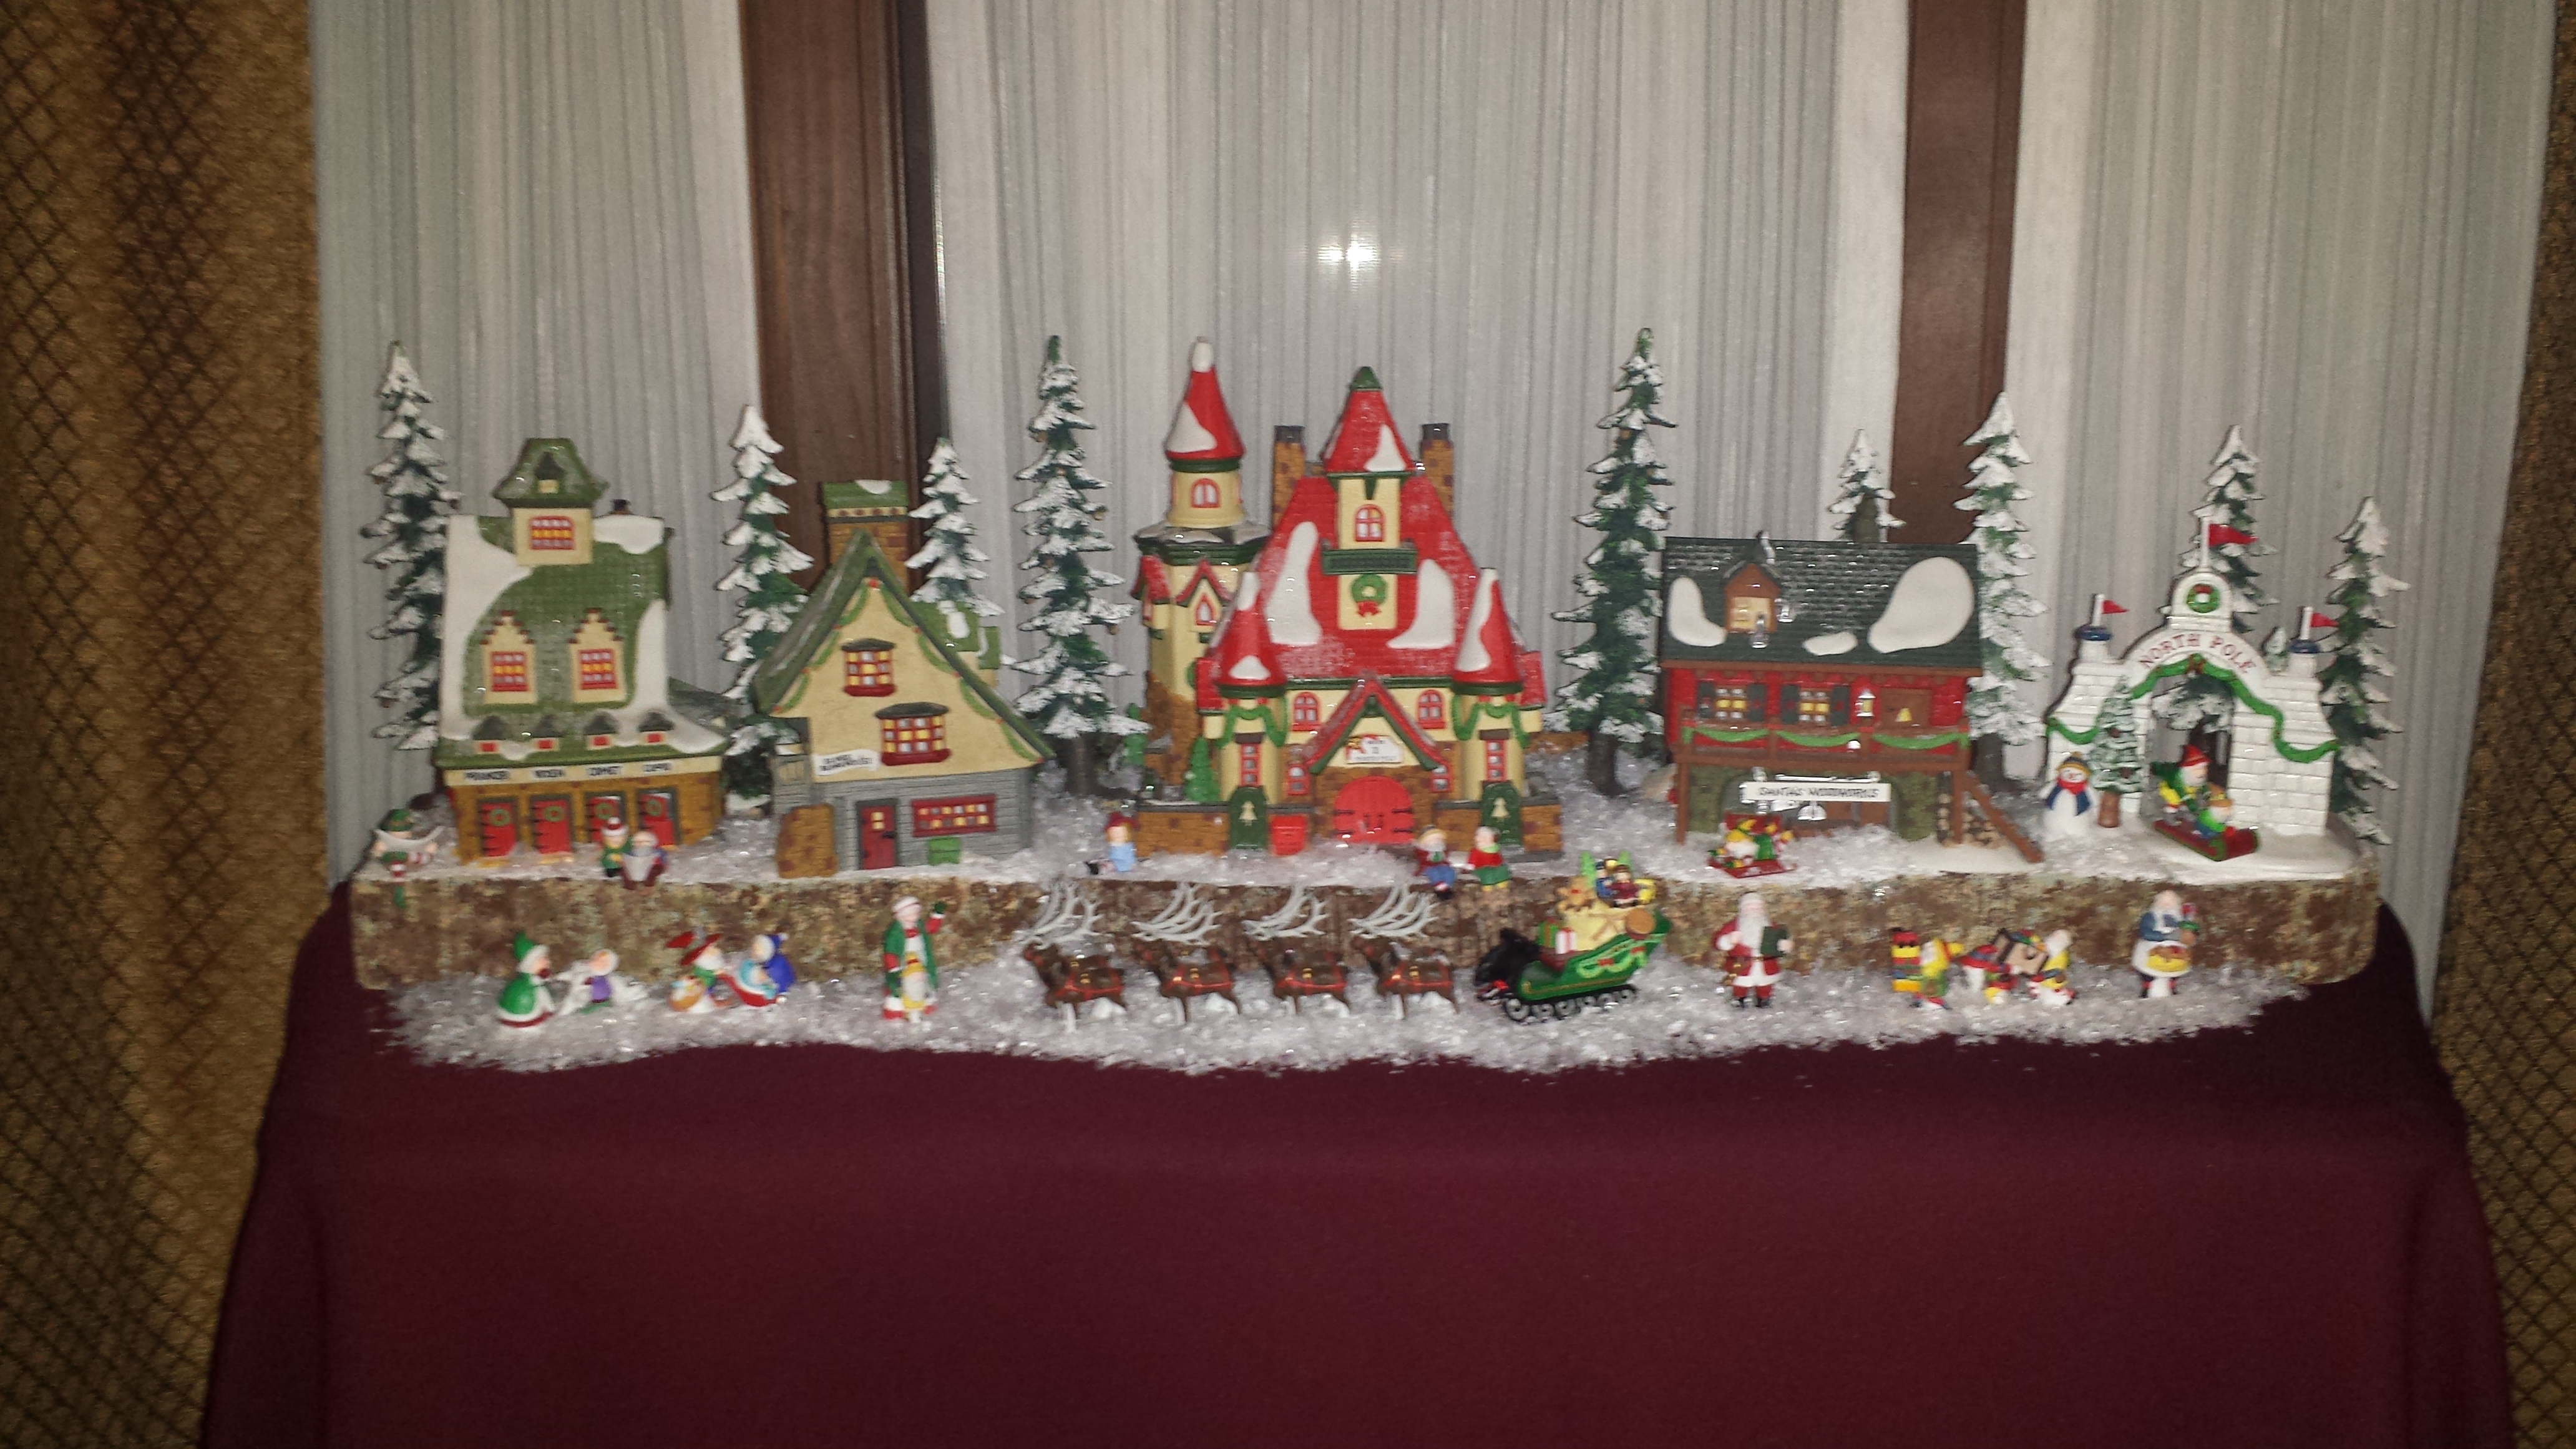
The next year I set-up the North Pole display in the same place in our library.  The only difference this time was the addition of a new North Pole building, the North Pole Forge & Assembly Shop.

2015 Christmas

As this post has shown in detail, a Department 56 display can be frequently changed from year to year by moving it to different rooms or areas of your home and also by adding accessories or other decorations to the display.  I hope this will inspire my readers to think about the options for displaying a nativity set in several different ways!

Decor – Changing Christmas Displays (Part One)

During the holiday season, as most readers to my blog will know, I like to change my Christmas displays from year to year.  Sometimes, I will change the location of the displays to different rooms of our house or I will add various accessories or embellishments to the displays from year to year.  In this two part series I will show my annual Christmas displays and how they have changed throughout the years.  In Part One I will feature my Fontanini Nativity display and in Part Two I will show my Department 56 North Pole village display.

When I was growing up my mother had a beautiful nativity set with hundreds of pieces that she always set up under our Christmas tree every year.  One of favorite things to do during the holiday season was to lie on my stomach just looking at the display and the various figurines and sometimes, when my mother wasn’t looking, I would play with the pieces.  Unfortunately, after my mother passed away, I don’t know what happened to her nativity set.  It would have been nice to have one or two pieces for remembrance!  (below is a Christmas 1971 photo of my mother which shows just a small portion of my mother’s nativity set under the Christmas tree)

1971 Christmas - Mom and Barbara

When I first got married, I knew I wanted a nativity set to carry on the tradition for my own family.  There is a wonderful Christmas store in Solvang, California called the Jule Hus (solvangschristmasstore.com) and that is where I purchased my Fontanini Nativity set.  The small starter set came with a stable, Gloria the angel, Mary, Joseph and baby Jesus.  My nativity set will never be as big as my mother’s nativity set but it is just the right size to display anywhere in our house.

The first few years I traditionally displayed the nativity set under the Christmas tree but then as I bought more Fontanini pieces and accessories I wanted to get a little more creative.  One year I displayed them in our entrance hall on an antique sewing machine table.  I raised the nativity stable on a box covered with a piece of sand colored suede material (this material would be re-used again in a variety of different ways for my other nativity displays over the following years).  By that time I had added a few more Fontanini pieces to my collection, which included a donkey, cow, goat, two sheep and a couple of white doves, and set these additional pieces into the display.  To complete the display I added a set of palm trees and ferns, a wooden fence and a couple of miniature clay pots that I had purchased that year. 

OLYMPUS DIGITAL CAMERA

The following year I decided to display the nativity set inside an antique trunk in our living room.  I had my husband cut a piece of wood to fit the dimensions of the trunk to be used as the base and then covered it with the suede material and placed the nativity stable on top.  Next, I cut a large piece of Styrofoam board and covered it with variegated blue cotton fabric to use as a background and then I placed a large flat rock in front (the foam board with blue material would be used again in another year’s nativity display and also in another year for my Department 56 North Pole display).  Then, I set out my original Fontanini pieces and added the ones that I had purchased that year which included the three wise men, shepherds and villagers and a few more sheep and a dog.  To complete the display I had found a lovely white ornament which I hung over the nativity stable as the evening star. 

OLYMPUS DIGITAL CAMERAOLYMPUS DIGITAL CAMERA

The following year, we had recently purchased a large oak cabinet for our living room and I set up the nativity set on top displayed in a way similar to the previous year.  Because I could not safely support the weight, I decided not to use the large flat rock and instead draped the suede material to resemble small hills which added an extra dimension to the display.

OLYMPUS DIGITAL CAMERA

The next year I decided to move the nativity set into our dining room in an oak cabinet that we had recently purchased.  I removed one of the extra shelves and covered the remaining shelf with the suede material and tucked a box under the material and placed the nativity stable on top.  Then, then I added a new sheep shelter which I placed to the left of the stable and two campfire sets.  That year I had purchased several additional Fontanini animal figurines, which included several more sheep, goats, an extra donkey & cow and three camels and herder from the wise men’s caravan.

OLYMPUS DIGITAL CAMERAThe following year, I displayed the nativity set in the same oak cabinet in the dining room but I decided to add more layers to the display.  By separating the Fontanini pieces into the additional layers allowed more room to display the collection and provided a better view of the individual pieces.  As an example of my ever changing nativity display, I had purchased at an after Christmas sale the previous year another nativity stable made of resin with more detailed features which I set out in the center as the focal point of the display (I kept the original wooden stable for possible use in the future for another craft project).

2007 Christmas 2

The next Christmas we had moved from California to our current home in the Midwest.  That year I decided to display the nativity set on top of an antique piano in our library room at the new house, it was a sentimental piece of furniture that had previously been in my husband childhood home in Berlin when his family had lived there for a few years.  Once again, I used the suede material with a small box placed underneath and to the left side to provide some height in the display.  The nativity stable was set on top and because of the size of the surface of the piano top I decided that I would edited down the Fontanini nativity display and only used a portion of my collection (this is another example of changing a display from year to year)

2009 Christmas

By the next Christmas, my husband’s grandmother had passed away and we had inherited an antique table that had been in her family for several years.  I thought that it would be a wonderful idea to honor her memory and incorporate this sentimental piece of furniture into the nativity display.  The table was placed in our library and I covered it with the suede material.  Next, I placed in the center a small piece of Styrofoam which I had painted in several colors of tan and brow to match the material and placed the stable on top.  Once again I edited down the collection to fit the dimensions of the surface of the table and used only selected a small portion of my Fontanini collection.  To add some additional interest, I scattered some sand around the display to create the illusion of the desert location of Bethlehem.

2011 Christmas  22011 Christmas 1

The following year, in keeping with my ever changing Christmas decorating from year to year, I decided to display the nativity set on a larger table which was placed in front of the windows in our library.  Once again, the suede material was used and I positioned the nativity stable on top of pervious Styrofoam base used last year.  Next, I placed the nativity stable on top of the Styrofoam base and set out only a small portion of my Fontanini collection.

2012 Christmas The next year I decided to create a more elaborate nativity display on the same table in our library.  I used a new moss covered base set with two “rock” fences and a “rock” arch piece placed to the back of the display.  Next, the palm trees that I had been using for years were starting to show some wear so I decided to repair them instead of purchasing new ones, I also redesigned a resin water well that I had used in previous displays (these are great examples of keeping the cost down by refurbishing existing items).  Next, I set out some recently purchased display accessories, such as clay ports of grain, basket of fish and another one of olives.  I also added to my Fontanini collection and had purchased four additional figures of a shepherd and several villagers.  (This display was featured in a previous post from my blog and for more detailed information on how it was created please click on the link to Setting up a Fontanini Display)

2013 Christmas

The following year I decided to move my nativity display into the dining room in our home, this was one area of the house that I hadn’t used yet for the nativity set.  I emptied everything out the bottom shelf of the oak china cabinet to make room for the display.  I used the three piece moss-covered base and set the nativity stable in the center and then arranged all the other Fontanini figures and accessories, although I didn’t use the palm trees because height size was too tall it fit in the china cabinet.

2014 Christmas

For this year’s nativity display, I kept it in the dining room but moved it to an antique tea table.  I used only two sections of the moss-covered base stacked on top of each other.  I also changed the palm trees because the weight of the heavy cactus top caused them to be unbalanced.  I replace them with lighter cactus tops and gave some weight to the base of the palm tree by hot-gluing on some metal discs underneath, this worked great and solved the problem of the toppling trees!  Once again, I edited down my Fontanini collection using only a few pieces that would fit the dimensions of the tea table.

2015 Christmas 1

As this post has shown in detail, a nativity display can be frequently changed from year to year by moving it to different rooms or areas of your home and also by adding accessories or other decorations to the display.  I hope this will inspire my readers to think about the options for displaying a nativity set in several different ways!

One last special note:  As you might have noticed in some of the photos shown in this post, the figure of baby Jesus is missing from the manger.  The reason for this is because our family tradition every year during the holiday season is that the manger in the nativity display stays empty until Christmas Eve.  On that evening we read from a beautifully illustrated book that tells the story of the birth of Jesus.  After we are done reading, my daughter will put baby Jesus in the manger and we say a prayer.  It is a lovely moment to remind us of the true meaning of Christmas.