With the end of summer and the start of autumn, I thought this craft project would be a fun way to “preserve” those wonderful summer days as the weather starts to get colder. Below are the supply list and instructions needed to complete this easy “Butterfly in a Jar” craft project.
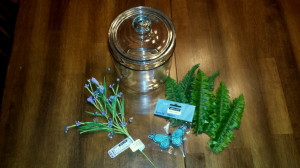
Butterfly in a Jar – supplies
Jar with a lid
A few artificial ferns or other greenery
A floral spray to add a little color
An artificial butterfly
Hot glue gun and glue sticks
A small amount of potting soil, sand or small rocks
Butterfly in a Jar – instructions
- Start with a clean glass container with a lid. (A lid is important because we don’t want the butterfly to fly away!)
- Cut the floral spray to fit the size of the container, hot glue the floral spray to the bottom of container.
- Cut several ferns in varying lengths to fit the size of the container, hot glue the ferns in various places to the bottom of the container.
- Hot glue the butterfly to a wire, then hot glue the wire to the bottom of the container. When selecting a color for the butterfly, remember to use a color contrast for a visually appealing display.
- To give the container a finished and realistic look, scoop potting soil into the container to fill the bottom. Sand or gravel can be used as other options to fill the container.
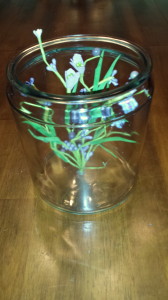
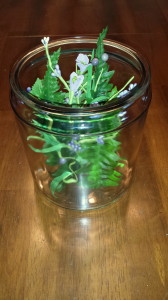
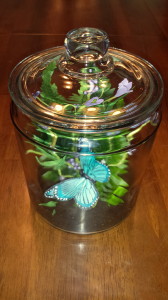
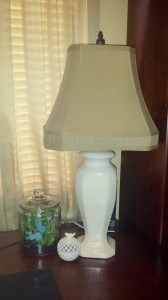
After I finished the “Butterfly in a Jar”, I put it on my office desk to replace the floral arrangement already there. I enjoy glancing at it during the day – it is like having a little bit on summer sitting on my desk!
For another variation of a container arrangement, please see last months’s Craft post – Glass Dome Arrangement.

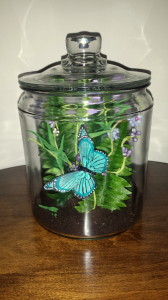
I’ve got to make this! It really is lovely! It would be a great spring or summer piece for my house.