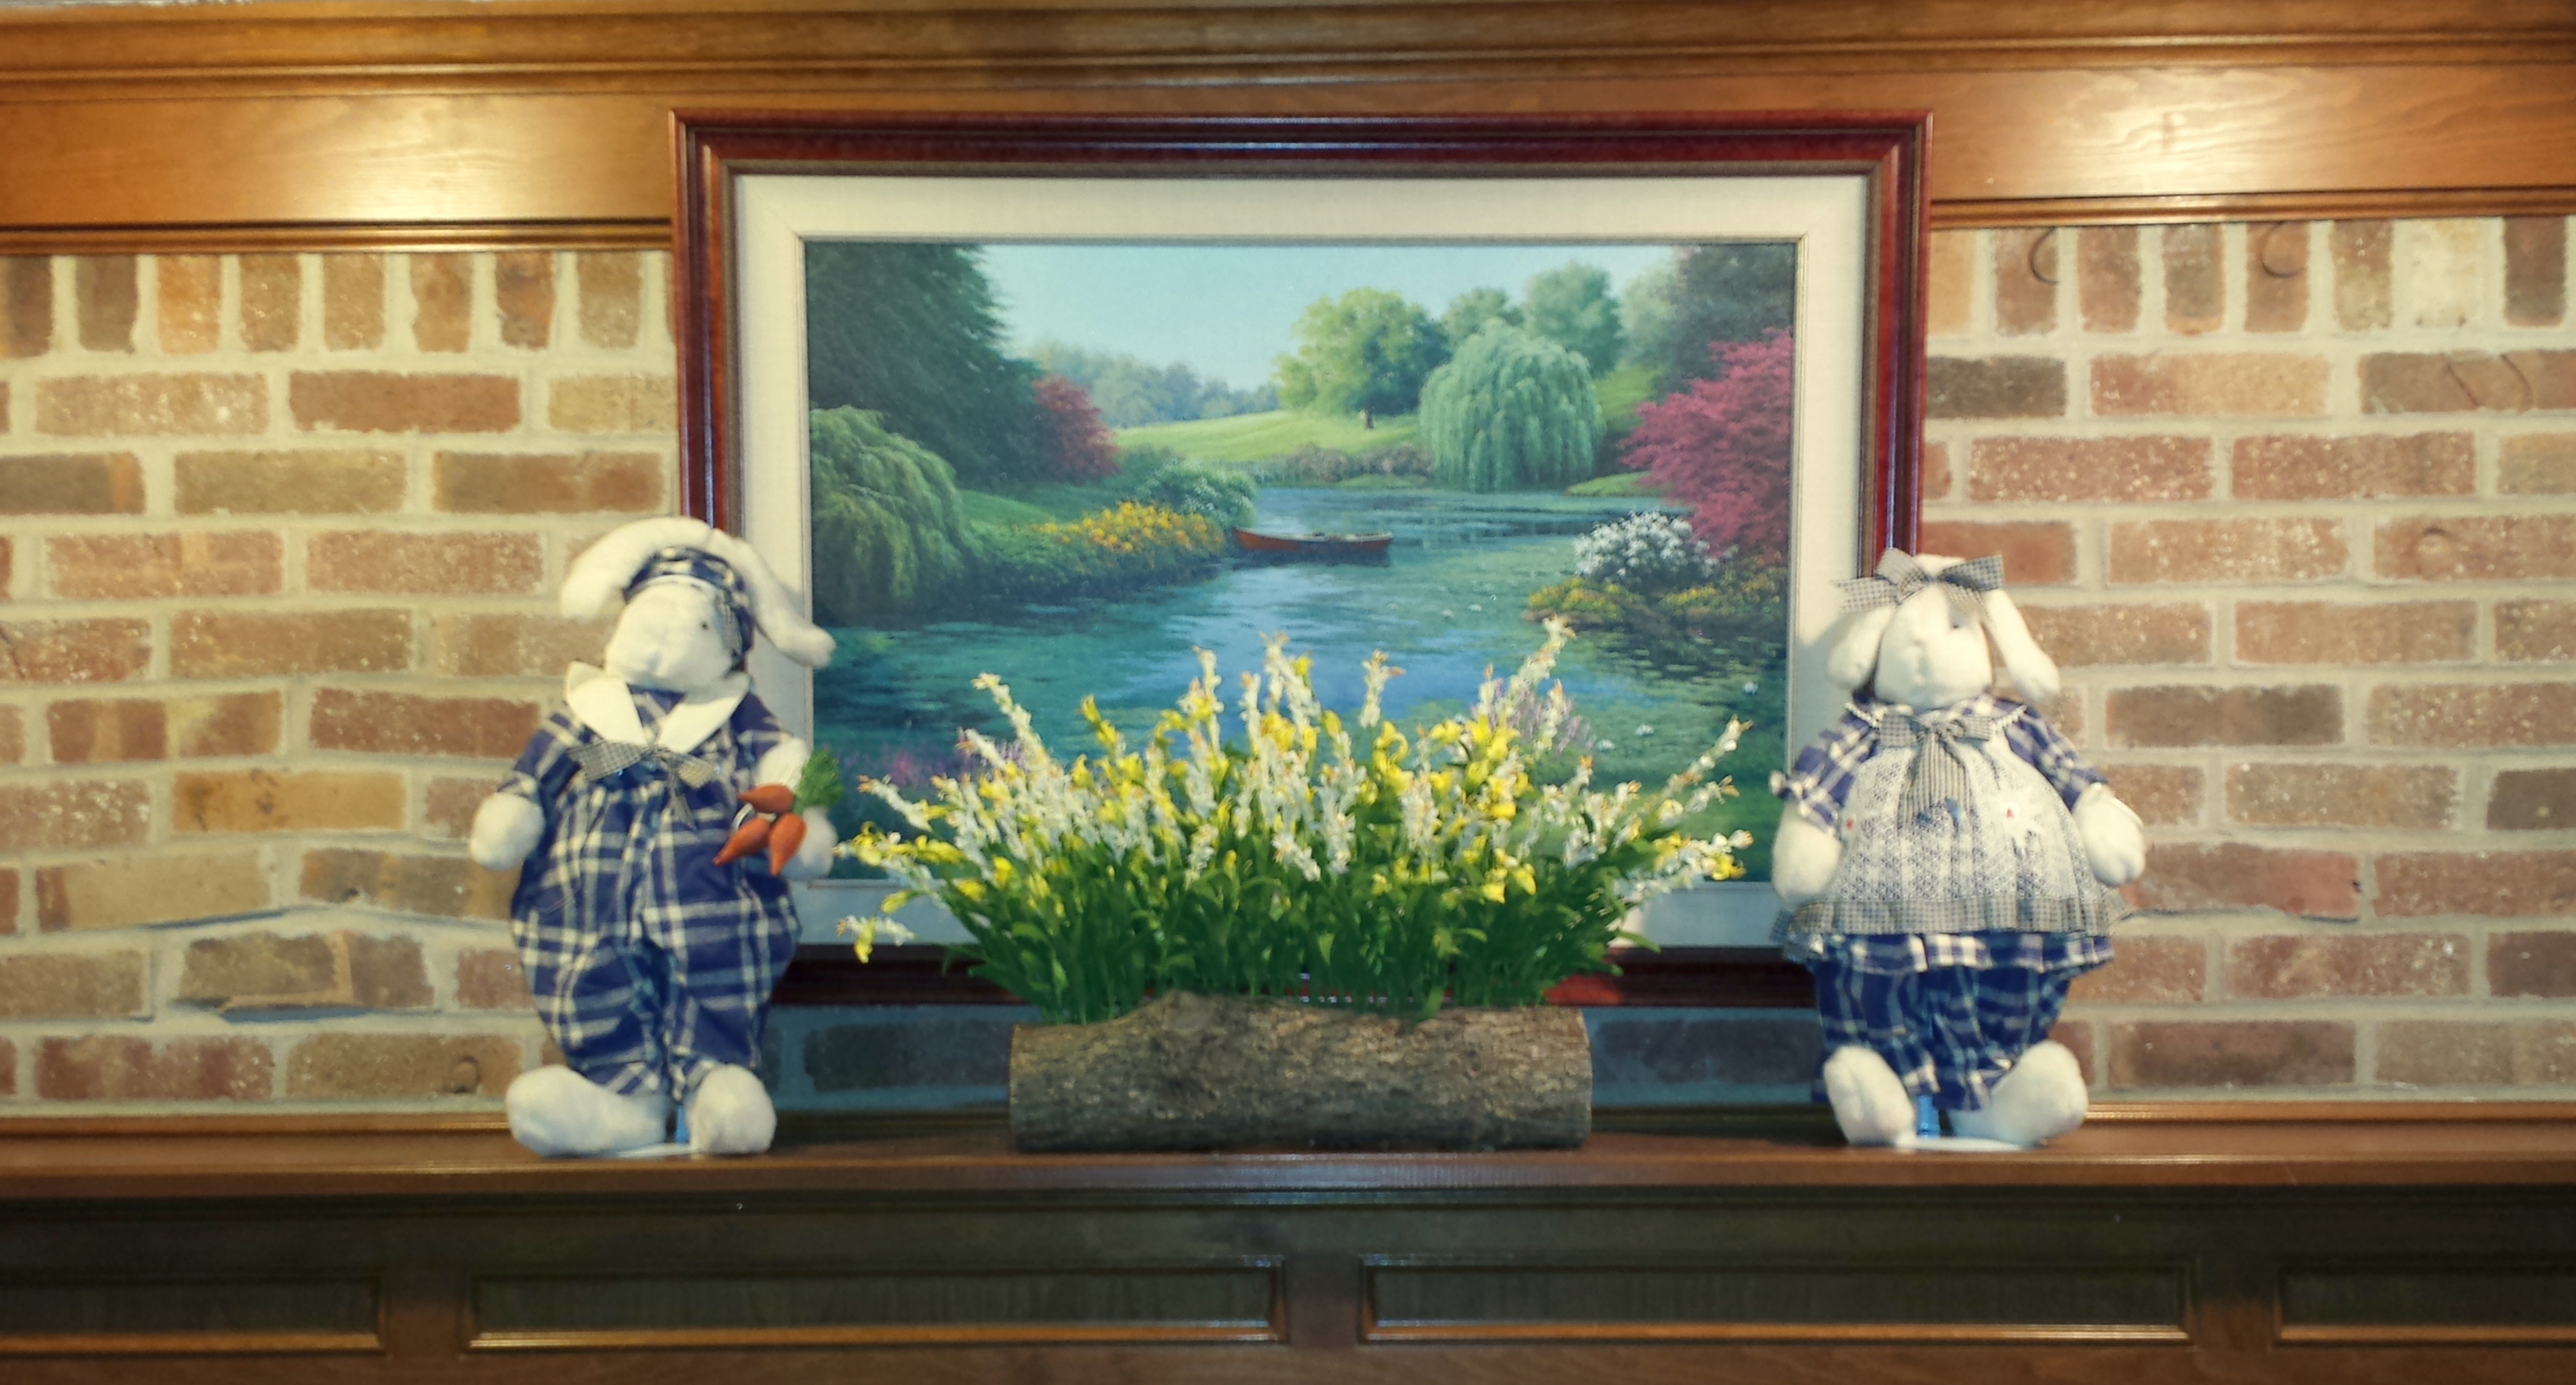
 This year for the upcoming spring season I decided to make a special arrangement for the mantel in our family room. Every year I usually set out two large “Bunnies by the Bay” stuffed white rabbits on the mantel, one on either side of the picture hanging over the fireplace. This year, taking inspiration from the painting of the English countryside, I knew that whatever floral arrangement I made I wanted it to blend with the style and colors of the painting. Instead of using a vase or basket for the container for the arrangement I used a log, the look is similar to the craft project from November – Rustic Table Centerpiece. I think the natural element of the log and the pale colors of the flowers look wonderful displayed on our family room fireplace mantel!
Spring Mantel Decoration
Supplies –
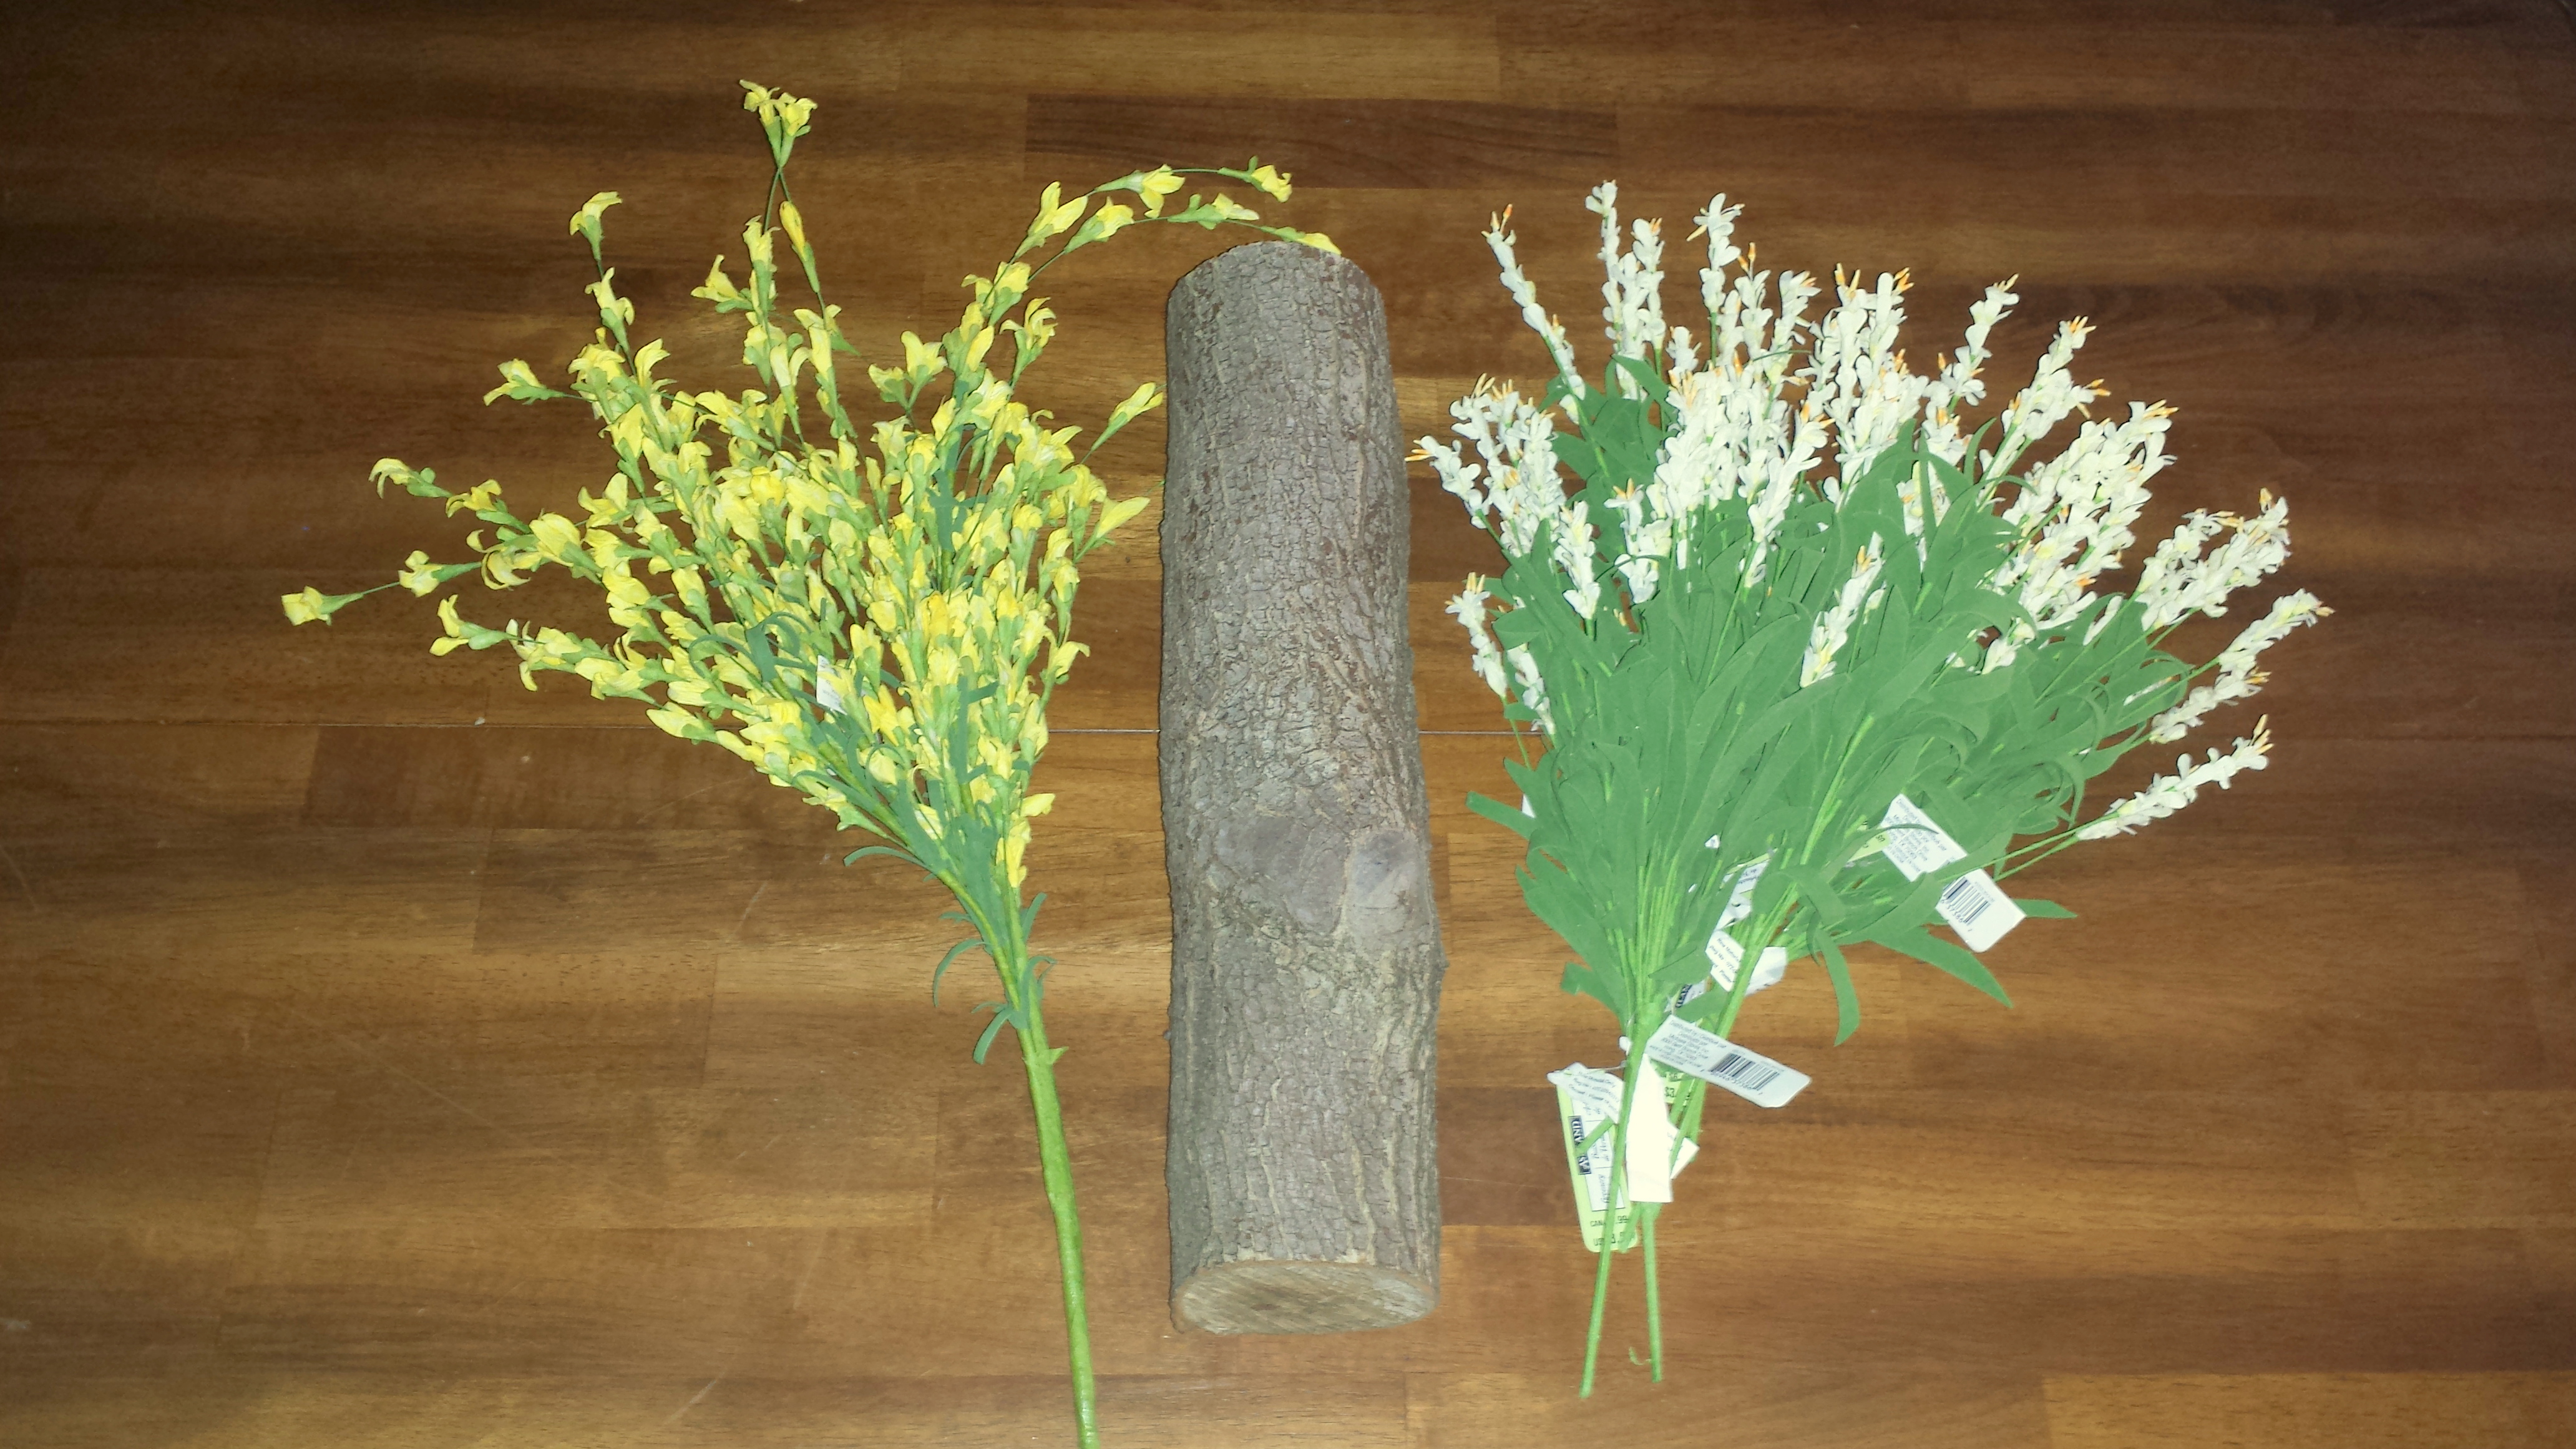
- Several bunches of small flowers (I used a mixture of white and yellow flowers)
- A log
- A drill and small bit for drilling holes in the log
- Wire cutter
- Work gloves, safety glasses (optional but highly advised)
Instructions –
1. Start by selecting a log, the length will be determined by where the floral arrangement is being displayed. Be sure the log is completely dried and “bug-free”.
2. Determine the desired height of the floral stems; use the wire cutters to cut the floral stems to the proper length.
3. Prepare a sturdy flat surface by covering it with newspaper.
4. When selecting a drill, be sure to use one that is equal to the size of the floral stems that are being used. (the holes should be large enough for the floral stems but small enough for the stems to remain upright without tipping over.
 5. Place the log on the work surface, using the drill make several holes into the top surface of the log. When drilling the holes vary the placement so that the floral stems are staggered throughout the top of the log.
6. Once the holes are drilled, insert one floral stem into each hole. (optional step – floral stems can be hot glued to secure)