
While shopping at a local craft store, I always enjoy the aisle with the decorative drawer pulls and knobs. There are so many beautiful ones but these items can be a little pricey if you are planning on replacing several of the existing ones on the various furniture pieces or the cabinets in a kitchen or bathroom of your home. I wondered if I could use the drawer pulls and knobs for a simple craft project that required just a few supplies and I decided to create a picture frame tray. I had a picture frame that I had previously purchased but was not currently using and the size was perfect to use for a tray.. Now I had an excuse to return to the craft store to purchase several drawer pulls and knobs which happened to be on sale!
Picture Frame Tray – supplies
- Wooden picture frame, a minimum size of 8×10 or larger frames are preferred
- Picture mat with no openings (other options to use: scrapbook paper or fabric)
- 2 decorative drawer pulls
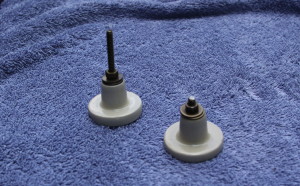
- 4 decorative drawer knobs
- Screws for each drawer pull or knob, be sure the length of the screws in the correct size
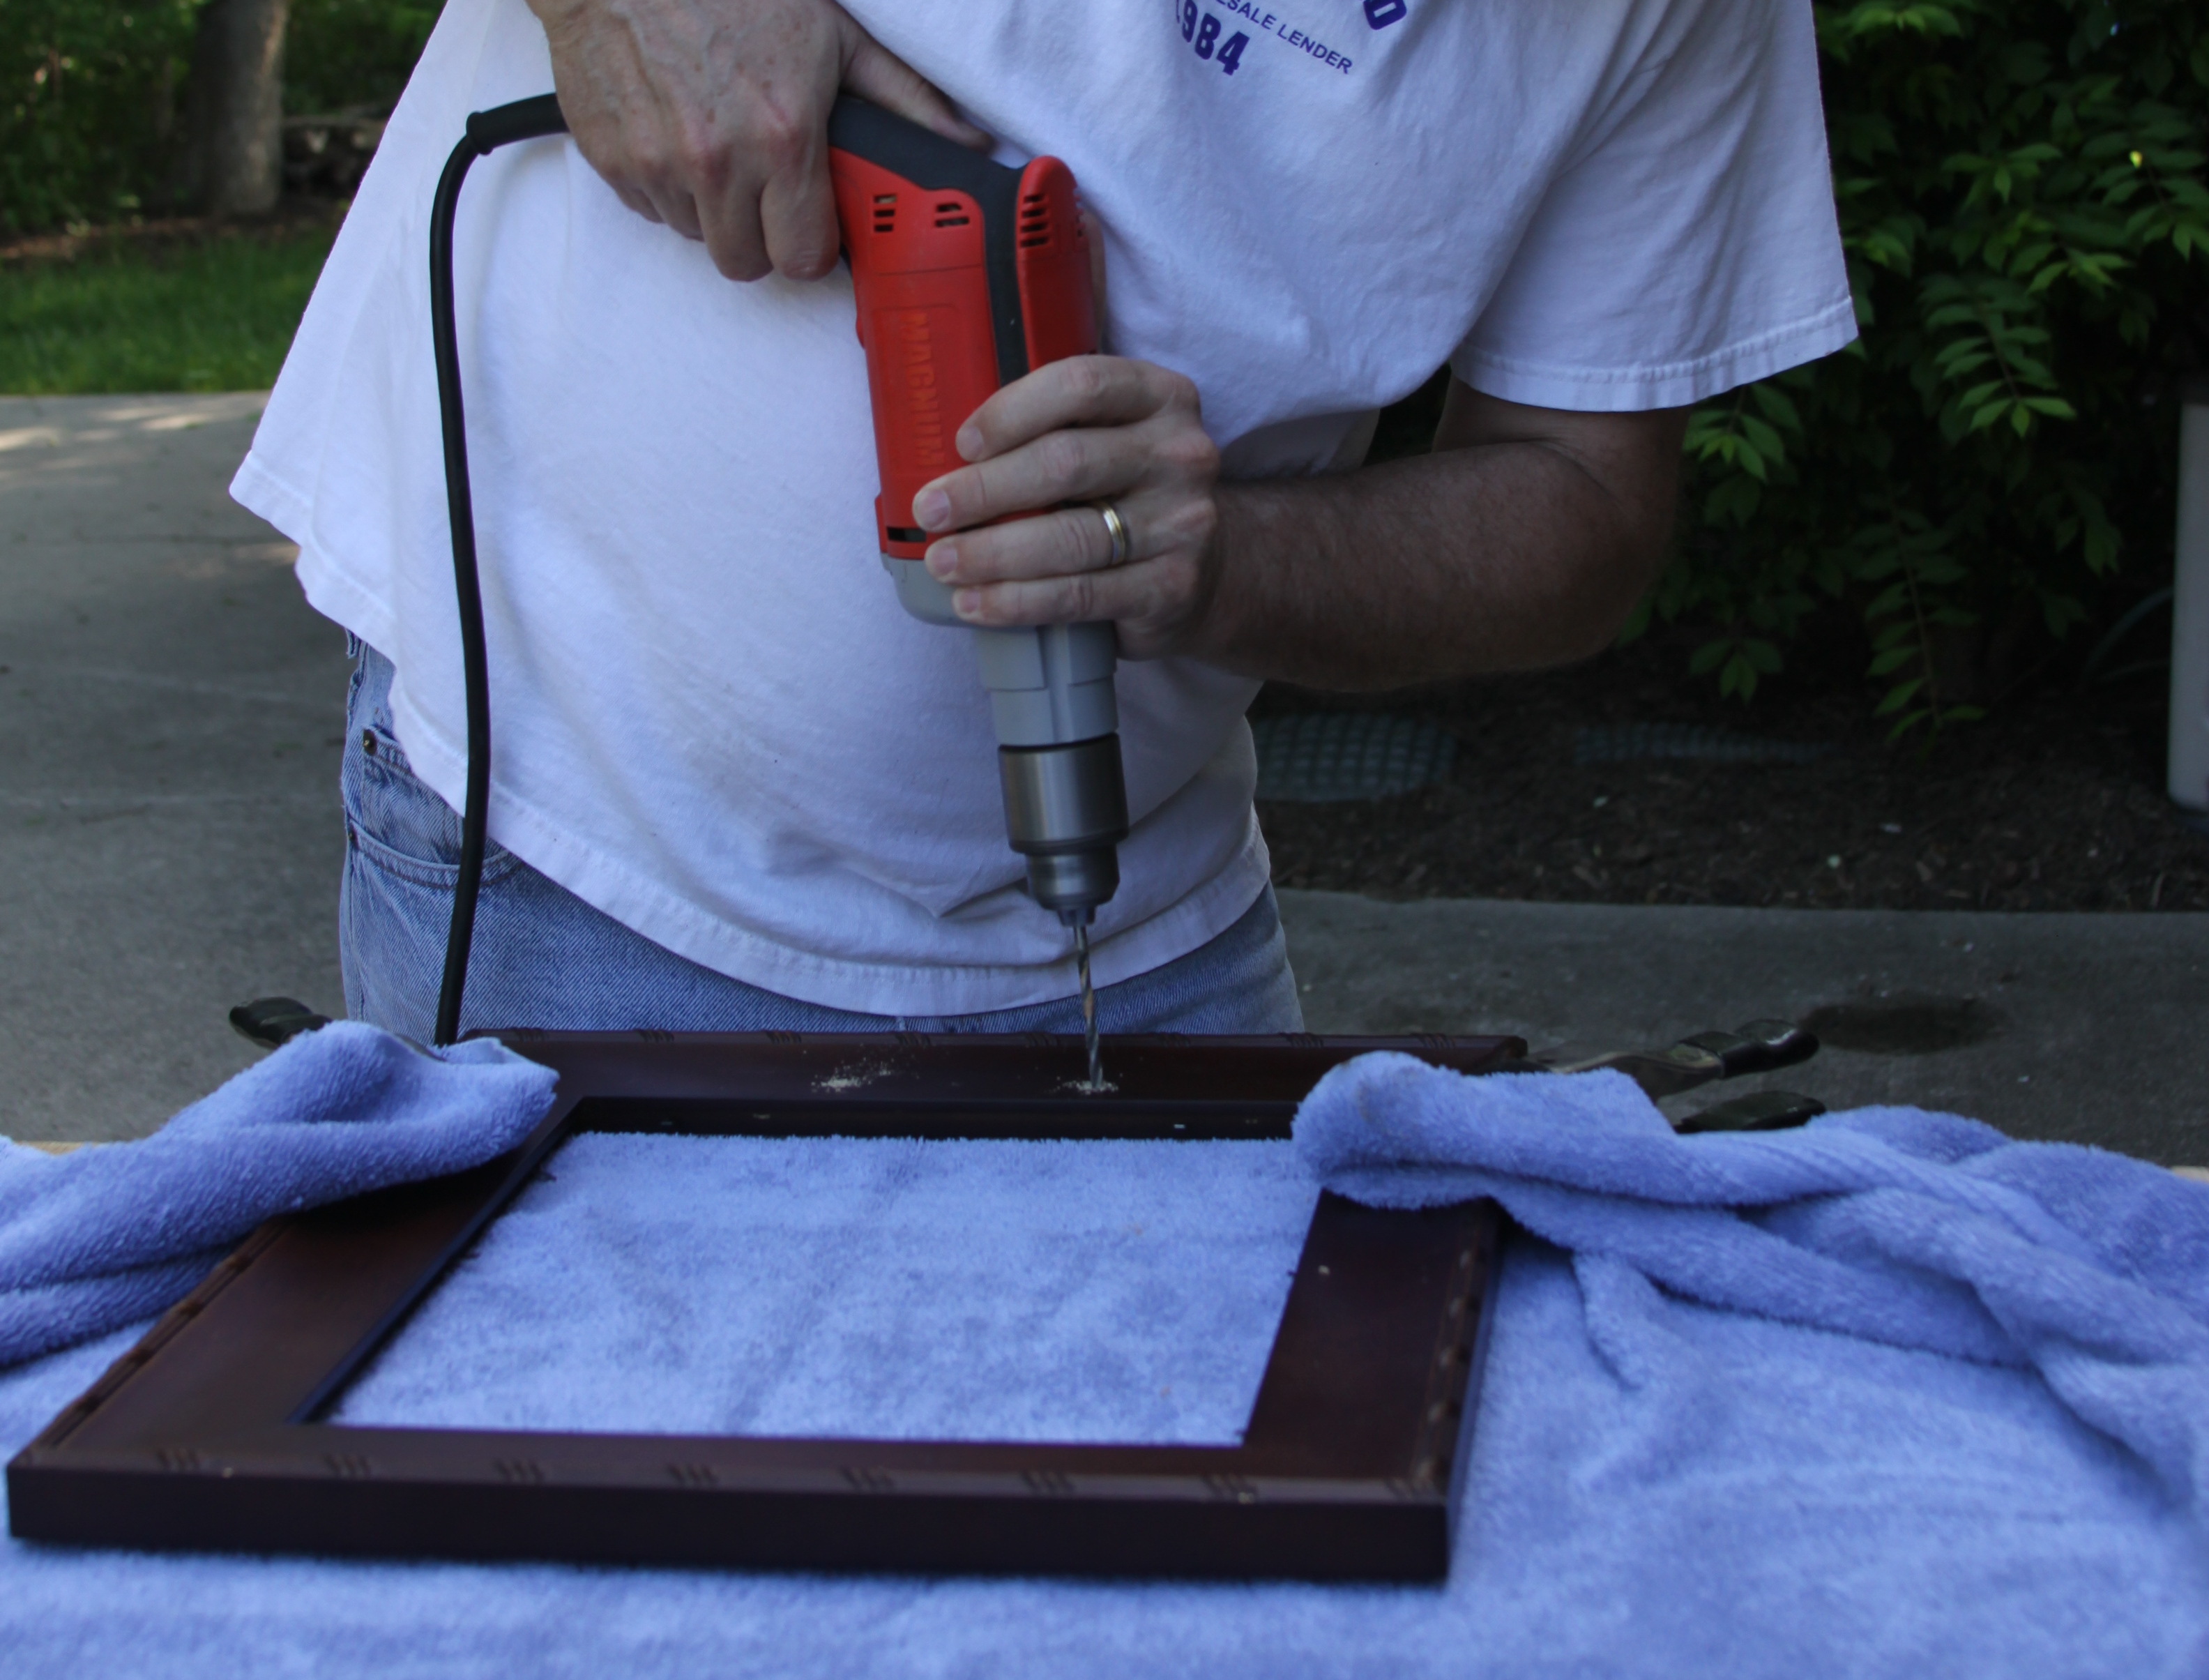
- Drill, to make the holes
- Screwdriver, to attach the hardware
- Epoxy glue (optional – for the drawer knobs)
Important things to consider before starting this craft project:
Determine the correct size of the screws being used to attach the hardware. Specifically the drawer knobs that are attached to the bottom of the picture frame, they should be the correct length for the thickness of the frame but should not go all the way through the frame. (we wound up drilling the holes, then cut the screw down and used epoxy glue to attach them to the frame)
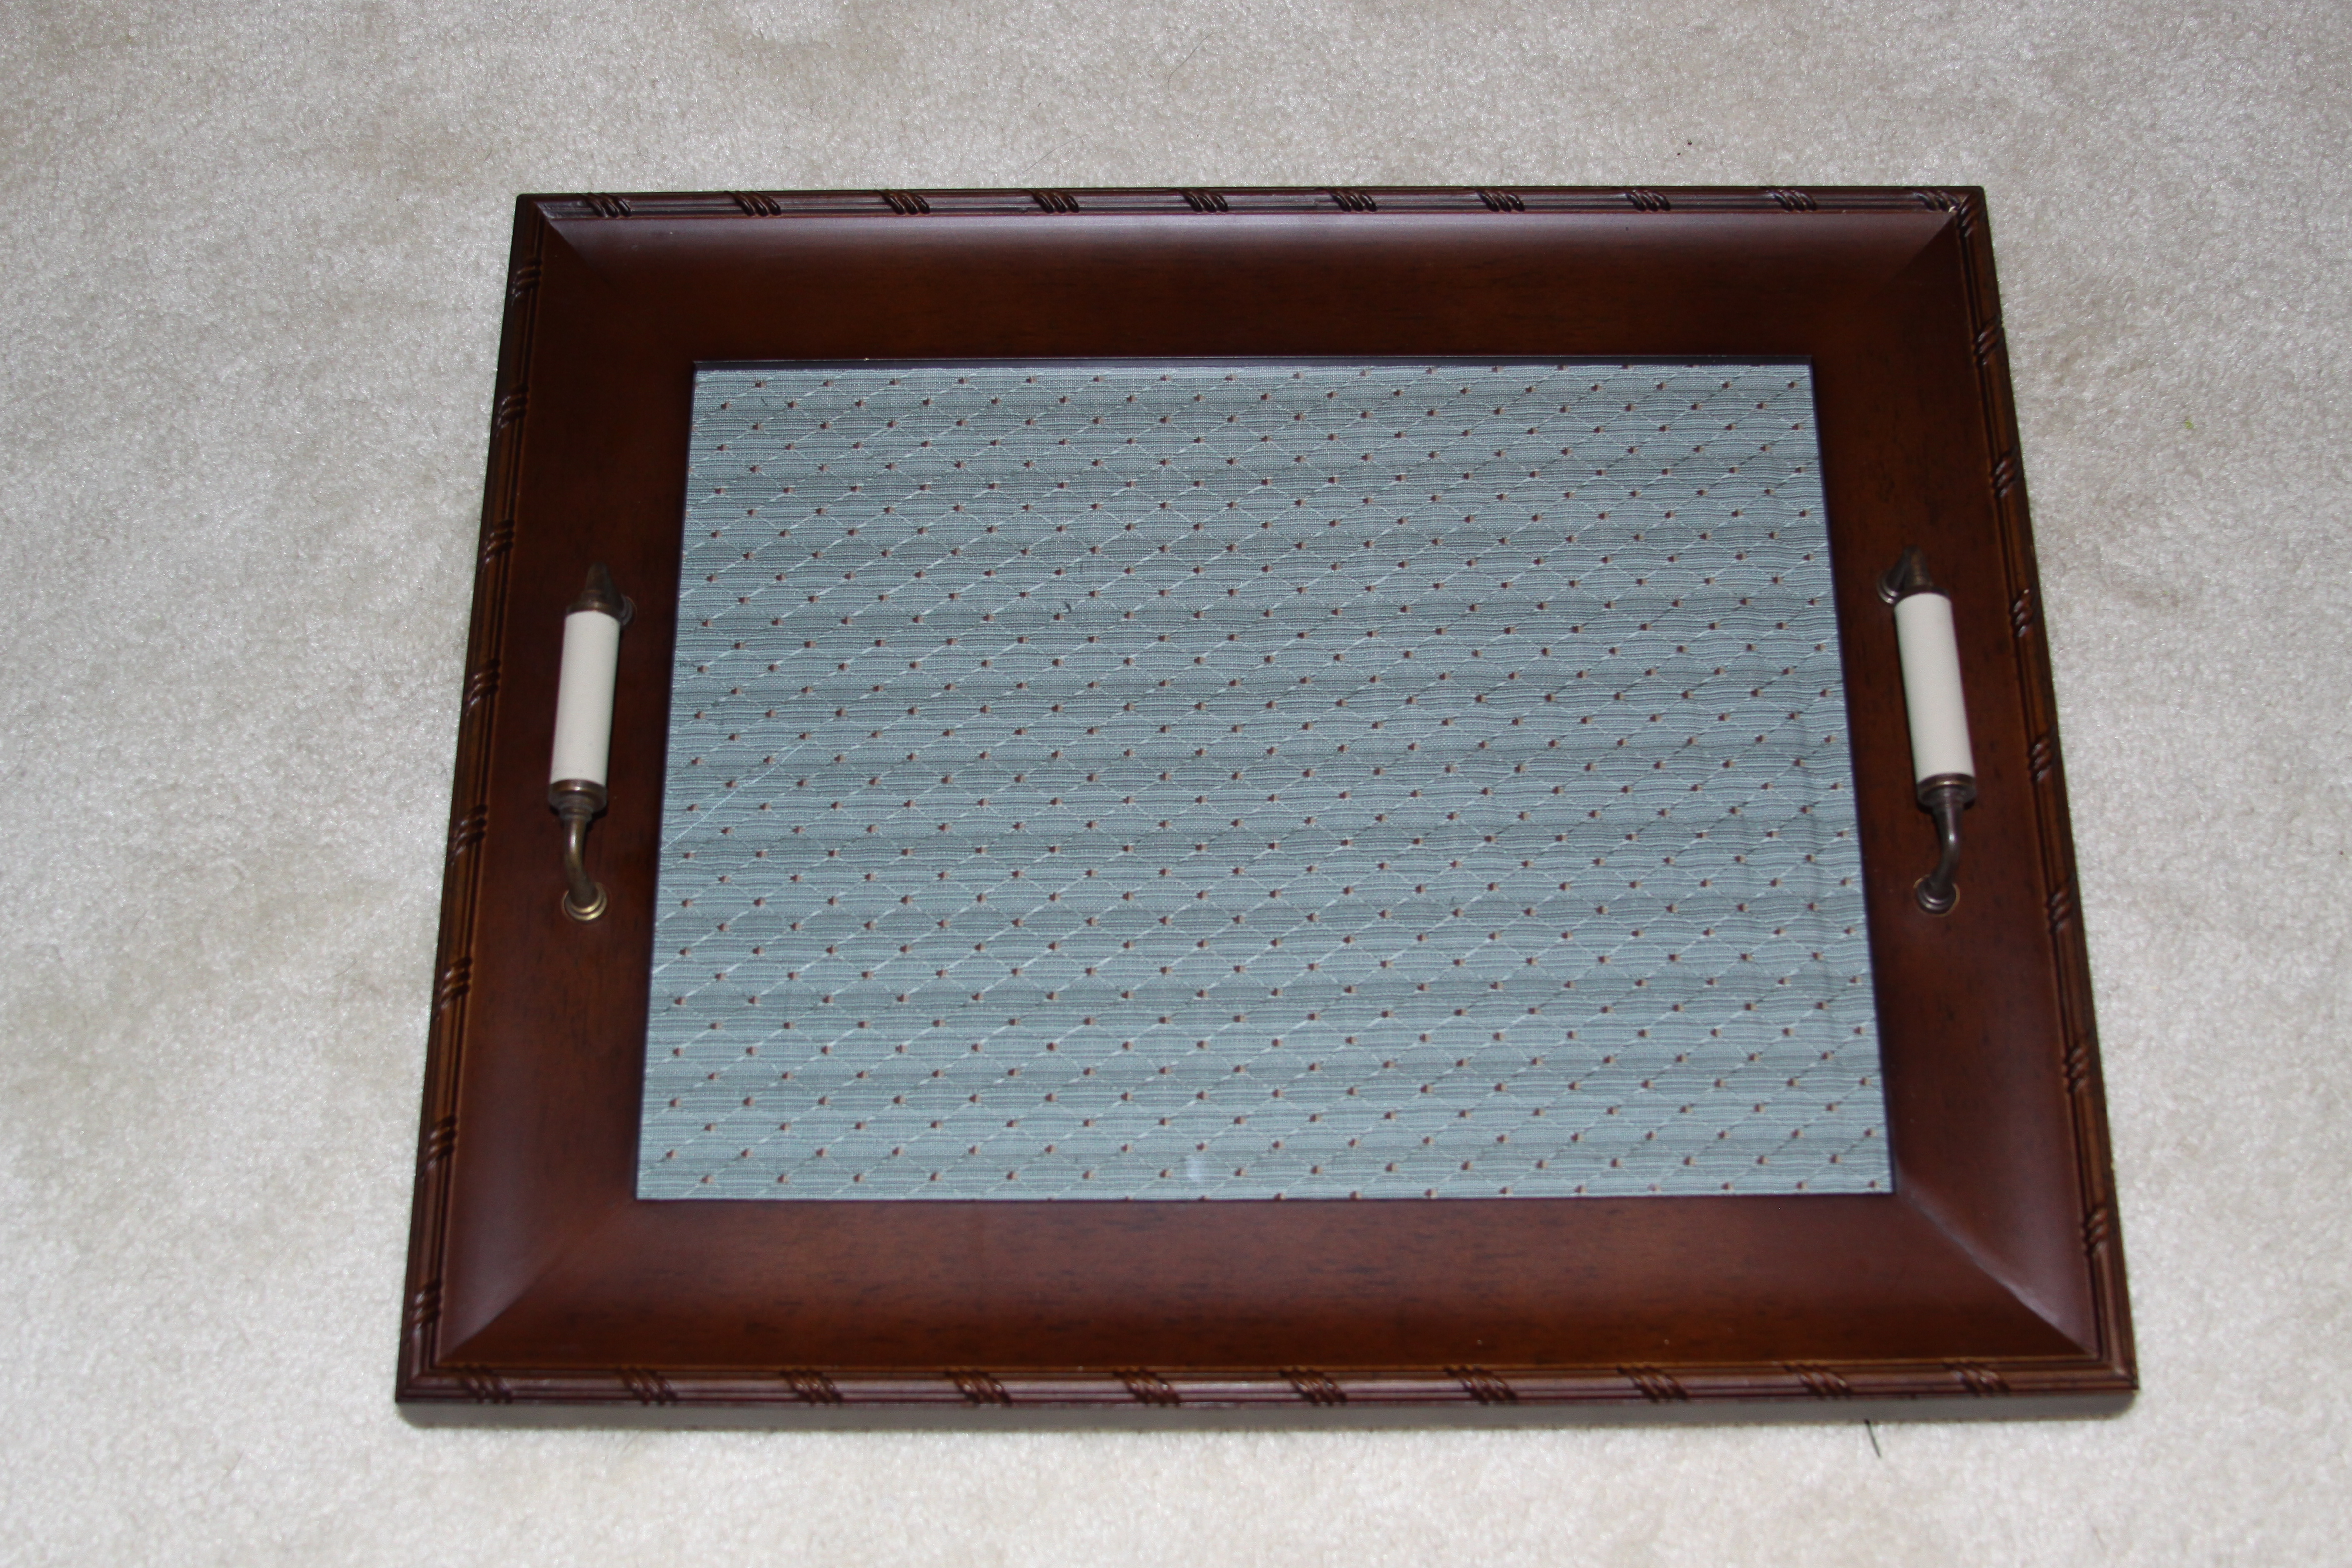
- Determine what type of “mat” that will be used for the picture frame. There are several options to consider. One is a traditional style picture mat but with no openings, just a solid surface. The other choices are more decorative, such as: scrapbook paper, wrapping paper or fabric. Be aware of the thickness of the “mat” and allow room for glass and backing to be replaced into the picture. (I used a fabric remnant for my tray)
- Before replacing the glass and the backing of the picture frame, determine if you want to add other elements to the tray, such as: photos, decorative trim for the edges, etc. If you choose to add any of these elements, now is the time to decide on their arrangement on the tray.
Picture Frame Tray – instructions
To protect the work surface, cover the area with newspaper or old towels.
- Remove the glass and backing from the picture frame.
- Determine where the drawer pulls and knobs will be positioned and mark the positions with a pencil.
- Drill all the holes at one time before attaching the hardware to the frame.

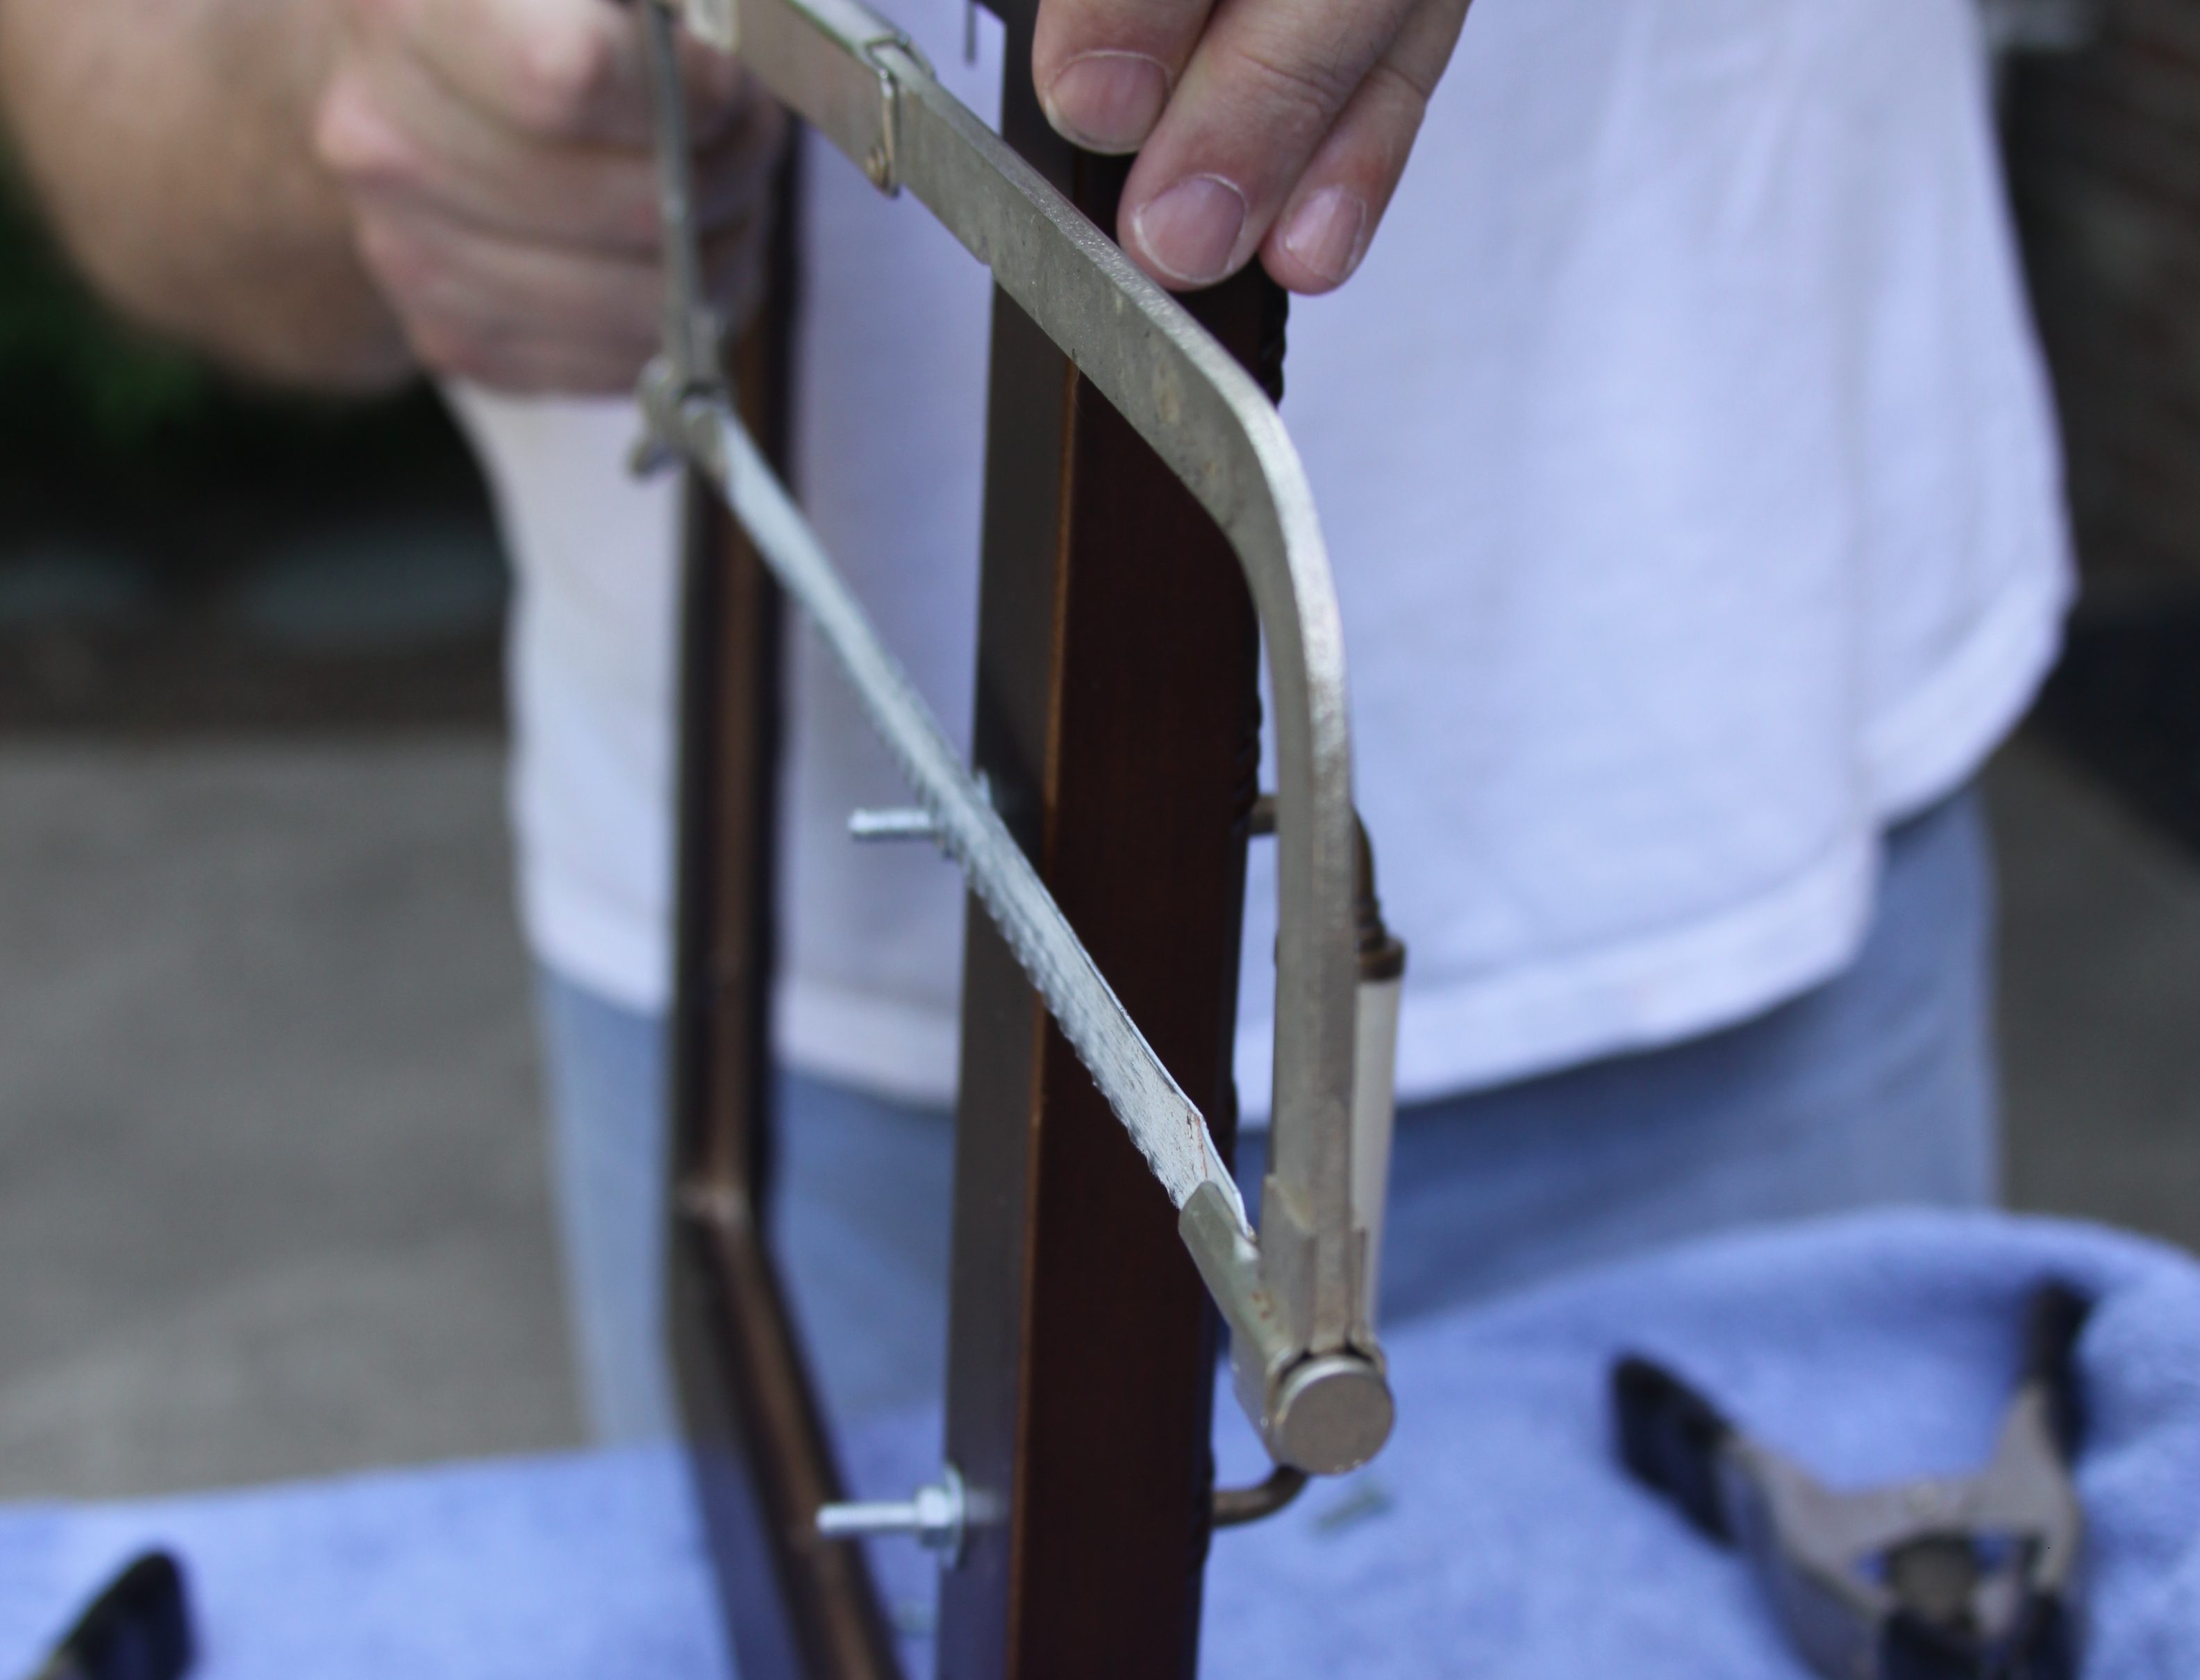
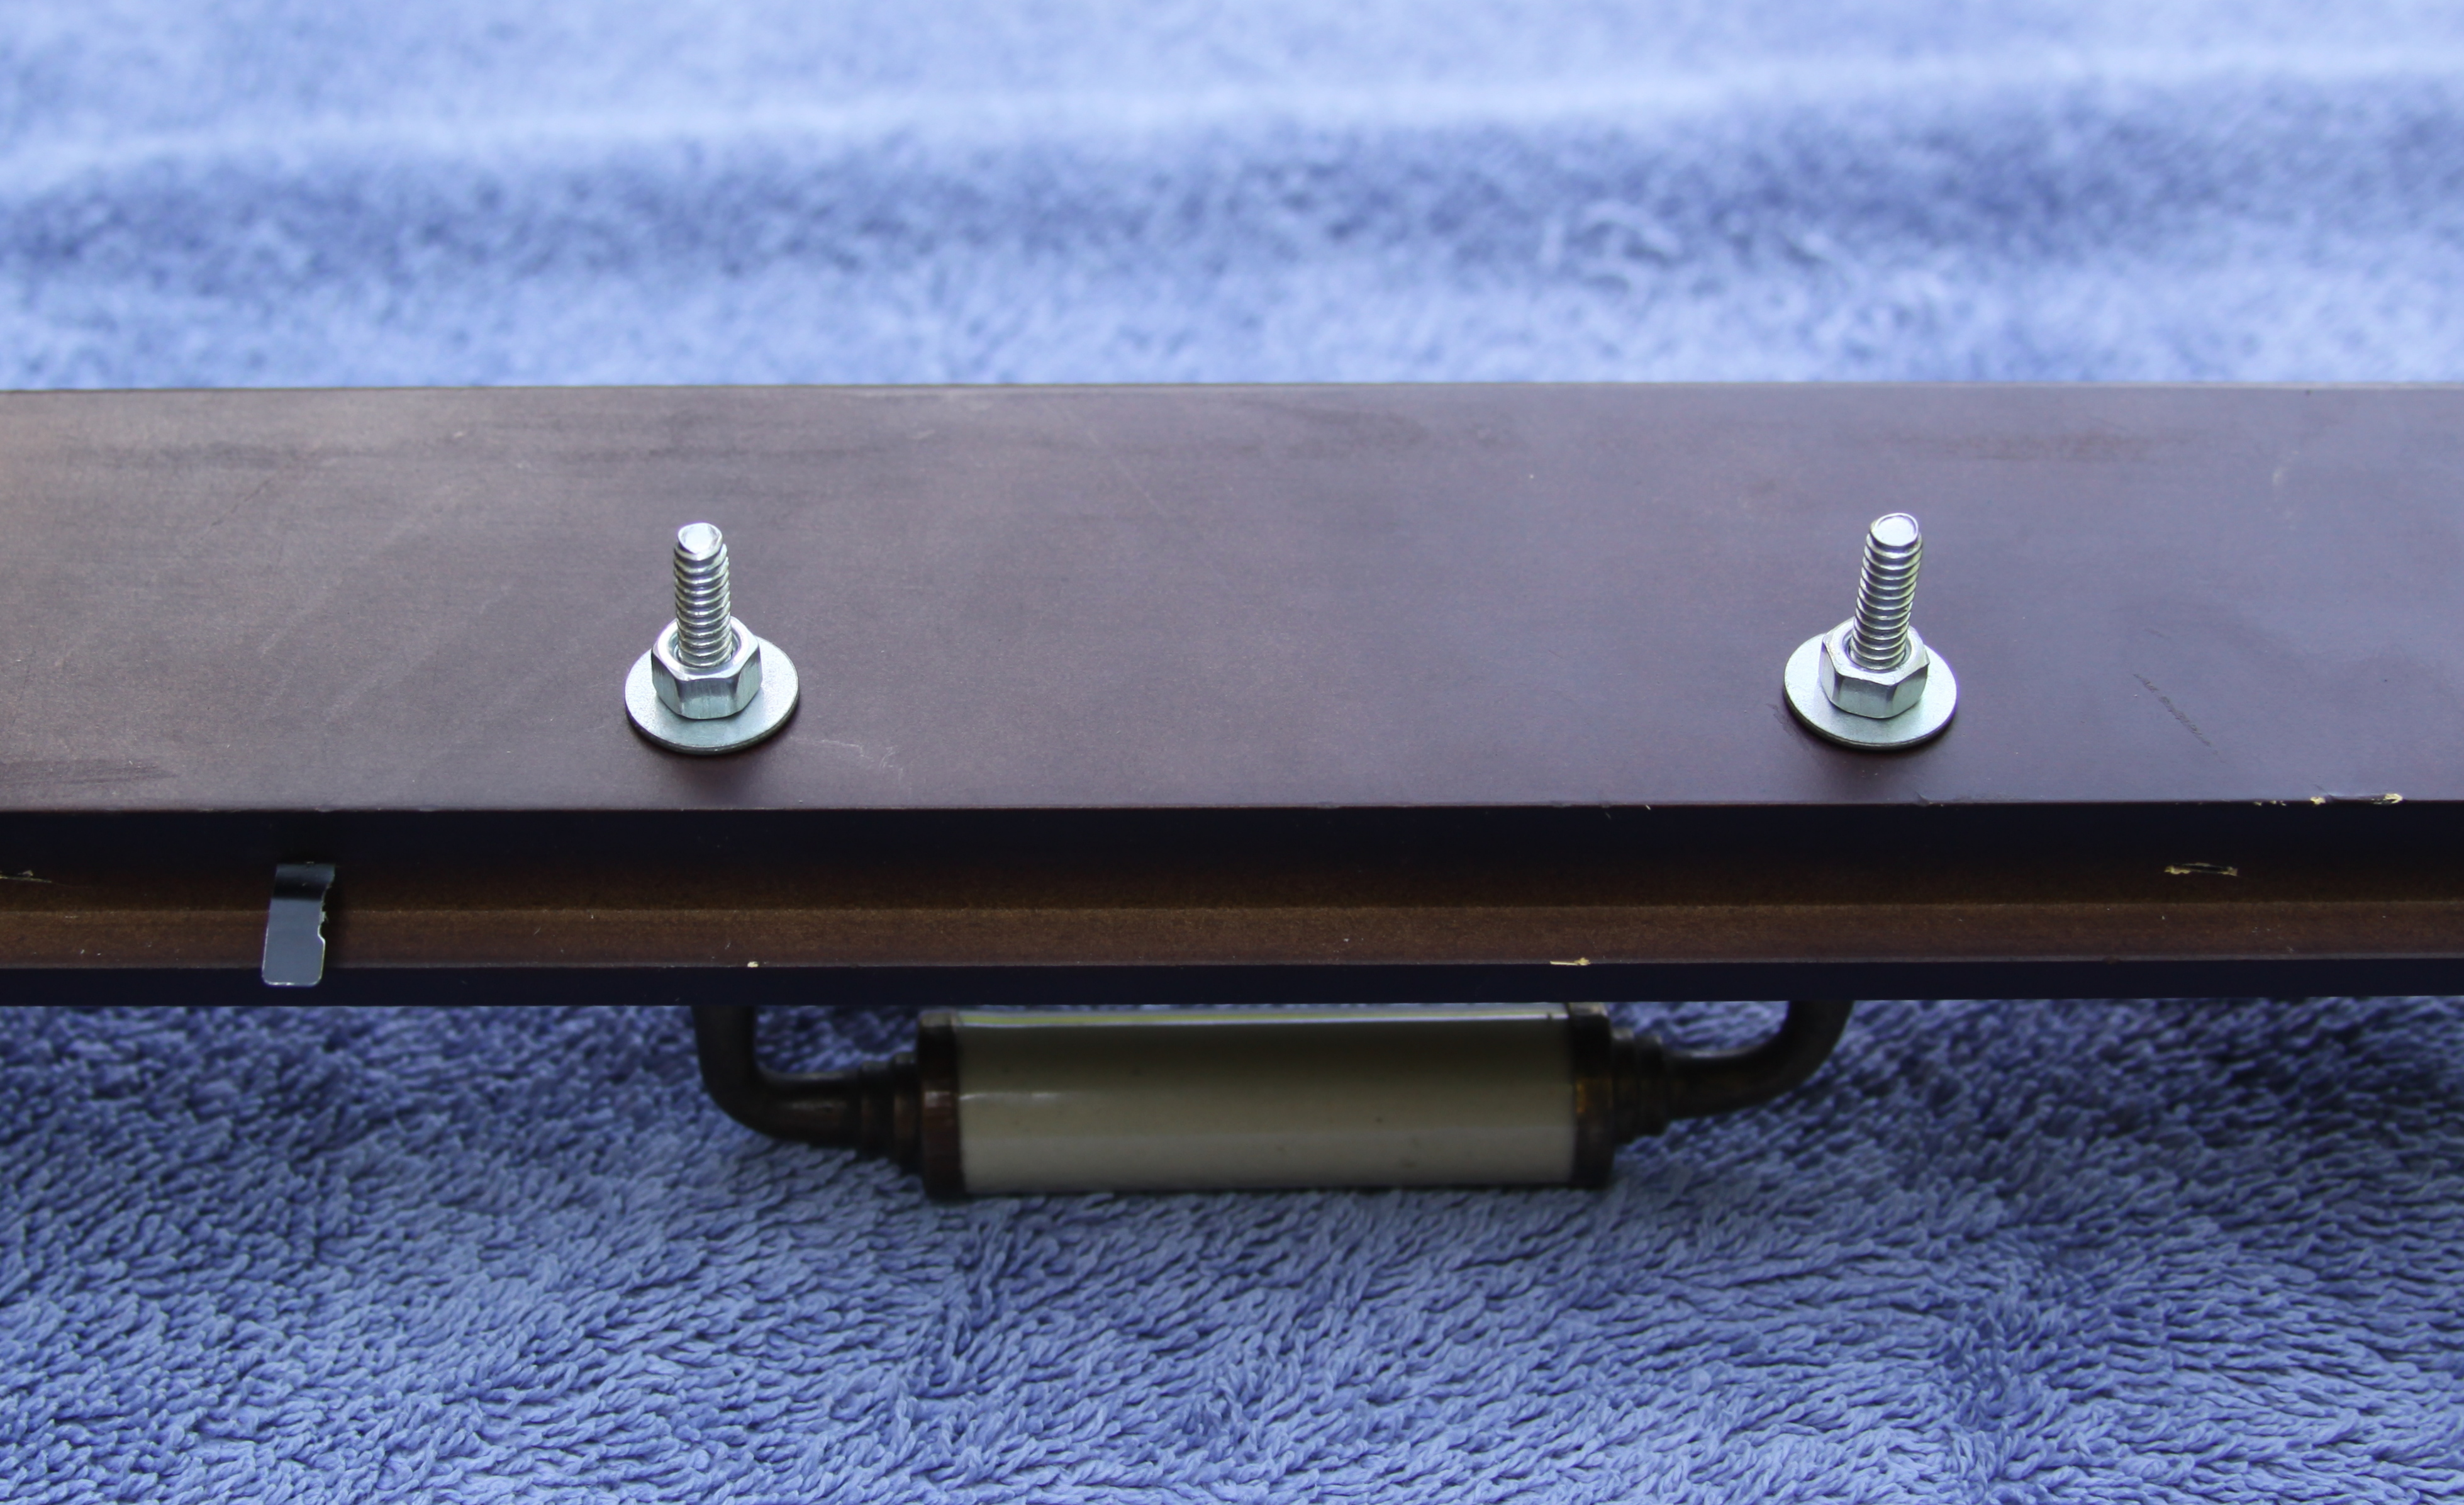
- Starting on the front of the frame, attach the drawer pulls. The drawer pulls will act as decorative handles for carrying the tray. (for my tray, the screws needed to be cut down shorter, my husband sawed off the excess length)
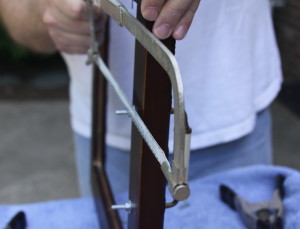

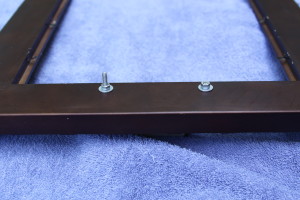

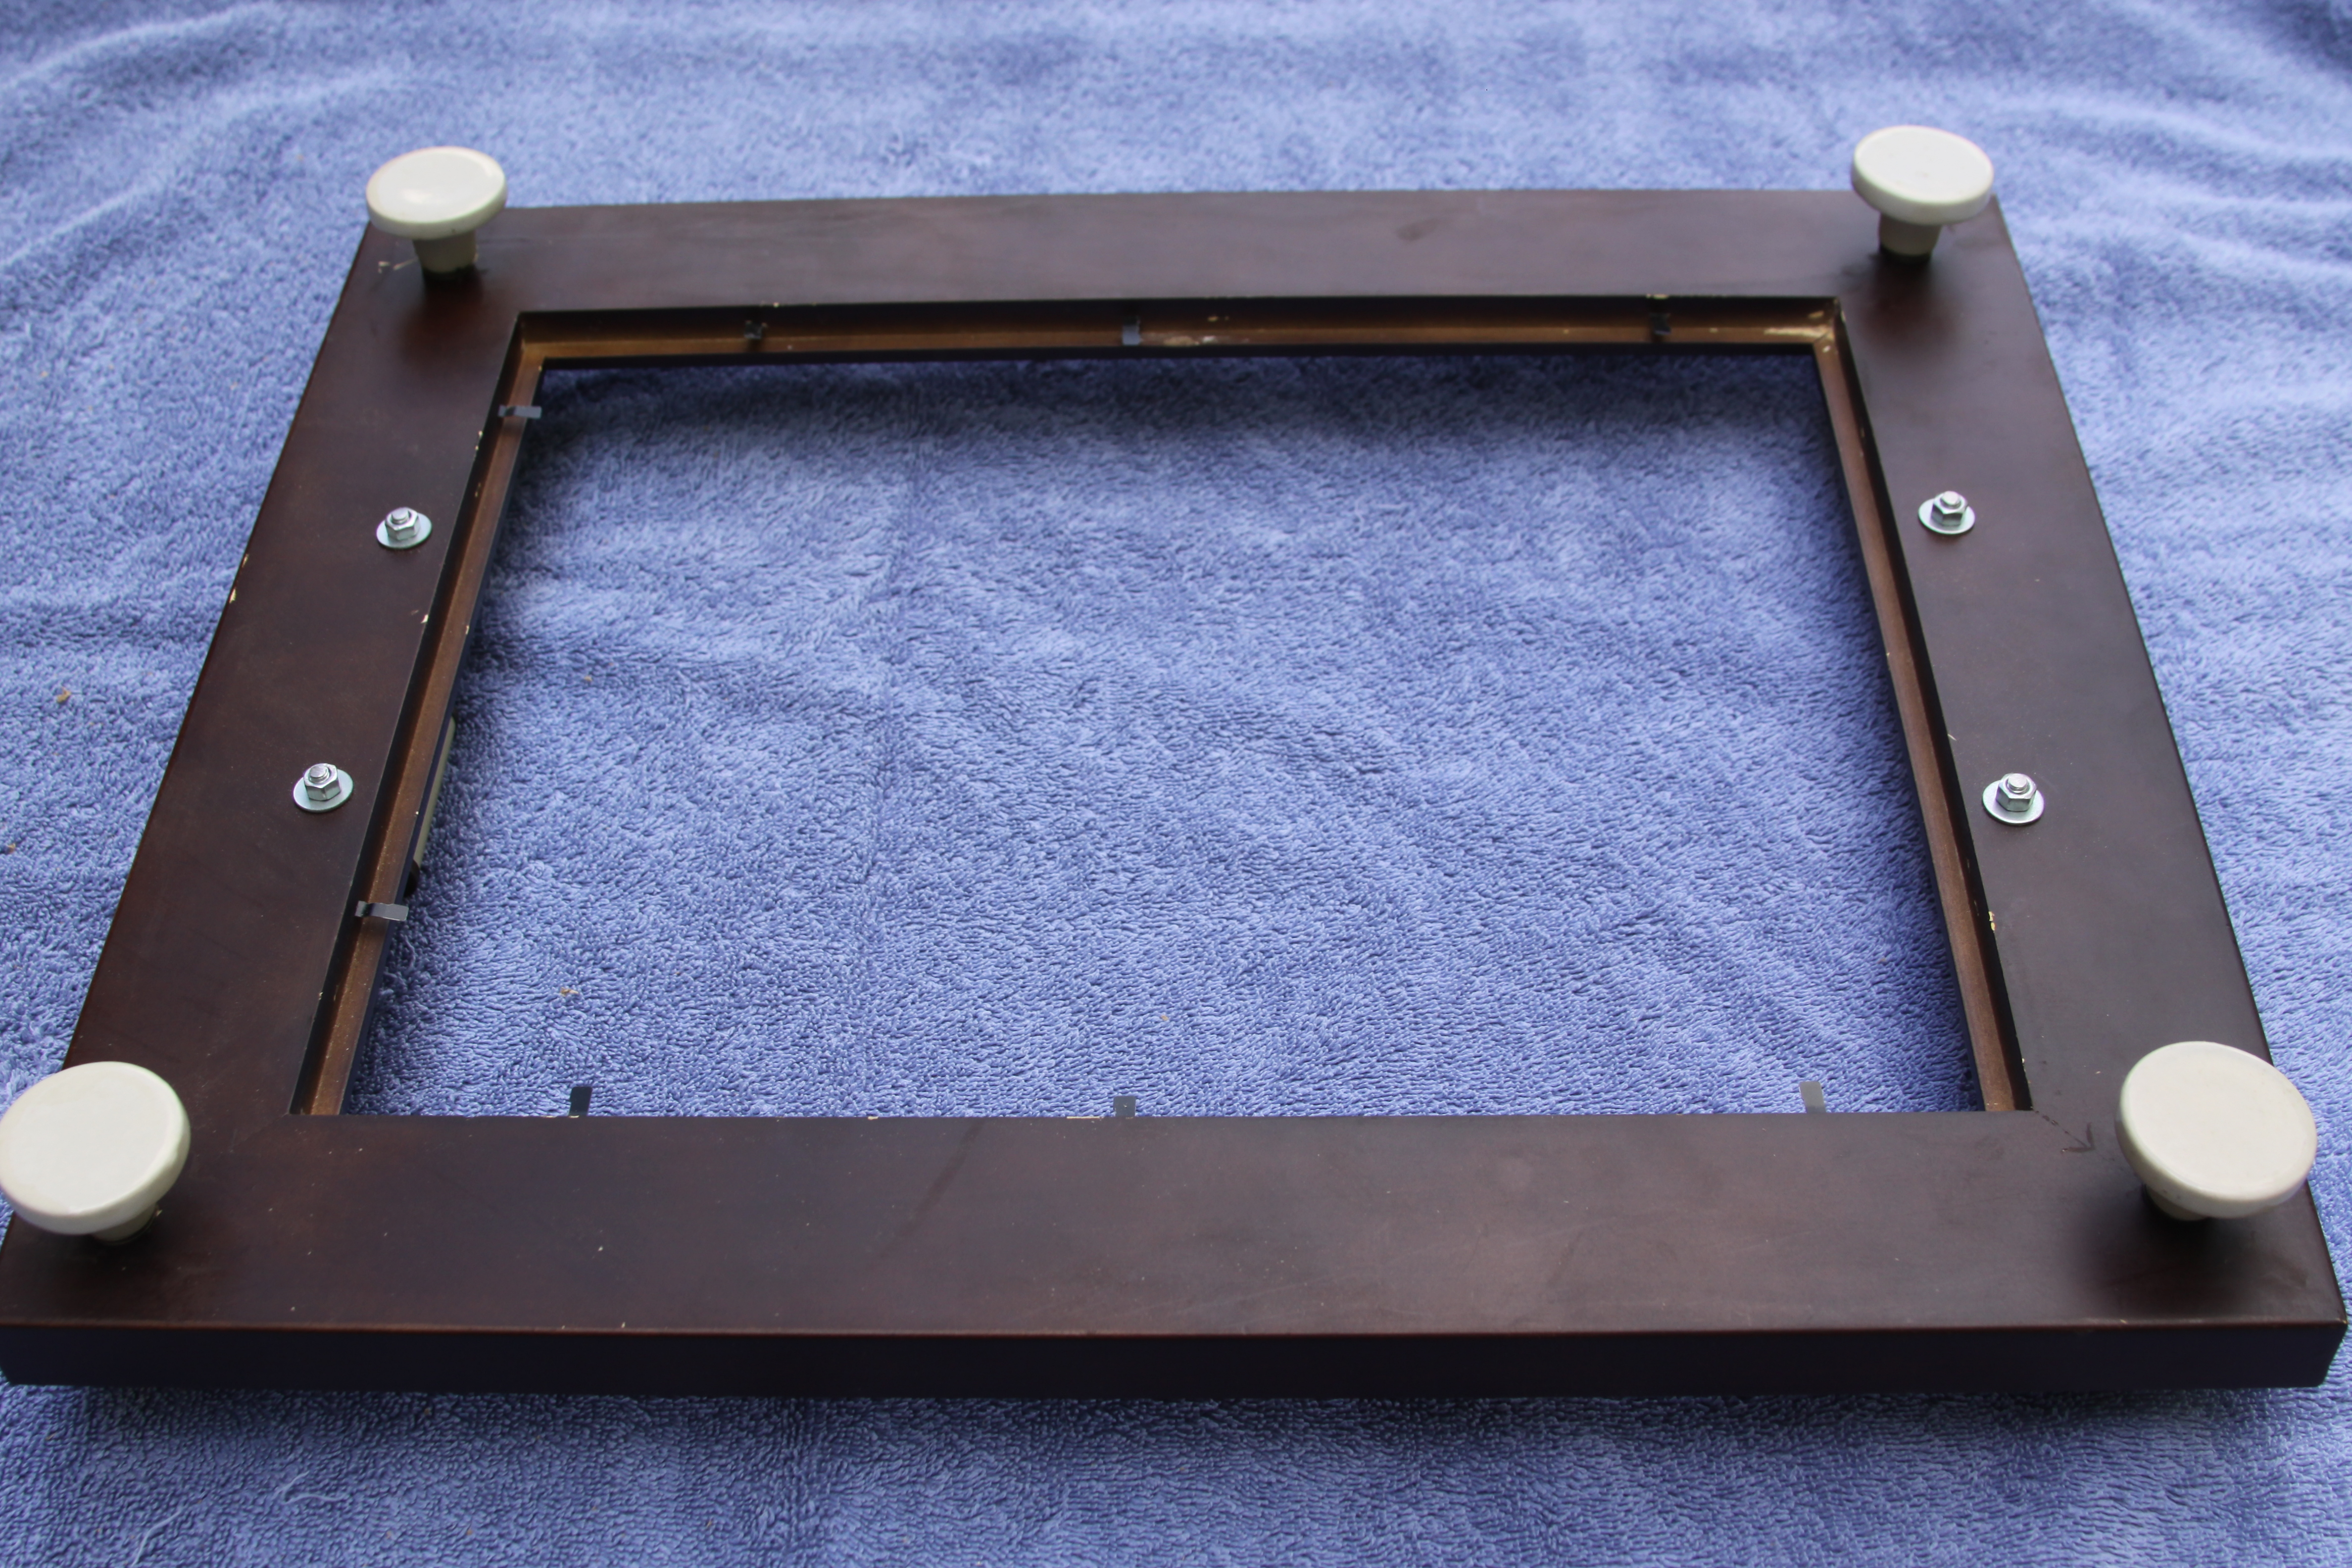
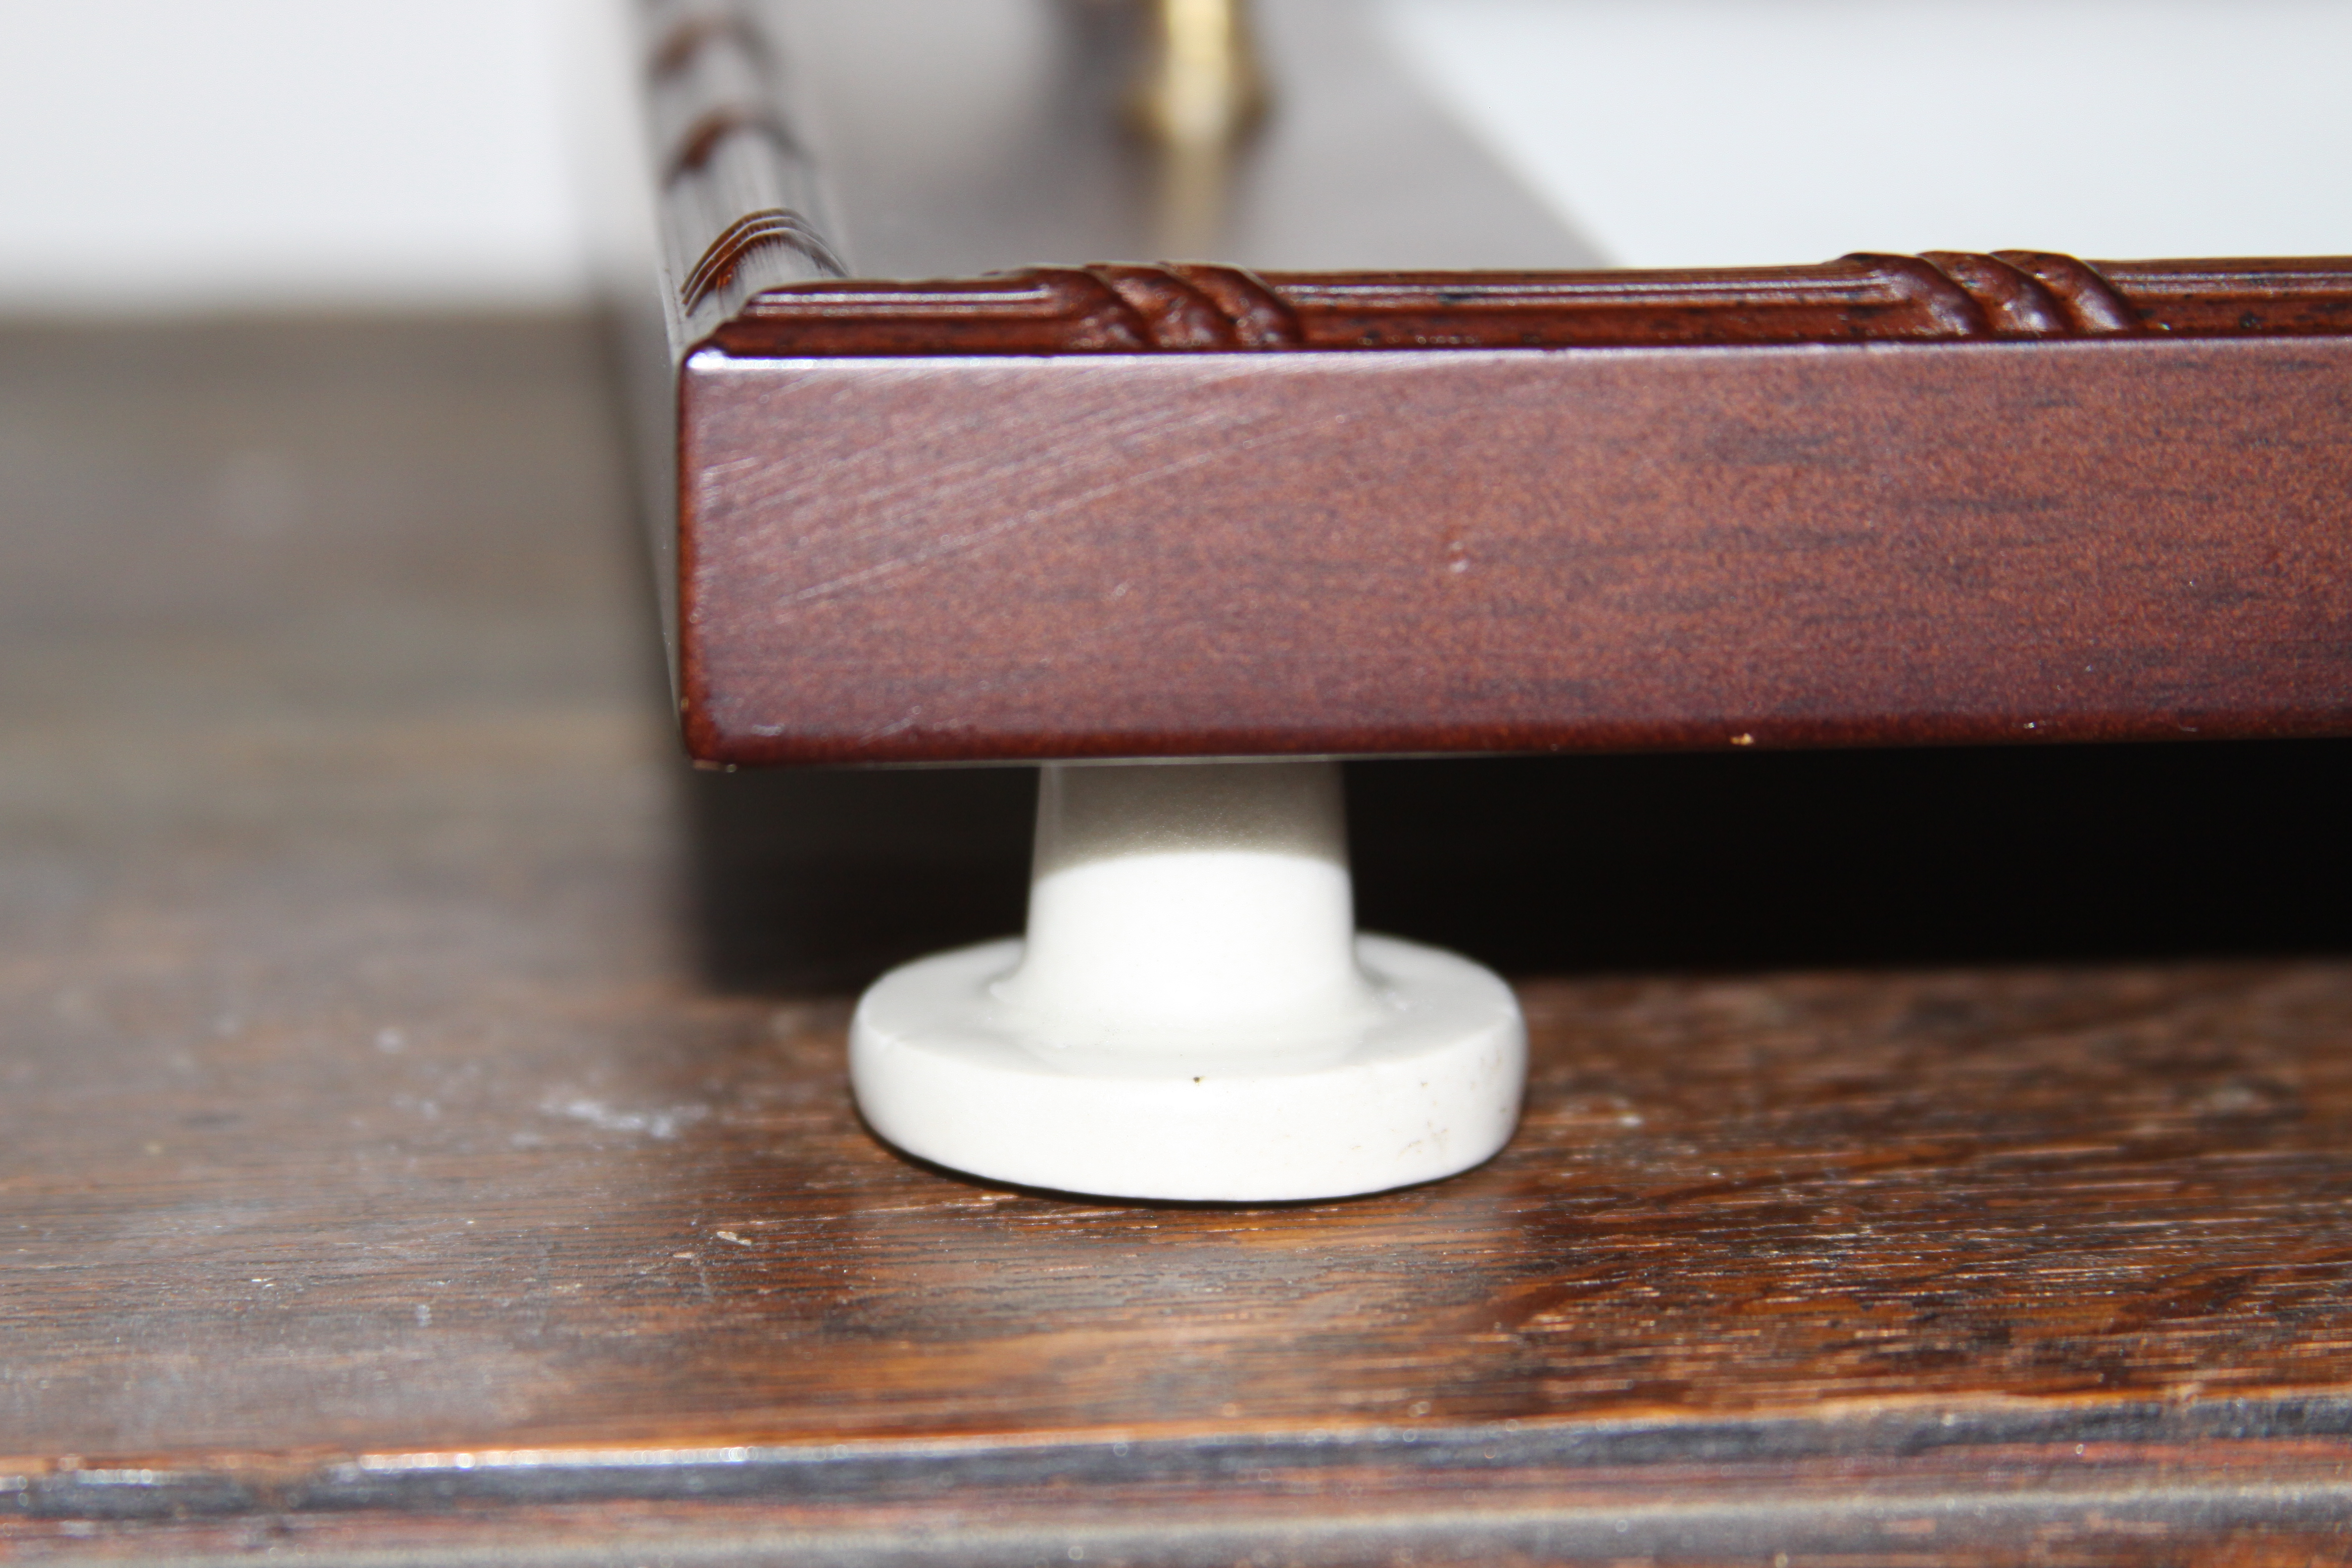
- Next, flip the frame over to the back, attach the four drawer knobs first to each corner of the frame. The drawer knobs elevate the picture frame and act as decorative stands for the tray. (for my tray, my husband cut down the screw length with a saw and we decided to epoxy glue the knobs into place)

- Now is the time to add any additional decorative elements to the “mat”, such as: photos, trim, etc. before replacing the glass, “mat” and the backing into the frame. (for my tray, I decide to use a fabric remnant)


Design Tip: The fabric or paper in the tray can be changed out seasonally or if there is a special event photos can be added or changed to fit the occasion. Some examples would be Christmas wrapping paper during the holiday season, photos of Mom and the family for Mother’s Day, etc.
The picture frame tray would make a wonderful gift for family and friends. It would also make a great housewarming present. The gift can be customized to match any style and color.