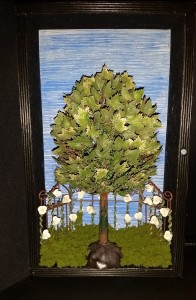
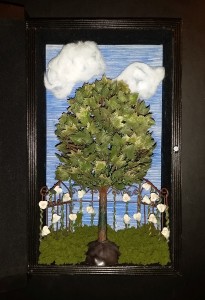
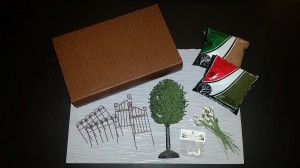
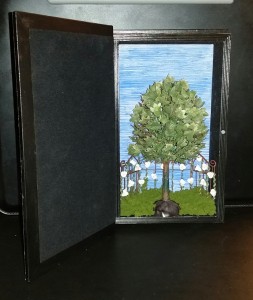
 Recently I was Inspired by the beautiful shadowboxes I had seen on the internet and decided to create a special craft project. I had a hinged book box that I purchased on several months ago that I thought would be perfect to use for my Garden in a Book Shadowbox. Most of the other supplies were from my craft closet – paper, a miniature tree, a miniature metal gate and fence set, small flowers and moss. Once I had all my supplies gathered together, this was the creative part of the craft project. My advice is to have fun arranging the various items you have collected to make a pleasant arrangement. In general, I like my scenes to be symmetrical but maybe I would suggest trying to set the focal point (maybe a tree or a garden table and chairs set) off to one side. This idea would definitely add more room for embellishments and currently the craft stores are expanding their miniatures collections so the selection is definitely larger!
Garden in a Book Shadowbox – supplies
- Hinged Book Box
- Durable paper to cover the box (I used a remnant from a wallpaper sample book)
- Scrapbook paper for the background
- Blue paint, paint brush (optional)
- Miniature tree
- Miniature set of a metal garden gate and fence
- Small flowers Moss
- Moss
- Hot glue gun and glue sticks
- Black Sharpie (optional)
Garden in a Book Shadowbox – instructions
- The first step is to cover the hinged book box with the durable paper. To begin, place the paper on one corner of the box. Then, smooth the paper while working across to the other side and glue into position, trim any access paper. Craft Tip: To cover any slight caps between the paper and the edge of the box I used a black Sharpie marker.


- Cut a piece of scrapbook paper to fit the inside of the box, this will be the background. (I used a textured pale blue piece of paper and then painted it will a medium blue paint, this way I achieved the exact color I wanted to represented the blue sky background!)
- Using the metal garden gate and fence pieces, I attached the small flowers by intertwining them throughout the railings. Craft Tip: Before attaching the flowers, determine the position inside the box behind the miniature tree. This is recommended to assure that the pieces will fit because any adjustments needed afterwards would be more difficult with the flowers attached.
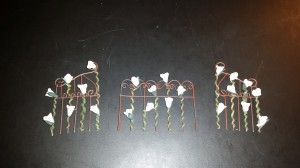
- Hot glue the floral gate and fence pieces to the back of the box. (I positioned the pieces about an inch from the bottom to allow space for the moss and with the side fencing at an angle to add some depth instead of all the pieces flat against the back of the box)
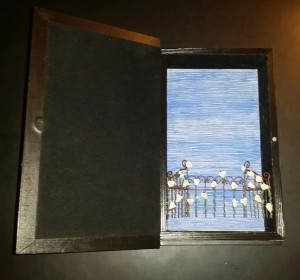
- Hot glue the miniature tree to the bottom of the box. (I positioned the tree in the center because I always like a symmetrical arrangement, but it can also be set to one side to allow more room for embellishments) Craft Note: As you may notice, the tree in the supply photo and the finished photo look very different. I choose to add small leaves to the tree to create a more “realistic” appearance.

- Add moss to the bottom portion of the box to complete the craft project.
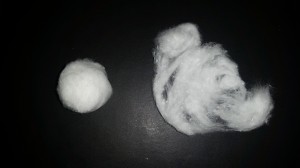
Shown below are to different version of the Garden in a Book Shadowbox. The photo on the right is the first version as explained in the instructions. The photo on the left is the second version with fluffy cotton ball clouds added to the background (which should be positioned prior to gluing the miniature tree) To make the clouds I used two cotton ball which I pulled and stretched apart until I create the perfect fluffy cloud!
