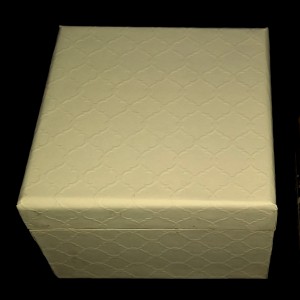
This decorated wooden gift box craft project can be created in an endless variety of colors for a customized look perfect for any occasion. The three different types of wooden boxes in this post are decorated with paint, specialty paper, pearls, crystals and additional wooden or plastic embellishments. The boxes can be used to hold any small present for a birthday, anniversary, wedding, bridal or baby shower.
Below is a complete list of supplies and instructions for making the three different versions of decorated wooden gift box. The first version uses a square laser-cut wooden box and the second versions use a solid round and a solid square wooden box.
Version #1 Decorated Wooden Gift Box – supplies
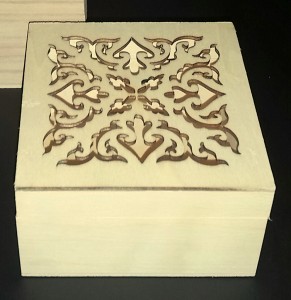
- One square laser-cut wooden box
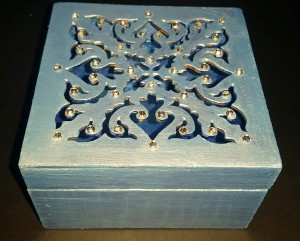
- Two different color paints – lighter for exterior and darker for interior
- Several self-stick crystals (or pearls)
- Paintbrush
- Sandpaper
- Optional – varnish or clear paint for a glossy finish
Version #1 Decorated Wooden Gift Box – instructions
- Use sandpaper to smooth the surface and edges of the wooden box
- Paint the interior of the box in a darker paint, let dry
- Paint the exterior of the box in a lighter paint, let dry
- Attach several self-stick crystals (or pearls)
Version #2 Decorated Wooden Gift Box – supplies
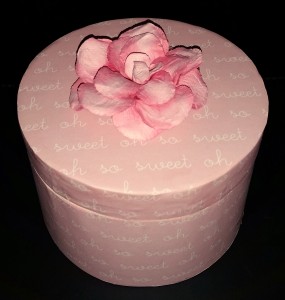
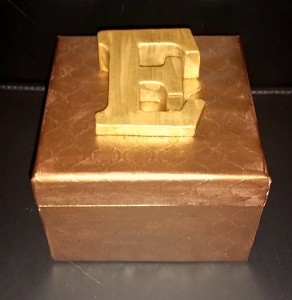
- One wooden box (used a round box for one and a square box for another)
- Scrapbook paper
- Embellishment – (used a flower for one and a plastic initial for another)
- White glue stick
- Scissors
- Sandpaper
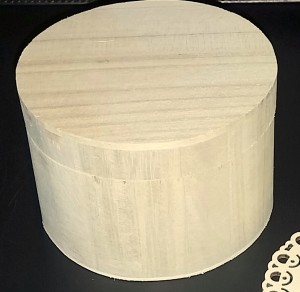
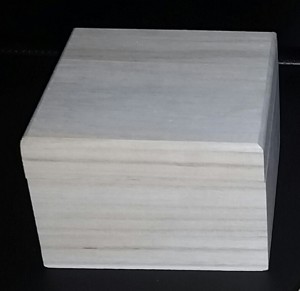
- Use sandpaper to smooth the surface and edges of the wooden box
- Cut the scrapbook paper in several sections, long strips to wrap around the edges of the lid and the base sections and two pieces to fit the top and bottom of the wooden box. Craft Note: Allow at least a quarter inch or a half inch to the width of the measurements
- Use a white glue stick to attach the scrapbook paper to the wooden box, trim any access to create a custom fit
- Optional: For the second box I painted the white embossed scrapbook paper with bronze paint (Photo below shows the box before paint)
- Attach an embellishment to the top of the box (The first version uses a paper flower and for the second I painted a plastic initial with gold paint)
