When I look back on the photos of my daughter’s bedroom throughout the years, I see how she has changed and grown. When she was a baby/toddler we lived in California and her room was decorated in soft colors with stuffed animals and porcelain dolls on the shelves. As a small child, most of the decorating style was determined by me. Then when we moved to the Midwest her room was decorated first decorated in soft blue and green (even briefly a leopard and tiger print phase!) for a pre-teen and then bold dark pink and black chalkboard paint for a teenager. As a teenager, she had very definite opinions about how she wanted her room decorated and she selected everything. In this post, I will discuss how her bedroom decorations have changed over the last sixteen years.
Baby/toddler bedroom –
Before our daughter was born I knew I wanted soft colors to decorate her first bedroom, so I selected pale sage green, rosy pink and white. The furniture in the room included a simple crib of light wood accented with dark wood and two matching dressers. The large closet had mirrored sliding doors with plenty of room inside to hang clothes and store her numerous toys, our daughter loved to play dress-up and dancing in front of the mirrors. For some reason I could not find a photo of the crib, but it was made with sage green sheets and a baby bumper. Later a twin bed was exchanged for the crib as she grew older.
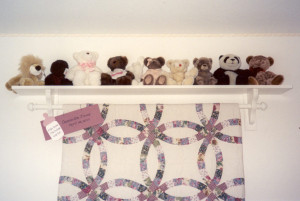
Positioned above the crib was a long white shelf with several of our daughter’s stuffed animal collection on display, attached to the shelf was a long rod which was used to hang a quilt. The shelf and rod unit was made by my husband and it was a great project for him to get involved in decorating our daughter’s room. The project was very easy and it only took him the weekend to assemble. He used two wooden brackets, a long wooden plank cut for the shelf and two additional pieces cut to attach the brackets, a long wooden rod, two wooden finials and a can of white paint.
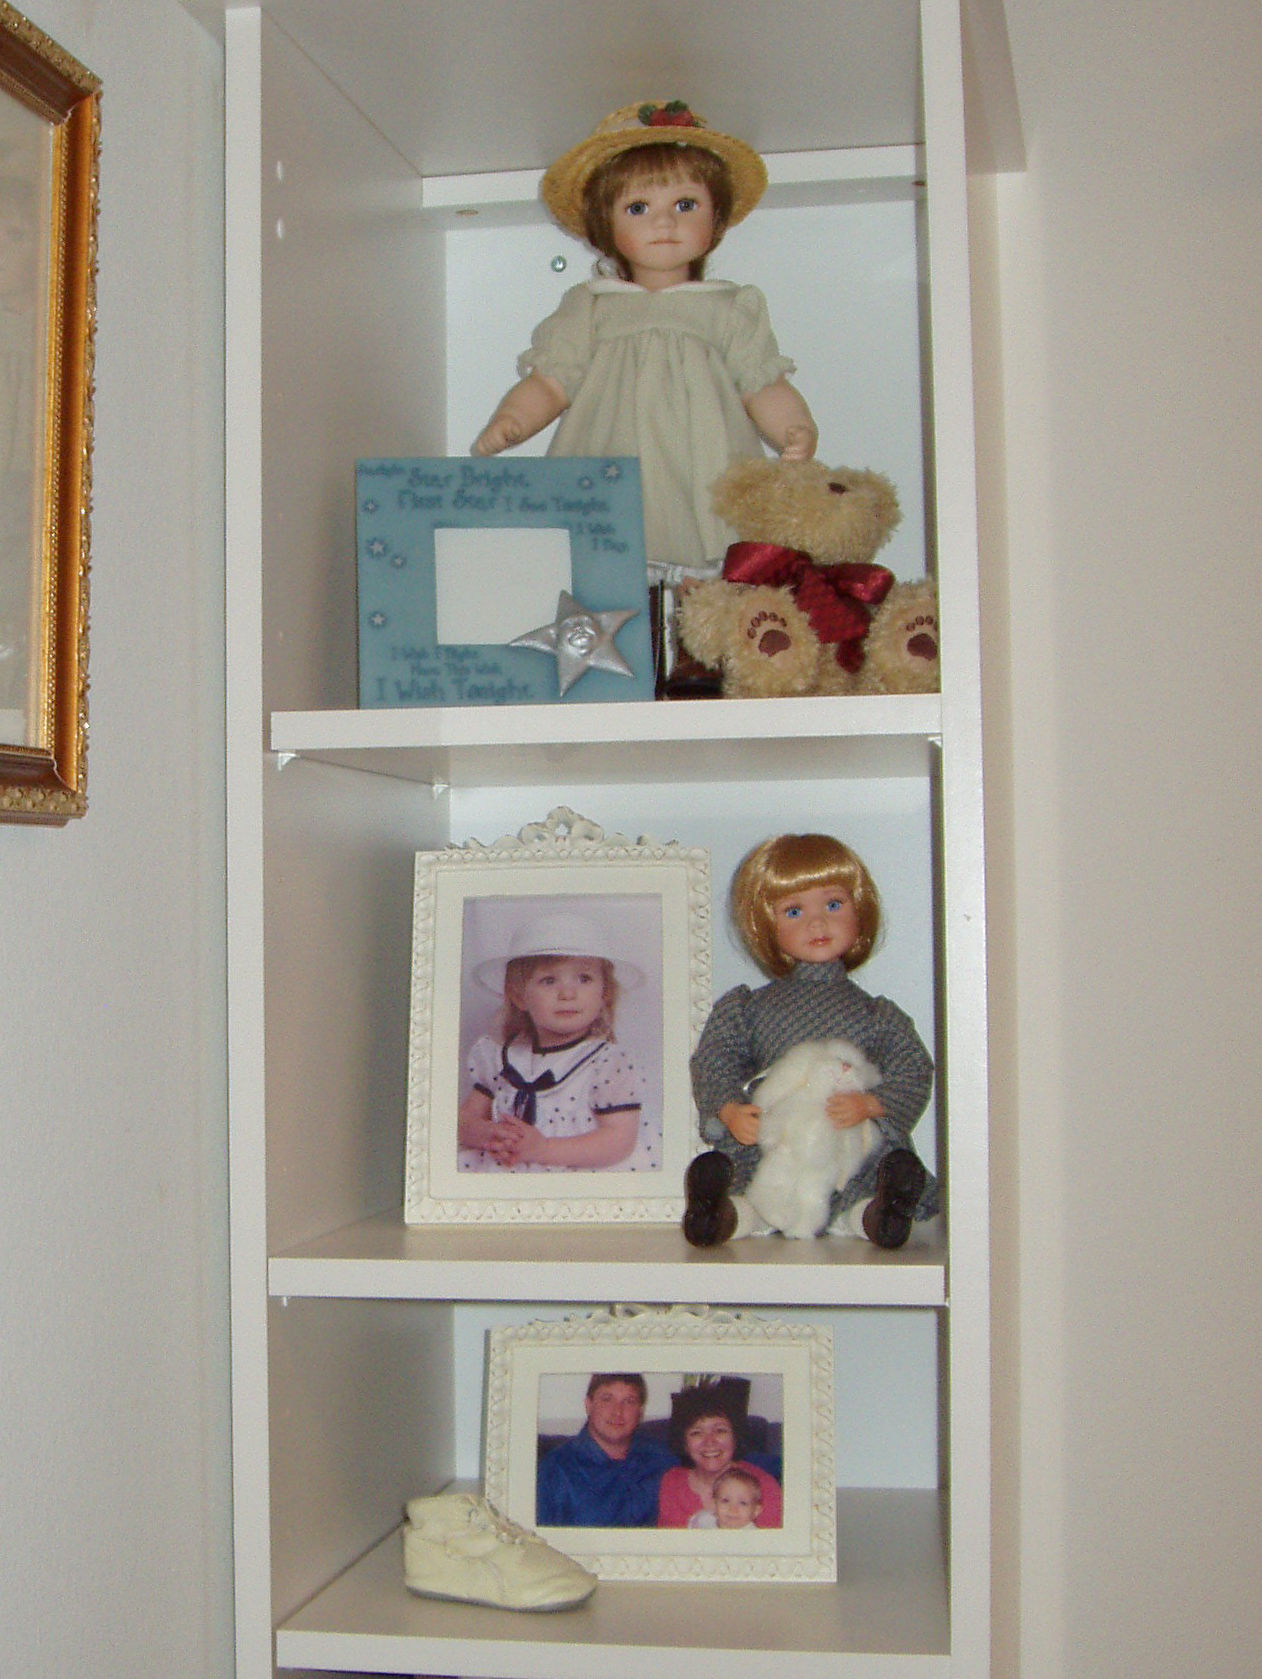
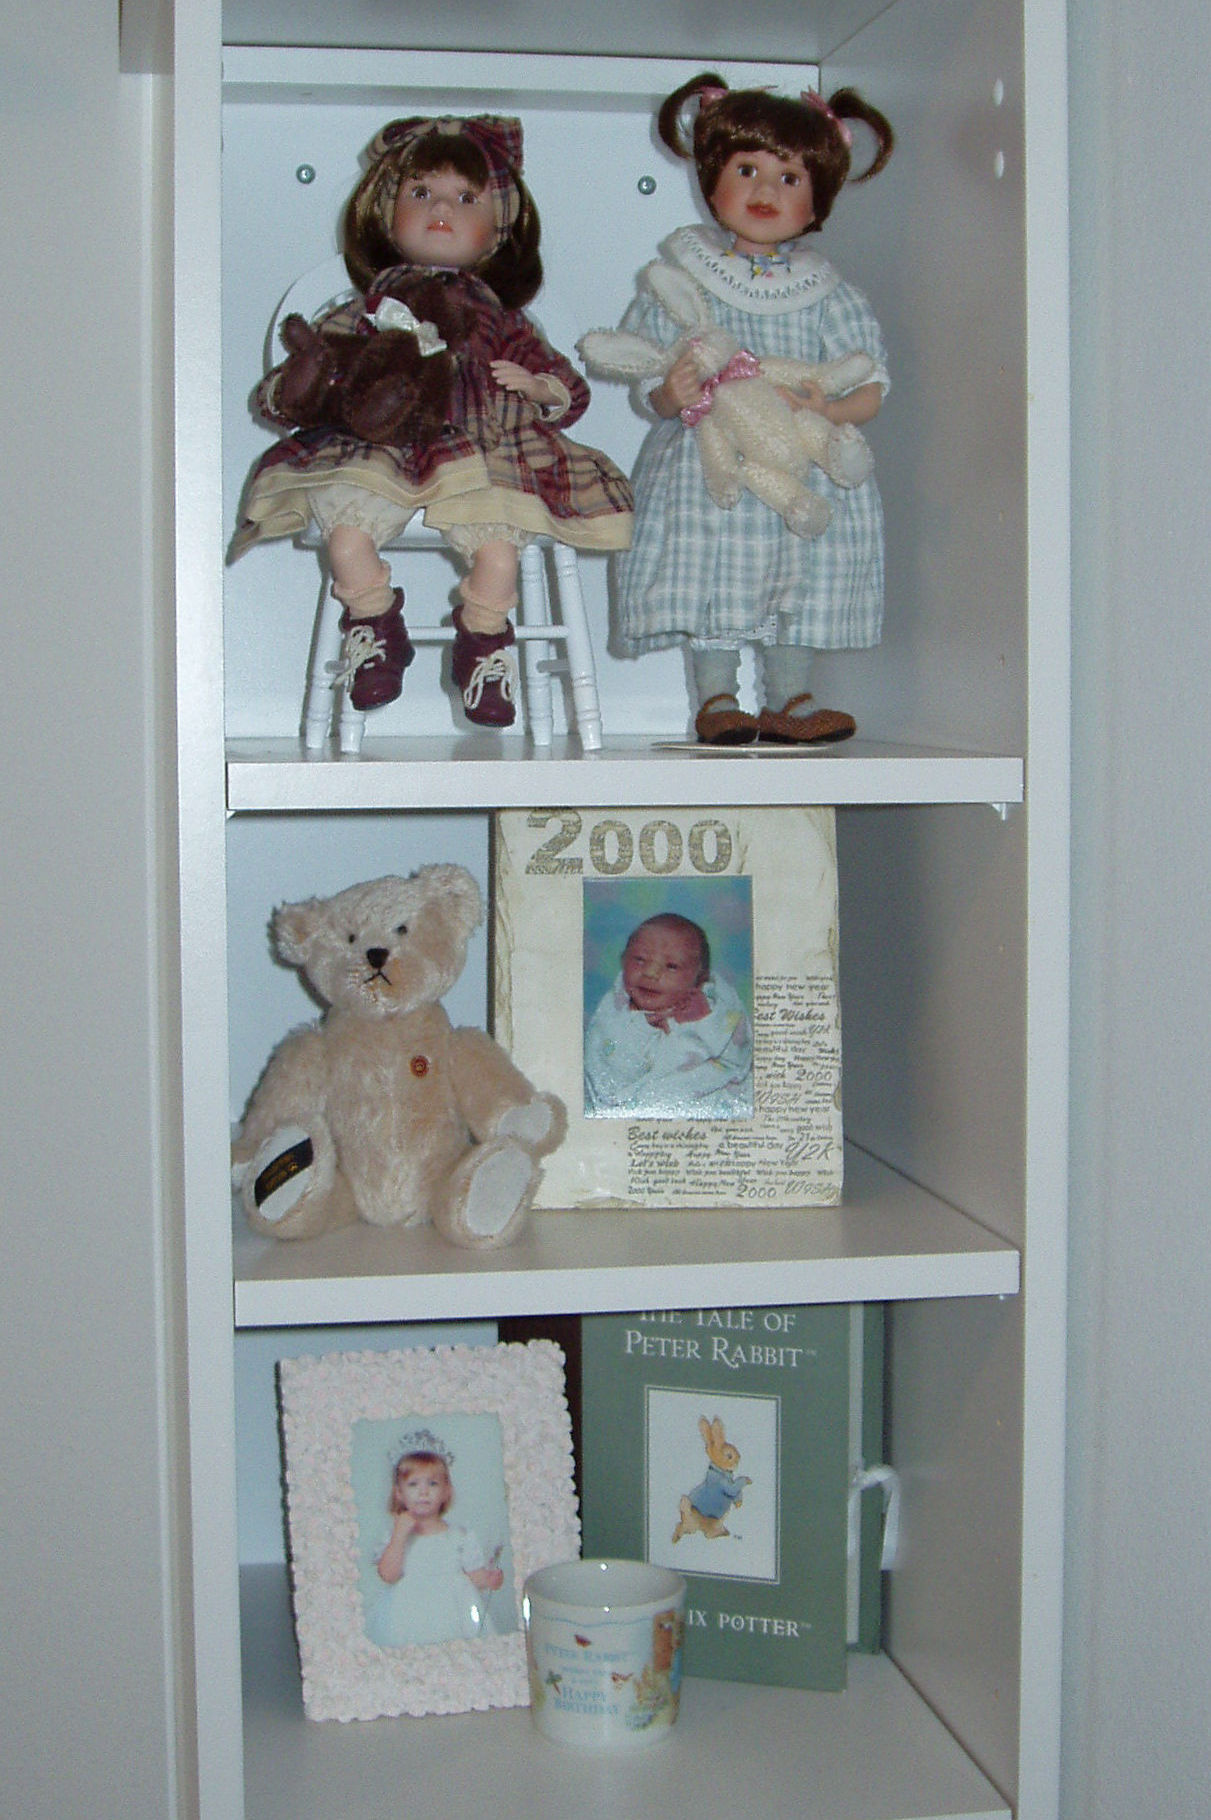
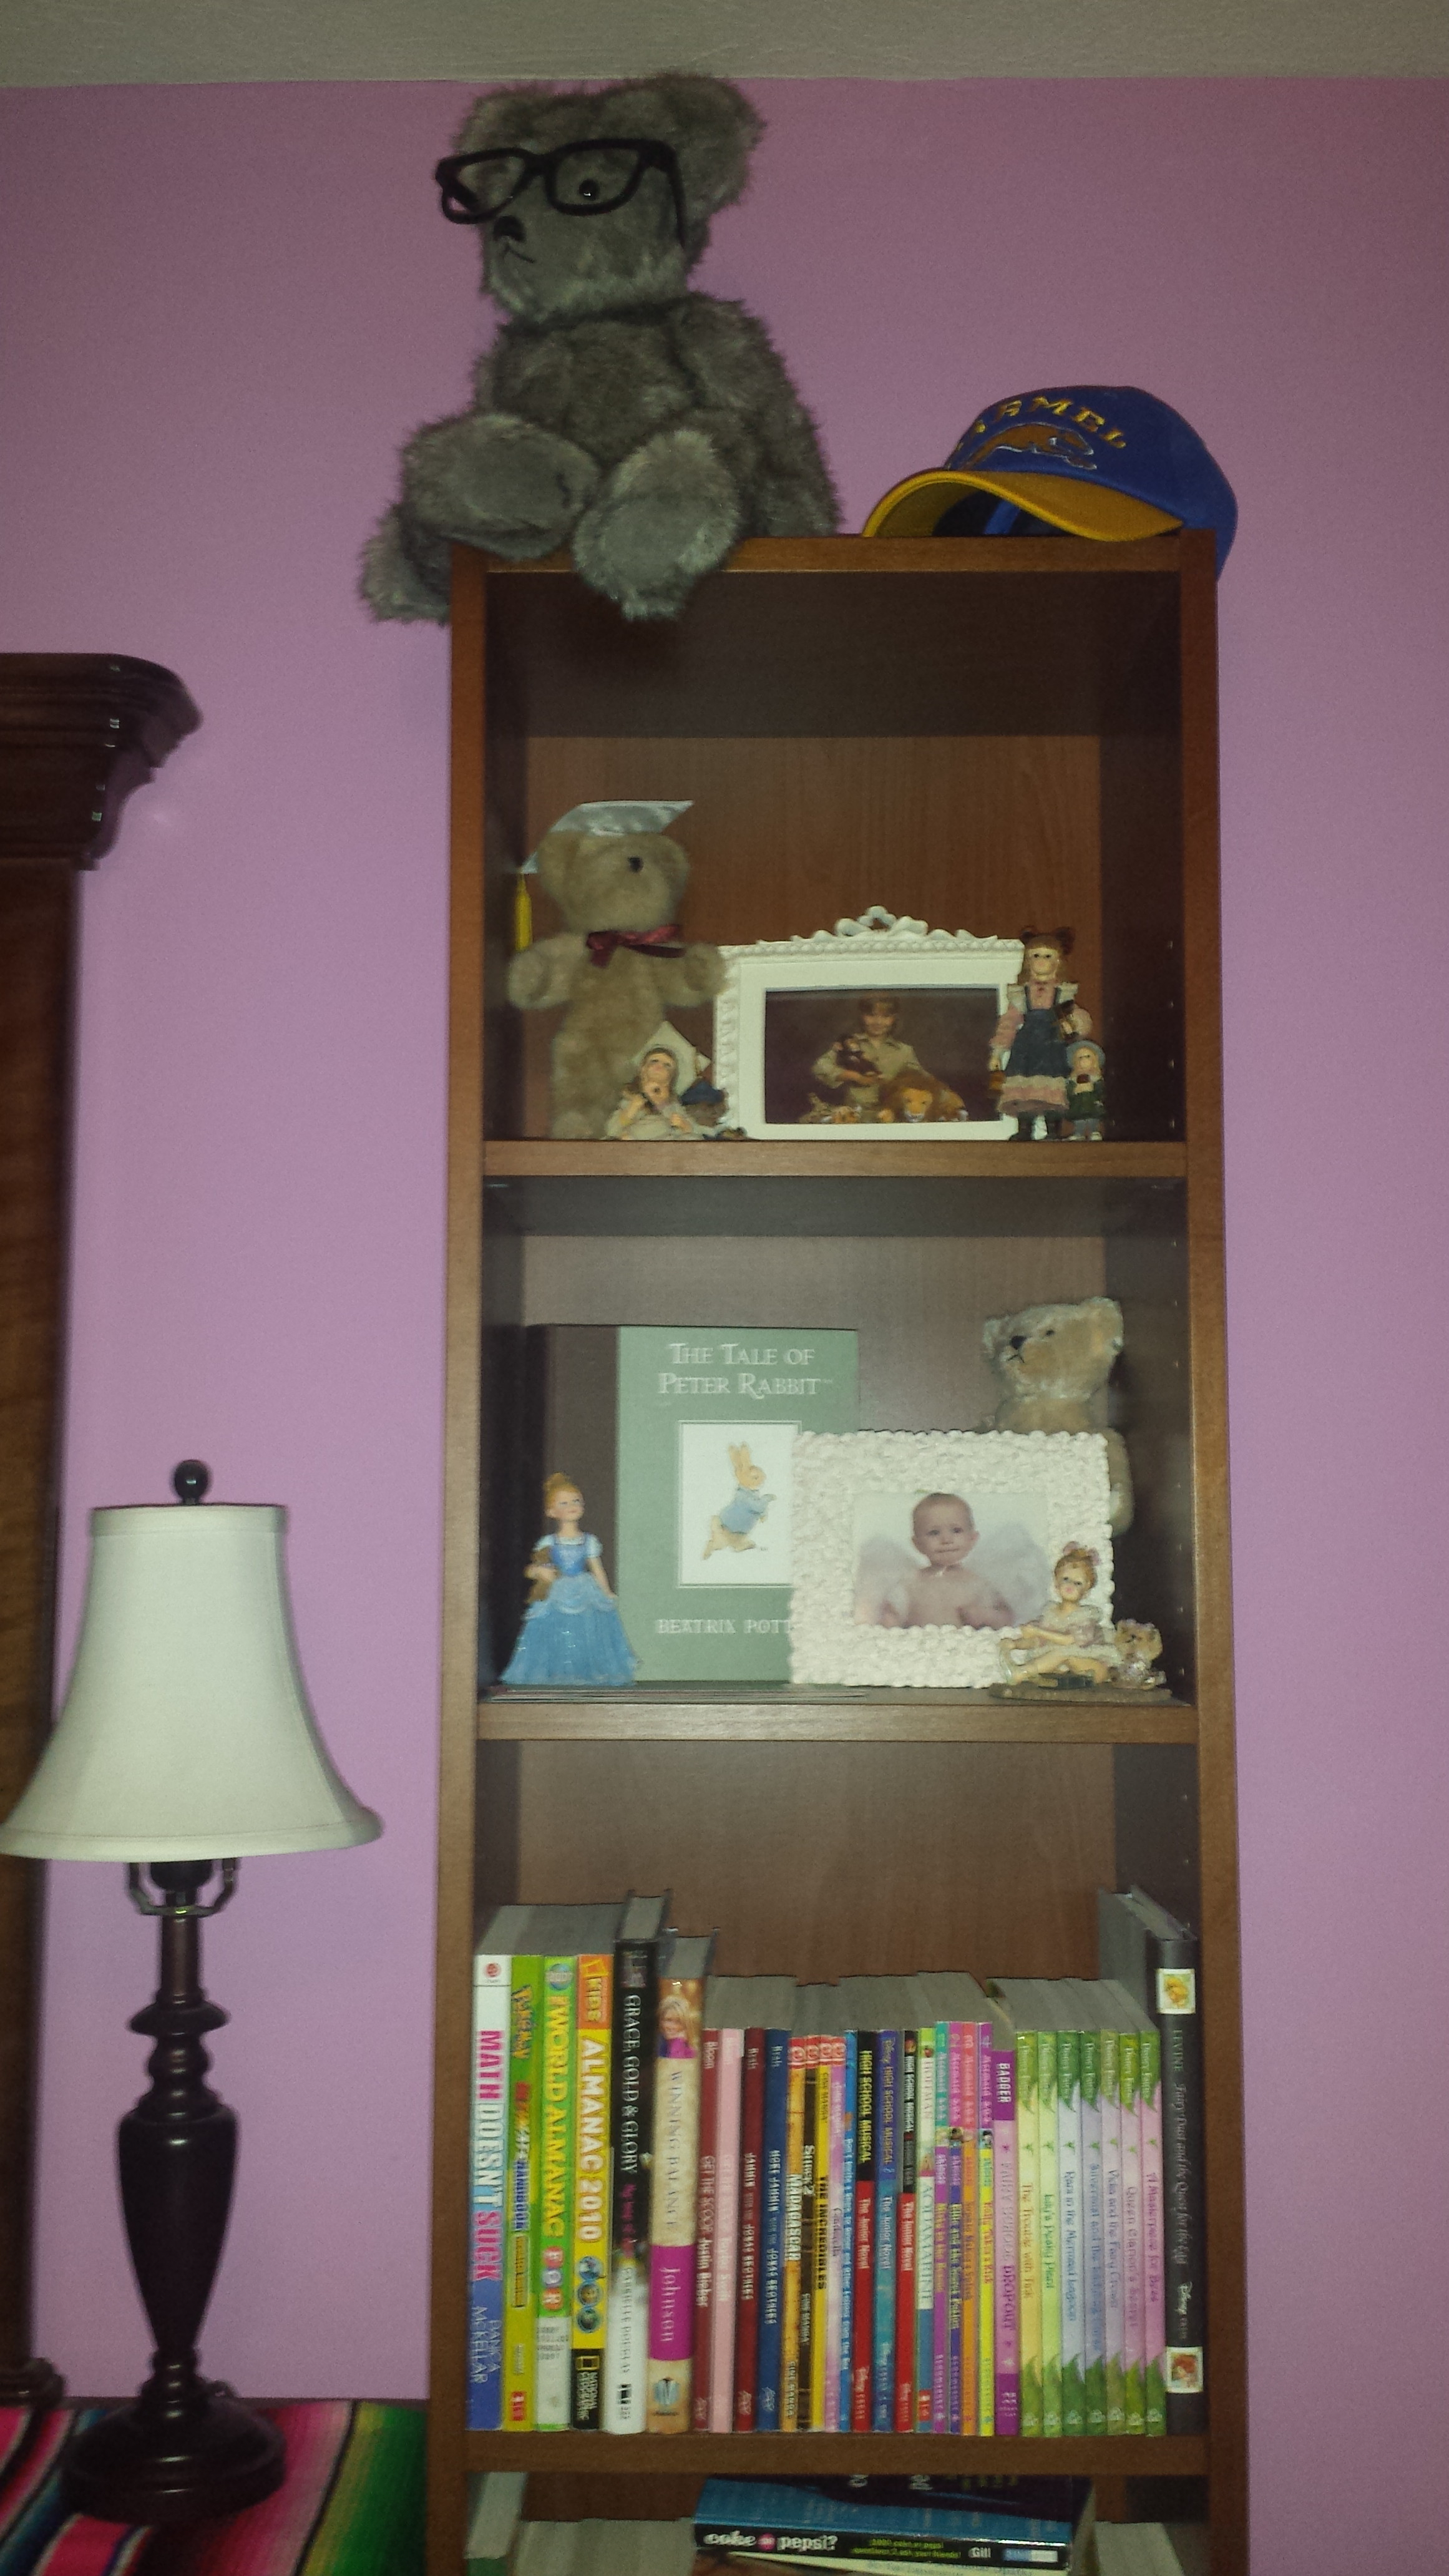
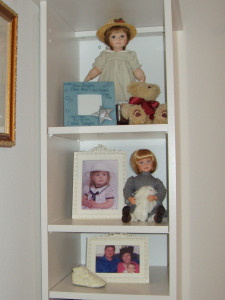
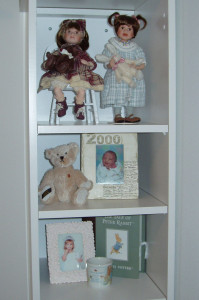
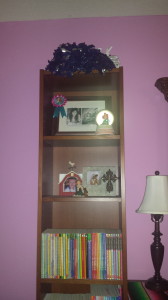
On either side the crib were two tall and narrow shelves with cabinets. On the shelves I placed several porcelain dolls, picture frames with favorite photos of our daughter and other decorative items. I love to fill the rooms of our home with photos that were taken of special occasions or to capture a moment in our lives; my daughter’s bedroom was no exception. The dolls were collected for my daughter and I hope that someday she will have them to look at and have some beautiful memories of her childhood.
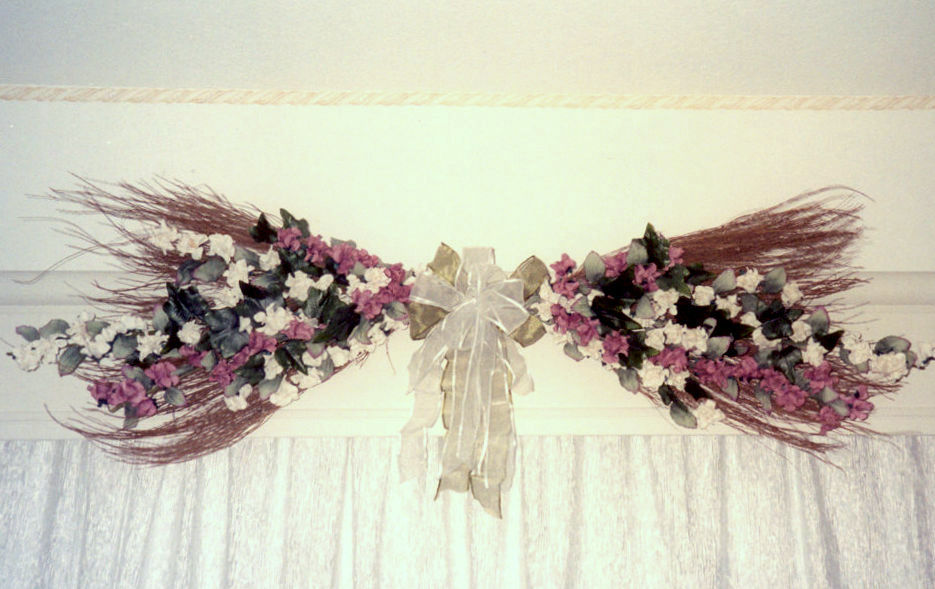
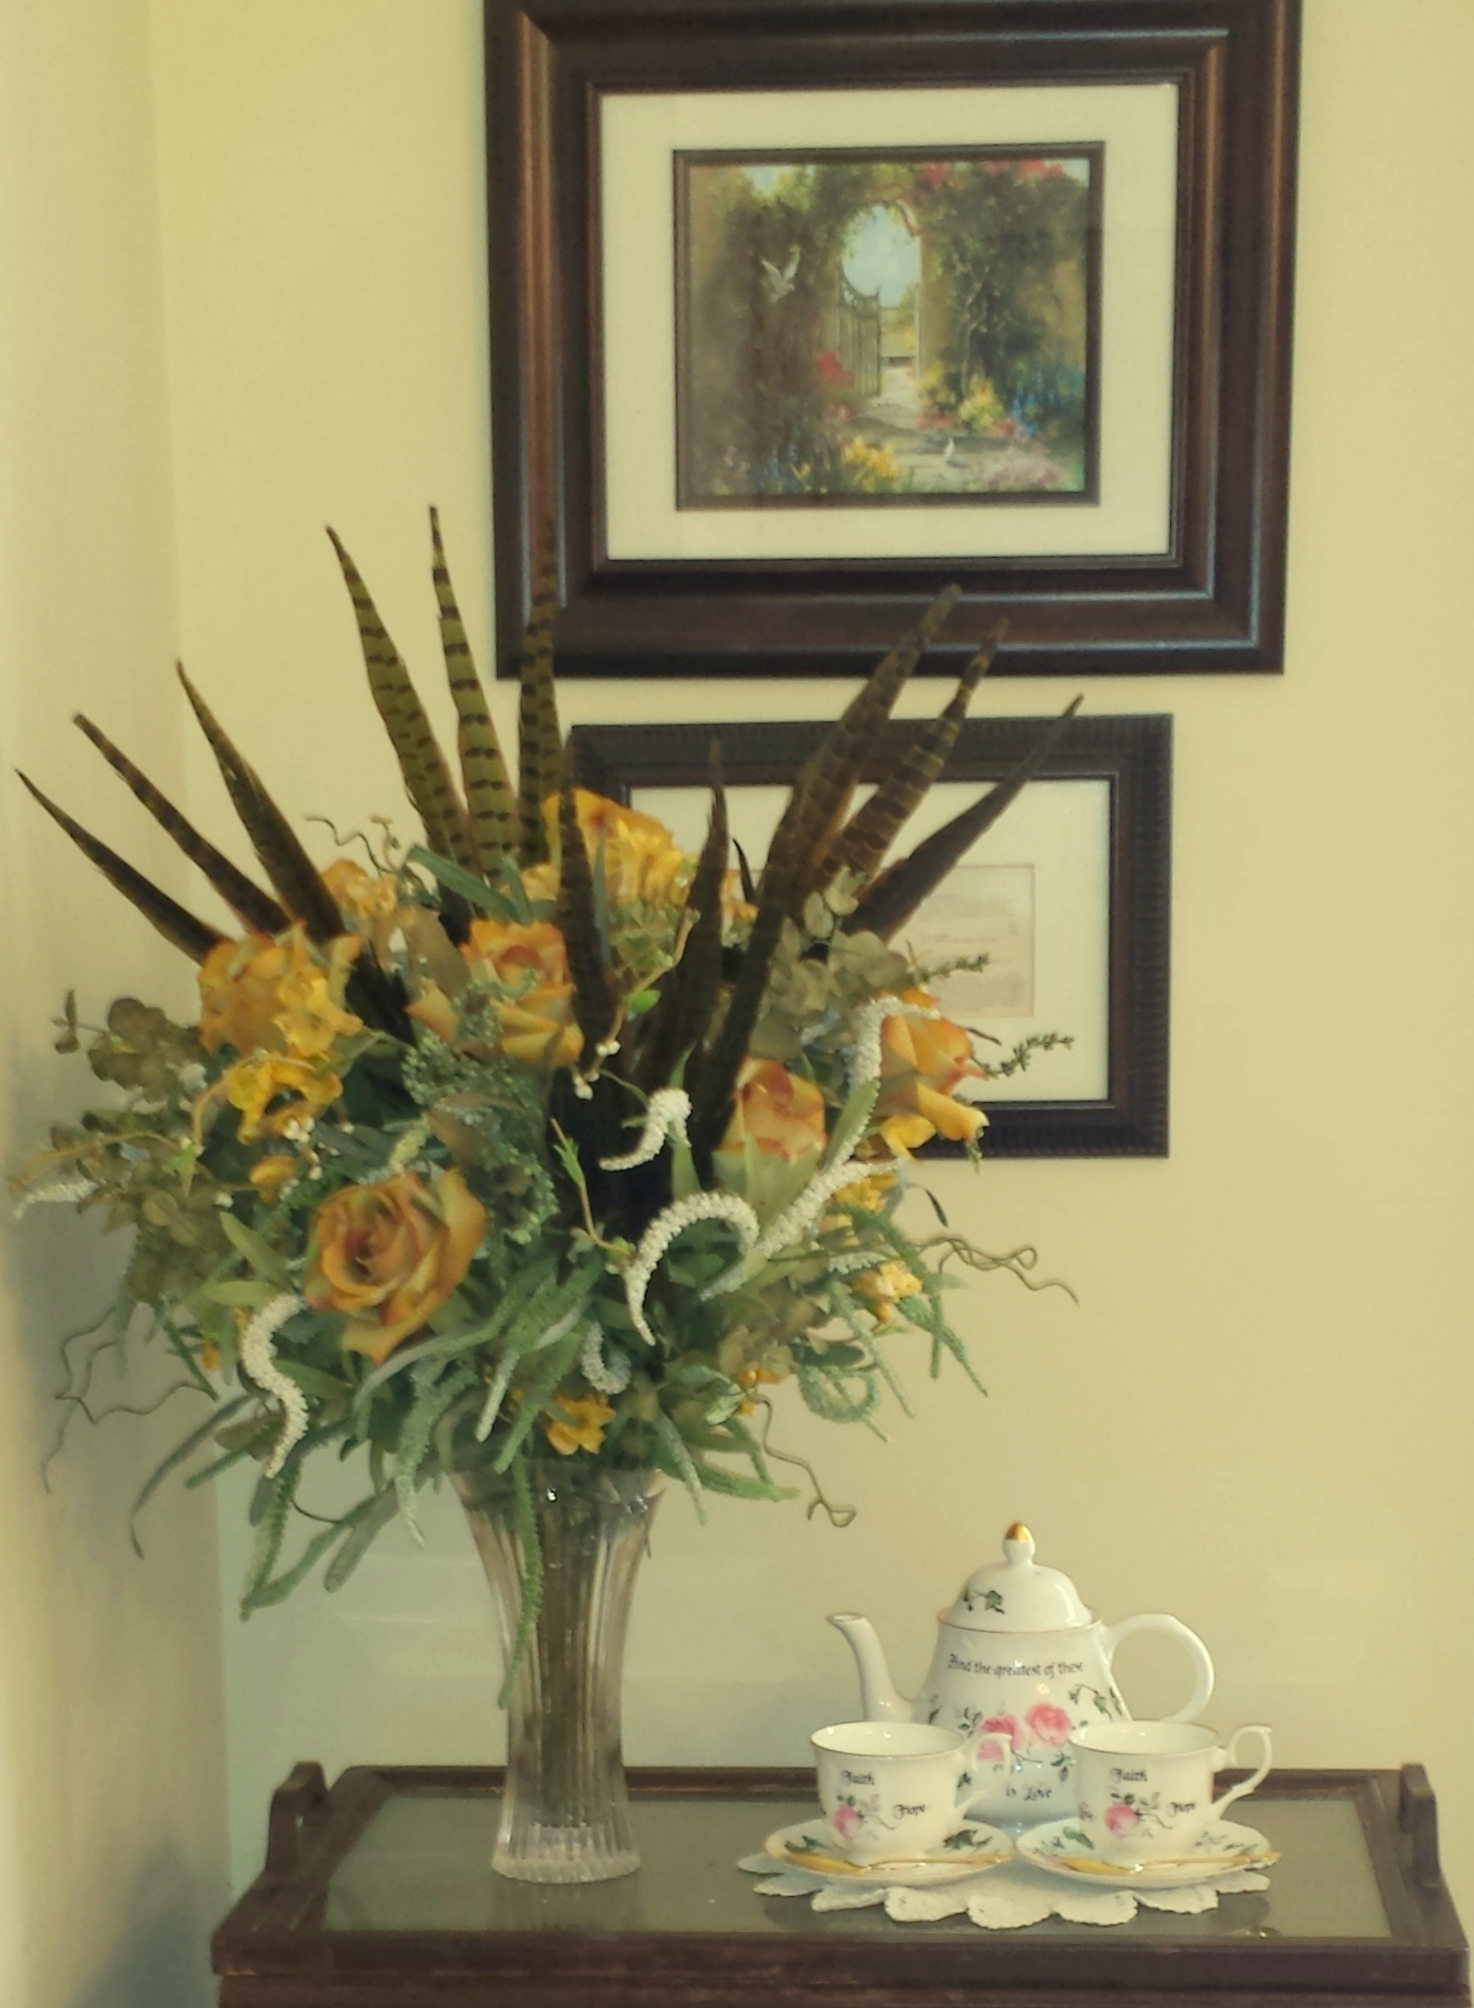
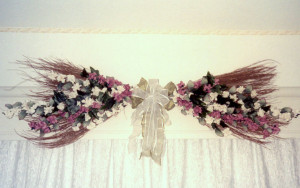
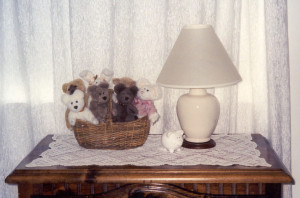
On the other side of the room, placed below the window was a dresser. On top of the dresser was an antique crocheted linen, a table lamp, a small piggy bank (every child needs one right?) and a basket filled with Boyd’s Bears. Above the window was a wooden cornice painted white and attached was a twig spray floral arrangement. I enjoy making floral arrangements and I have several throughout our home, it is one of my favorite hobbies. For my daughter’s room, I used a twig spray as the base and I decorated it with ivy, eucalyptus, white and pink floral sprays and accented with a sage green bow.
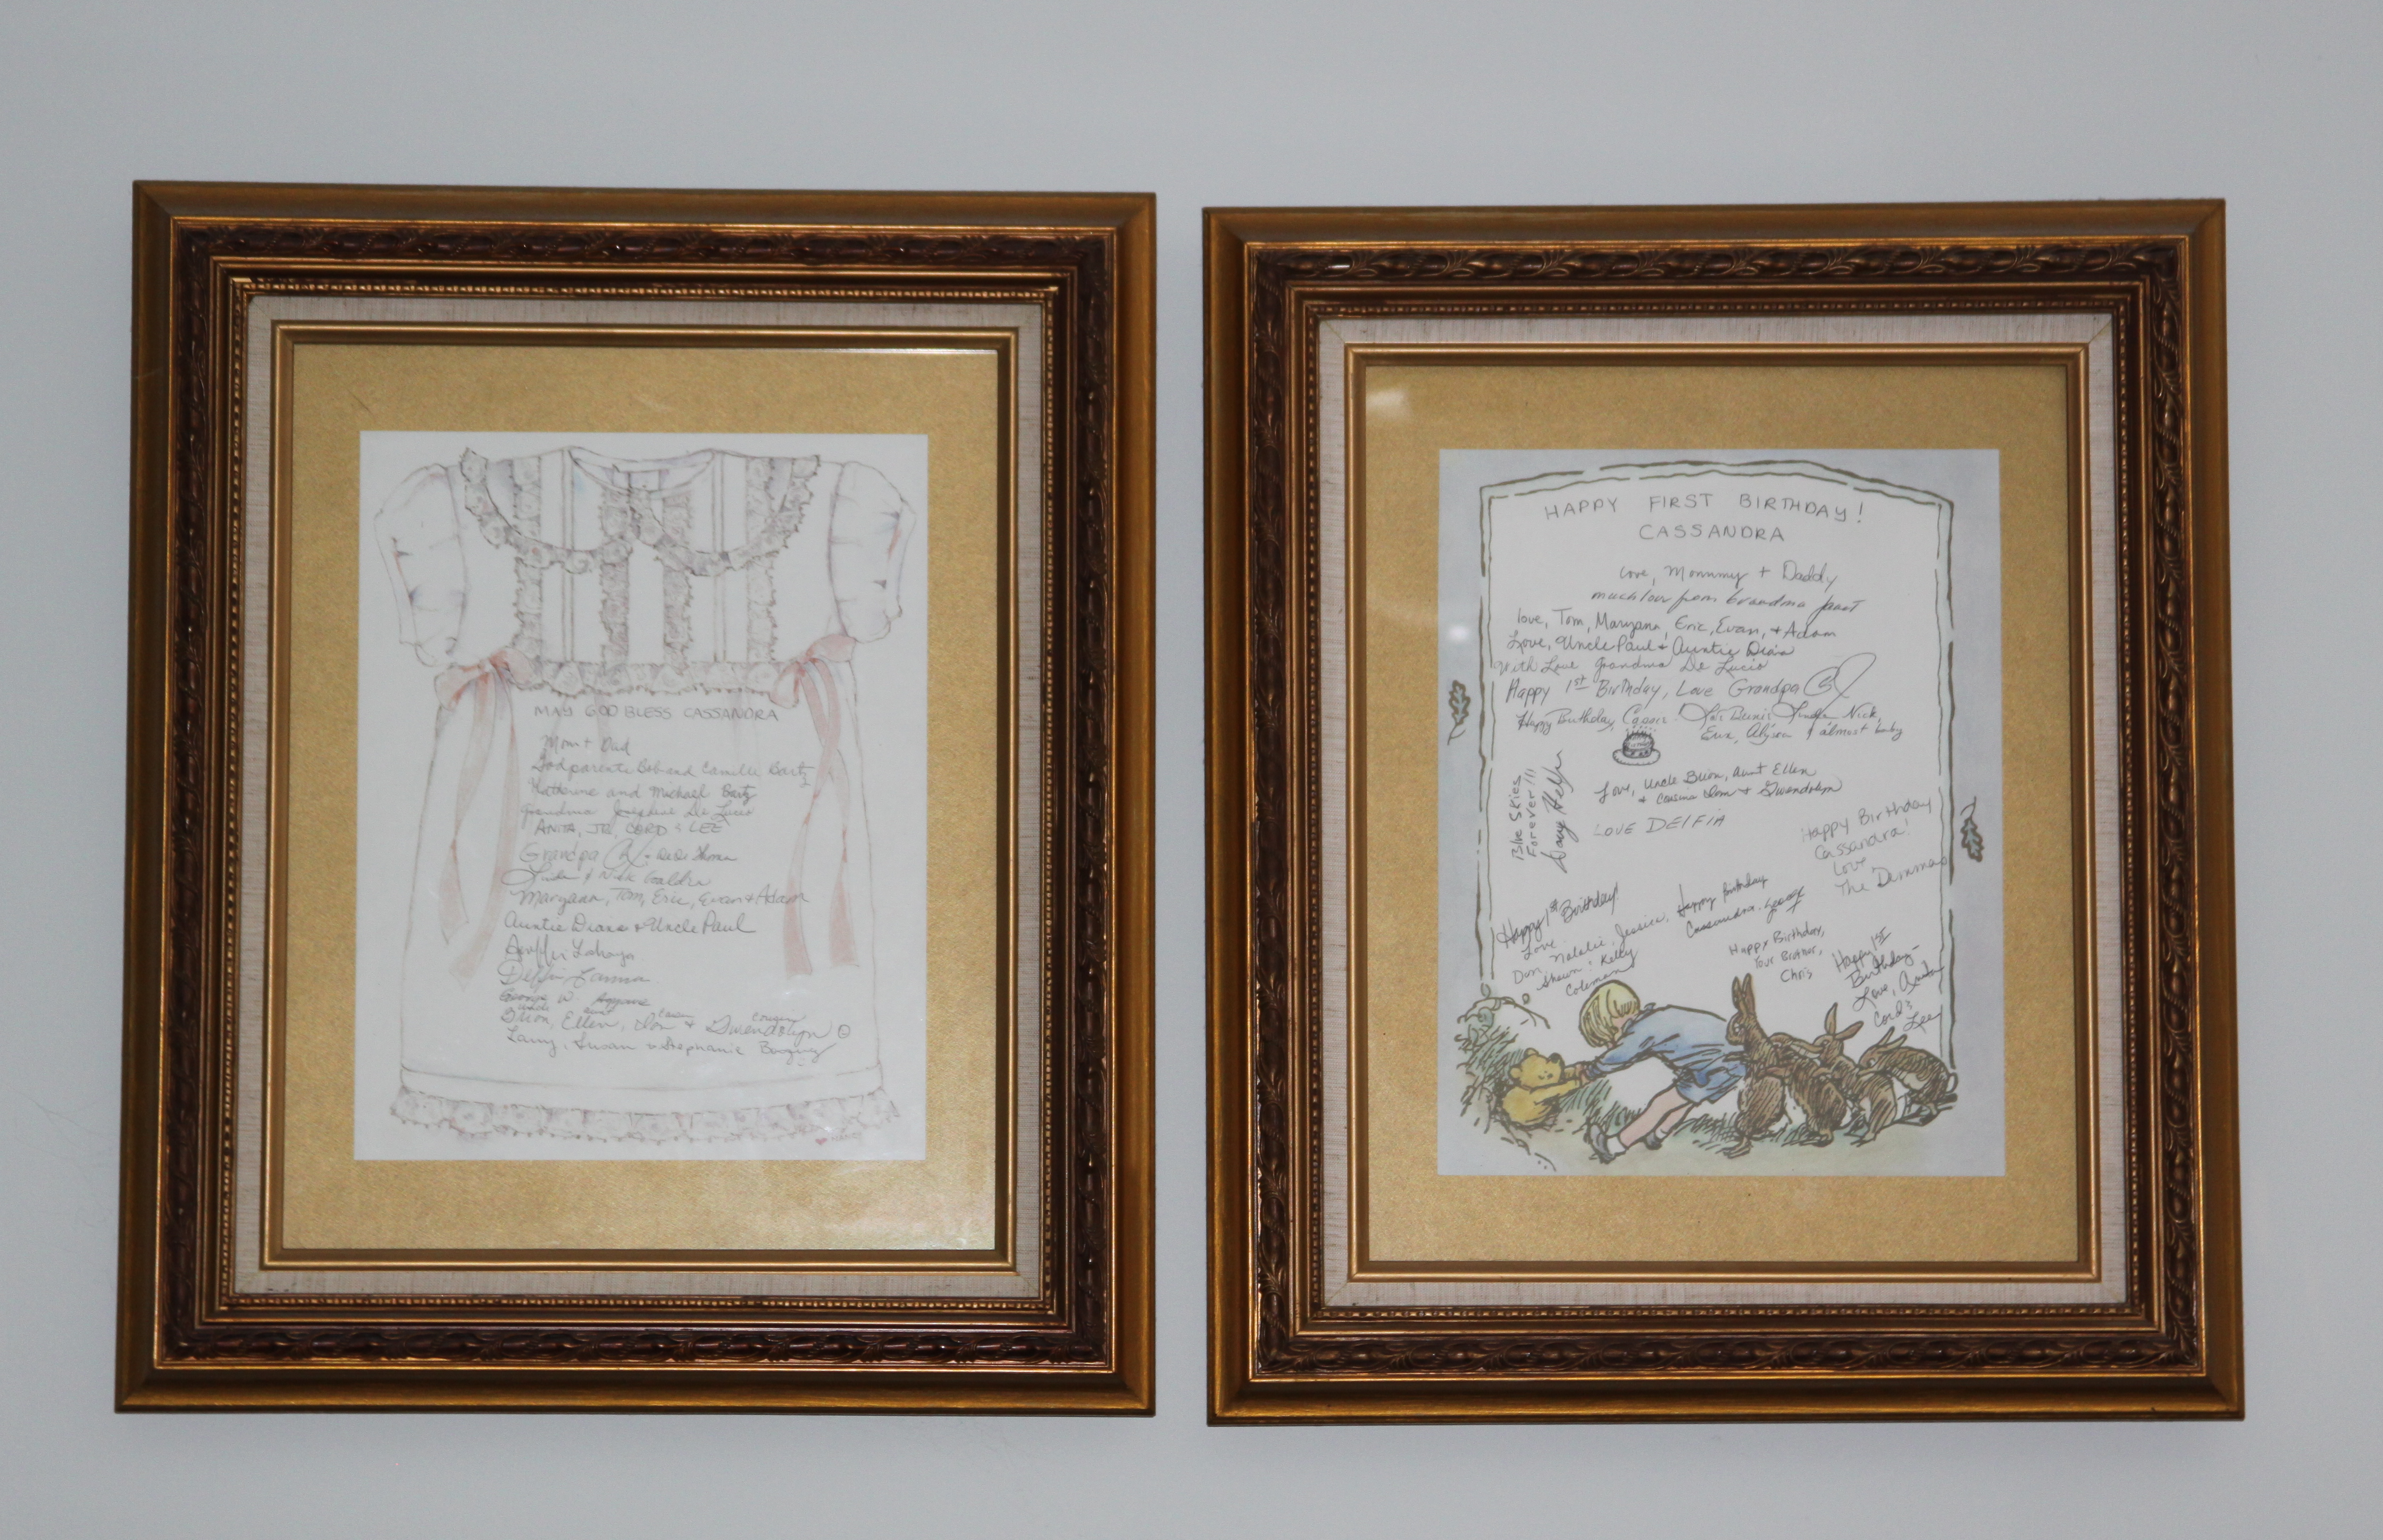
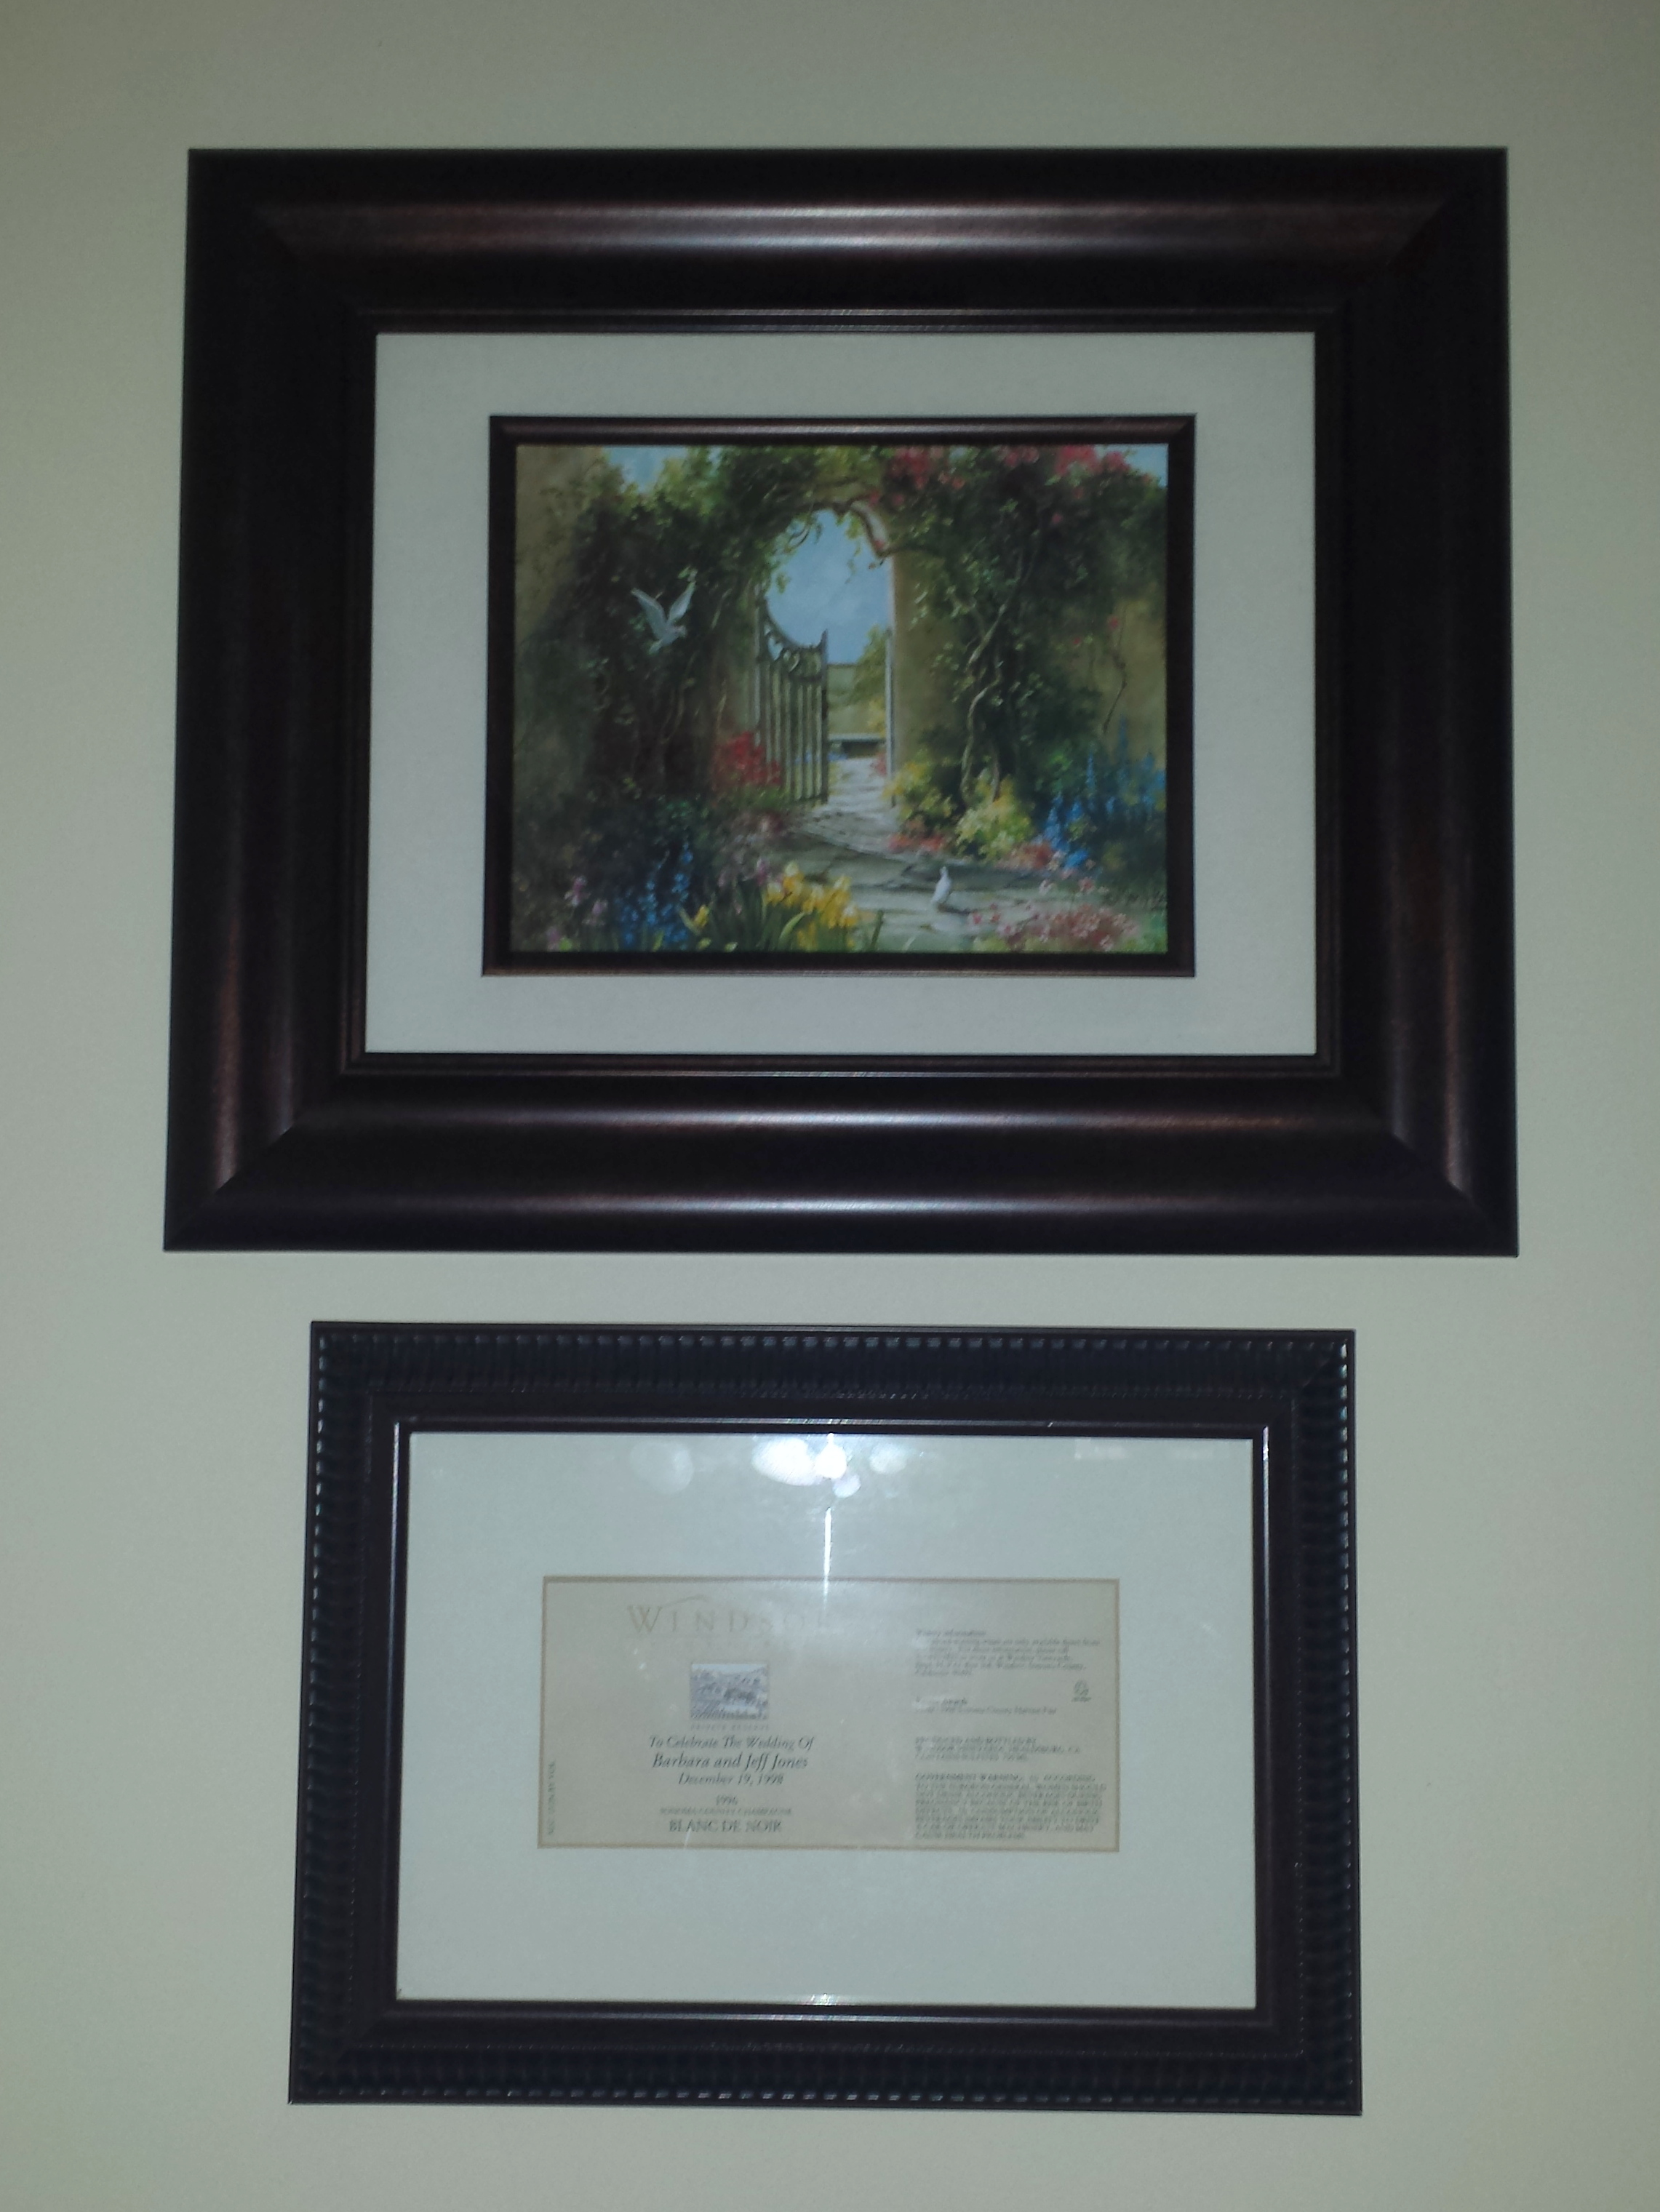
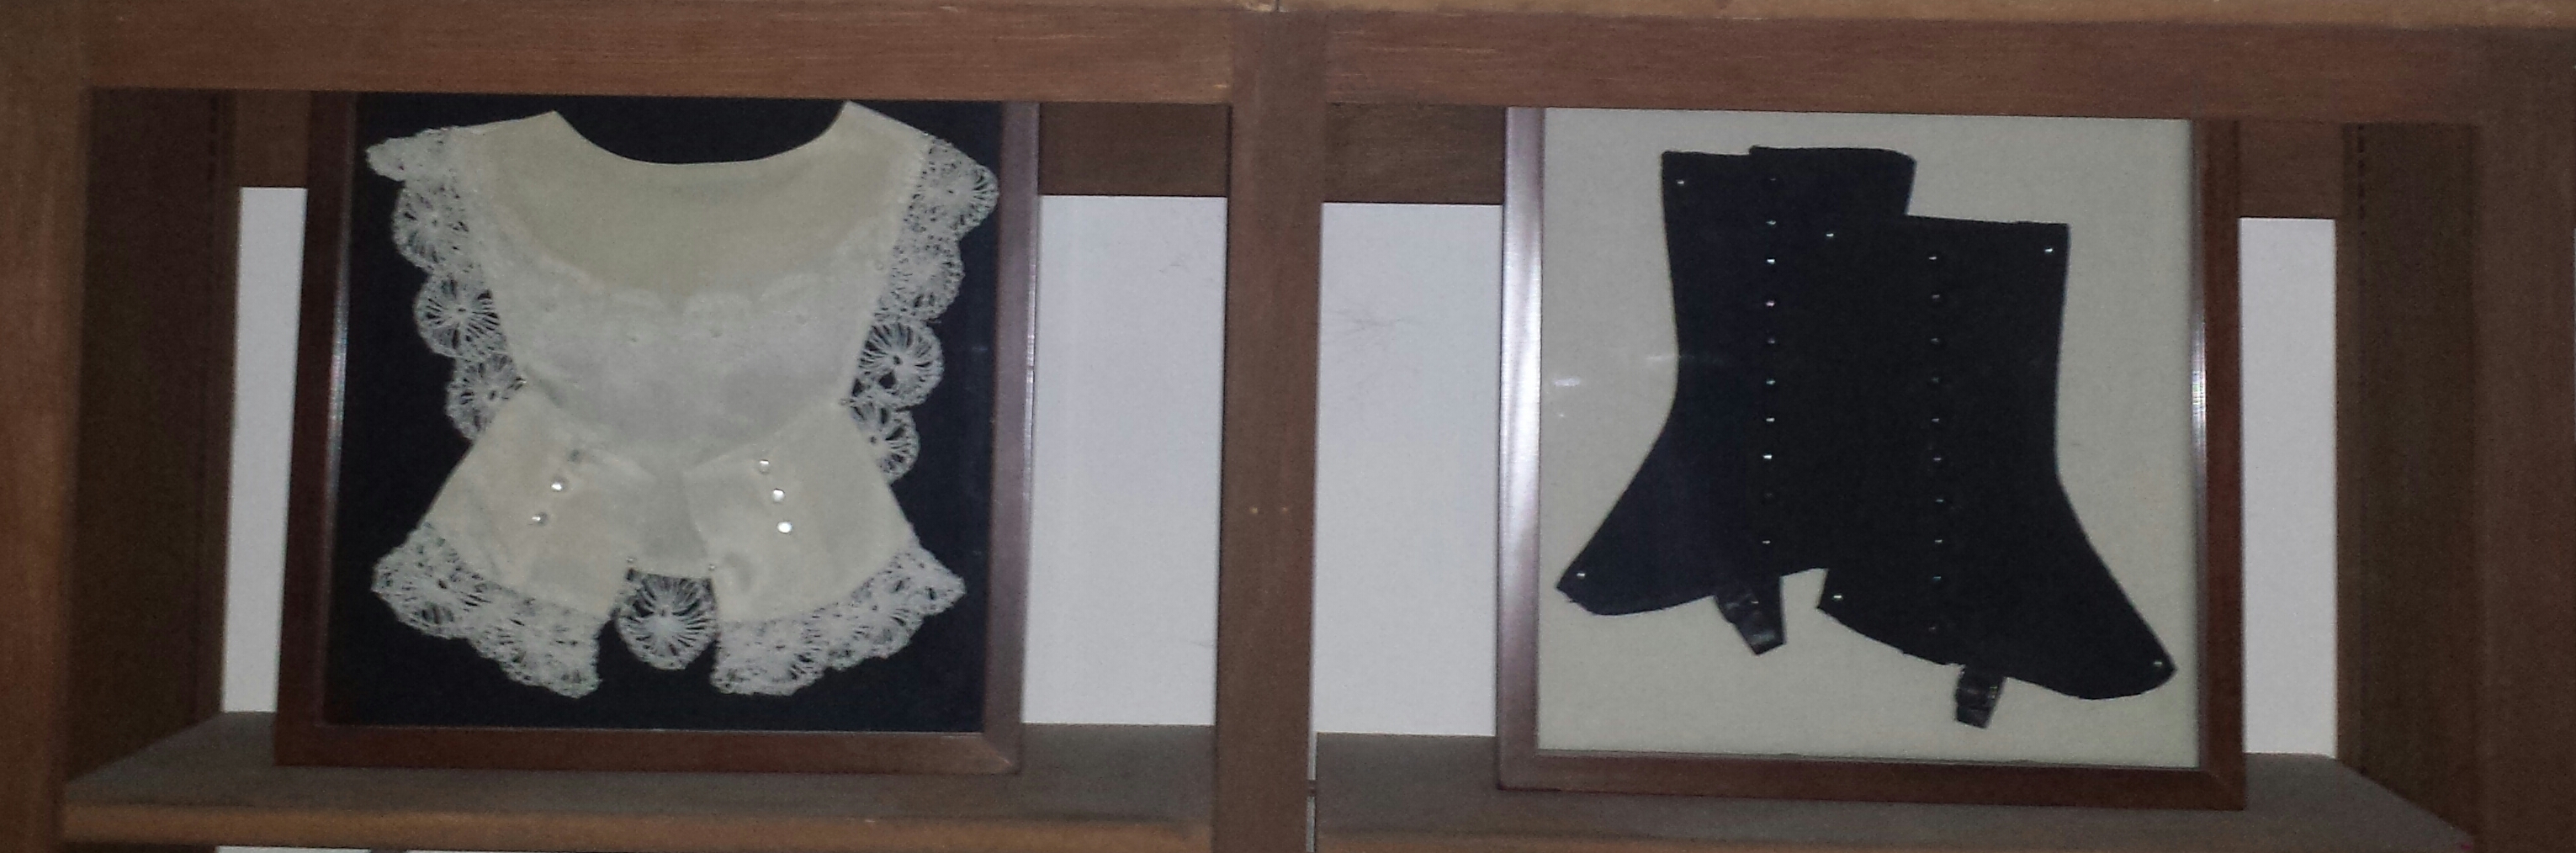
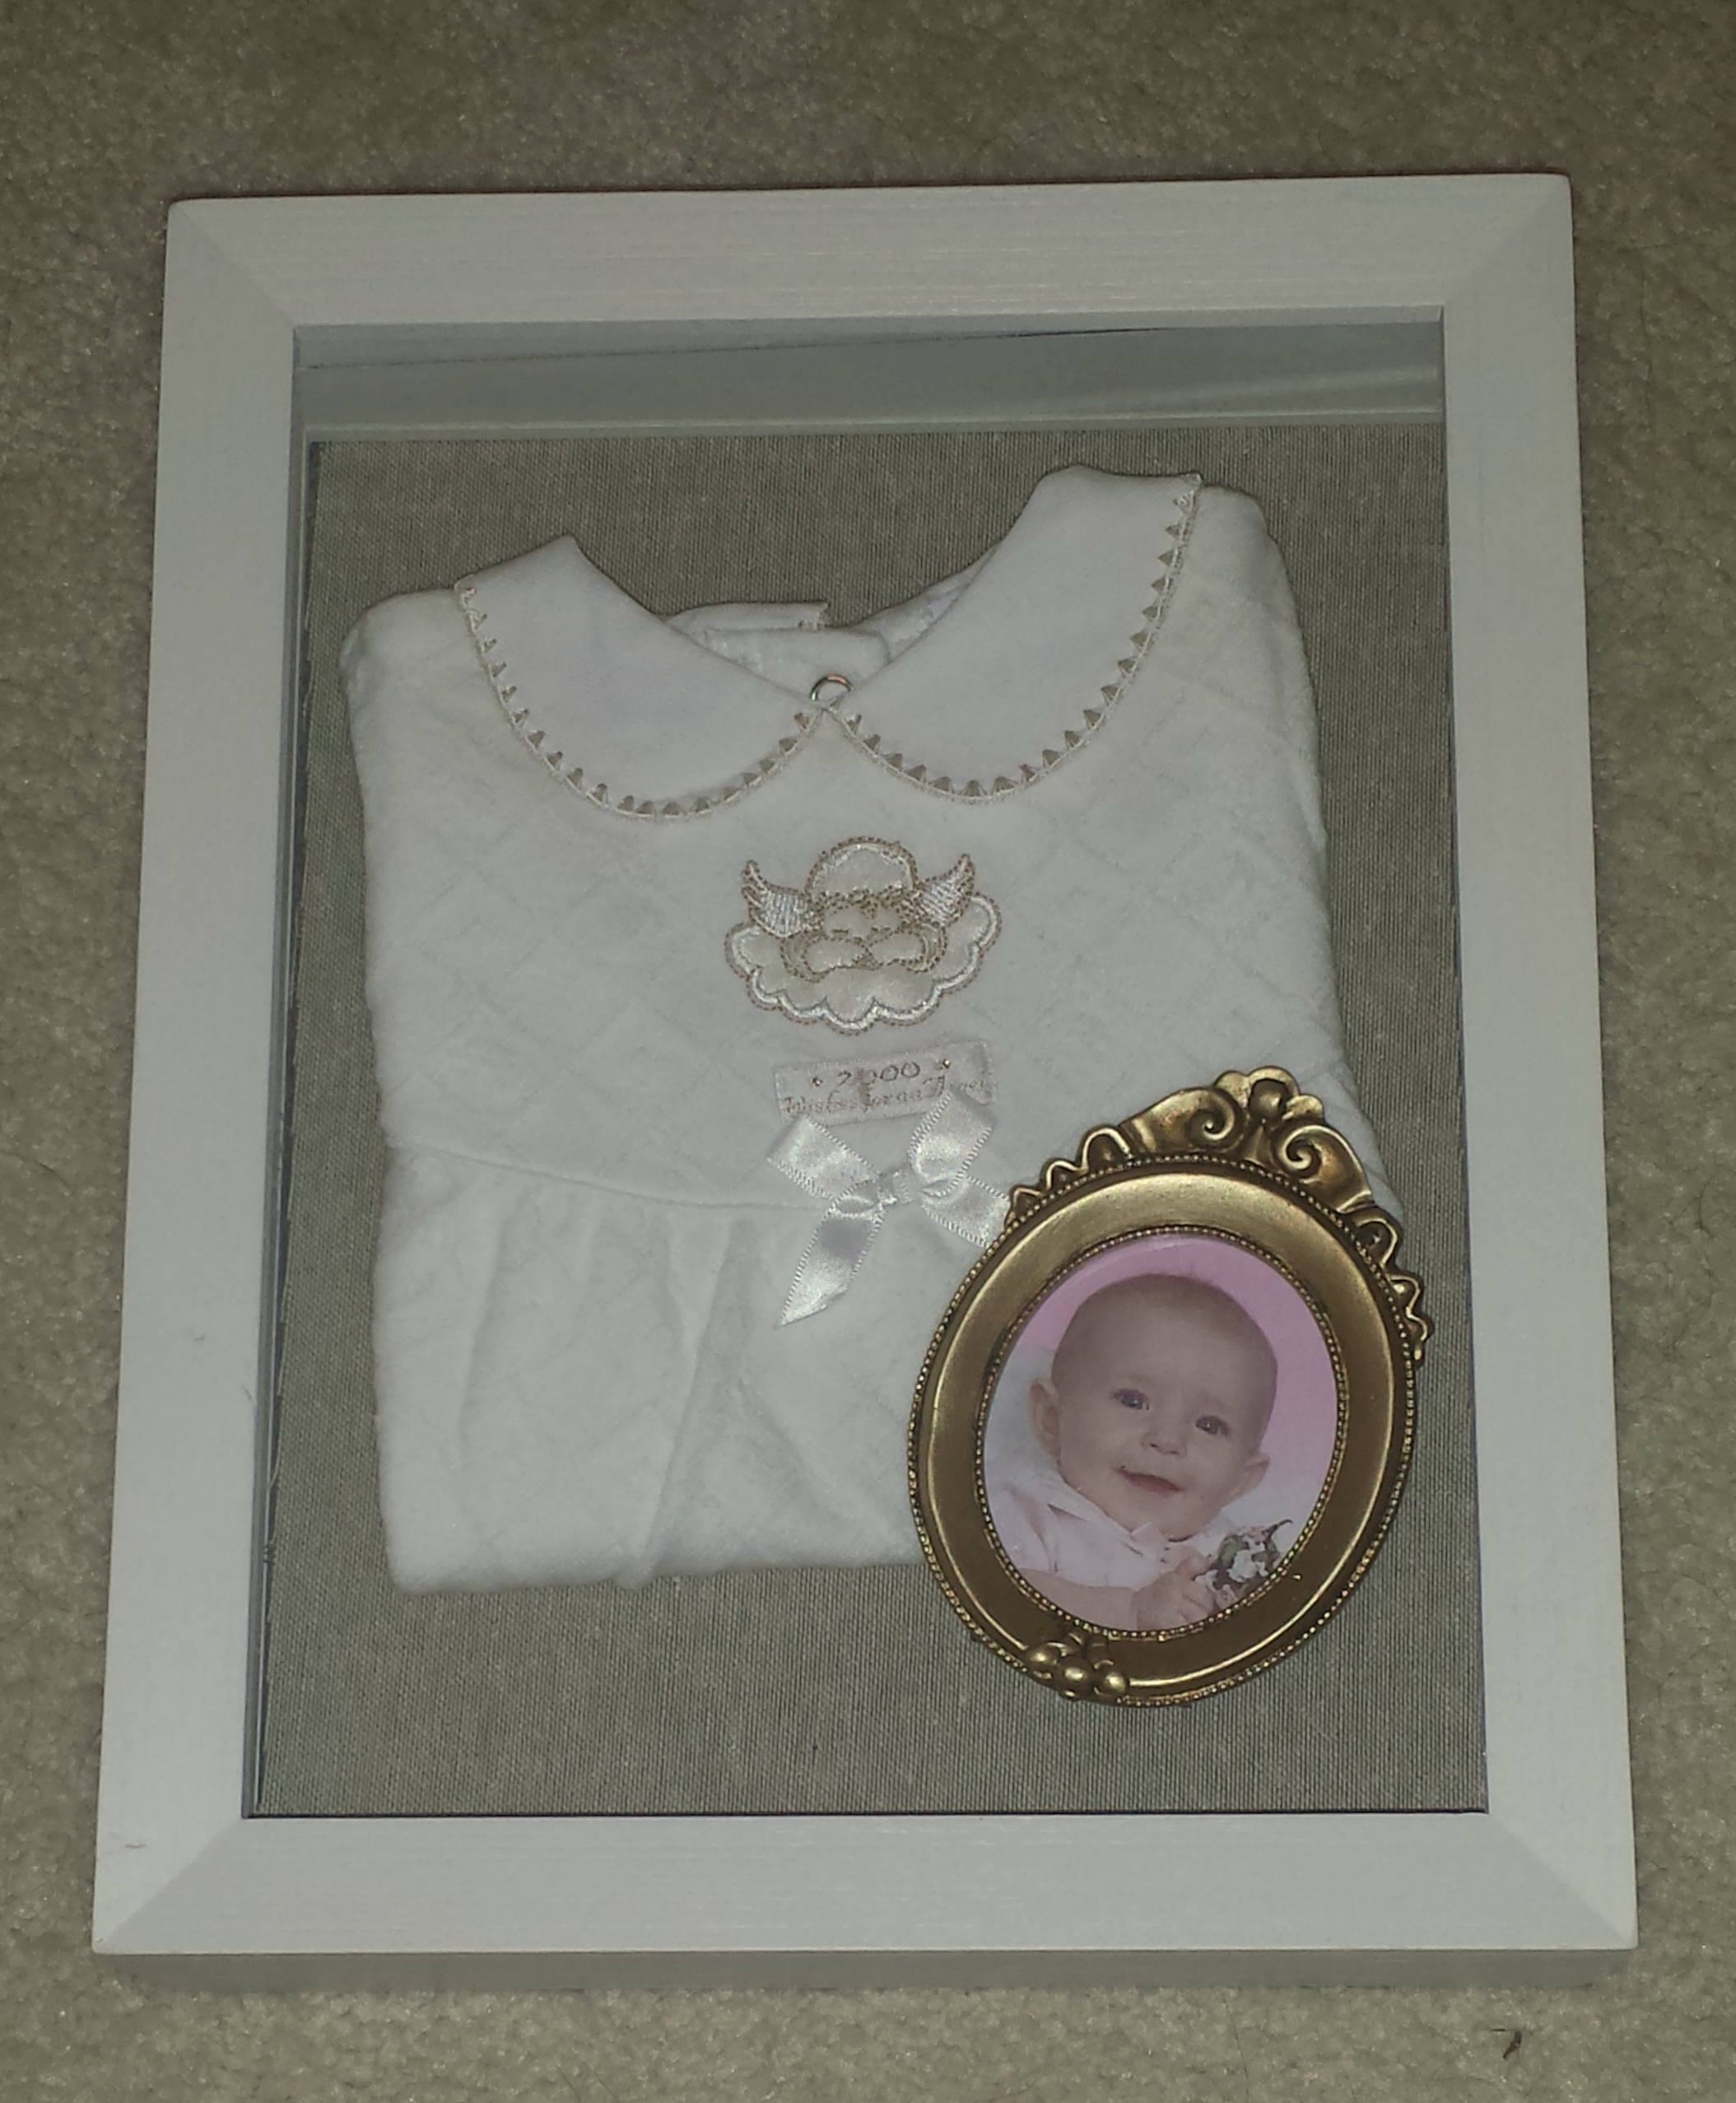
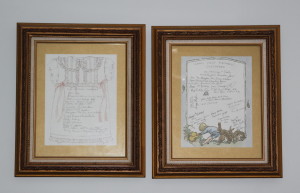
On the walls of the bedroom were framed artwork, two special ones which commemorated our daughter’s baptism and her first birthday. These were a very easy craft project using gold mats, scrapbook paper signed by the guests at the events which were placed in gold frames. (For more information, please click on the décor post – Not Your Normal Wall Art!)
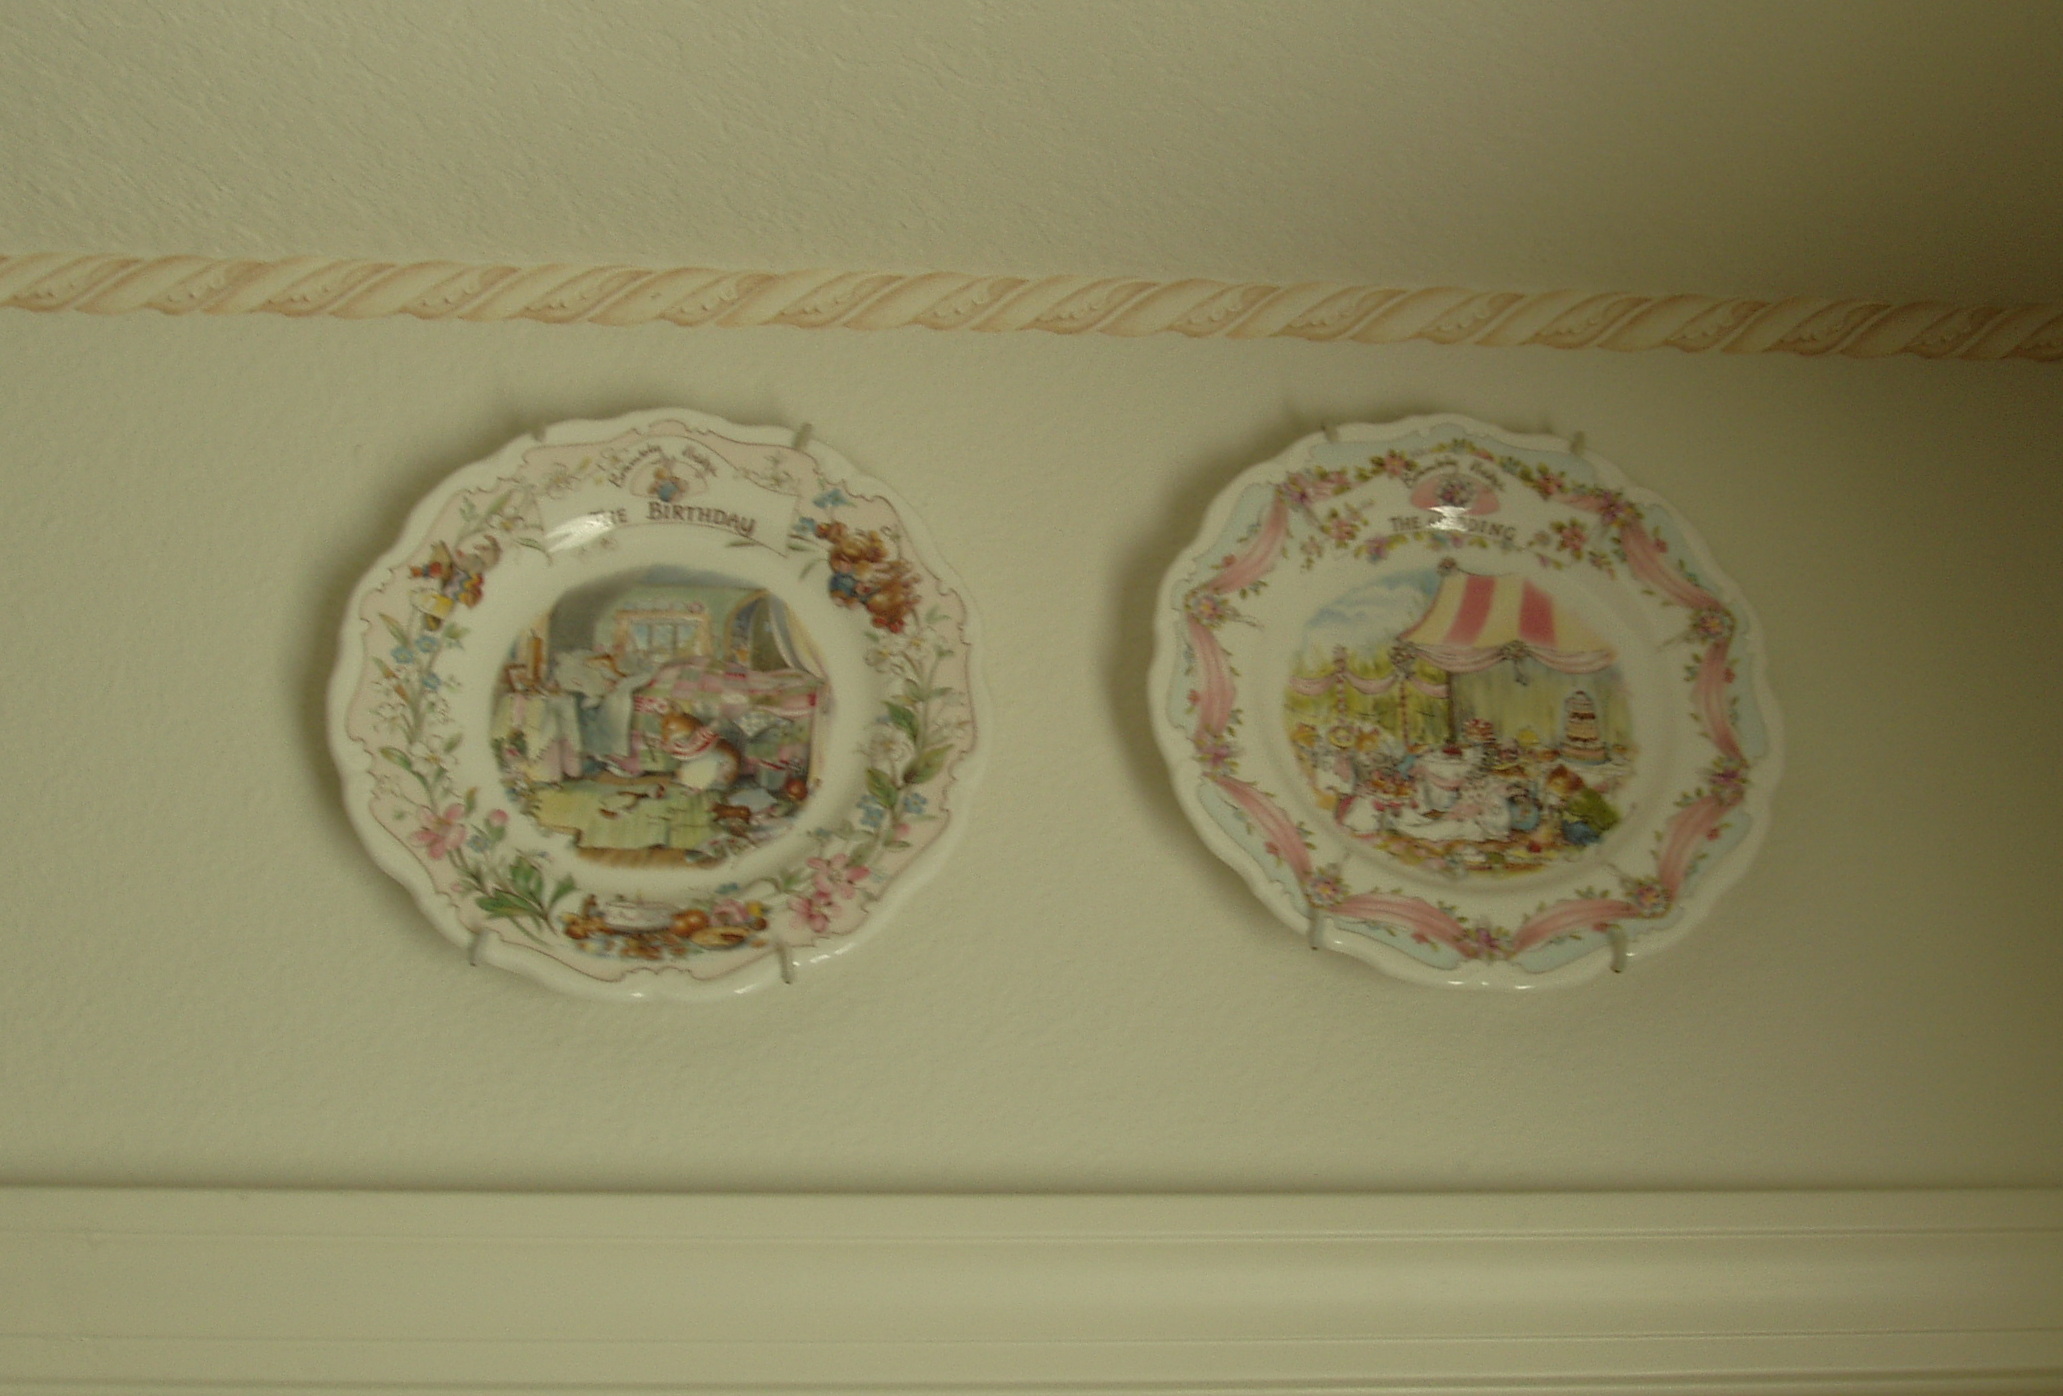
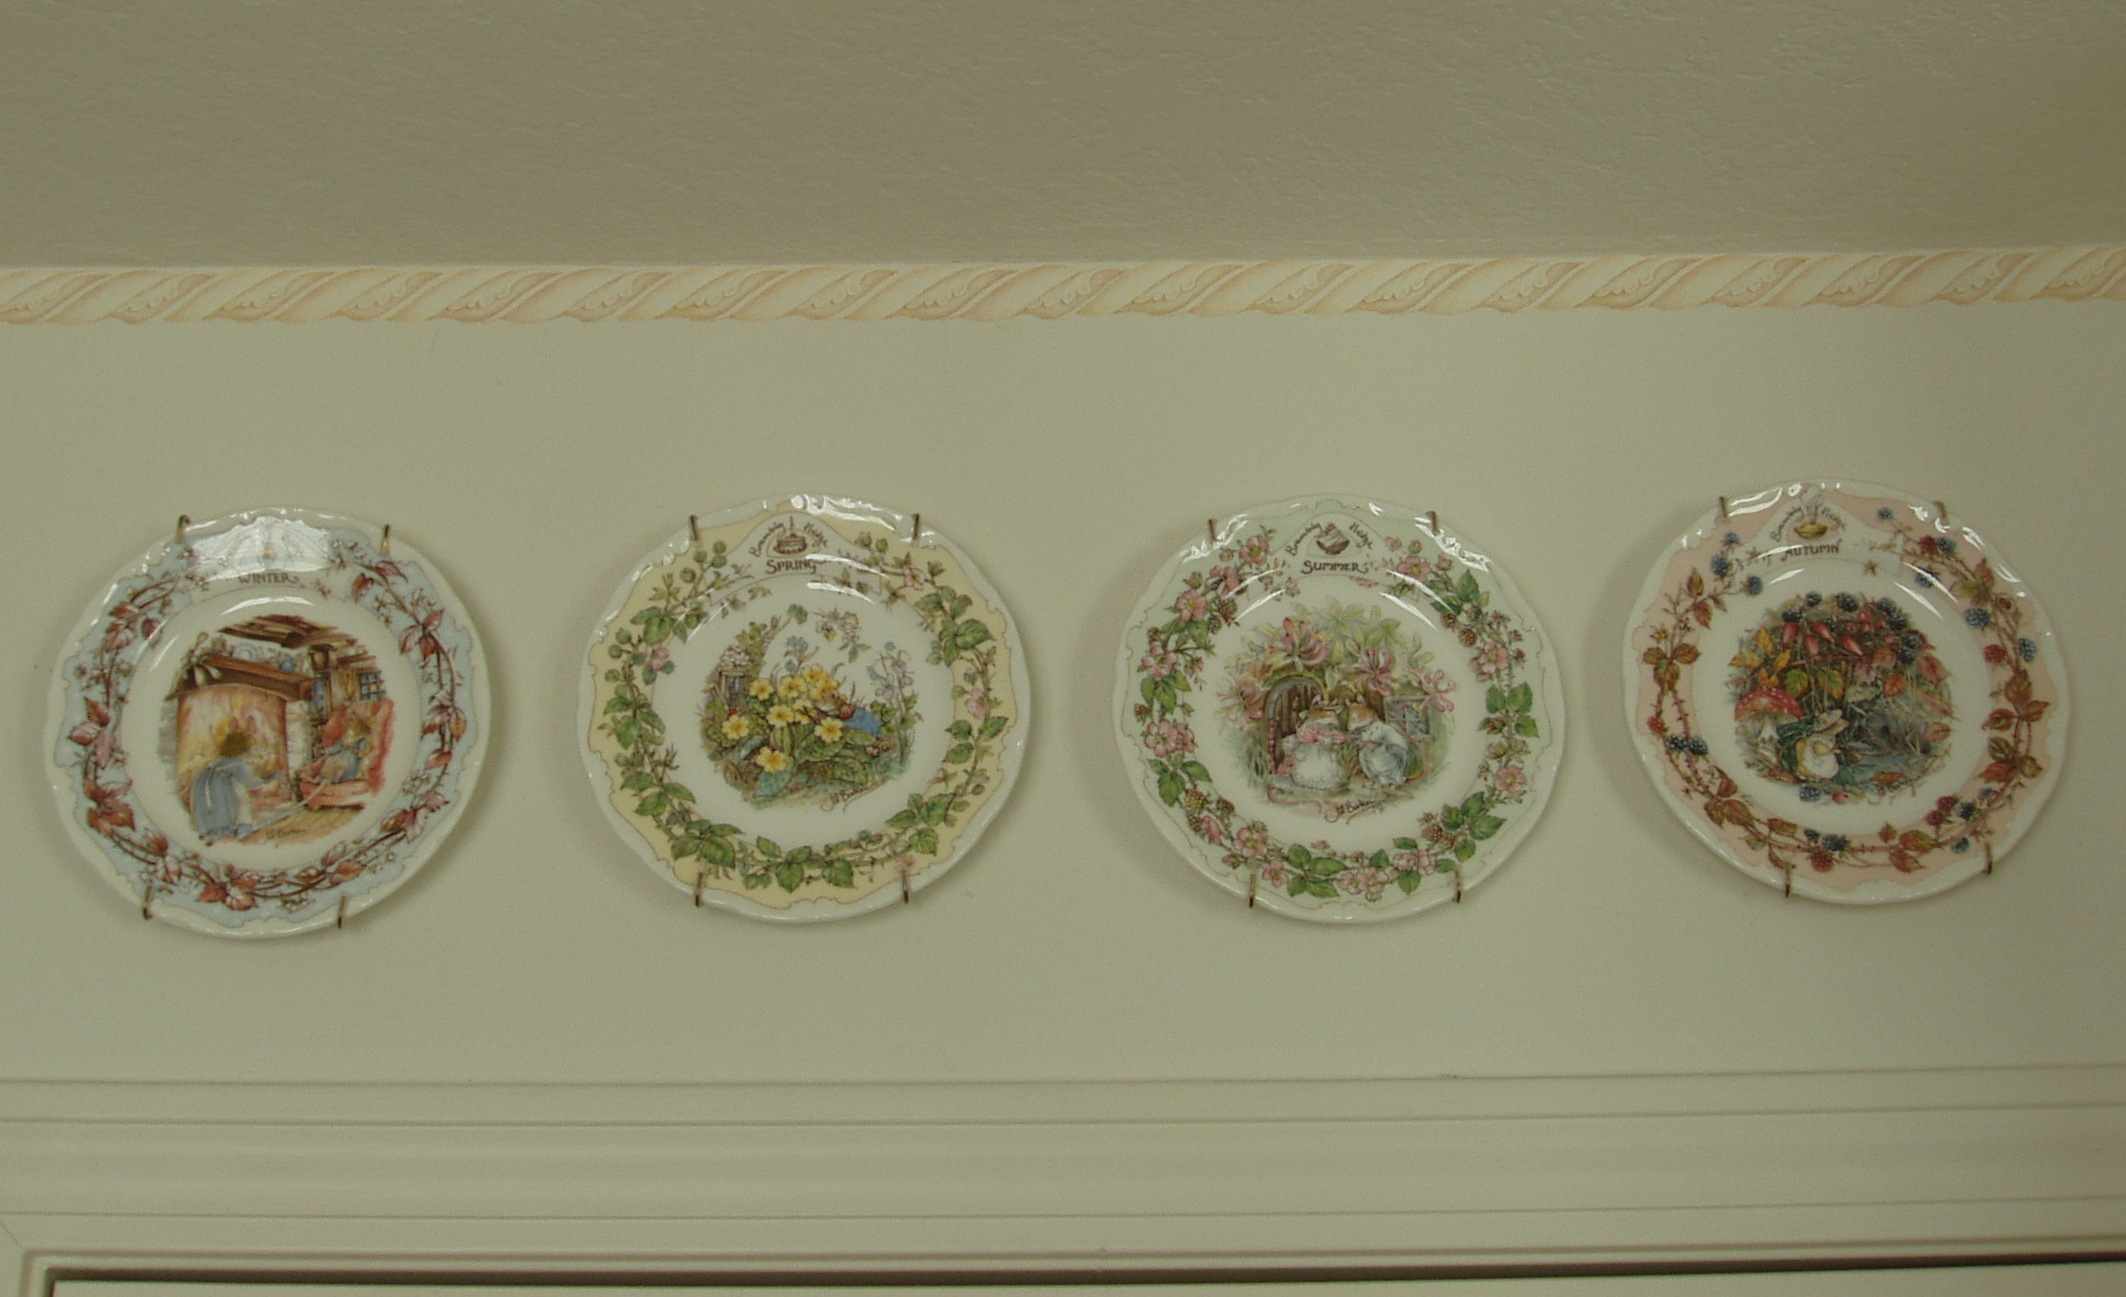
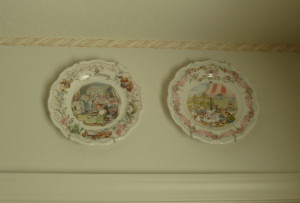
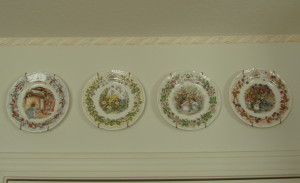
Also on the wall around the room were several Brambly Hedge plates, the decorative plates featured scenes from the charming children stories written by Jill Barklem. I enjoy decorating our home with special plates and I have several different series – for more information about Decorating With Plates, please click on the link.
Pre-teen / teenager bedroom –
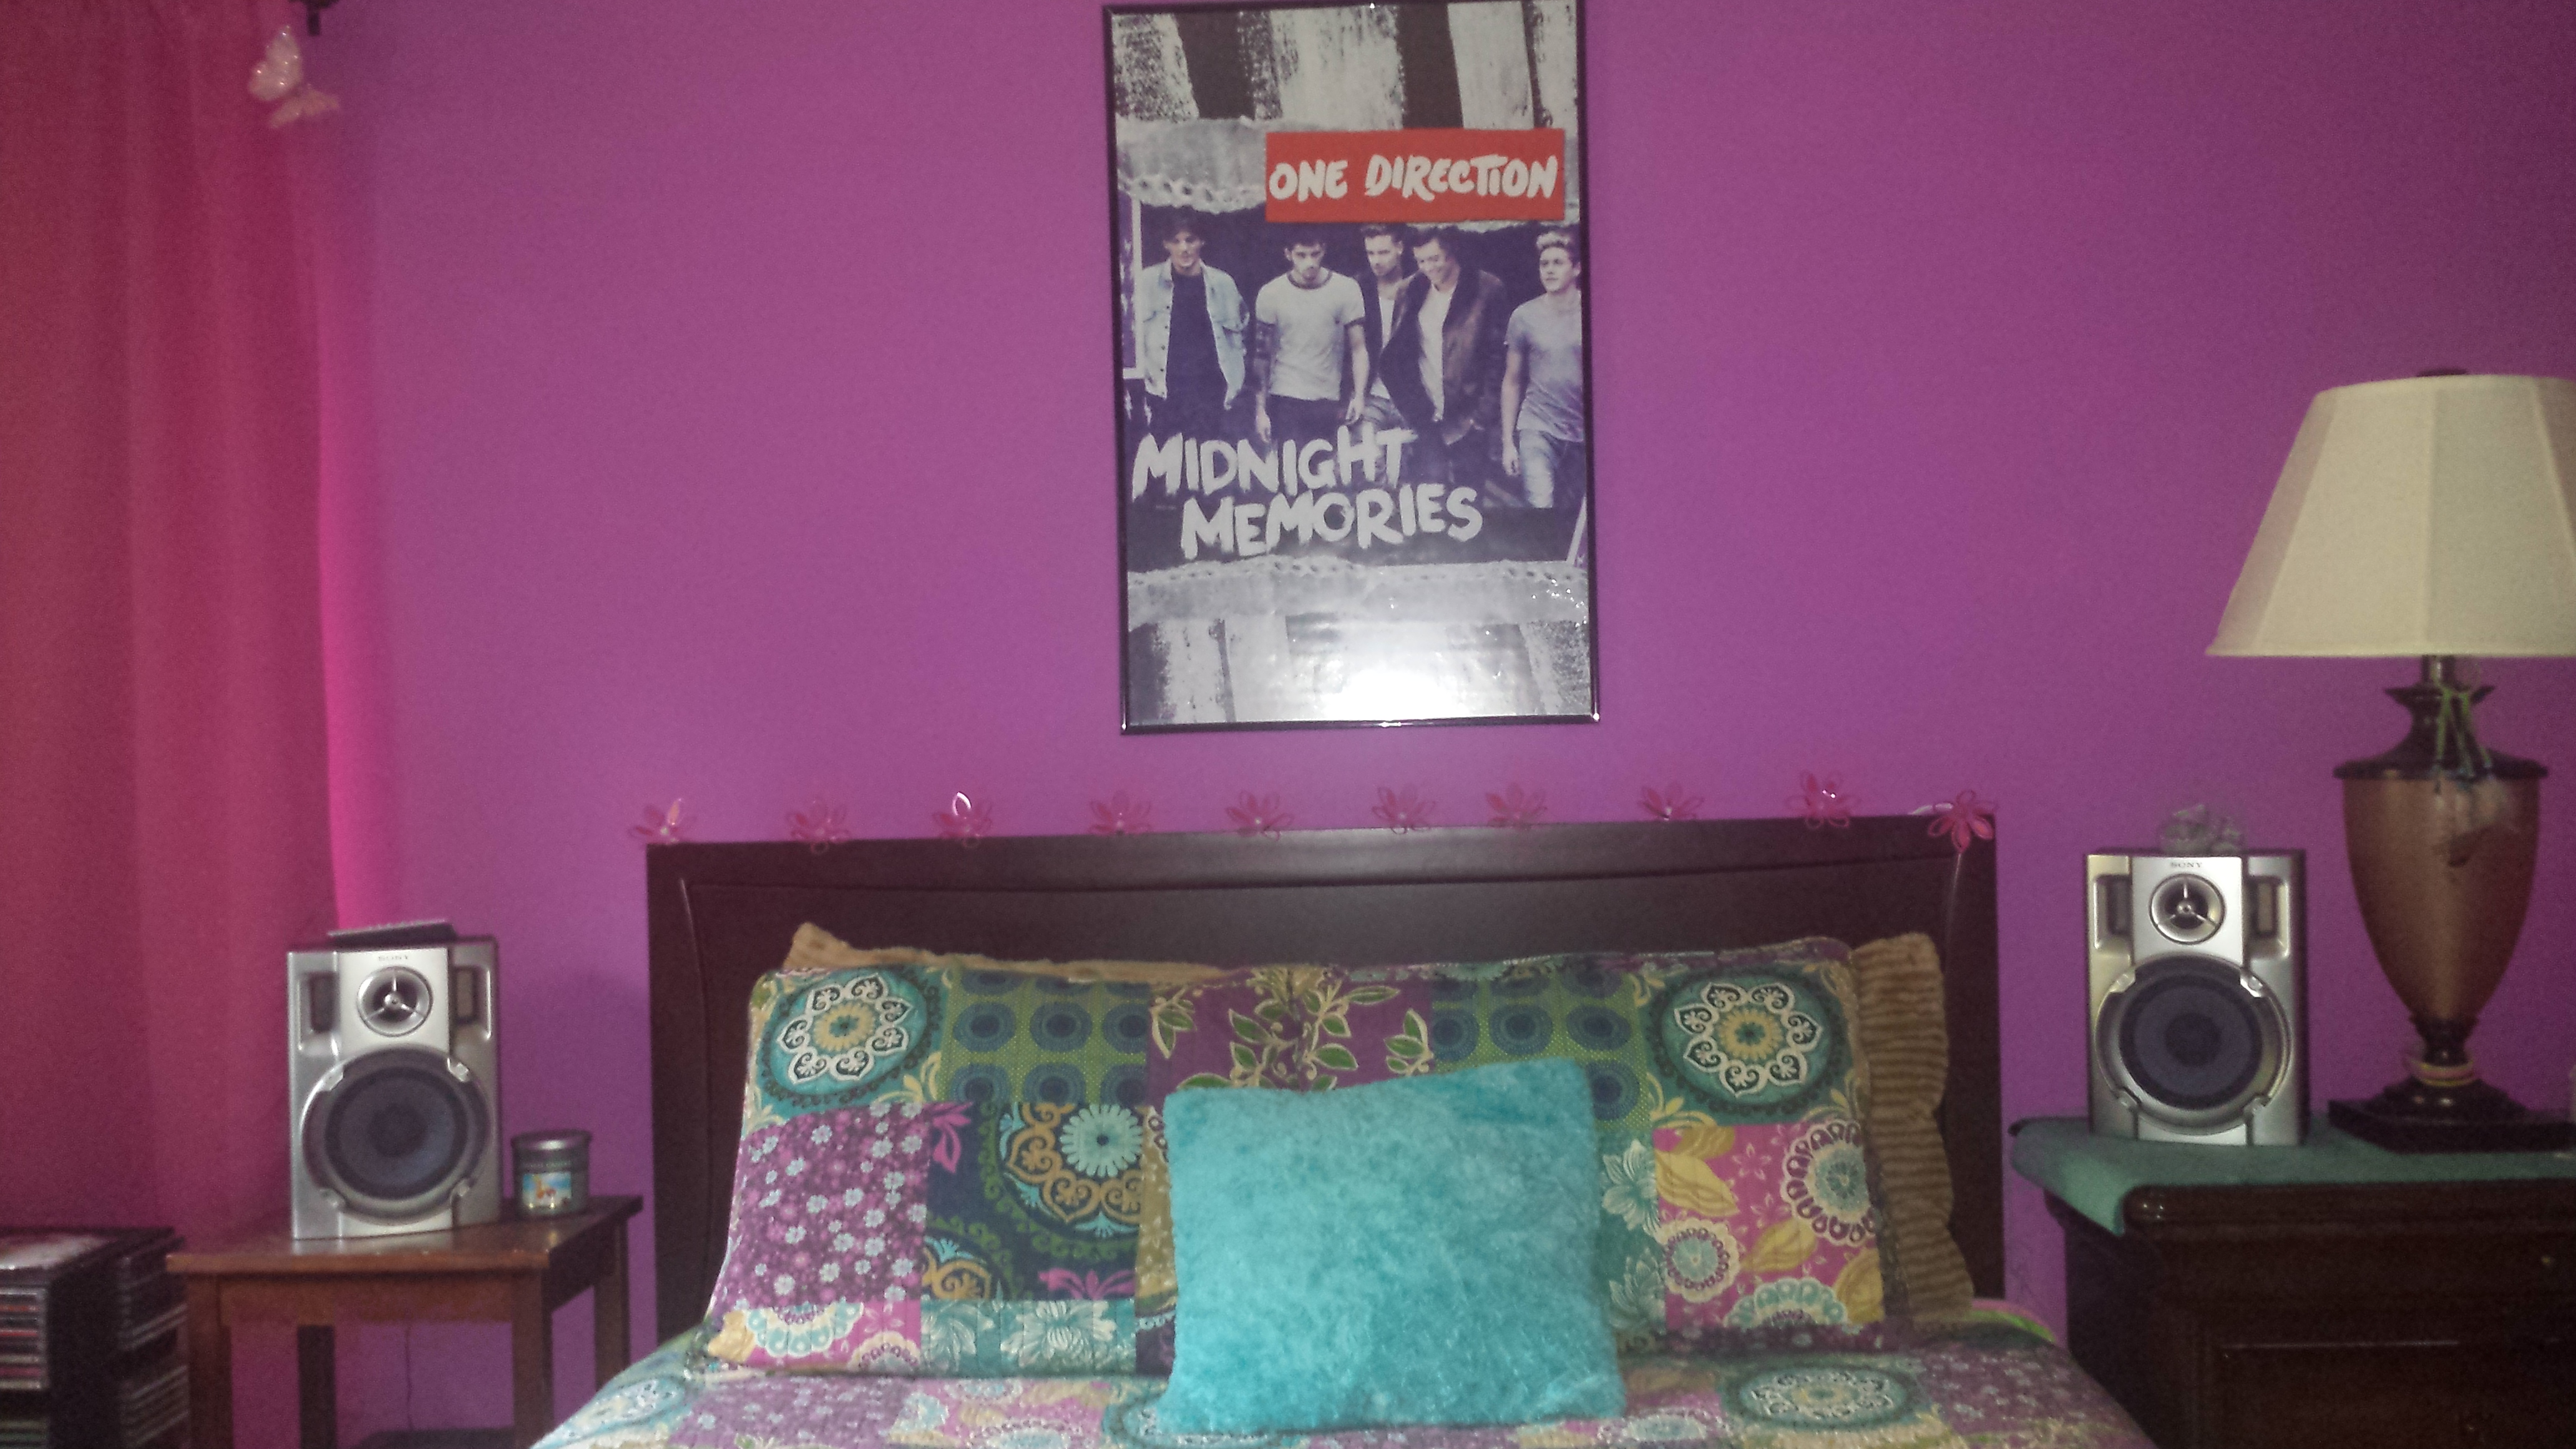
After our family moved to the Midwest, our daughter was a pre-teen. Our daughter now had very definite opinions about how she wanted her bedroom decorated. We bought her a beautiful queen-sized sleigh bed and a matching dresser and side table for her new room. She used the bedroom set for a few years and when she became a teenager she wanted something different so everything was moved to our guest bedroom. Then, we found a simpler headboard for her bed; we also bought a desk and chair for her to do homework and two tall narrow bookshelves and a CD tower to hold all her things. The furniture in her bedroom in California had been light wood or painted white and now the furniture was dark wood or painted black. To complete the bedroom, I bought a new bedspread which was very colorful and reminiscent of a Vera Bradley fabric. To complete the bed, we found pink flower lights and strung them on top of the headboard and at night they provide a great glow to the room!
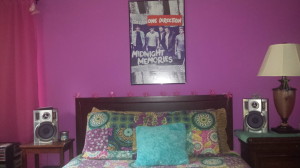
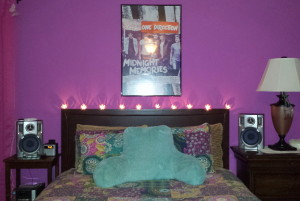
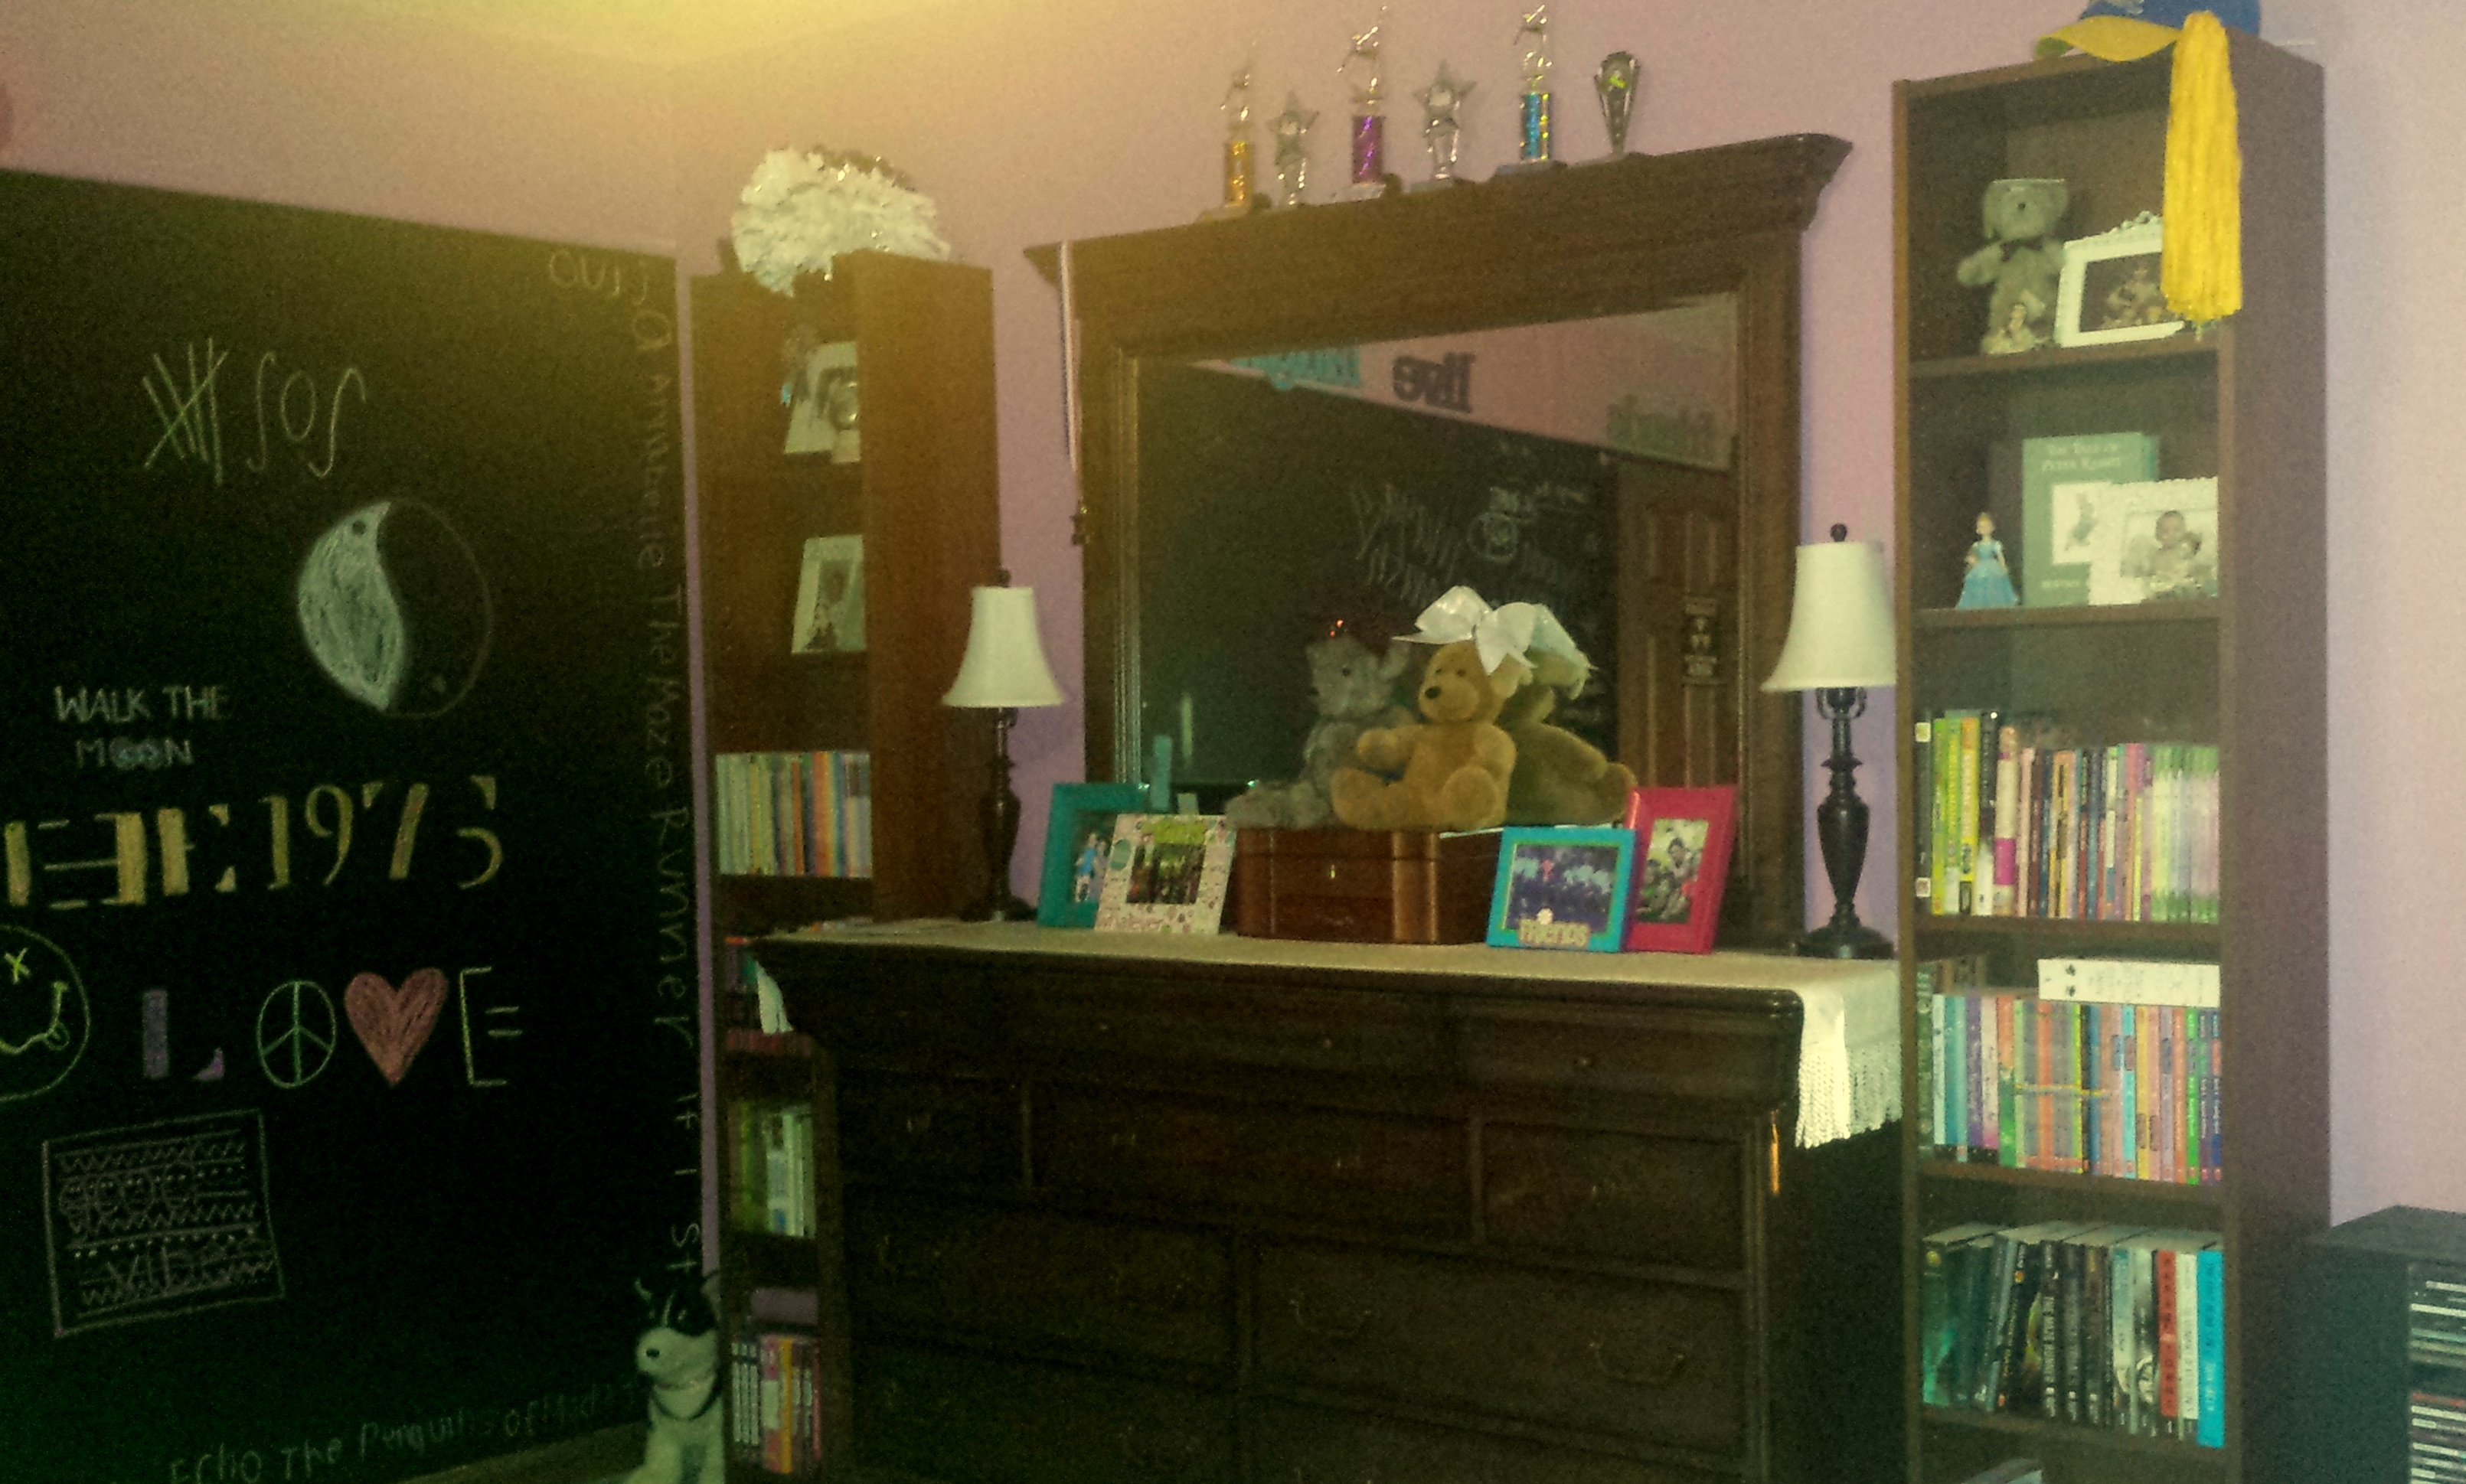
One of the first things she changed in her room after becoming a teenager was that we painted her room a wonderful shade of dark pink, it as a bold choice but she really like it! We painted the fourth wall with blackboard paint; another interesting choice because she wanted to write on the walls with chalk and it has been great fun for her and her friends.
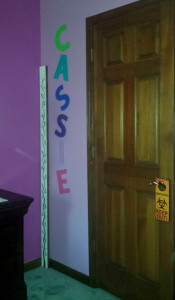
Next to the bed, in the corner of the room is a painted board that I made to mark our daughter’s height throughout the years. Most often parents will mark their children’s growth with marks on a door frame or wall, this is what a relative did and when they moved it broke their heart to leave those behind. Before our daughter was born I knew at some point in our lives we would be moving and I wanted to preserve those memories, so I made a height marker for her room. It was a simple wooden board, painted white with winding ivy and flower buds for decoration. I am so glad we have the height marker and it is something our daughter will have. To add more interest in the corner I painted large letters to spell our her name.
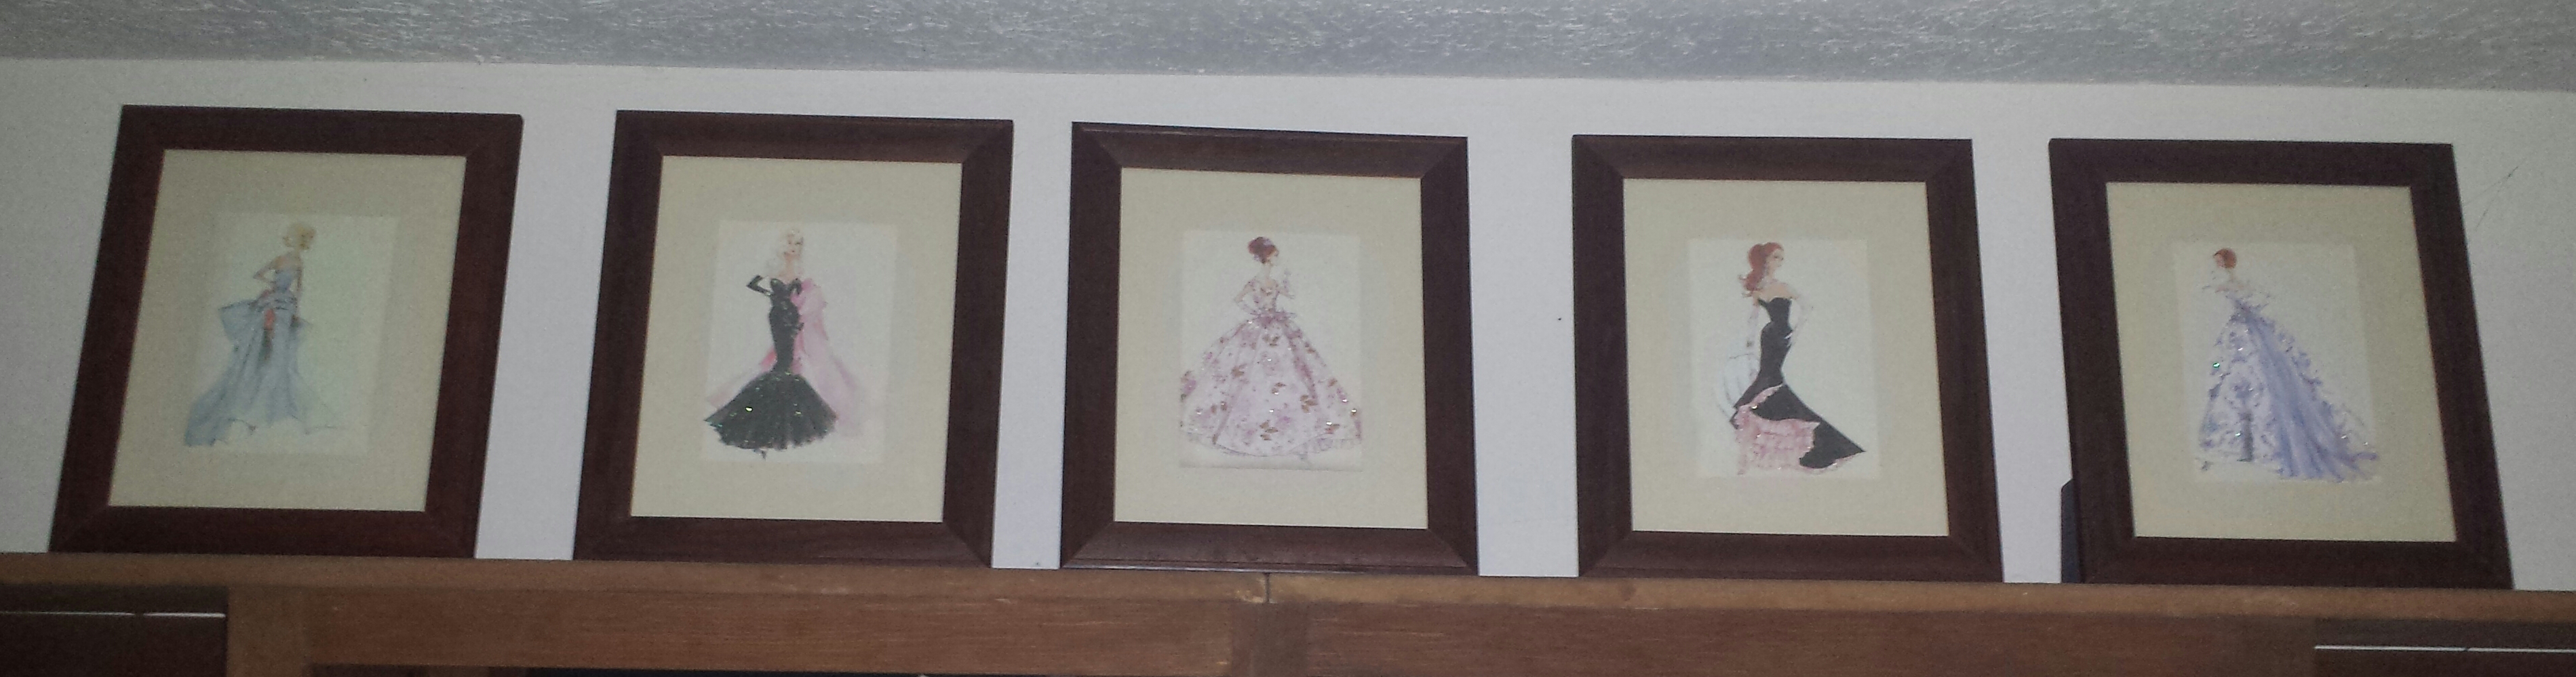
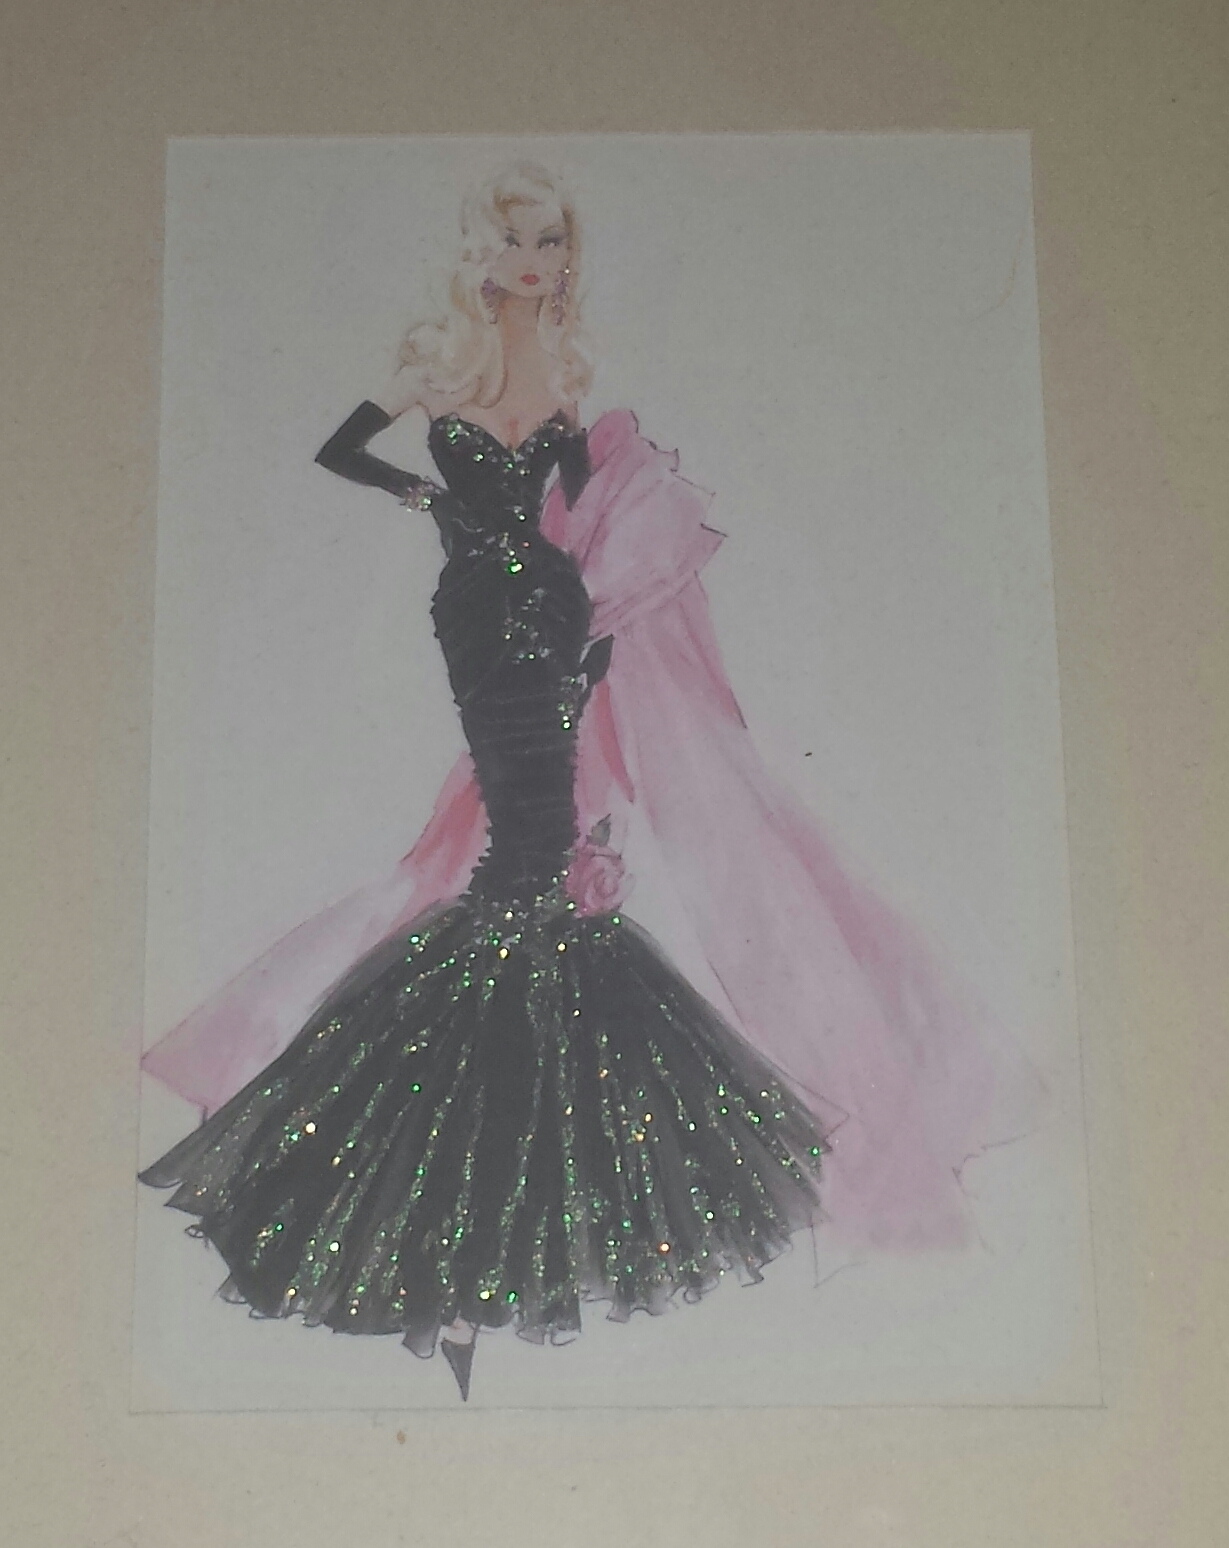
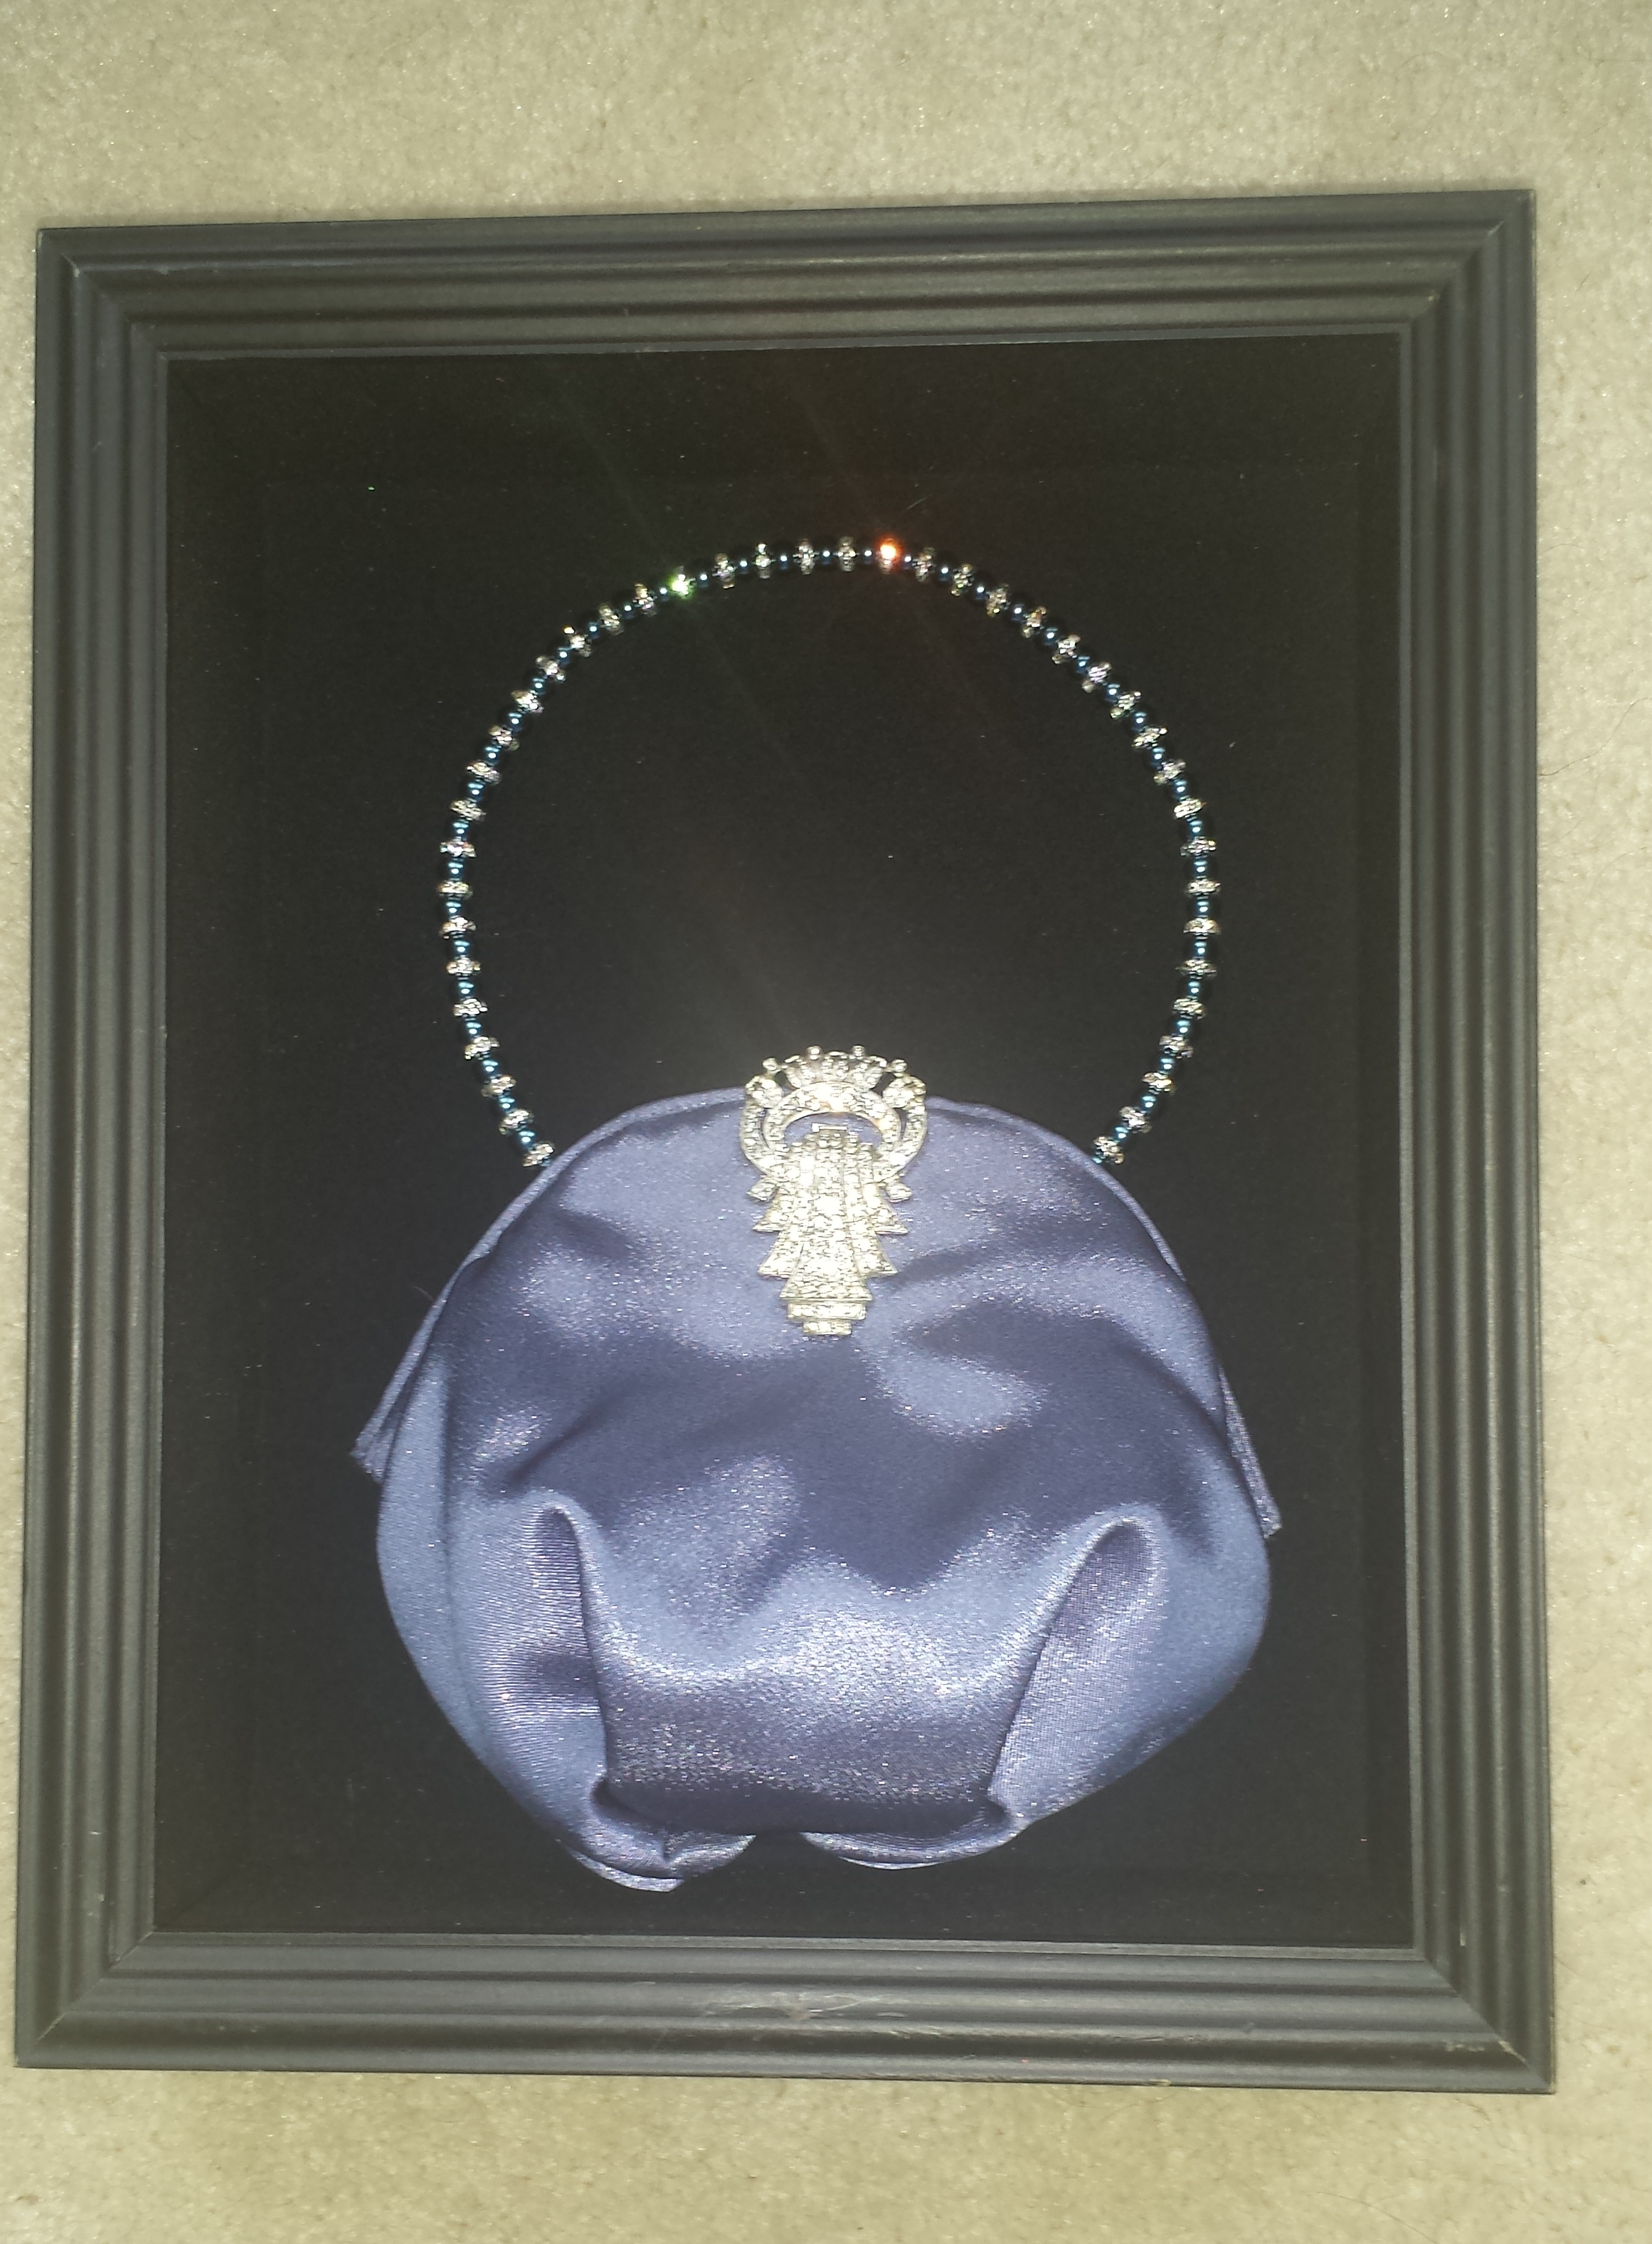
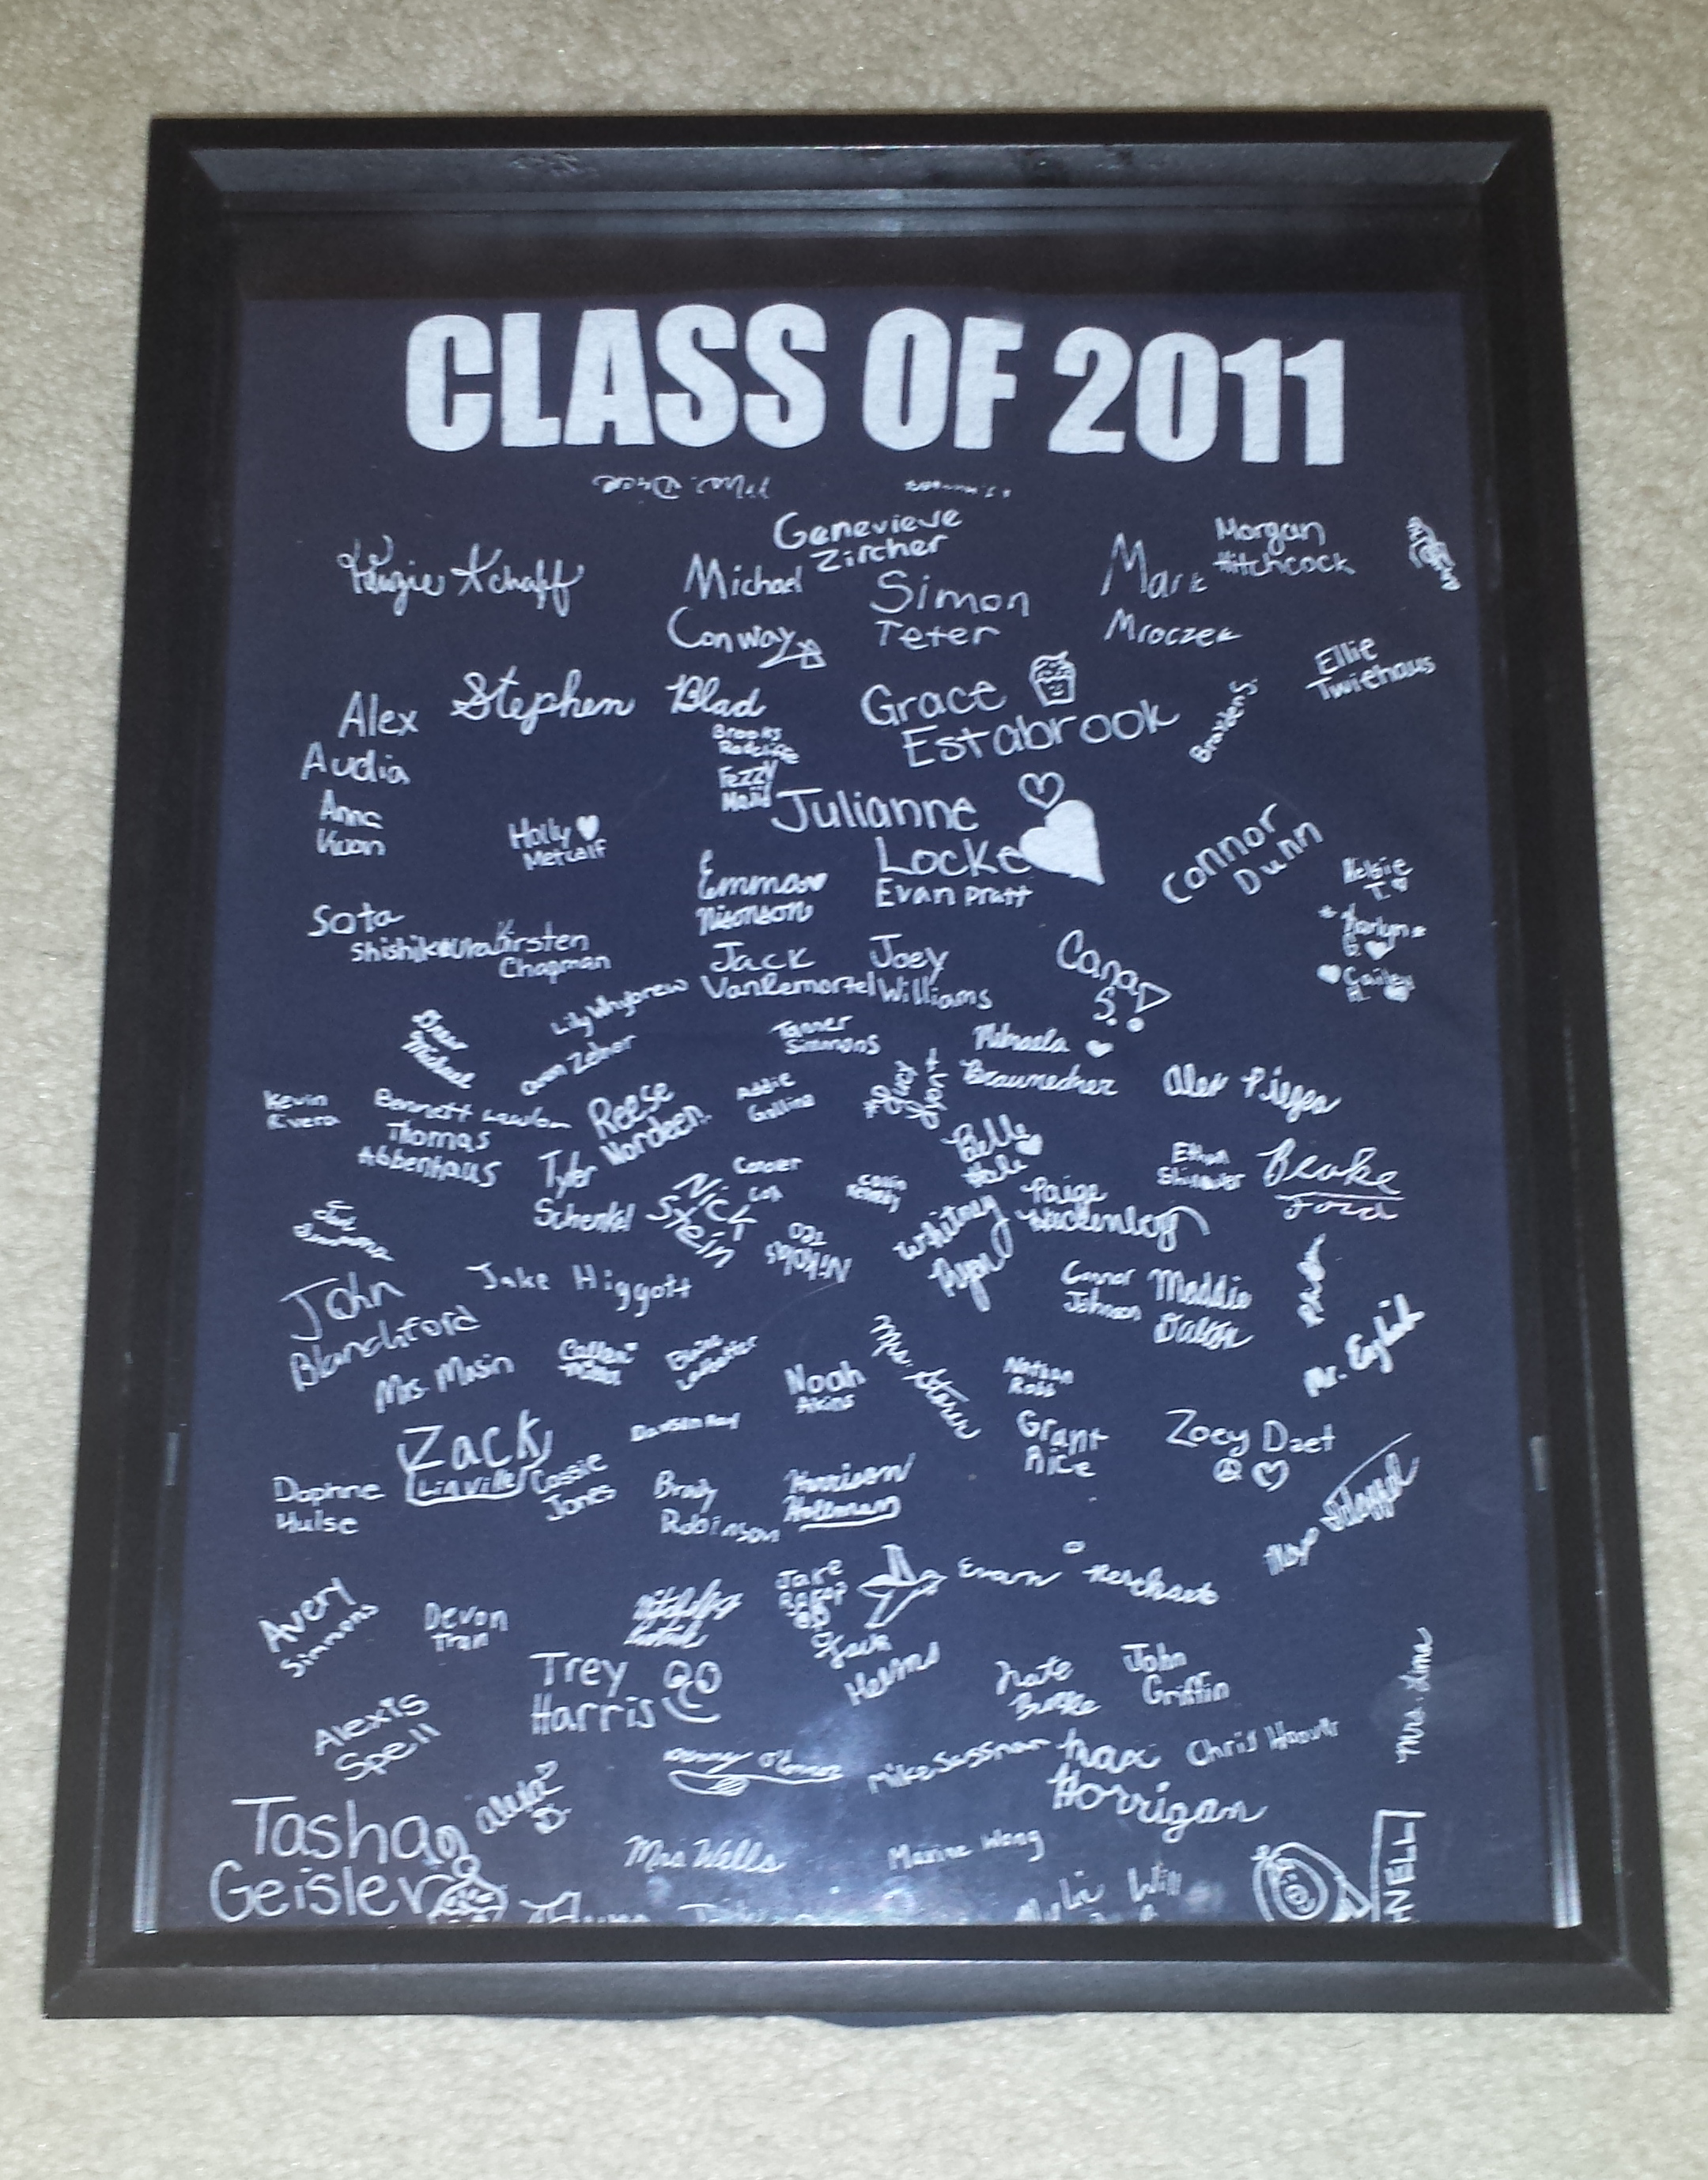
Recently, I created several special framed artworks to hang in her room. Our daughter has participated in several plays and I framed the t-shirts from each of the plays as a reminder of the fun see had during these school productions. I addition to those ones, I framed t-shirts commemorating graduation from elementary school, middle school cheer team and a t-shirt from her high school. Also, with our daughter being on a competition cheer, she has collected many bows. To have a place for her to hang them I created a special board with a framed logo from an old jacket. (For more information on these projects, please look for future craft posts)
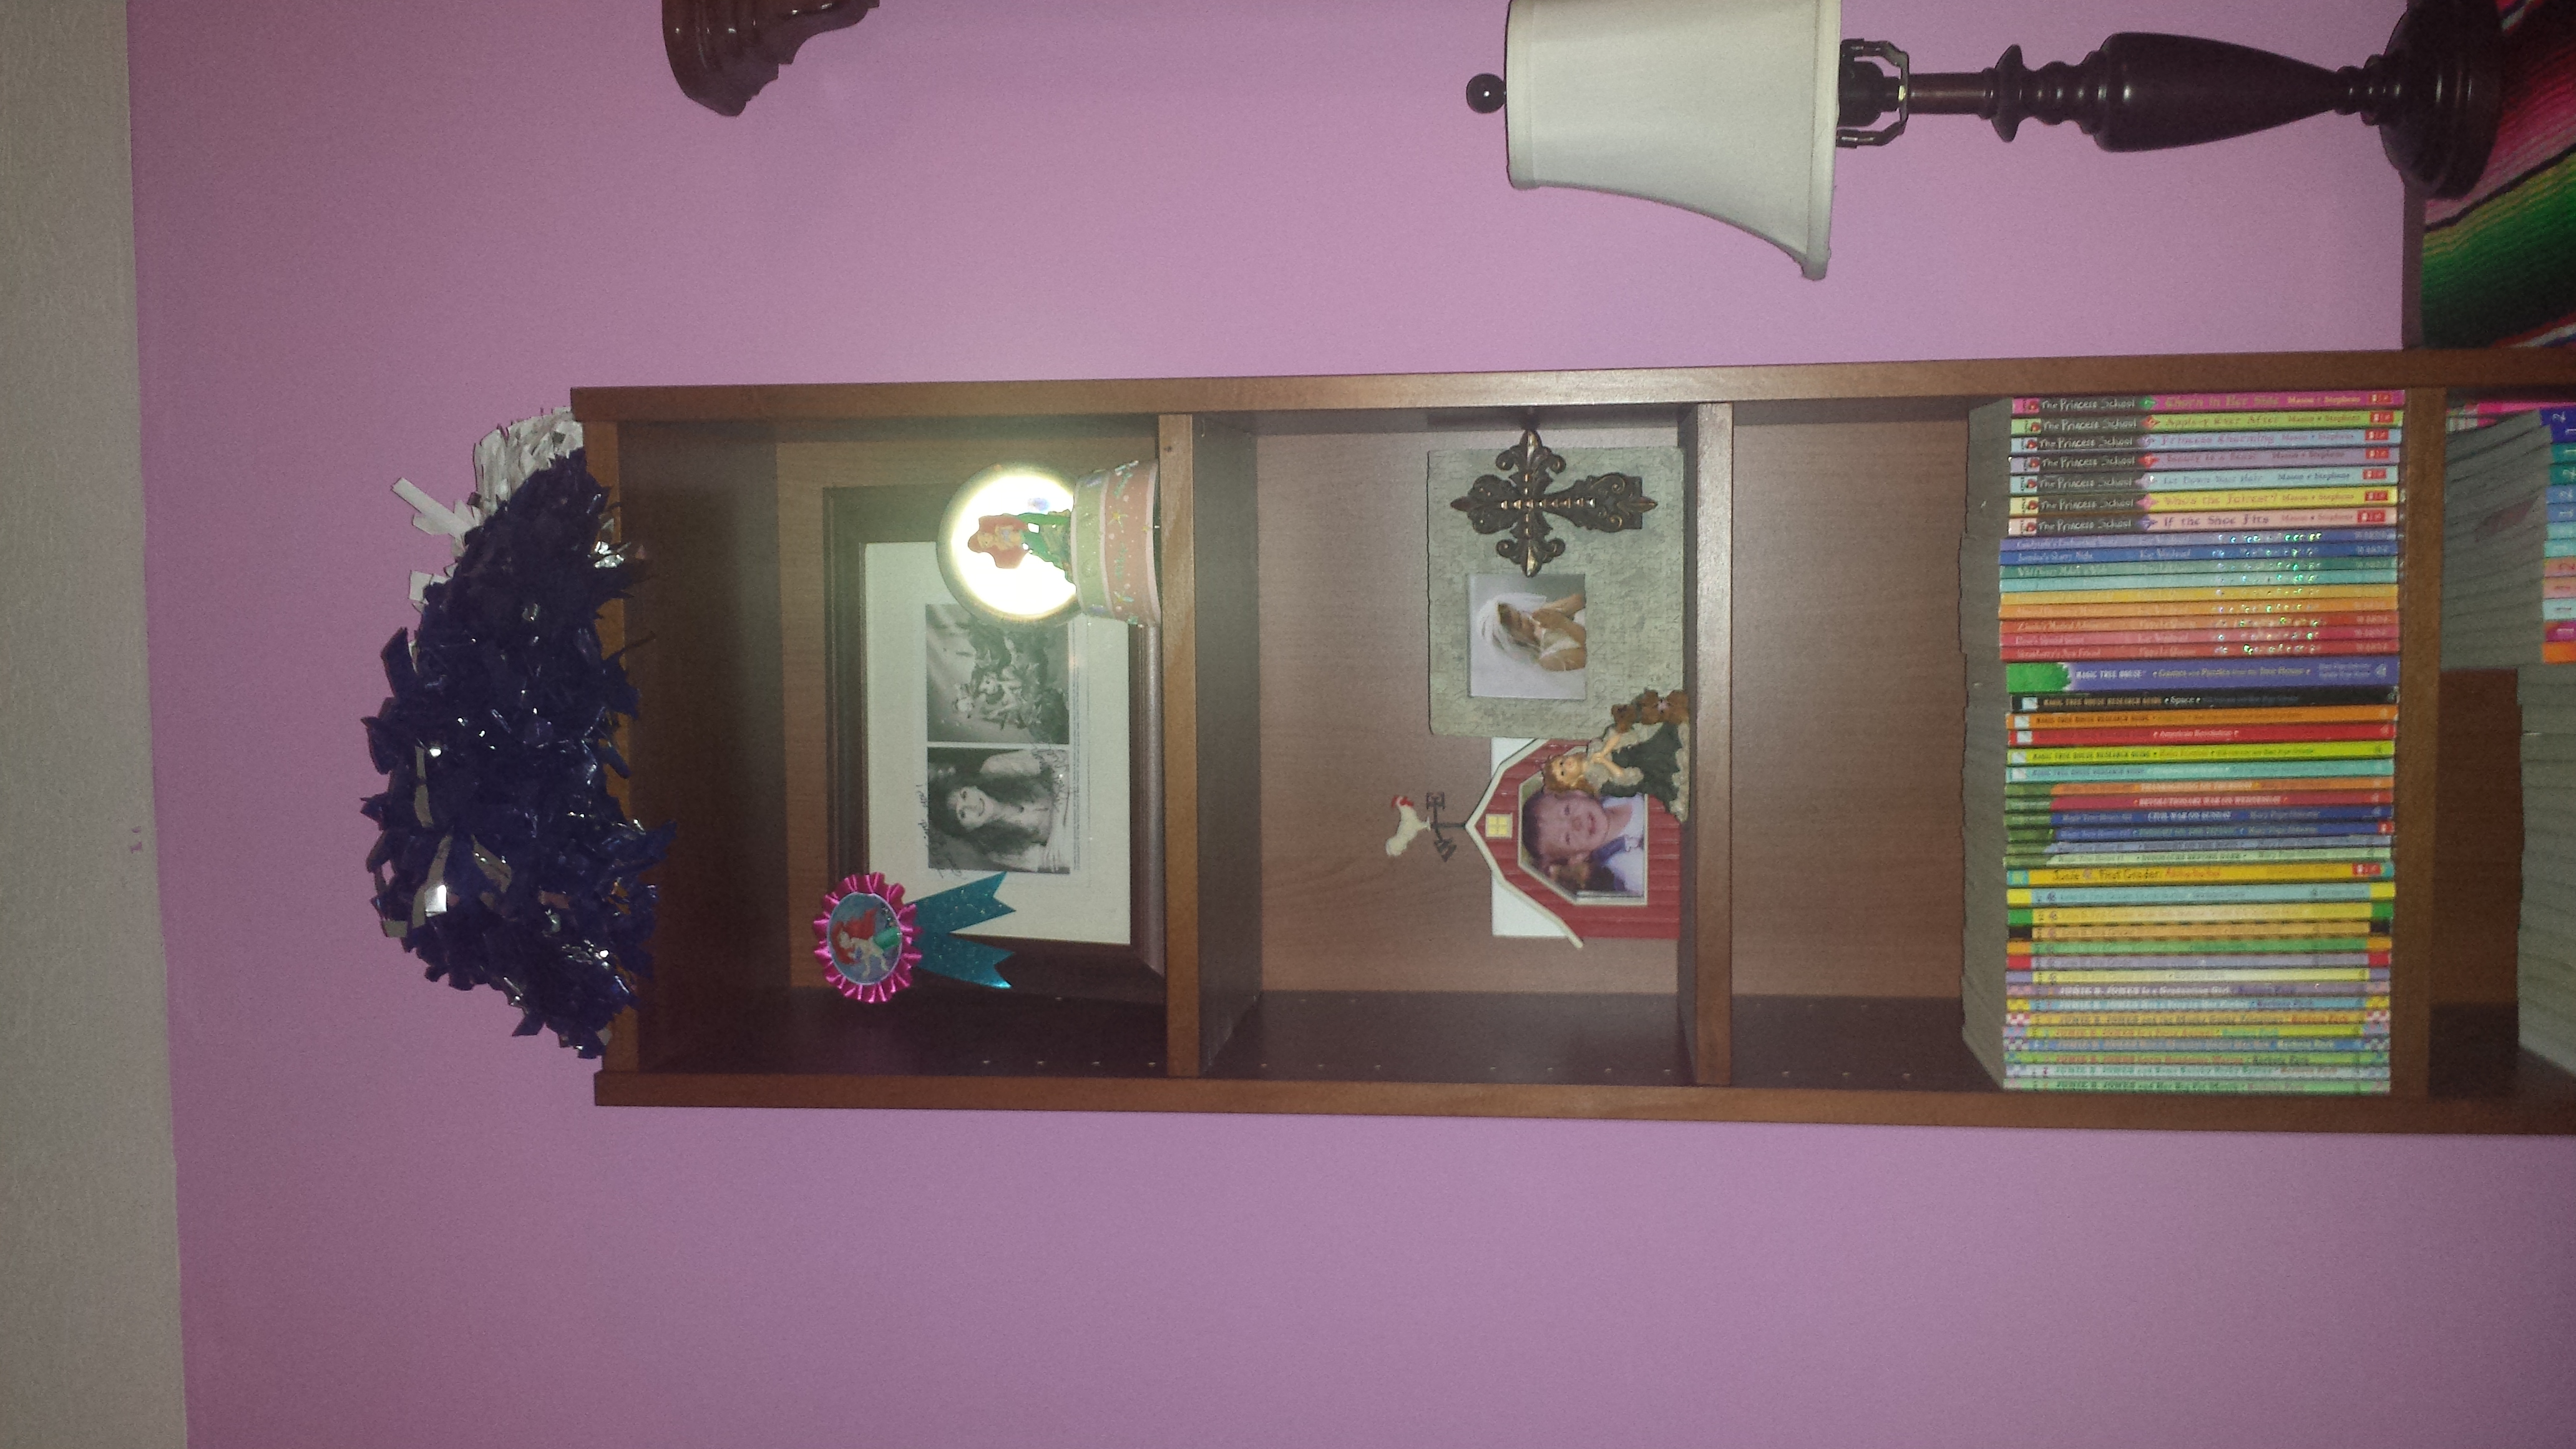
On either side of the dresser we positioned the two tall bookshelves, some of the items such as framed photos had remained the same but other items were more grown-up. By the time she was a teenager the items in her room changed from stuffed animals, toys and games to numerous books and CDs, a keyboard and an electric guitar. Scattered around the room were trophies and cheerleading items and more colorful frames with photos of her and her friends. After a recent trip to Cancun this summer we came back with a colorful Mexican blanket and we added it to the dresser.


I like both her child and teenage bedrooms, they are so different. But what I love about our daughter’s room now is that her bedroom shows her personality, her hobbies and the things that are important to her.
Like this:
Like Loading...

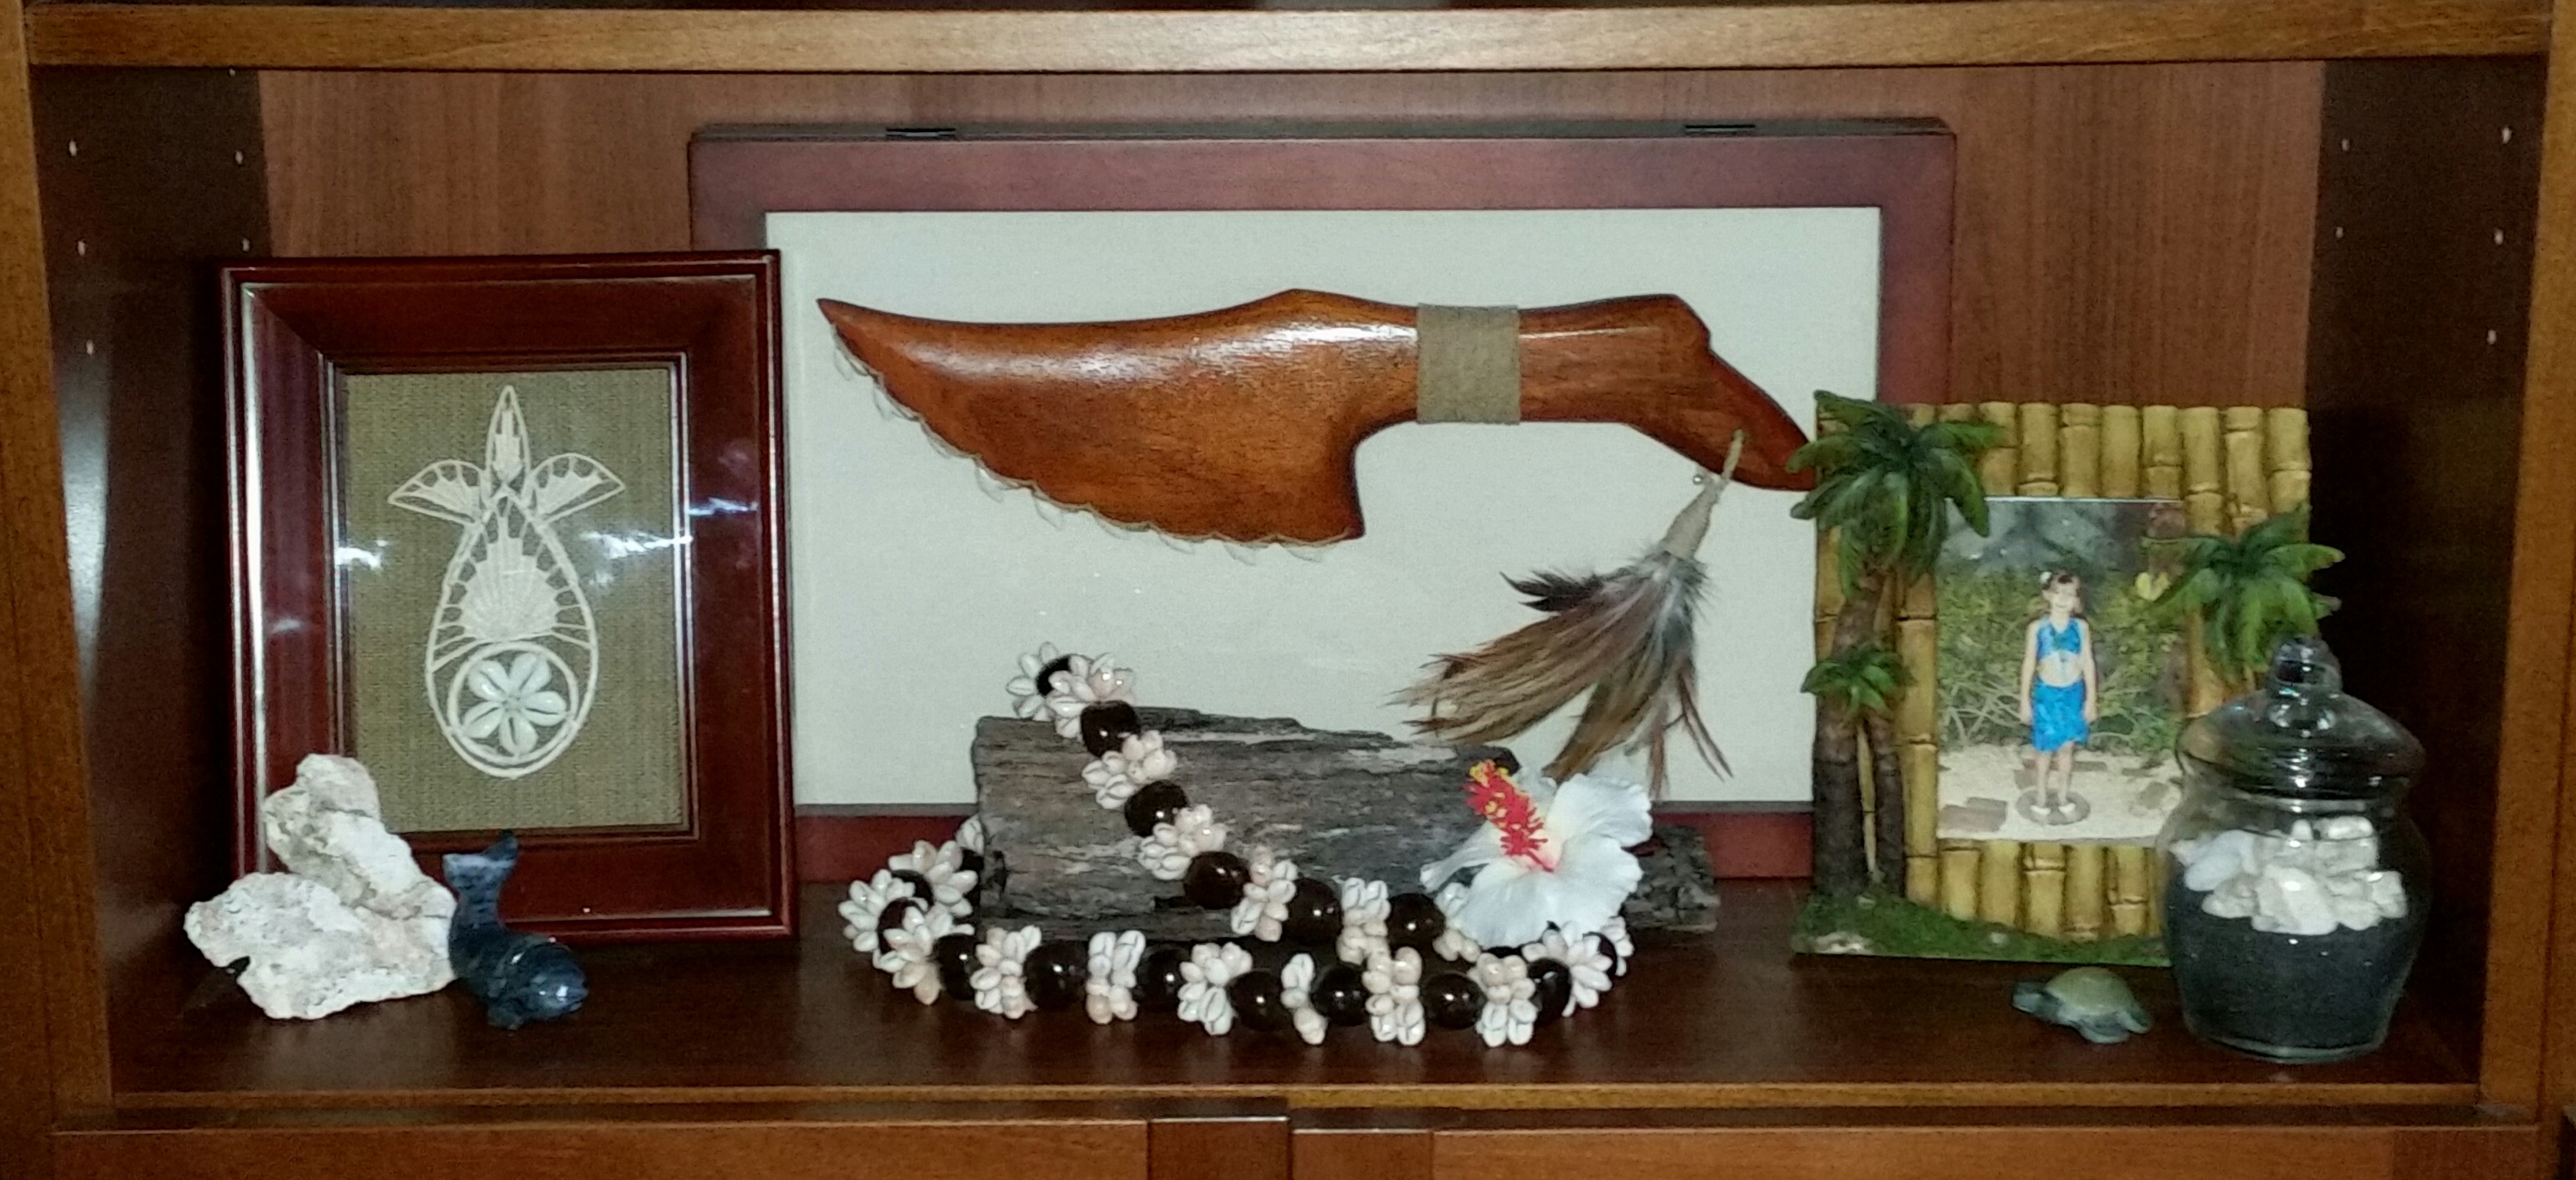
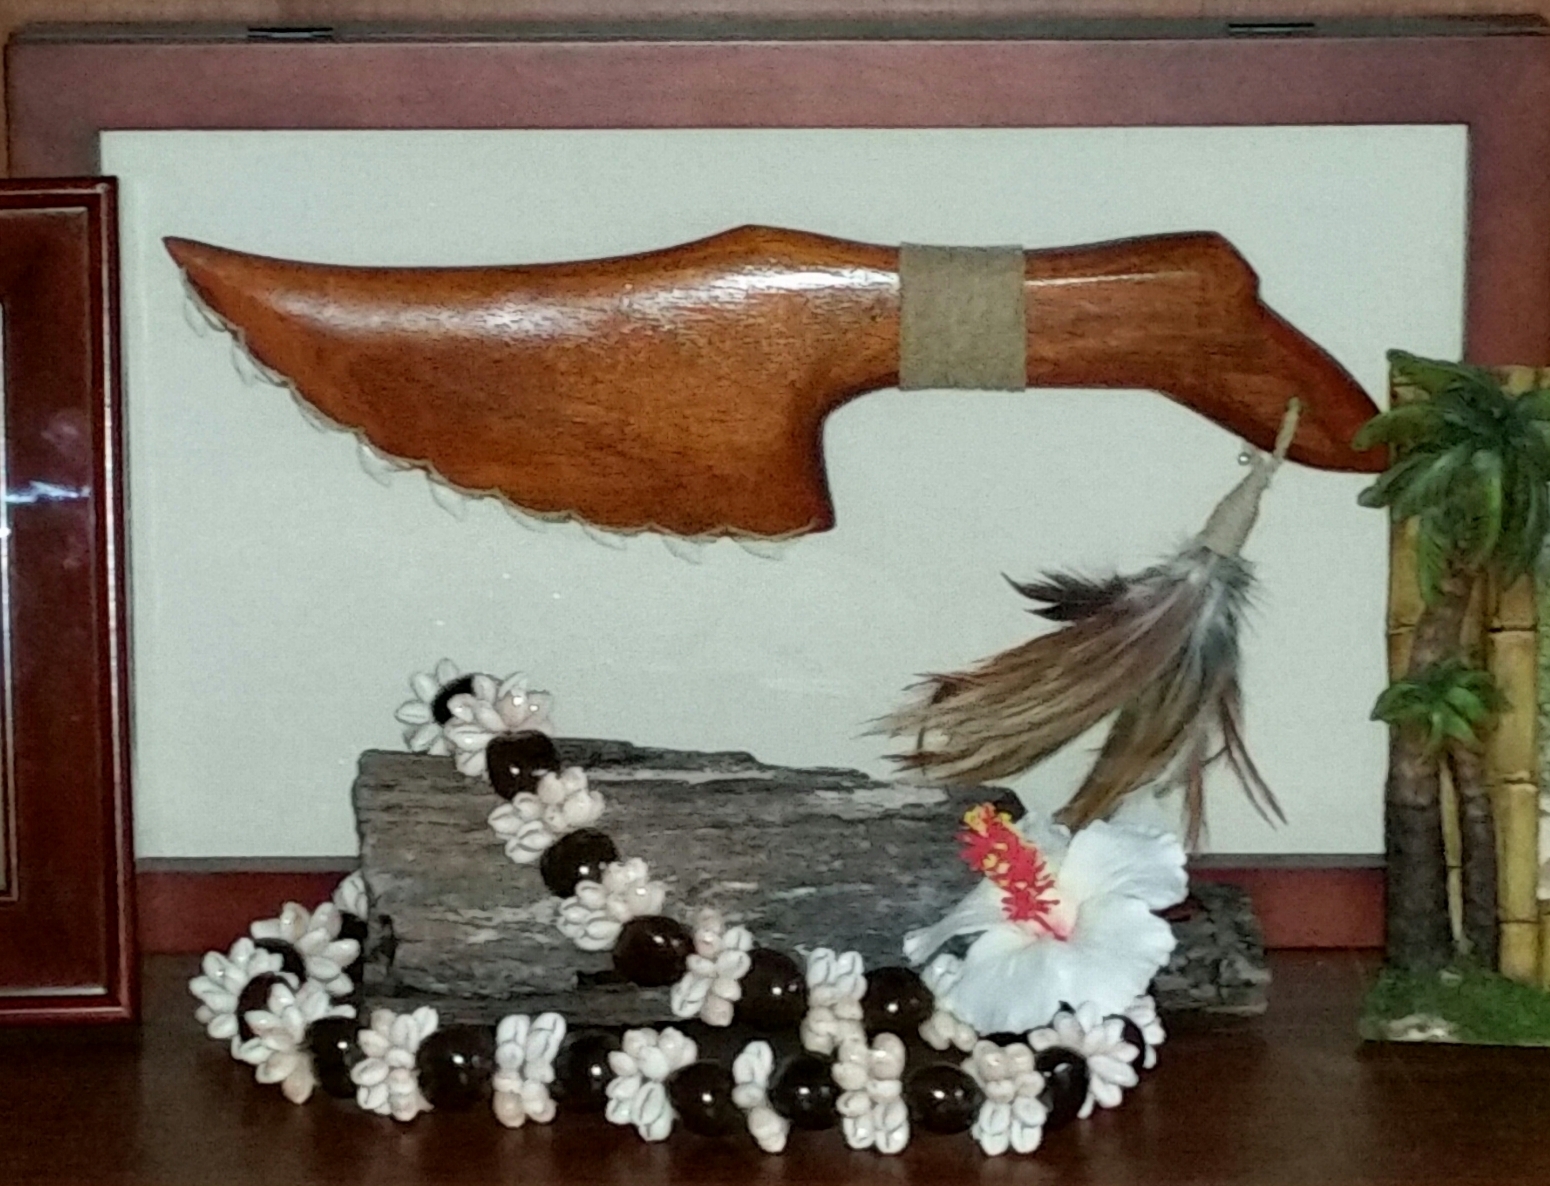
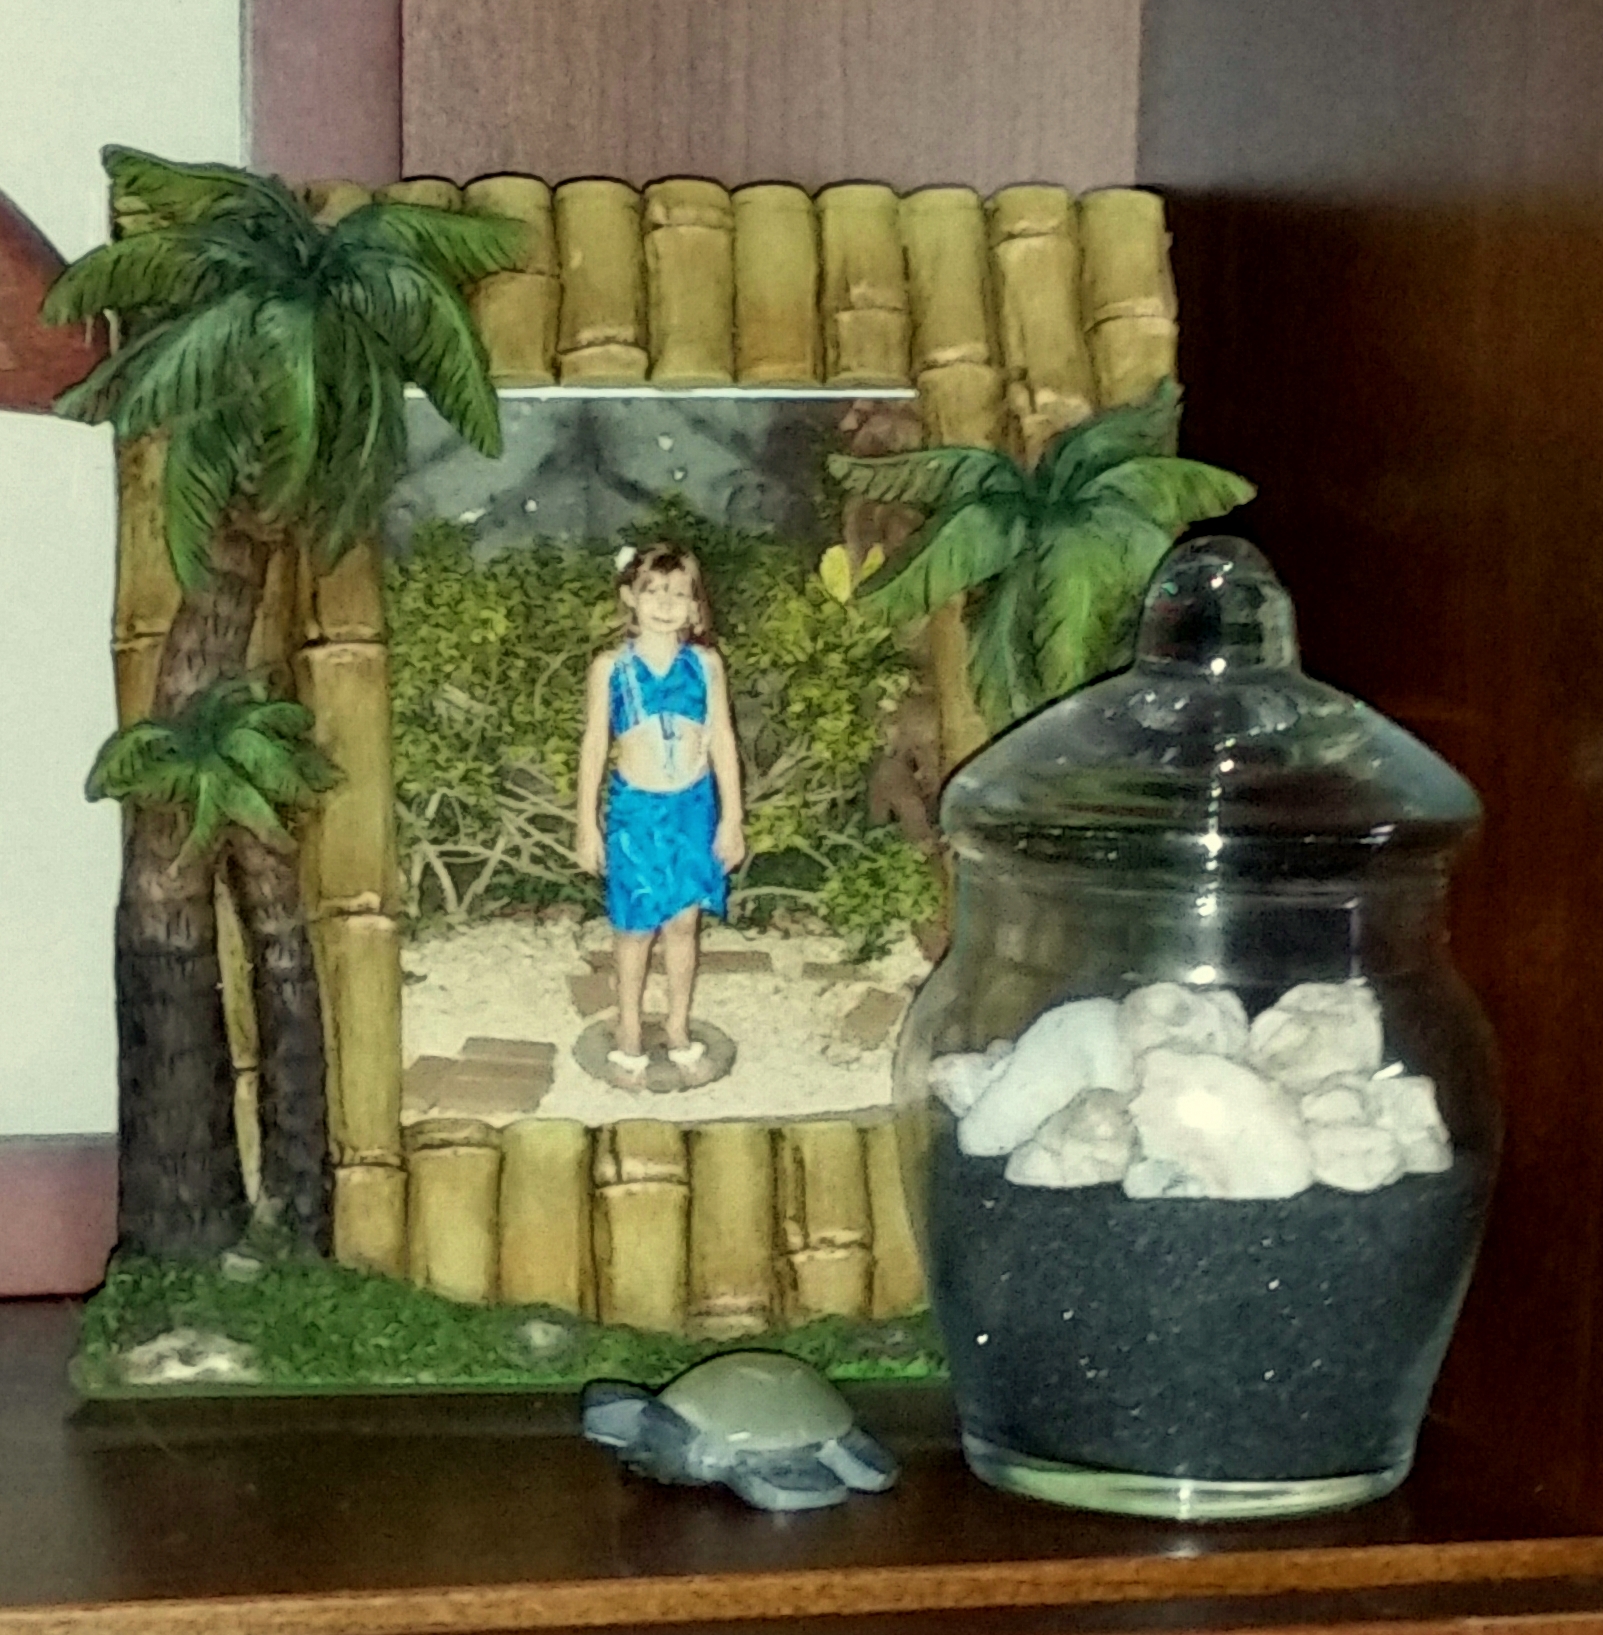
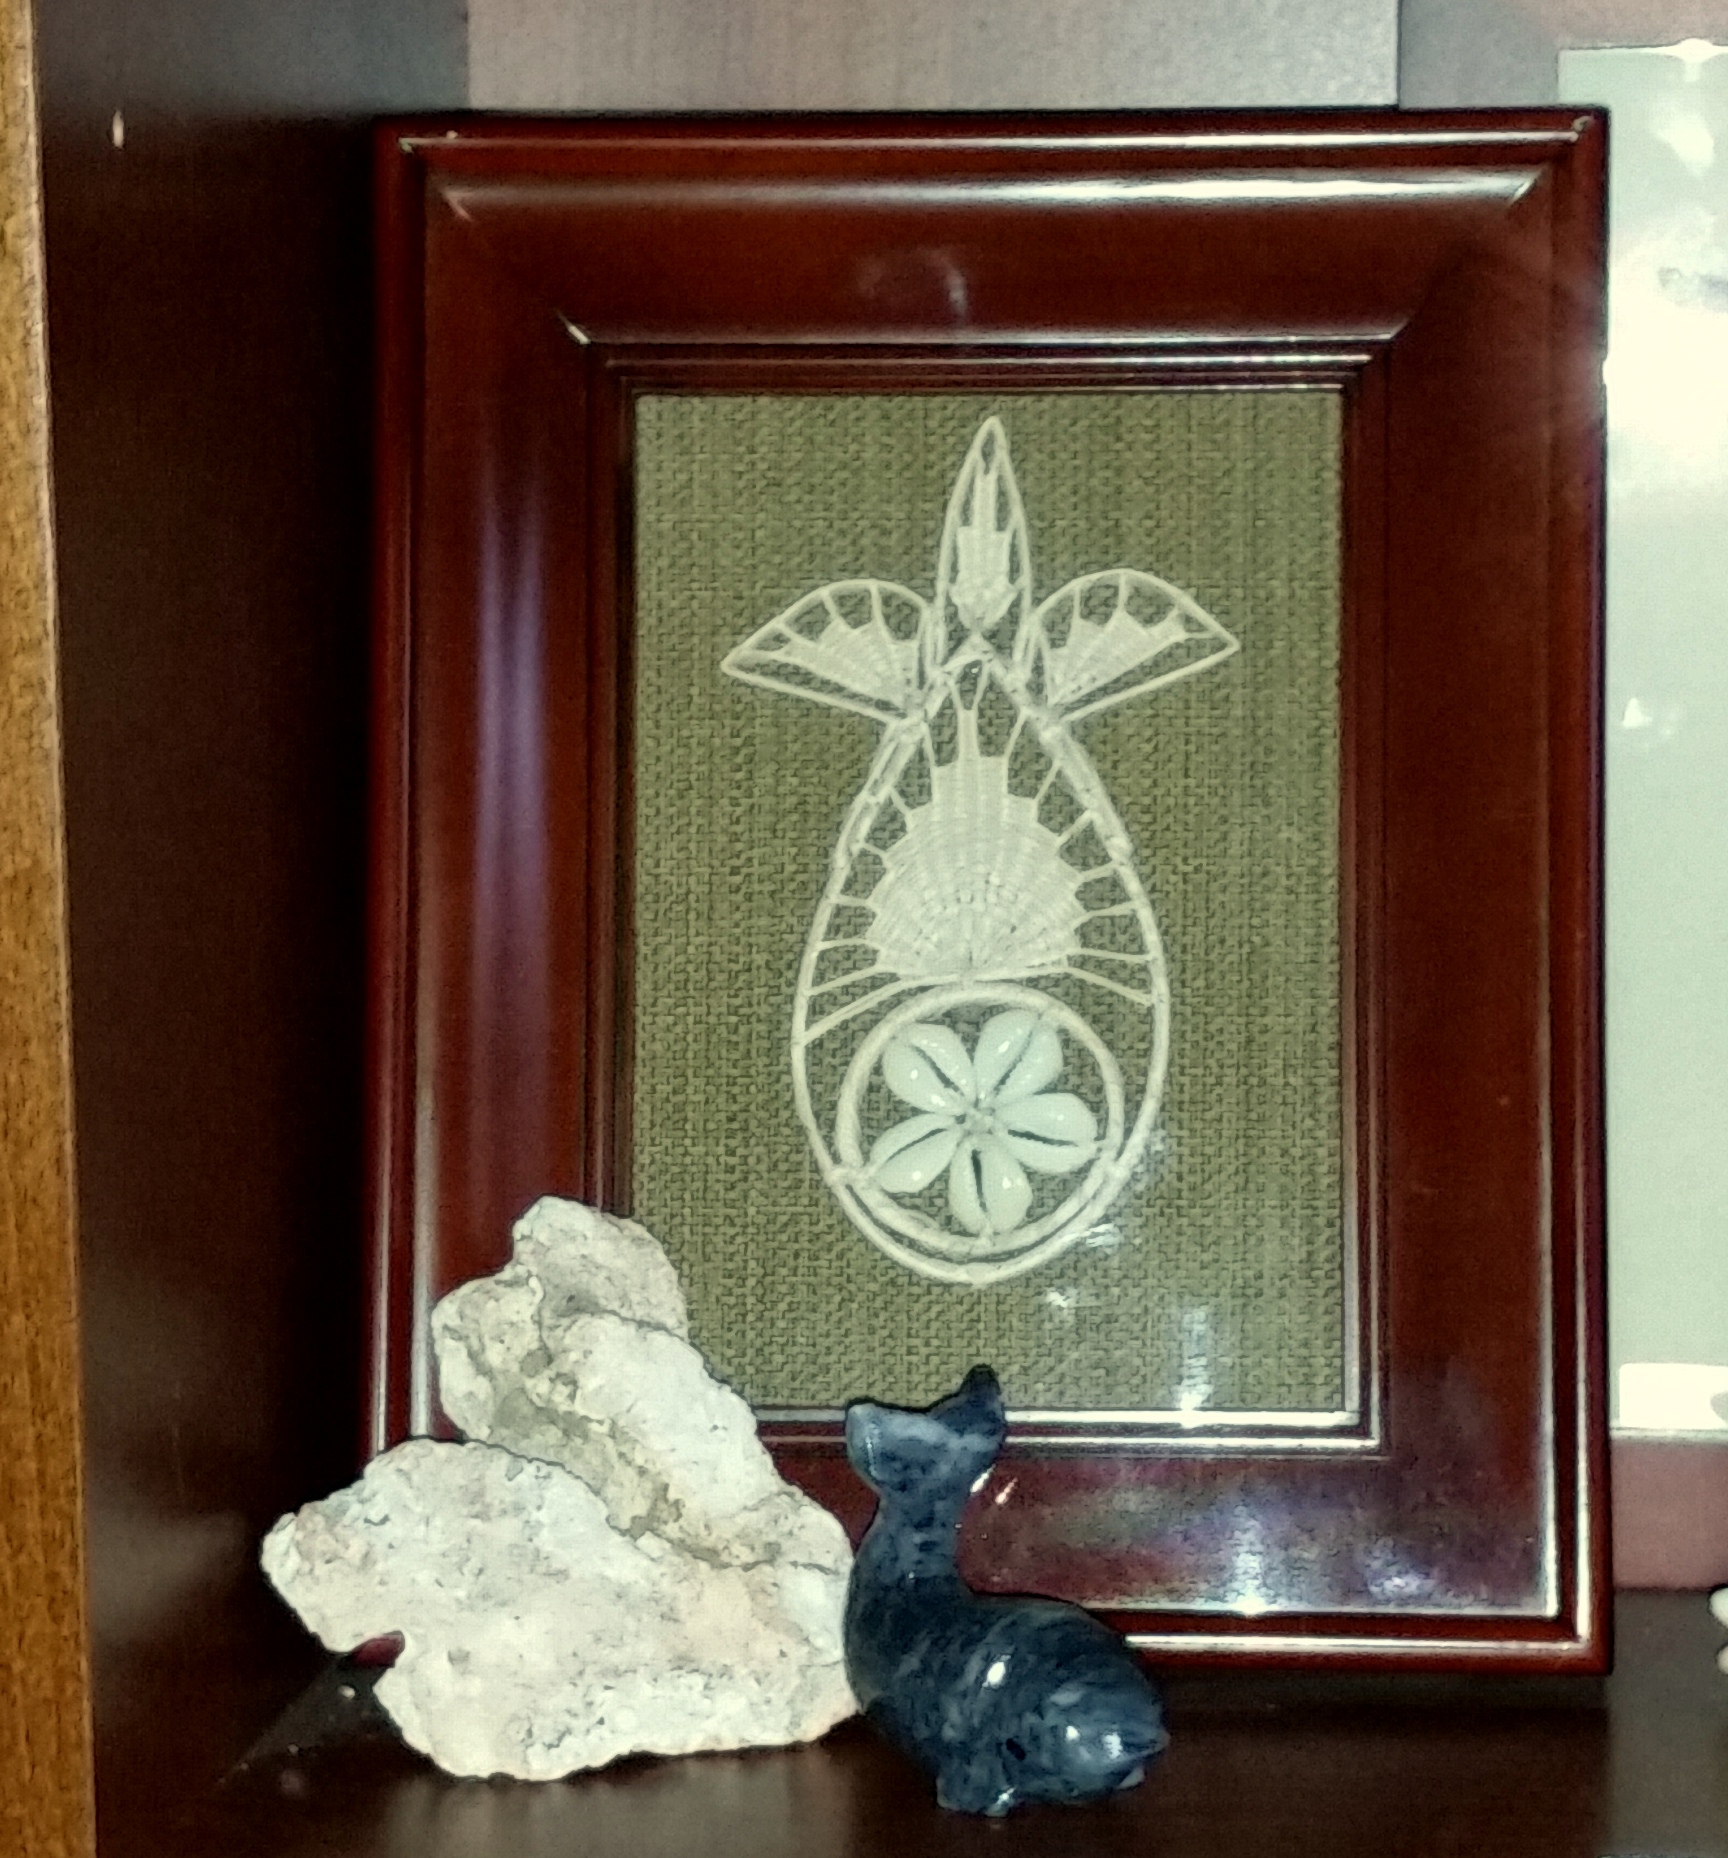
 All these items are a wonderful way to remember our fantastic trip to Hawaii and are an example of grouping travel souvenirs that tell the story of a vacation trip. (For some great travel suggestions on what to see and do in Hawaii, please click on the link)
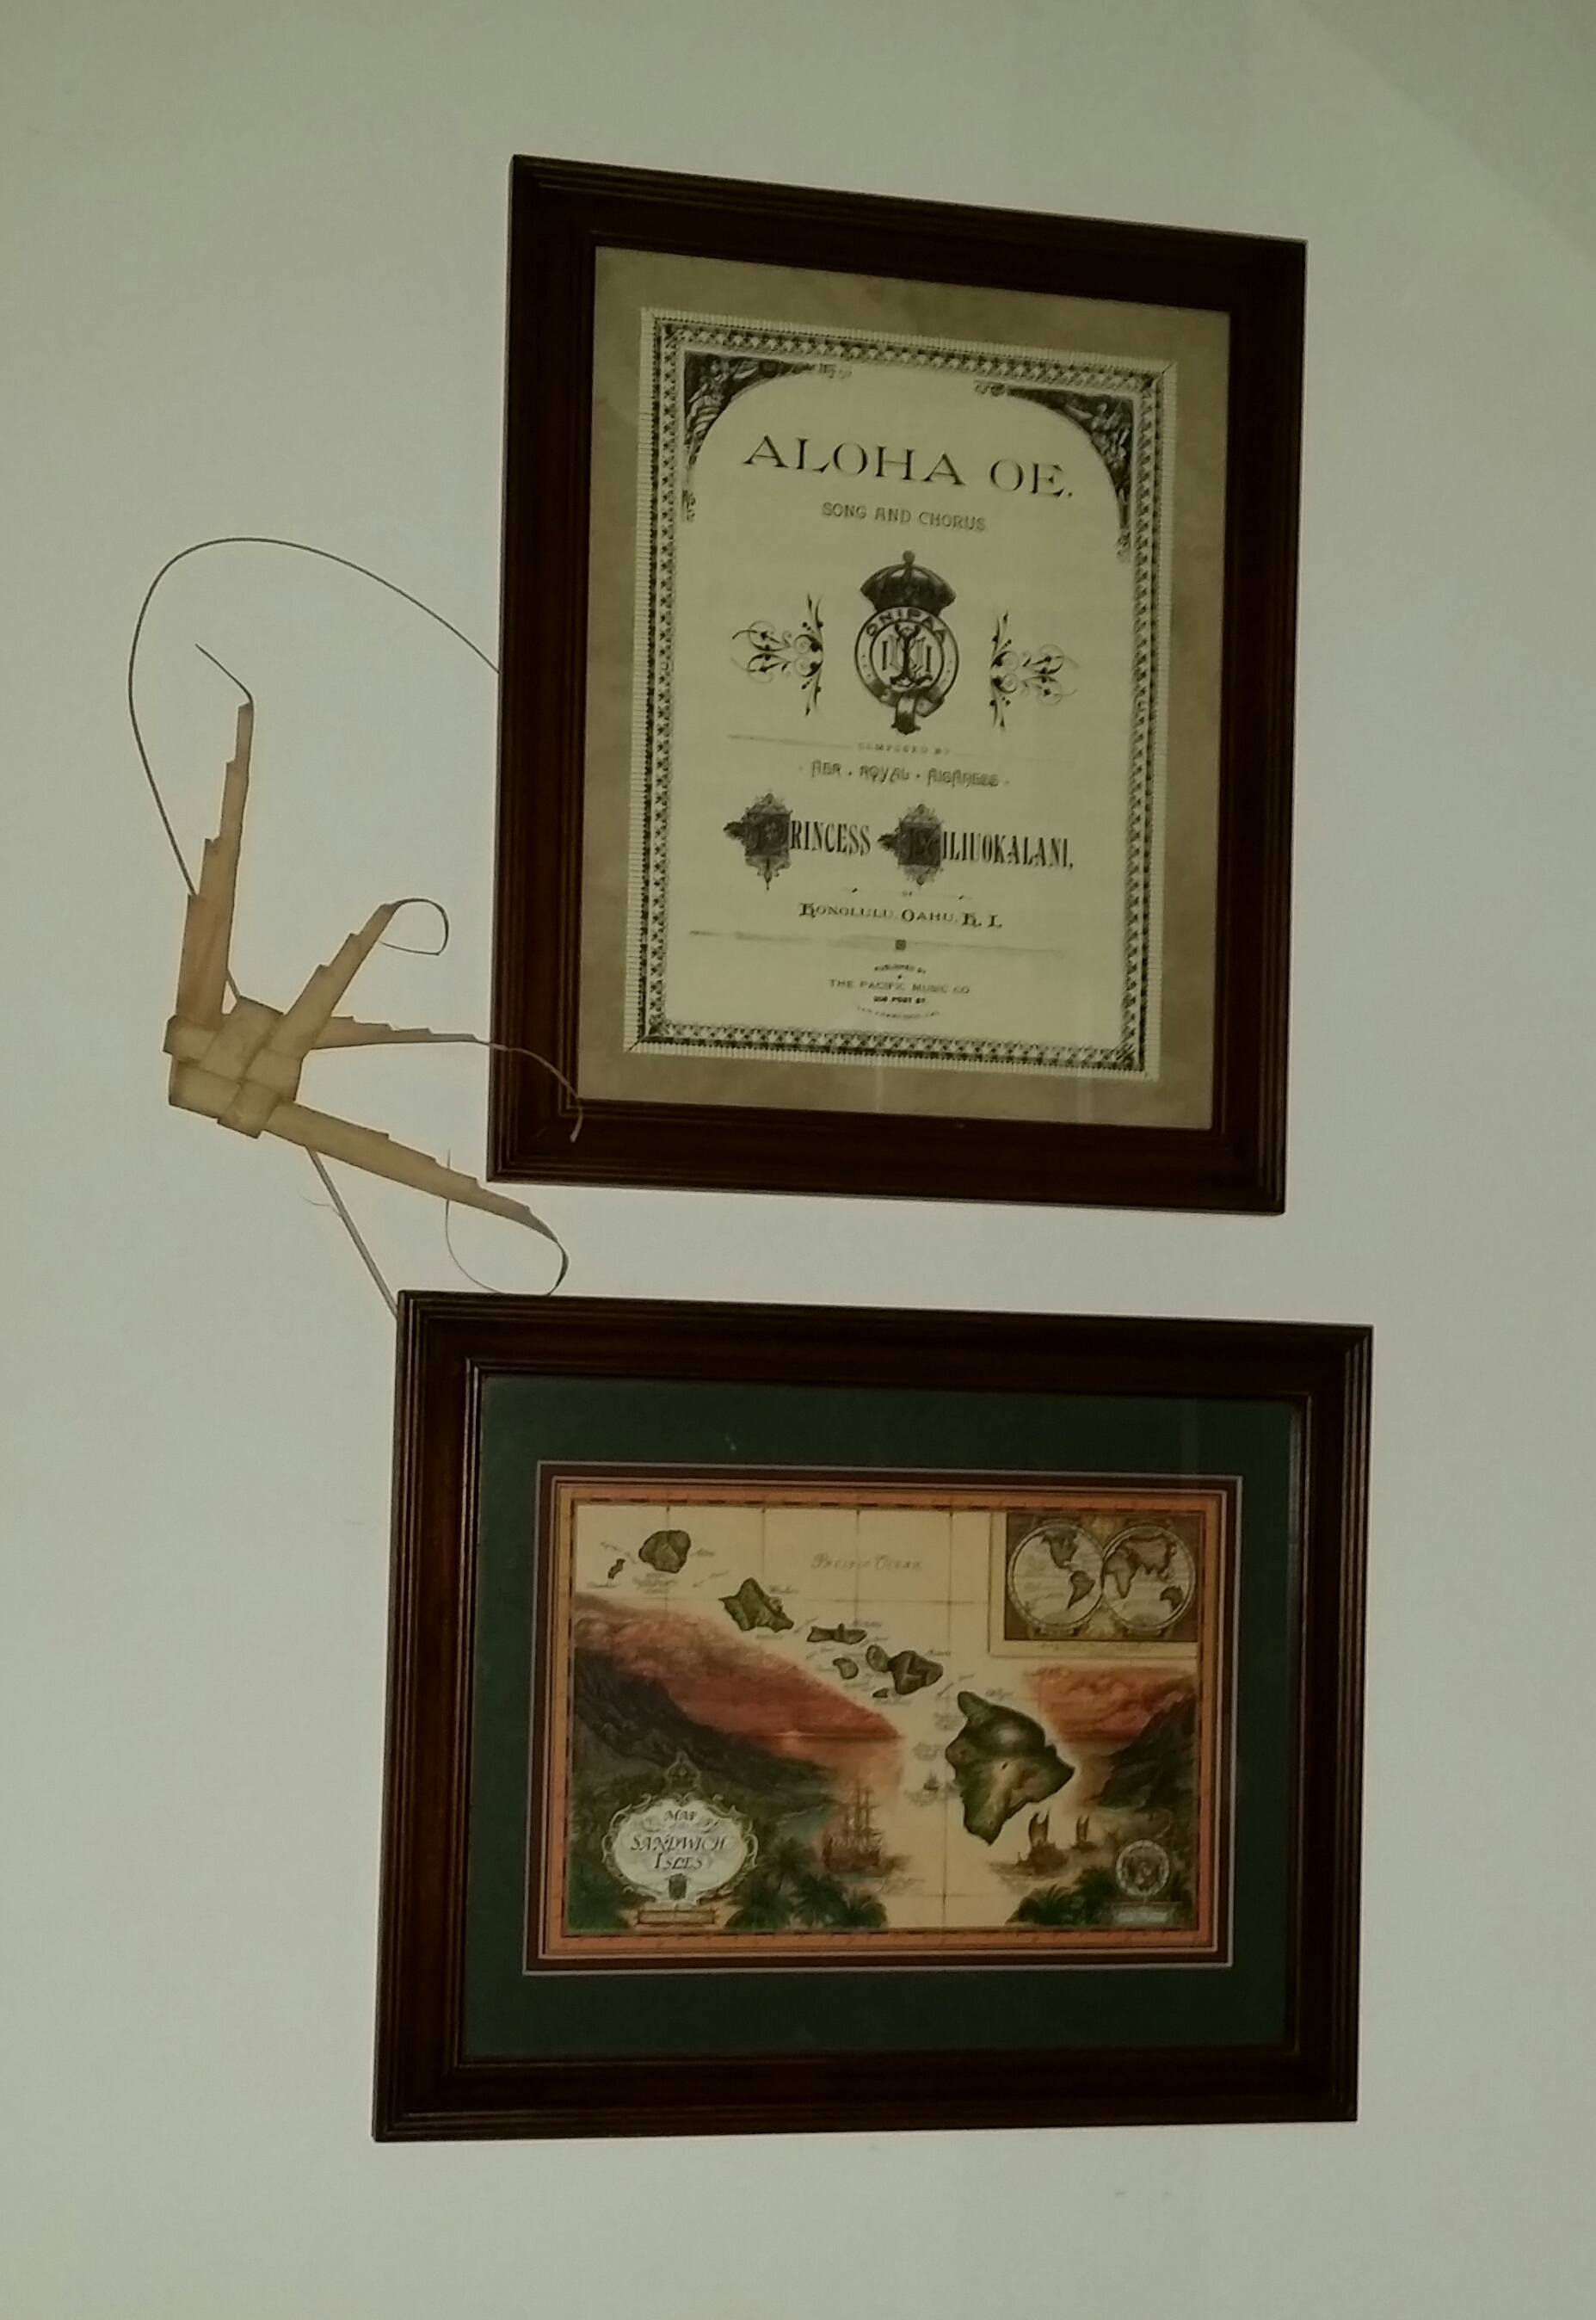