Craft – Framed Vacation Photos

I don’t know about you but after our family comes back from a vacation we have hundreds of photos and I in this craft post I will show you how to make special framed vacation photos. Specialized photo frames can be a little pricey or maybe you can’t find one that you like or fits your vacation destination and I will show you how to take a simple frame and custom design it to fit any vacation destination.  For this craft project I chose five different themes: Disney, Beach, Road trip, World traveler and Disney.  To make these five themed Framed Vacation Photo craft project I used a variety of embellishments; such as scrapbook stickers, wooden and metal items and even Christmas ornaments.

Disney Theme

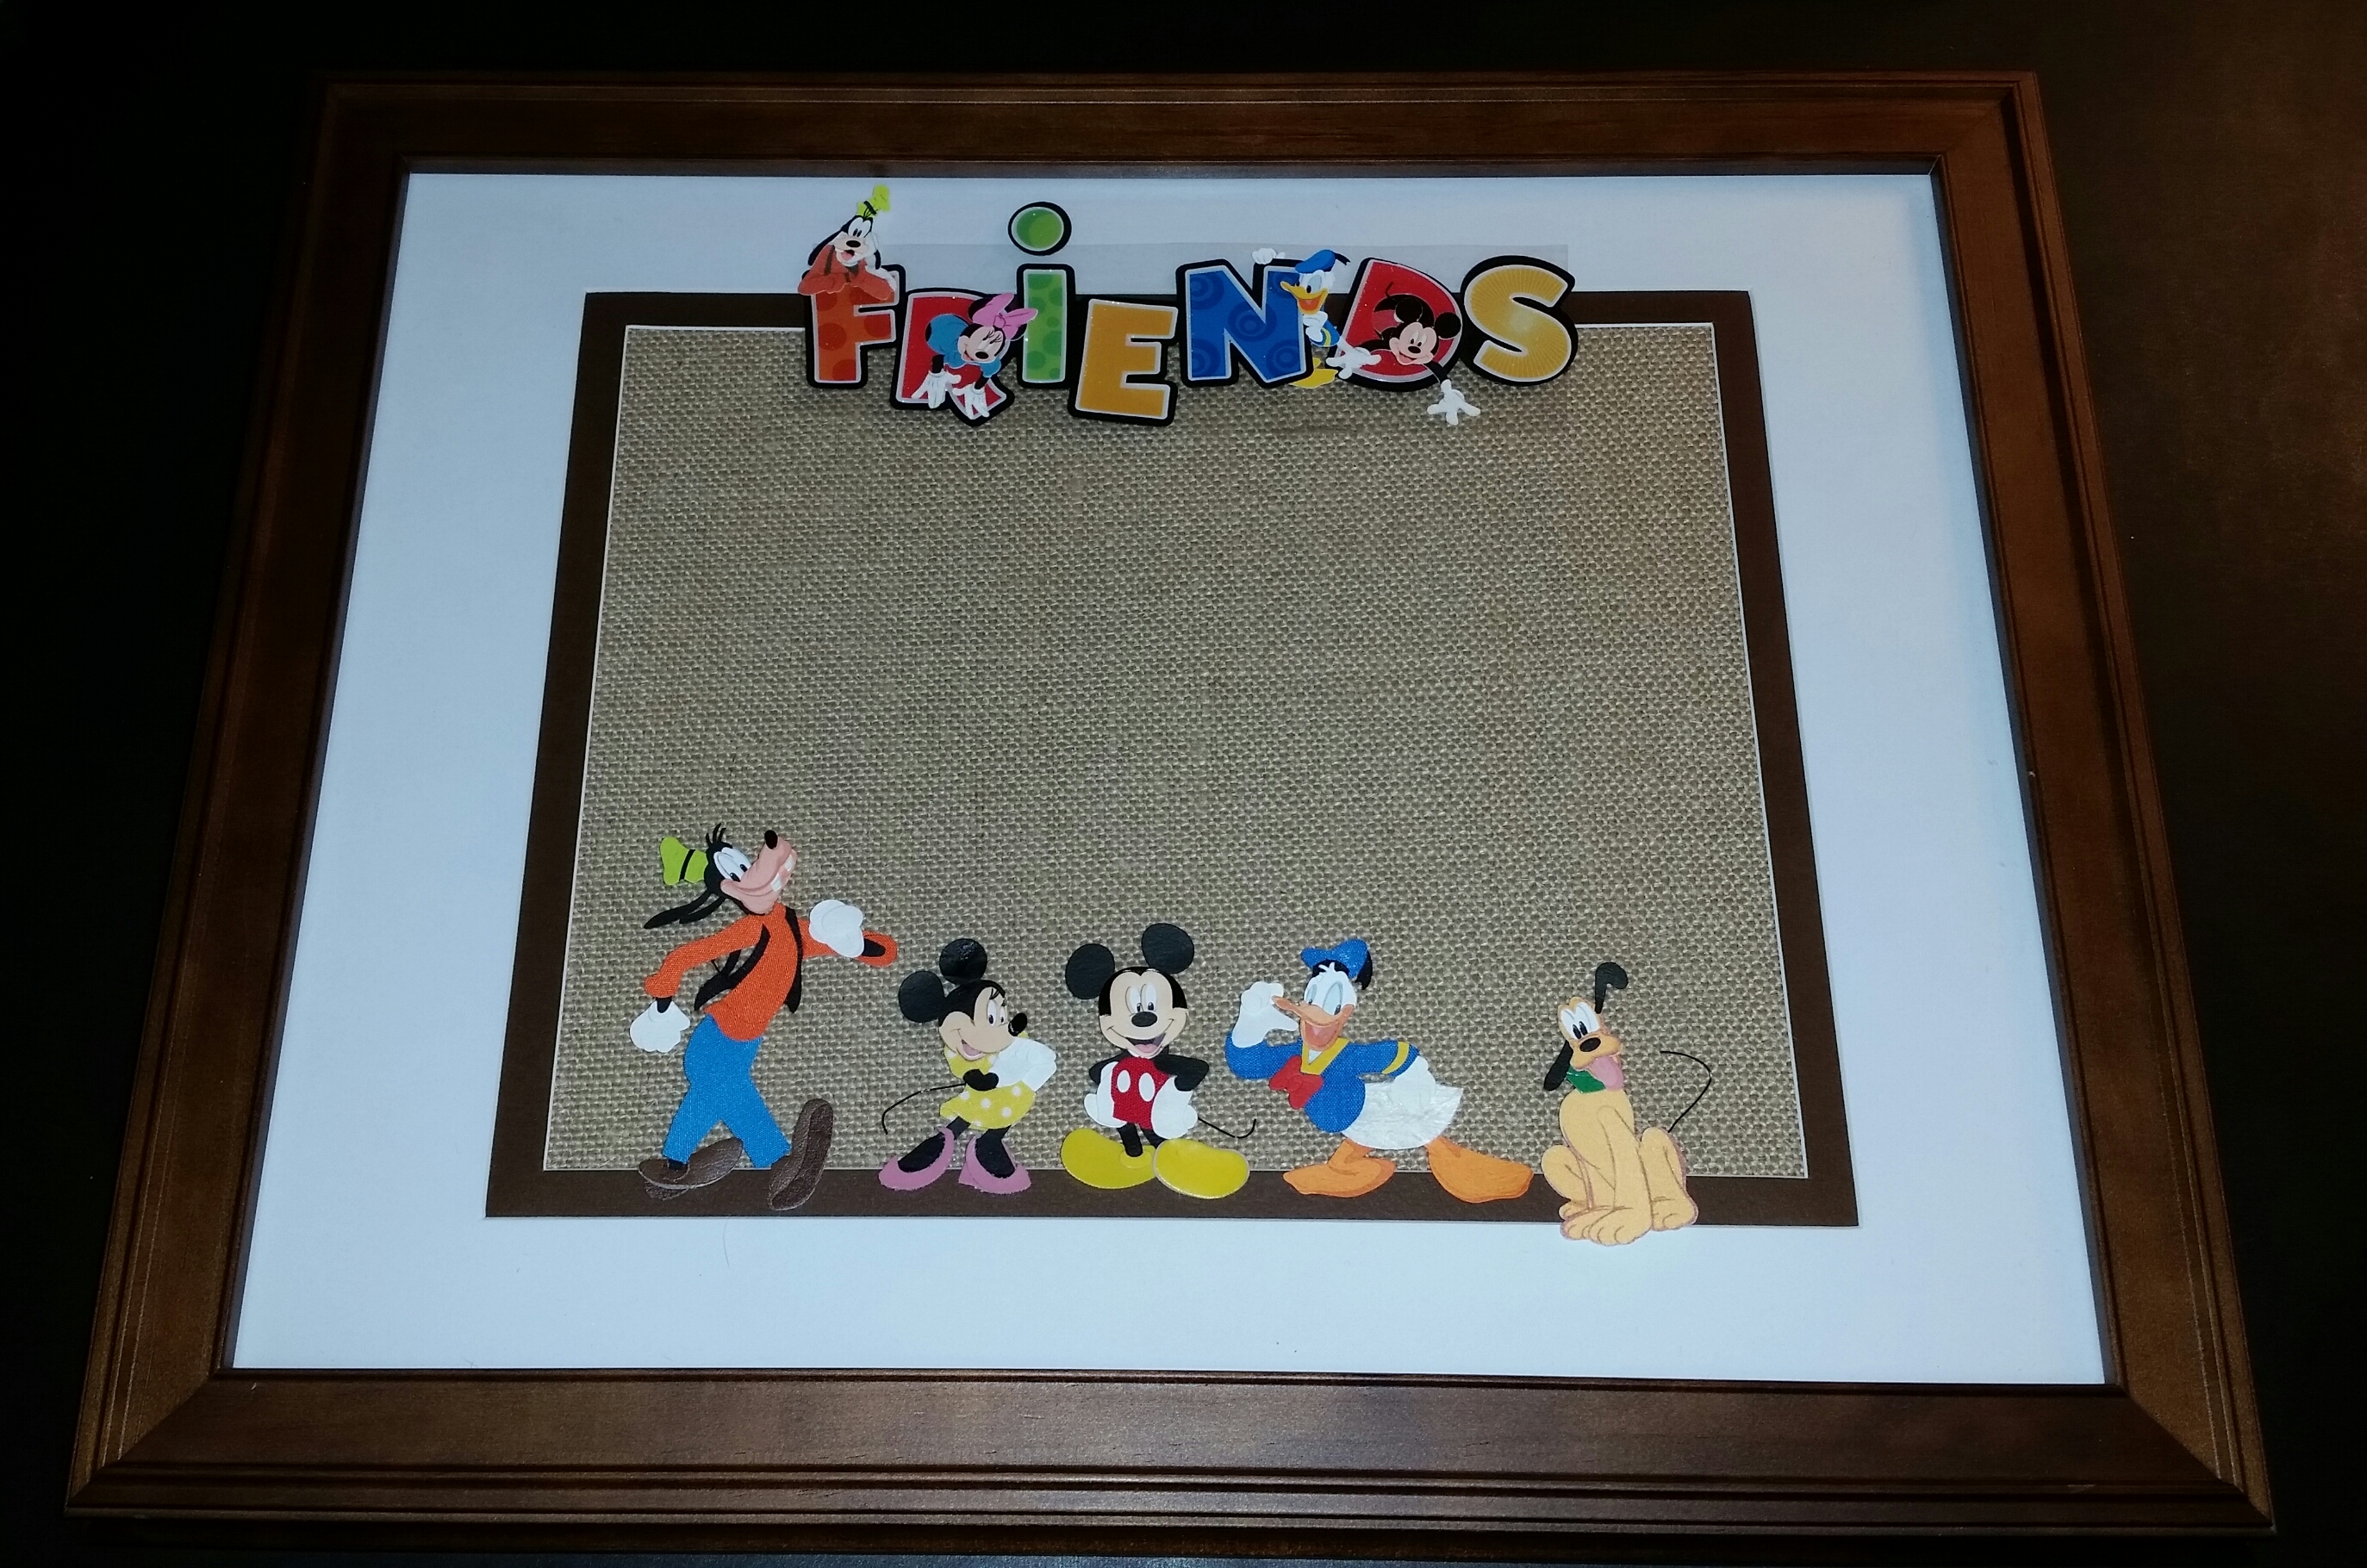
Disneyland in California and Walt Disney World in Florida are two favorite family vacation destinations. Shown below is an idea for Framed Disney Vacation Photos using scrapbook embellishments.  Disney offers lots of scrapbook embellishments and I’m sure that you can find the perfect ones at your local craft store.  They have a great selection of stickers for every Disney adventure for theme parks, various characters, ride attractions, Disney dining at the park, a Disney movie or play and a Disney cruise. 

For this craft project, I used a “Friends” stickers and several character stickers.  I arranged it for a portrait (vertical) photo but you can very easily change it for a landscape (horizontal) photo, too!  

20151014_130725-1

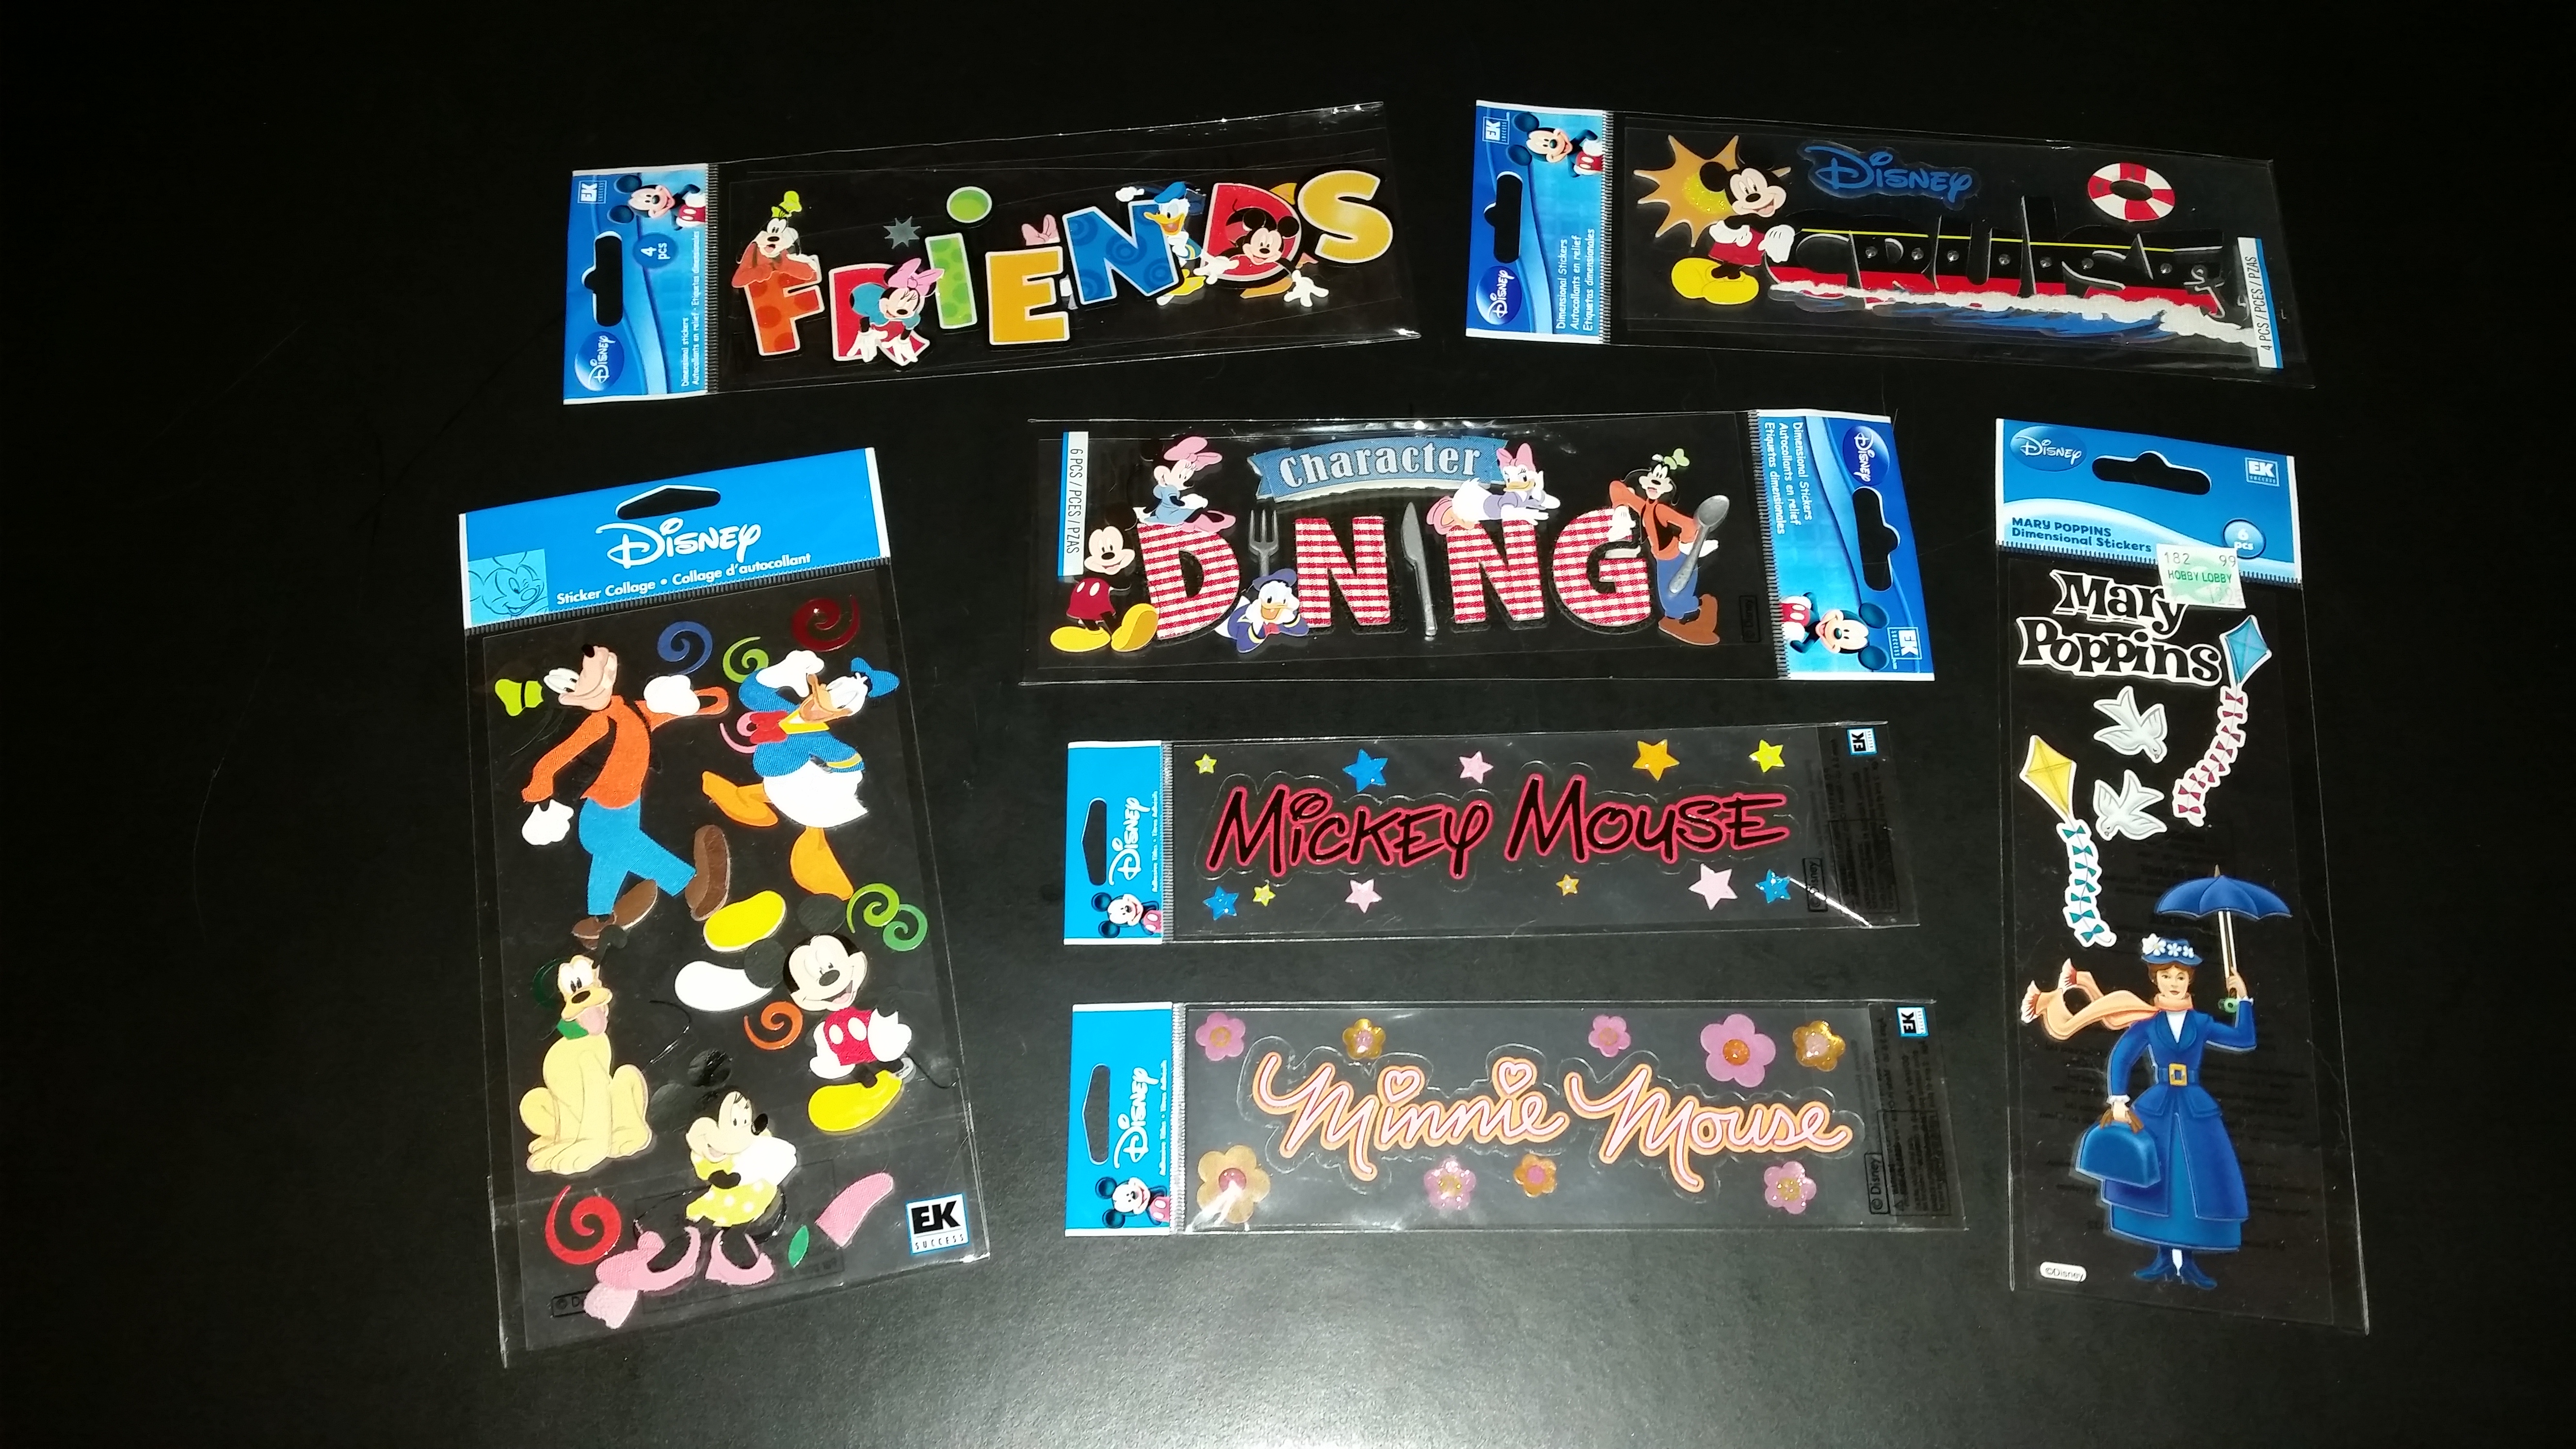
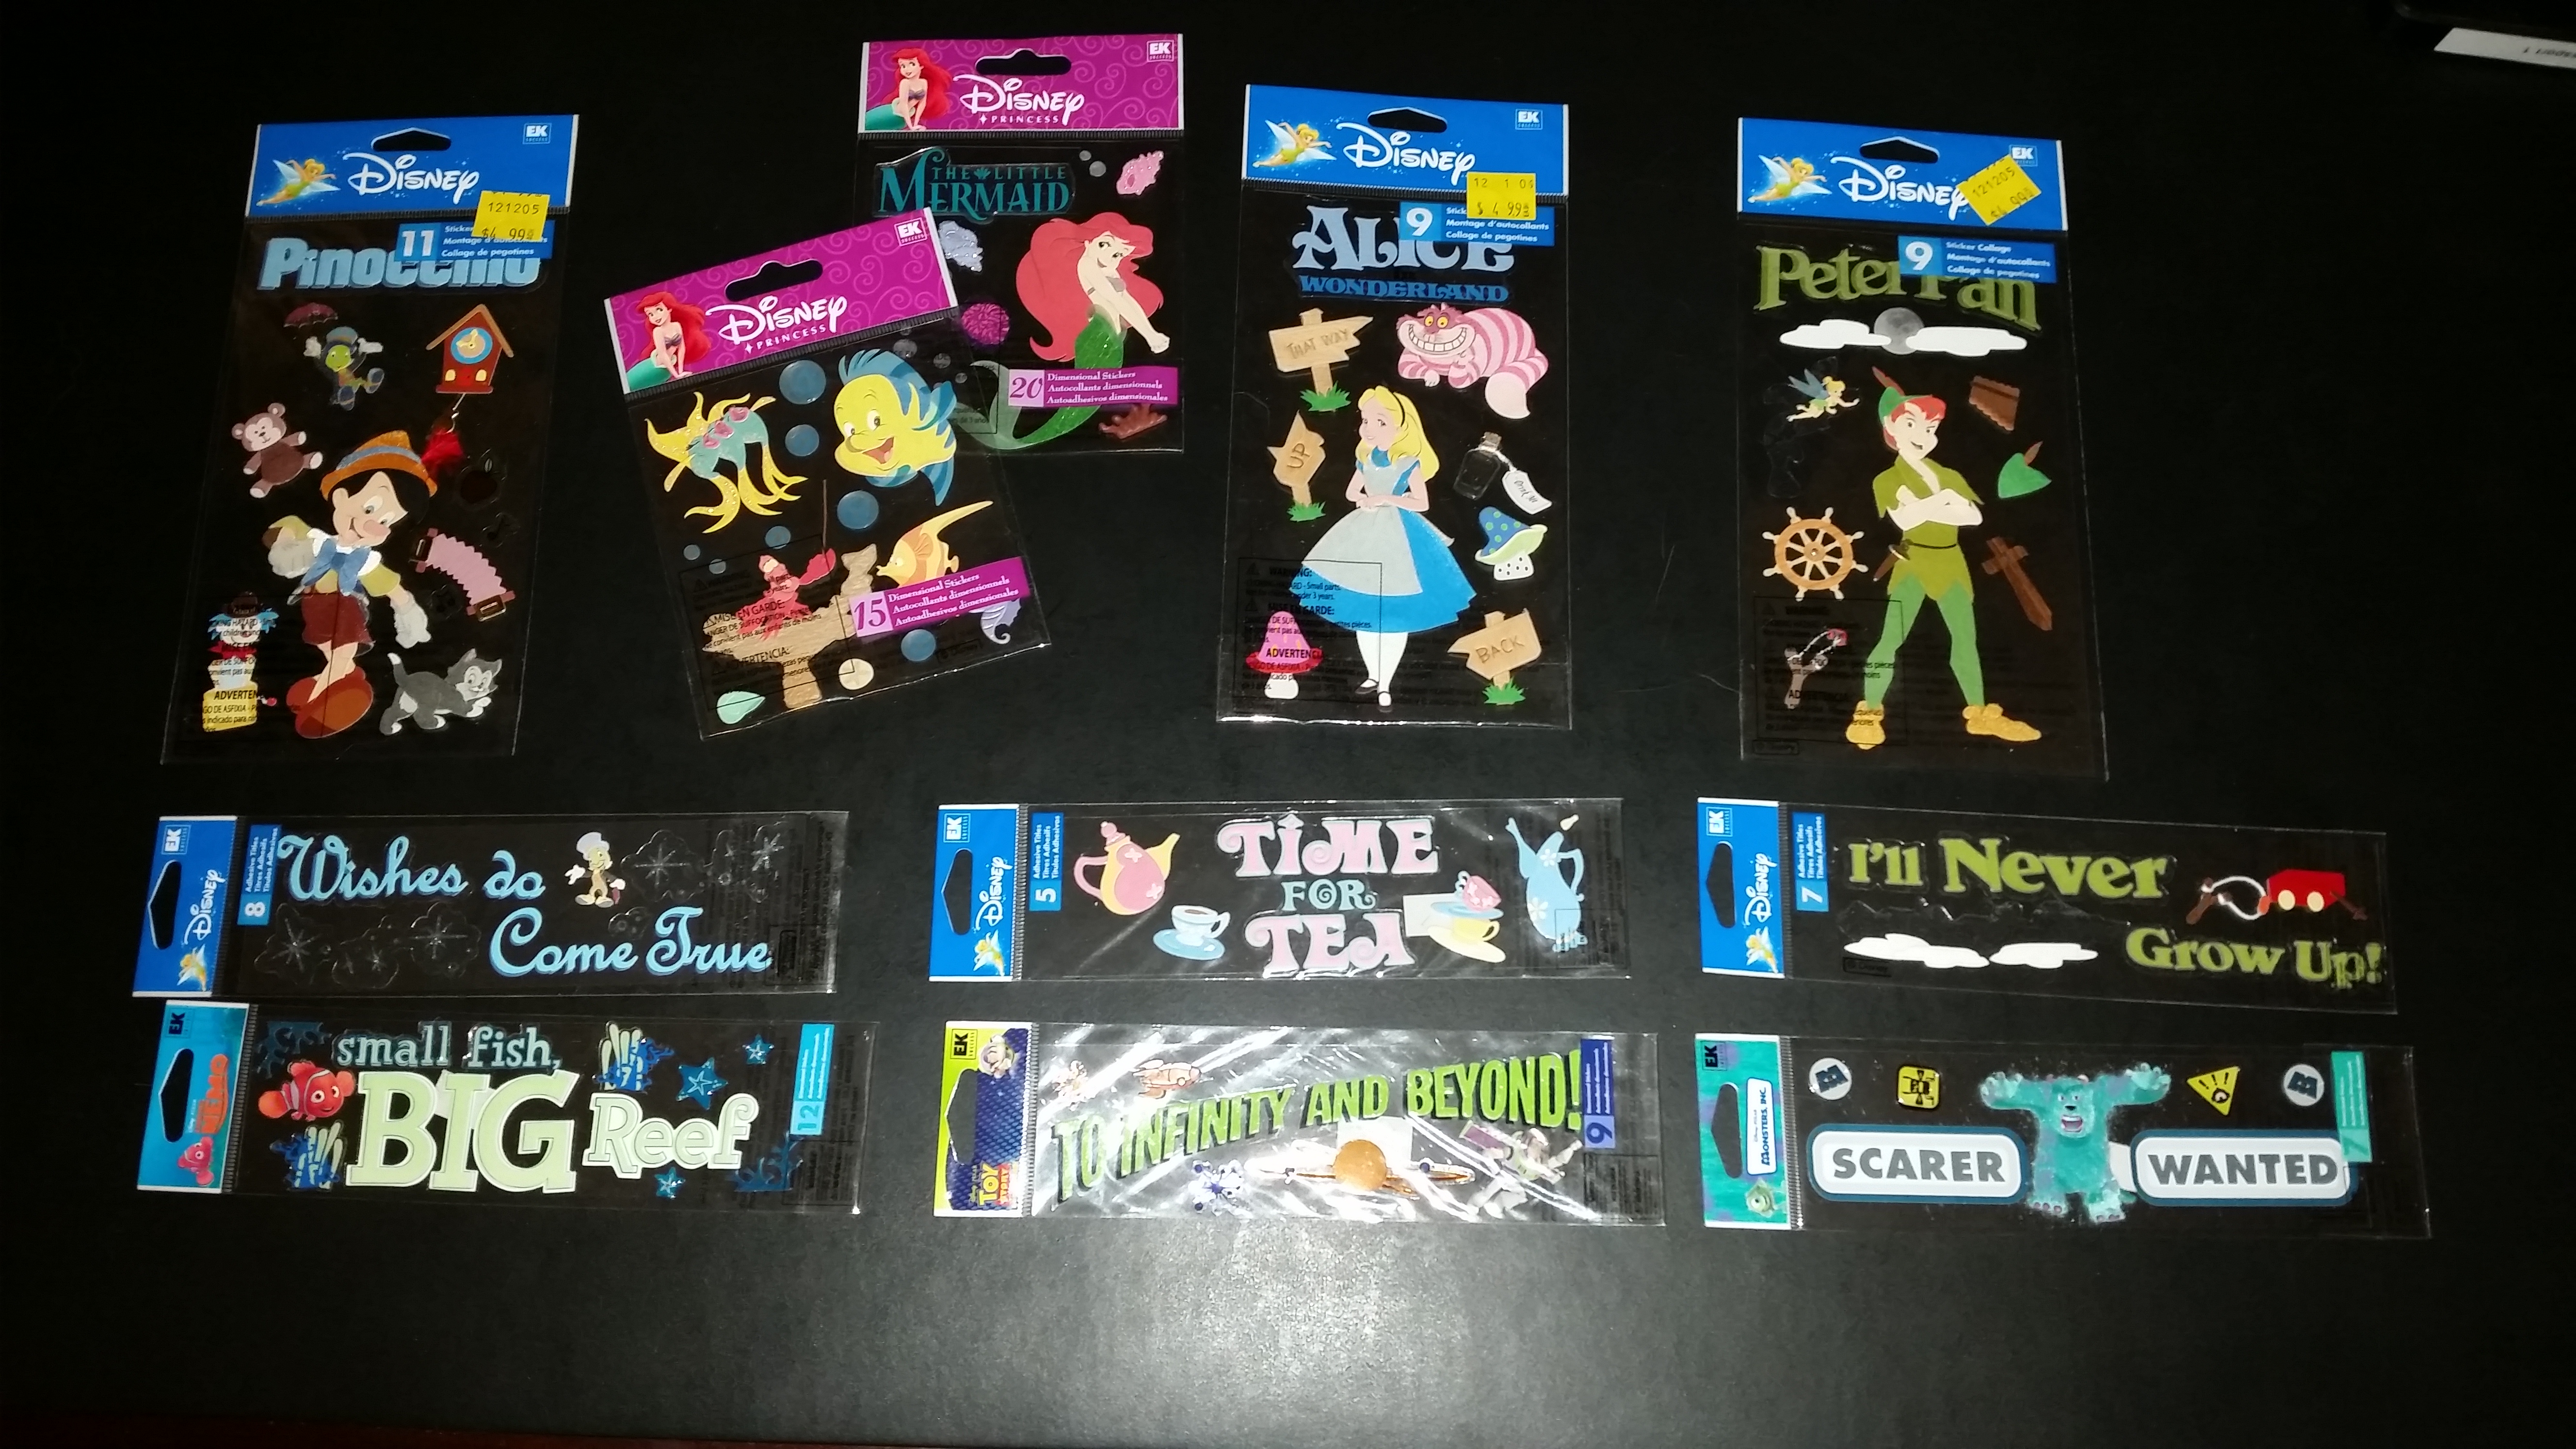
Shown below is a selection of some of the Disney stickers available to create your own custom designed Framed Vacation Photos

Disney stickers 1 Disney stickers 3

Beach Theme

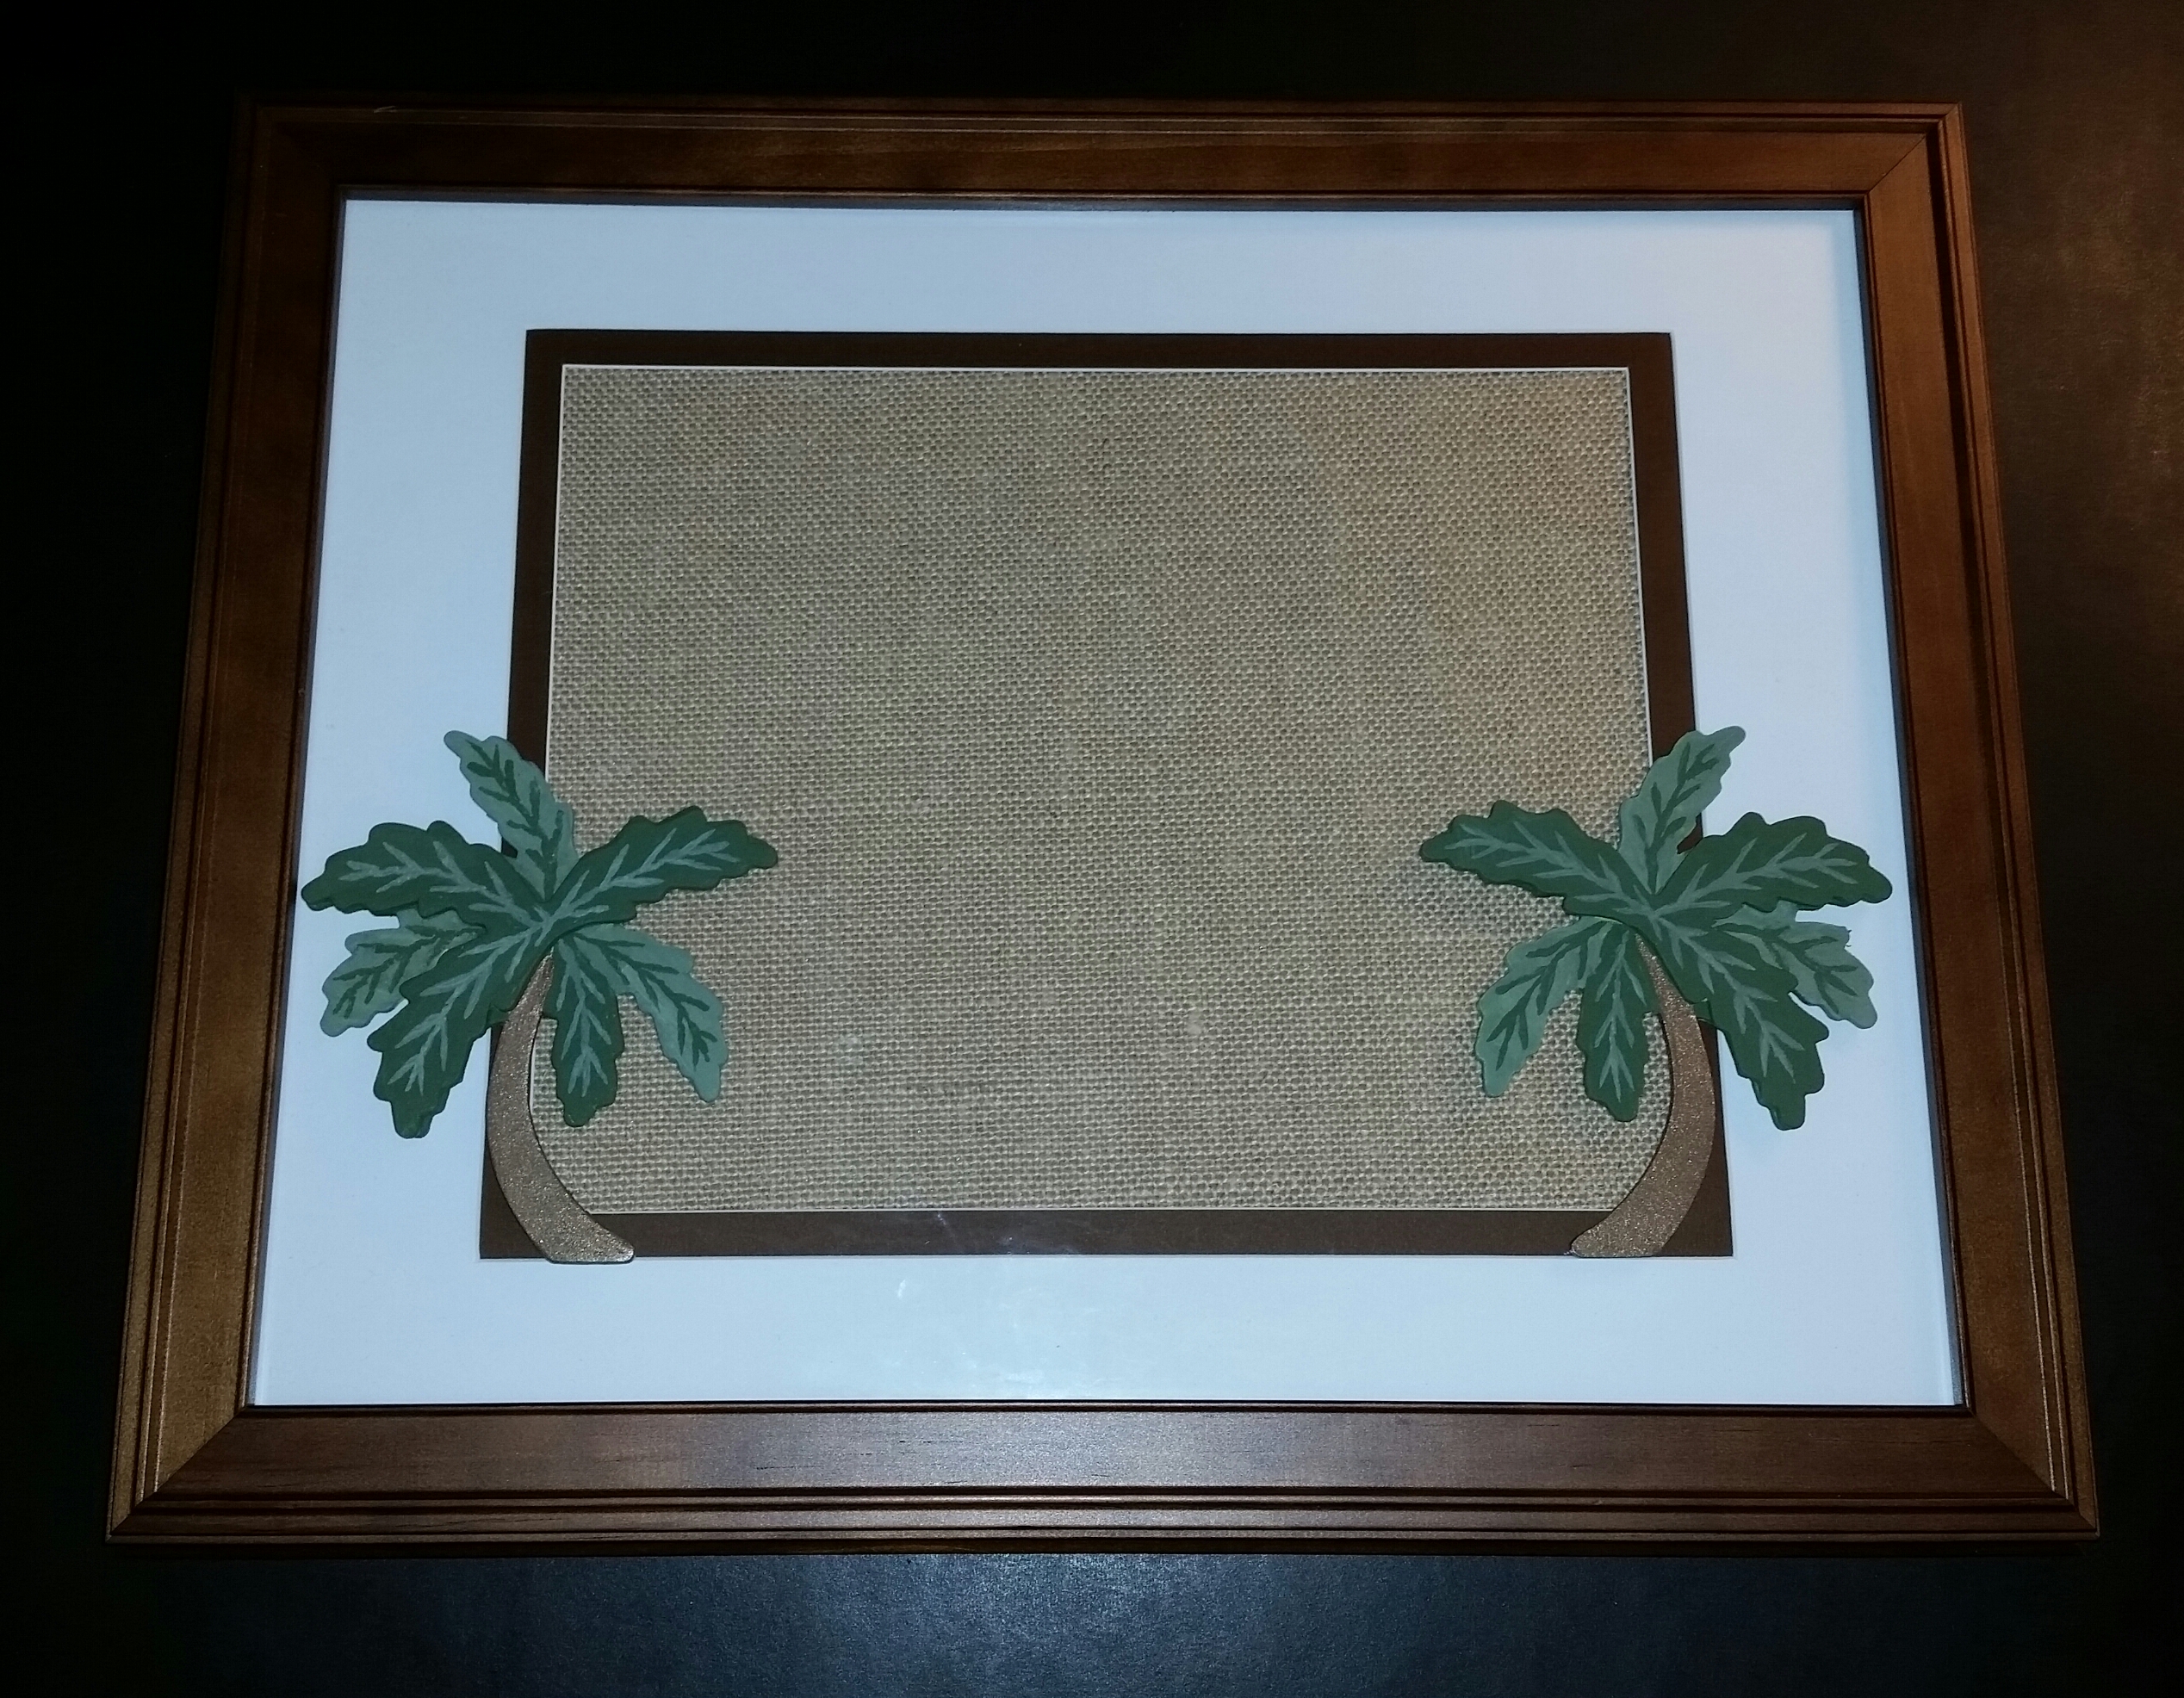
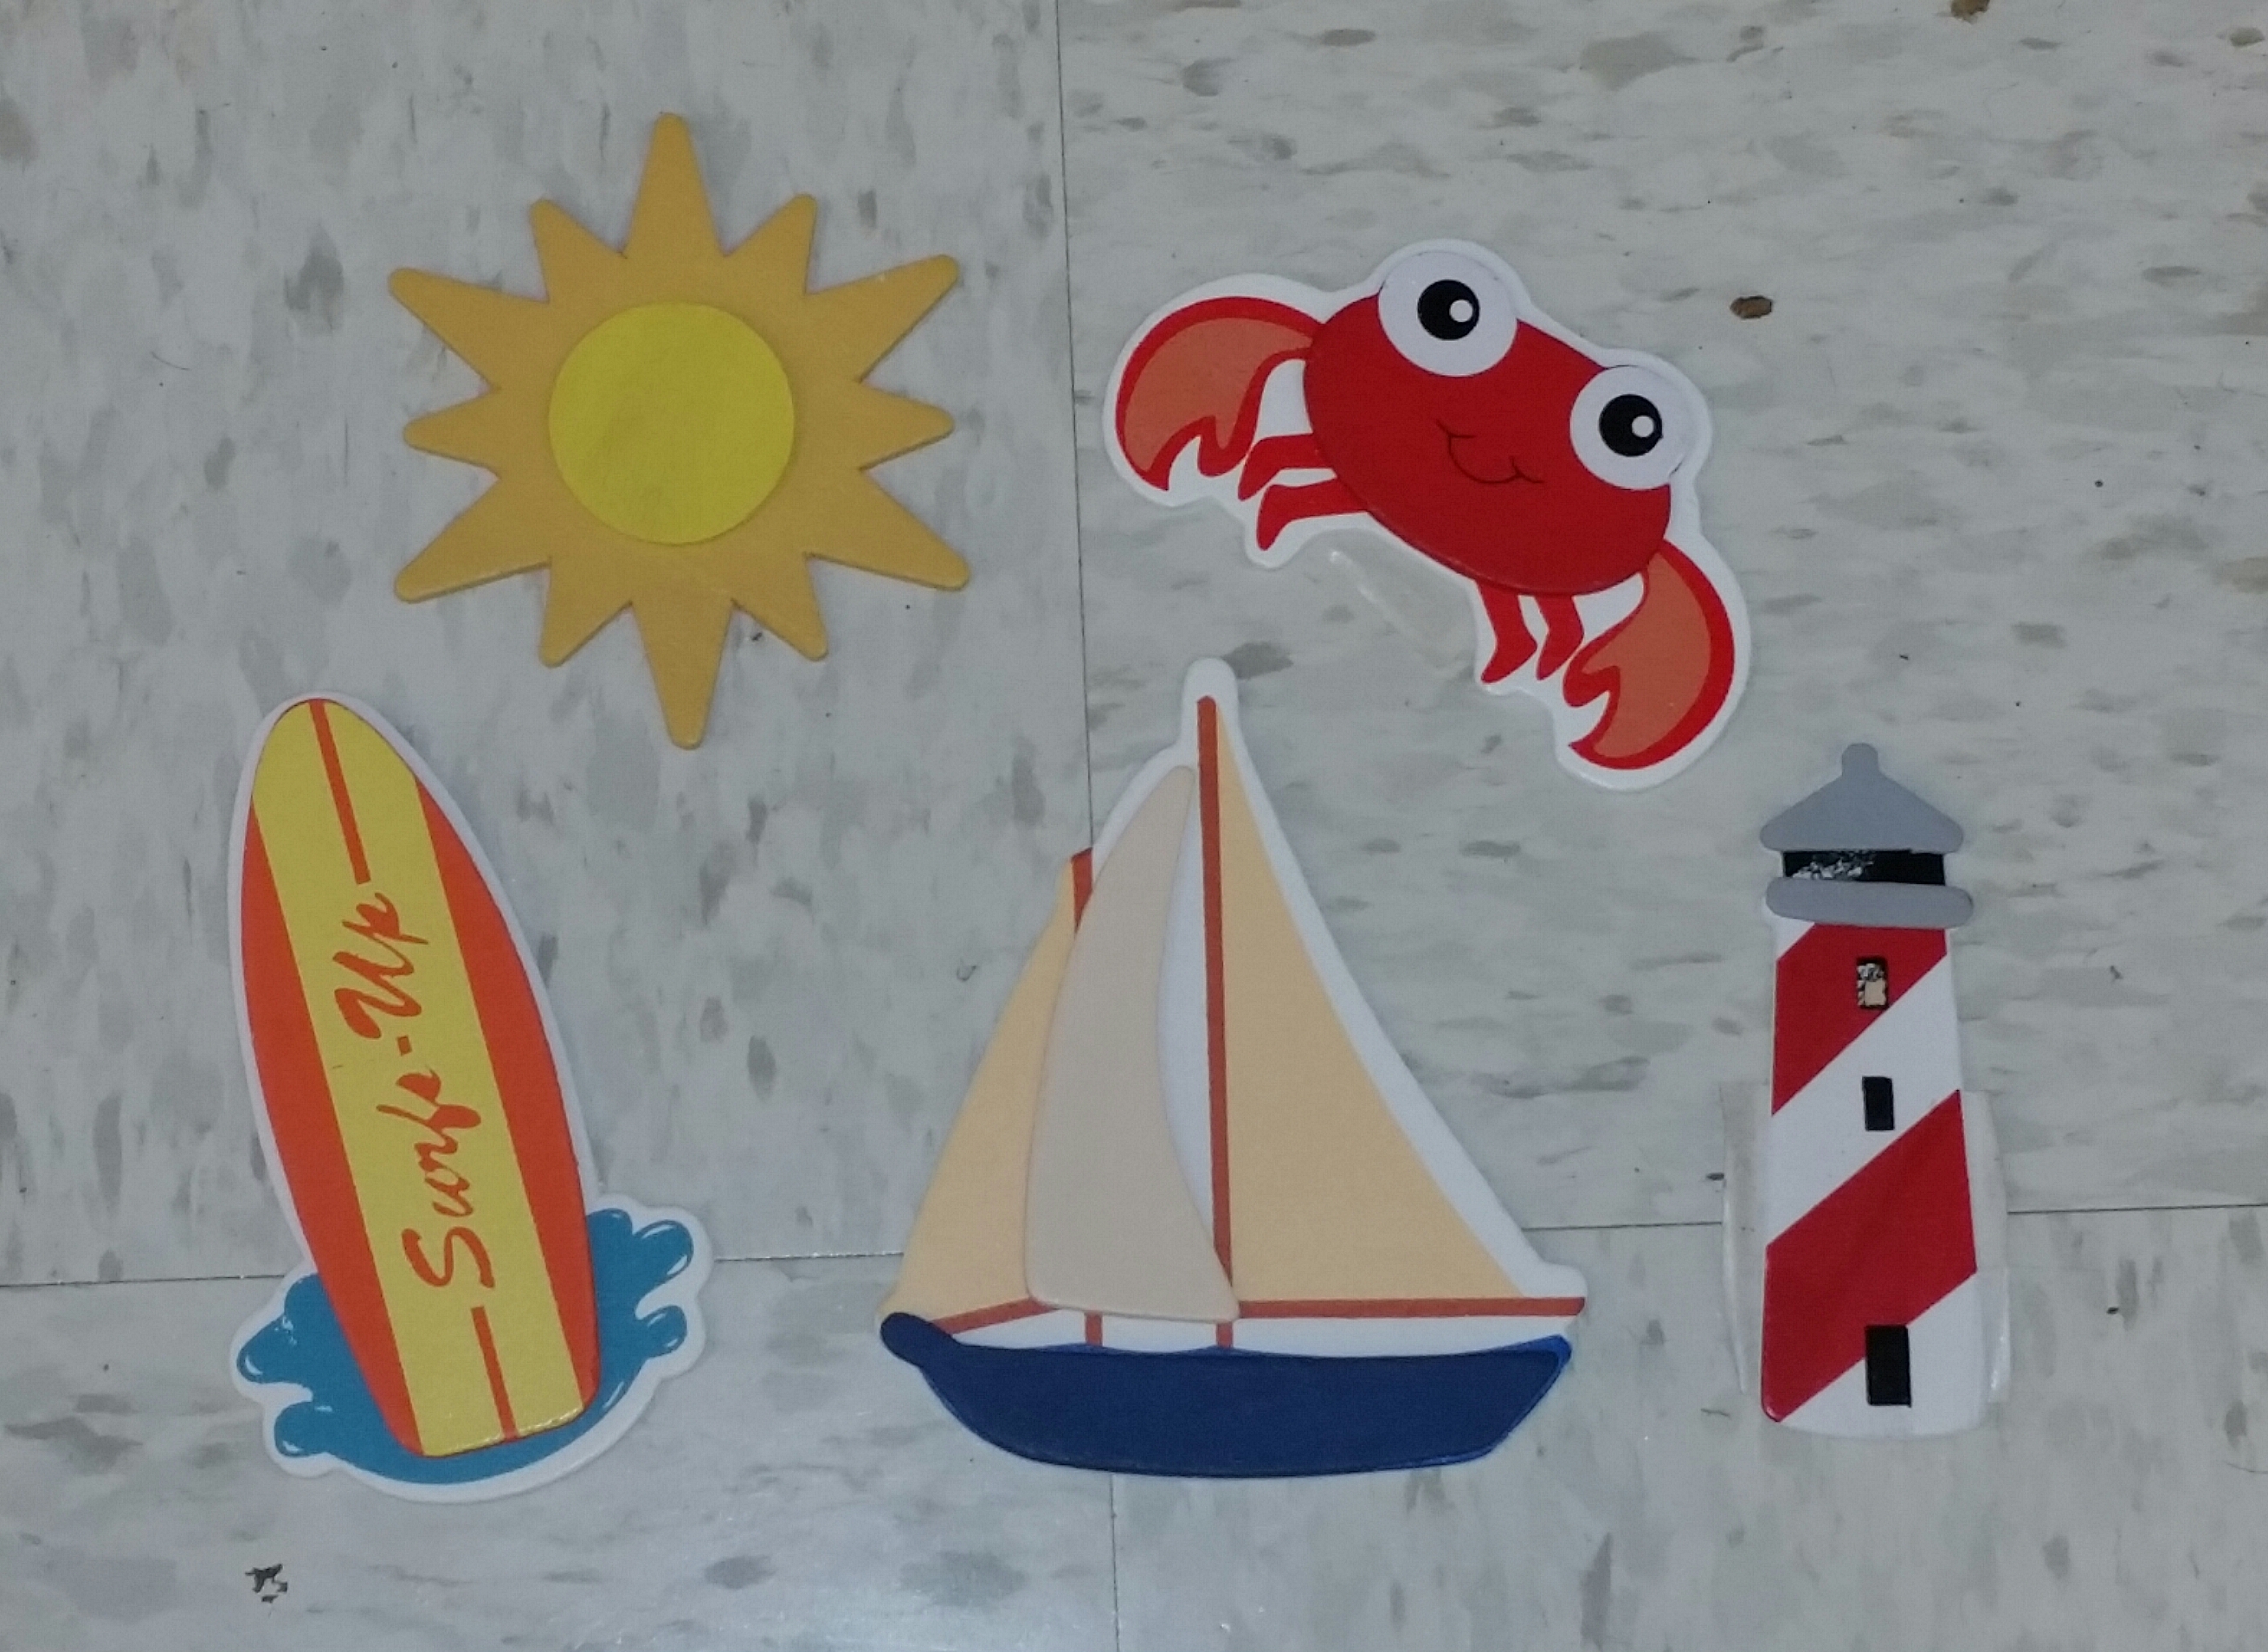
Our family loves a great trip to the beach and while living in California it was one of our favorite fun weekend destination.  Maybe your family went on a great trip to Hawaii, Florida, Mexico or the Caribbean.  Shown below is an idea for Framed Beach Vacation Photos using pre-cut wood pieces.  Pre-cut wooden items come in a variety of themes and I found palm trees, pineapples, Hawaiian flowers, beach pail and a beach shovel.

For this craft project, I used two pre-painted wooden palm trees.  In order to use them to “frame” the photo opening I had to disassemble one of the trees.  Since I needed to paint the back side of the tree I decided to change the look and painted both of them to match. 

20151013_175455-1

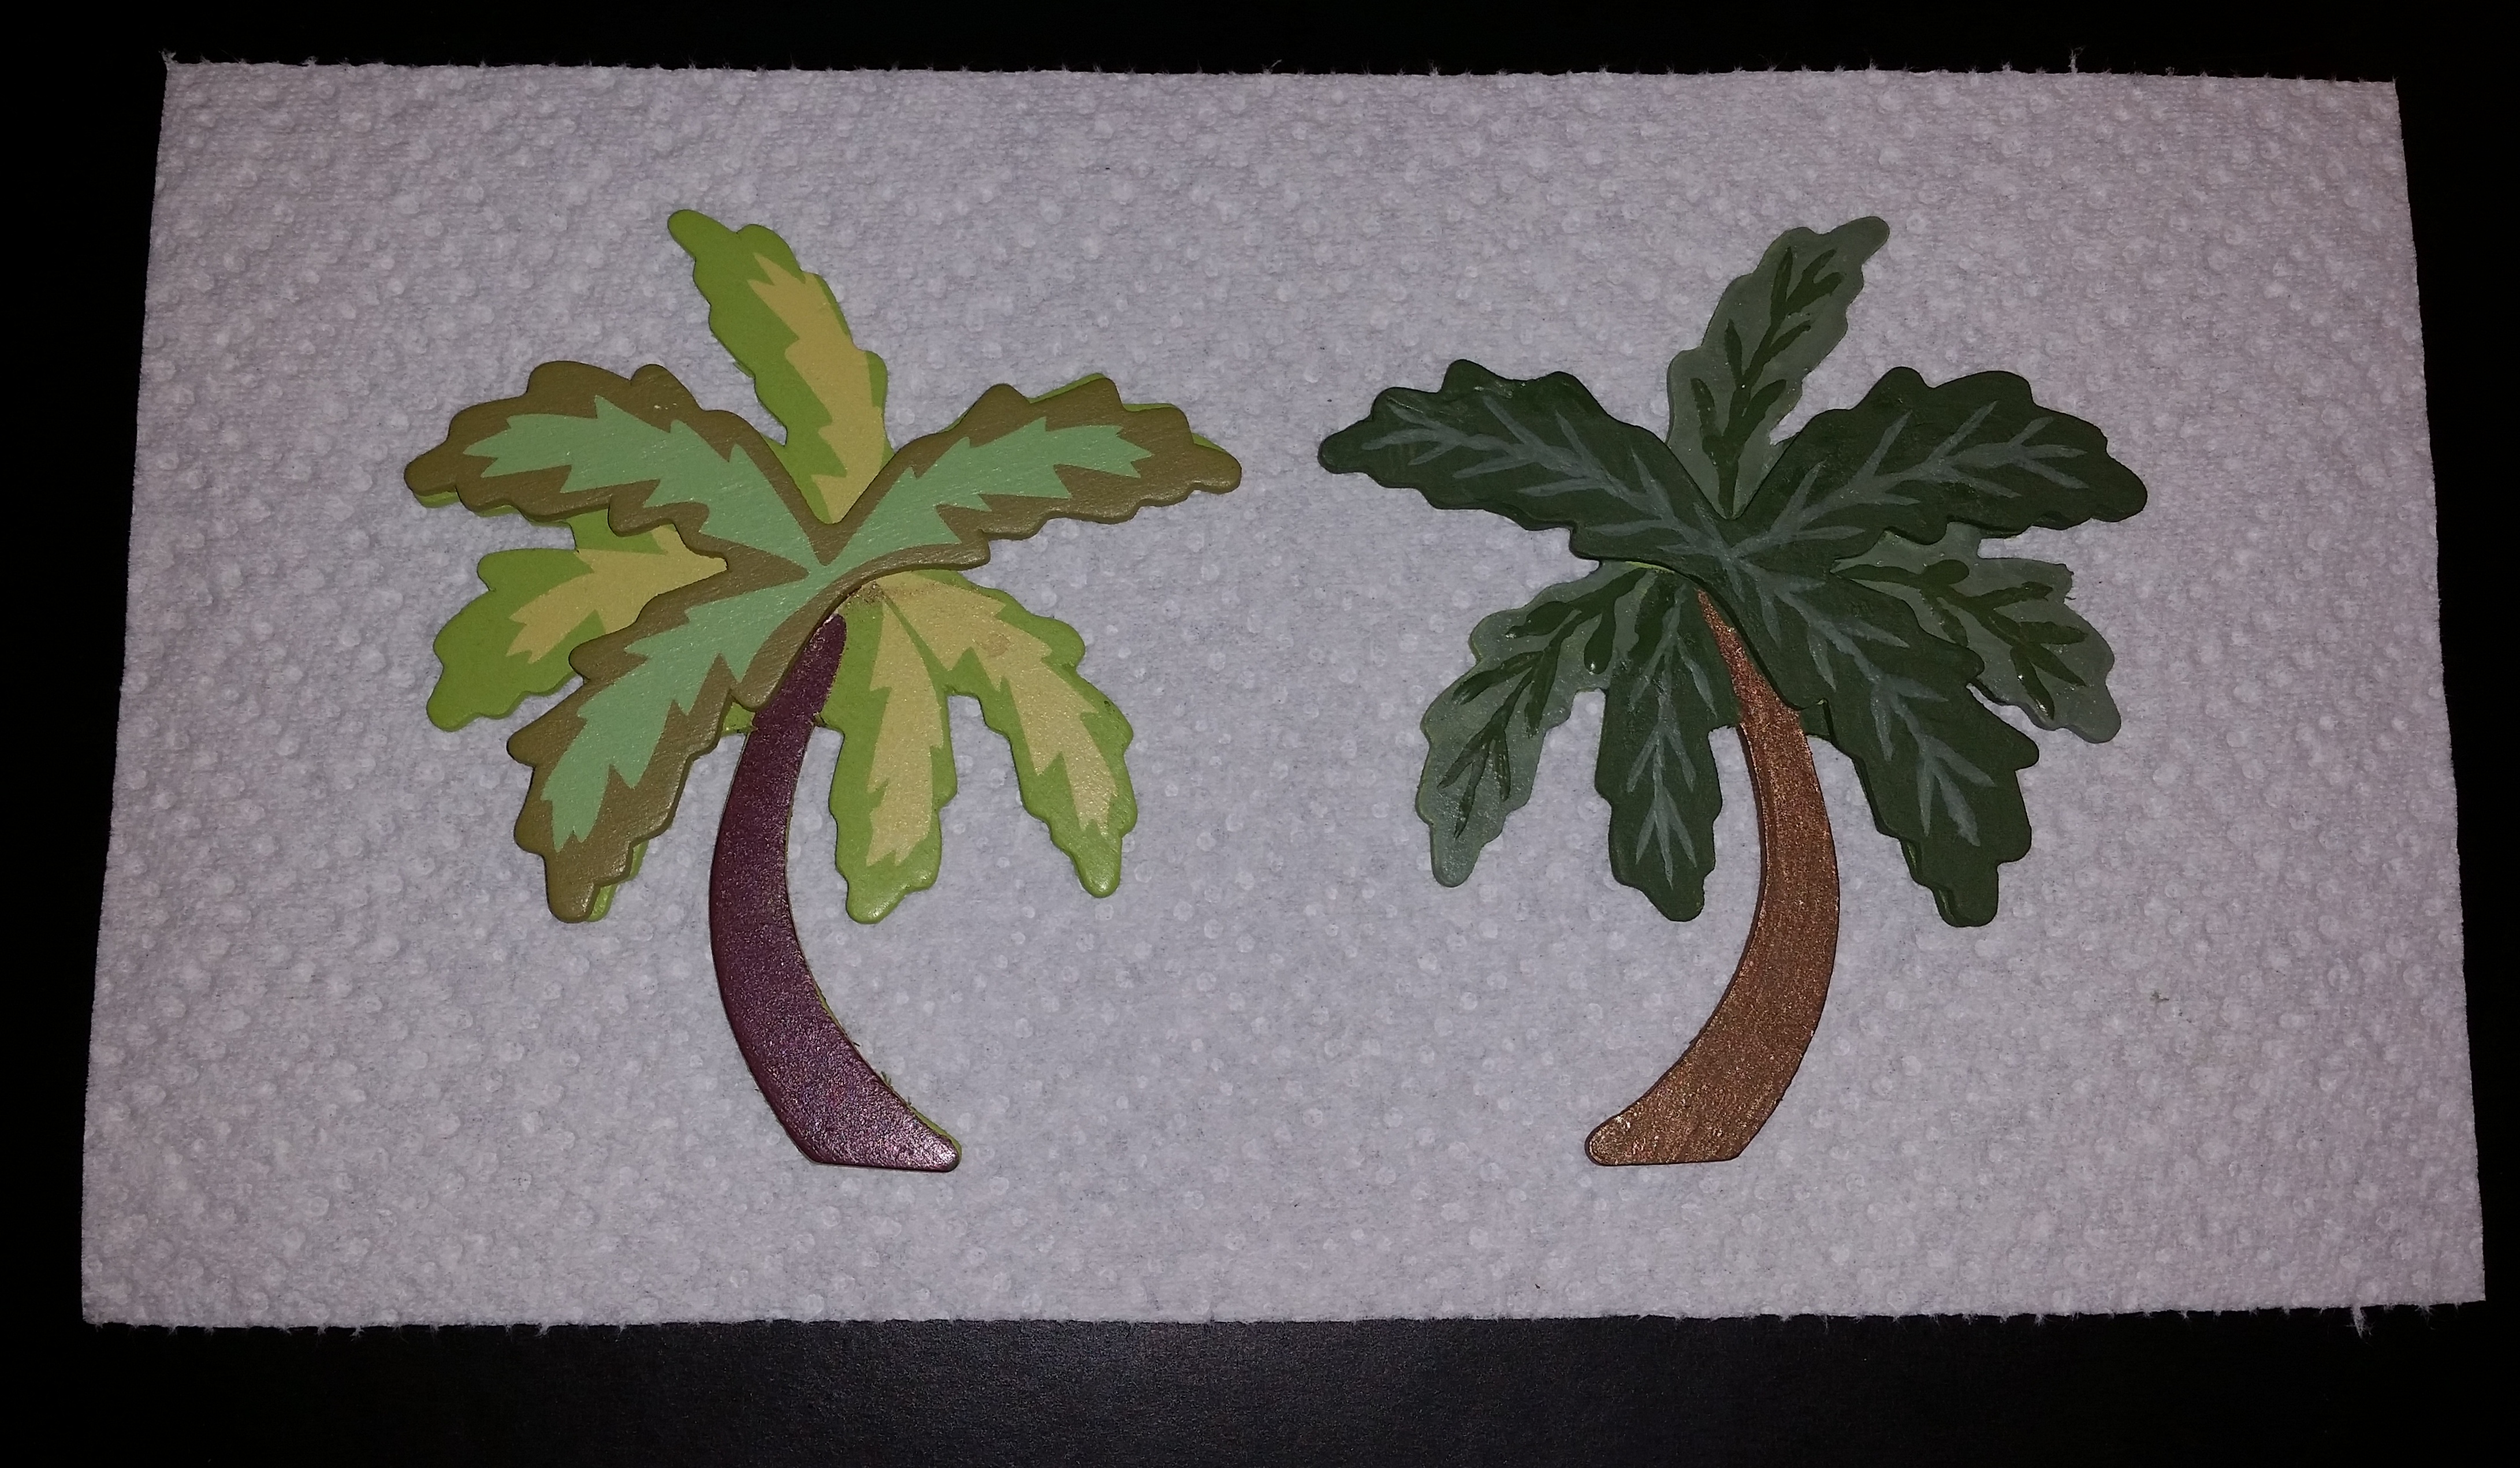
Shown below on the right is the original palm tree and on the left is the re-painted one!

painted palm trees
Beach Vacation 1  Beach Vacation 2

Family Road Trip Theme

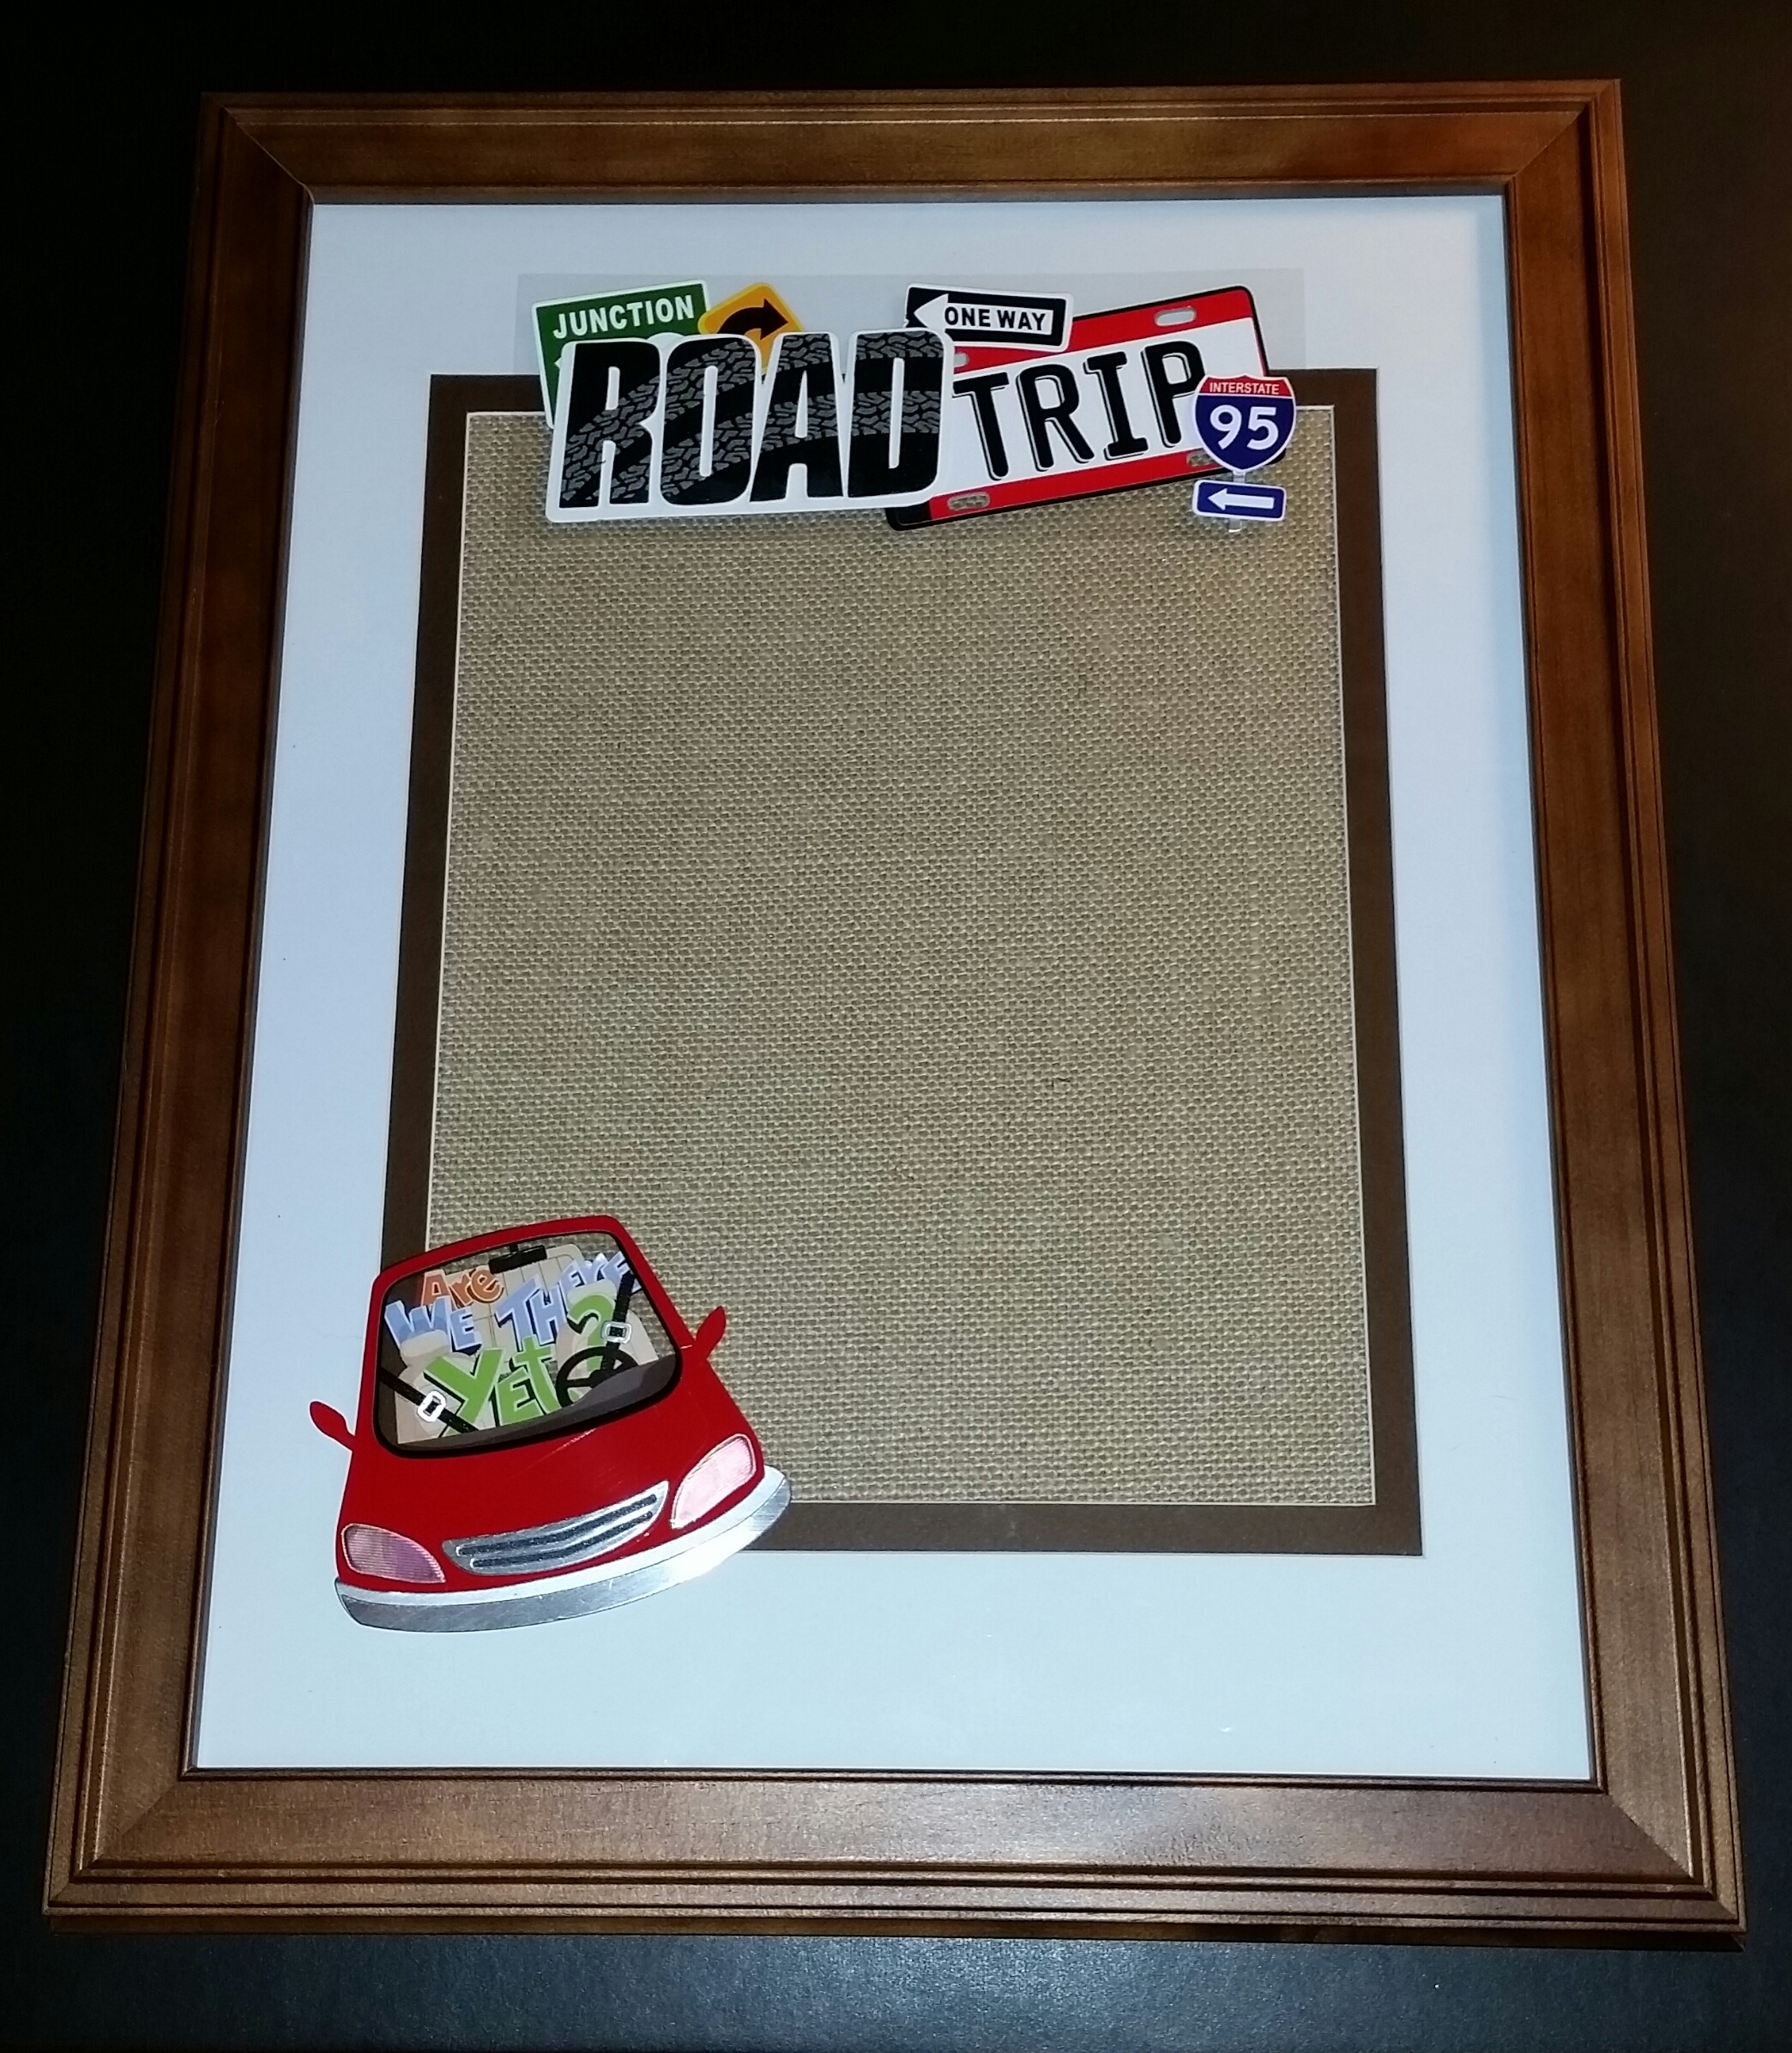
During the summer months our family loves to get in the car and travel to some fun destination for the weekend and sometimes we take longer road trips to visit interesting cities or national parks.  A variety of embellishments can be used for Family Road Trip Vacation Photos, just shop your local craft store and I’m sure they will have ones that would match the destination!

I found a great “Road Trip” sticker and one that says, “Are we there yet?”

20151013_175716-1

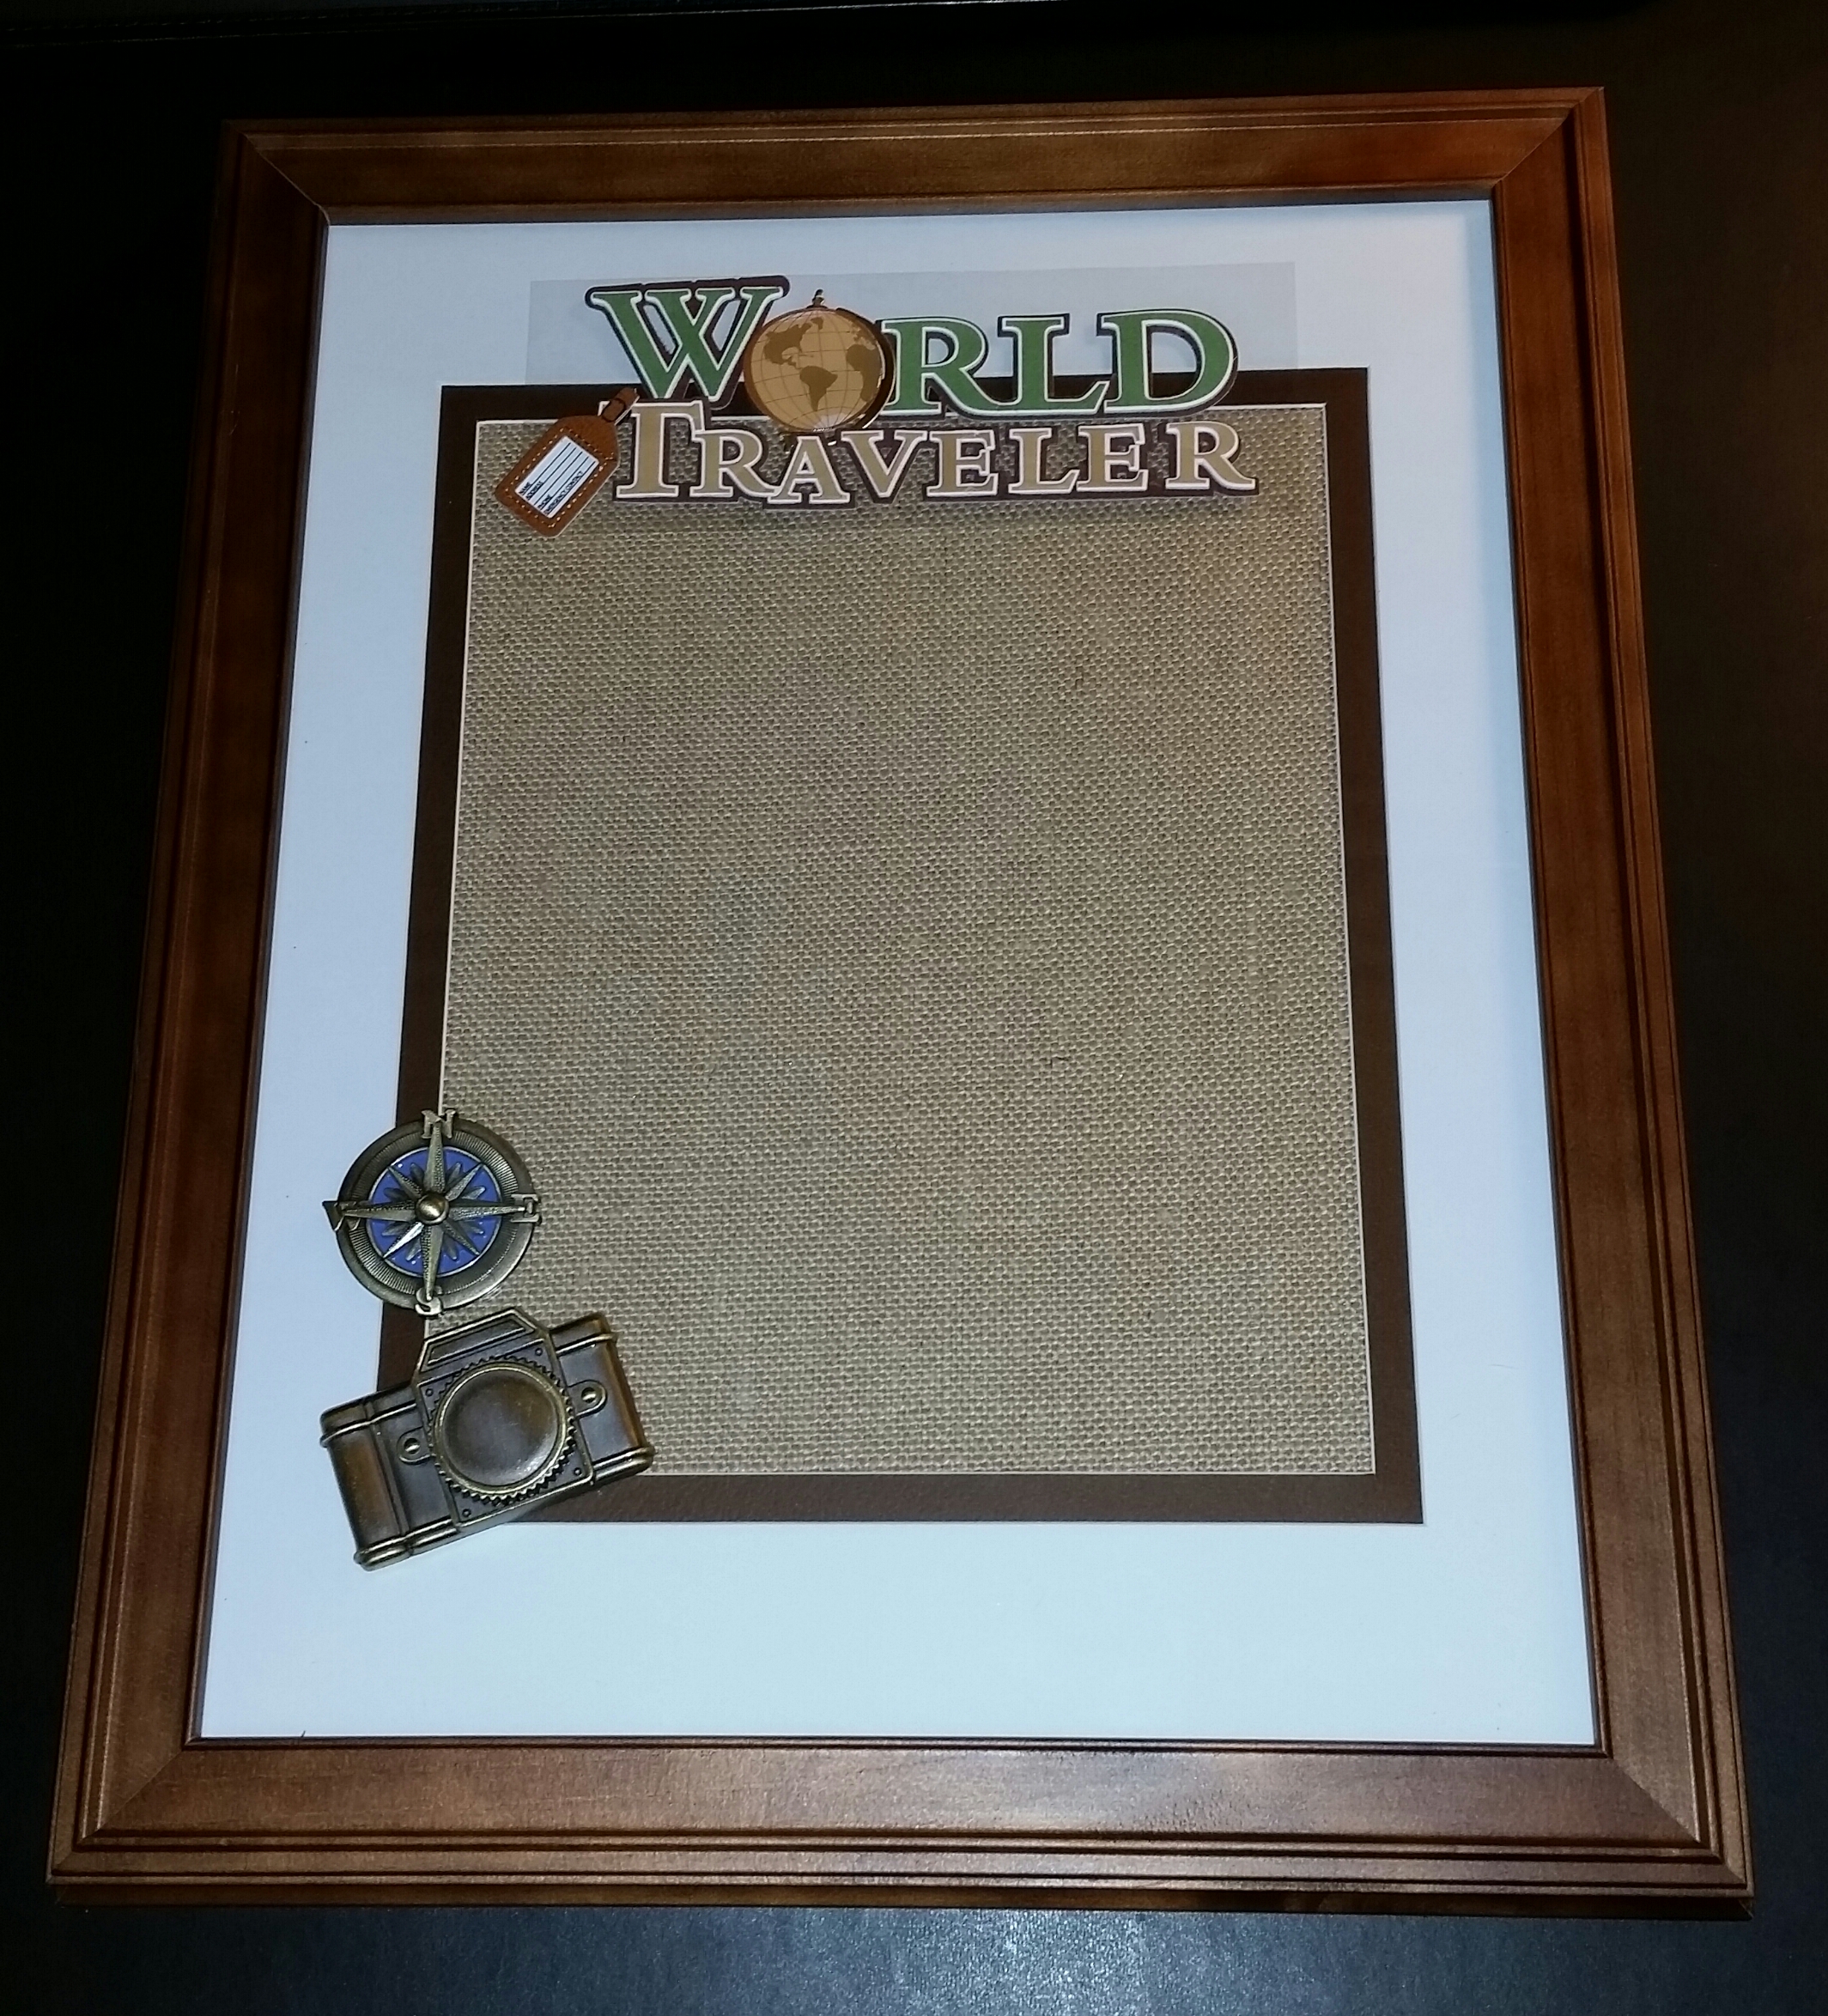
World Traveler Theme

Maybe your family has been lucky and you’ve been able to travel to the different countries around the world.  (Personally my dream trip would be to Australia!!).  A variety of embellishments can be used for World Travel Vacation Photos, just shop your local craft store to select the perfect ones that would match the destination!    

I found a “World Traveler” sticker and metal embellishments – a compass and camera.
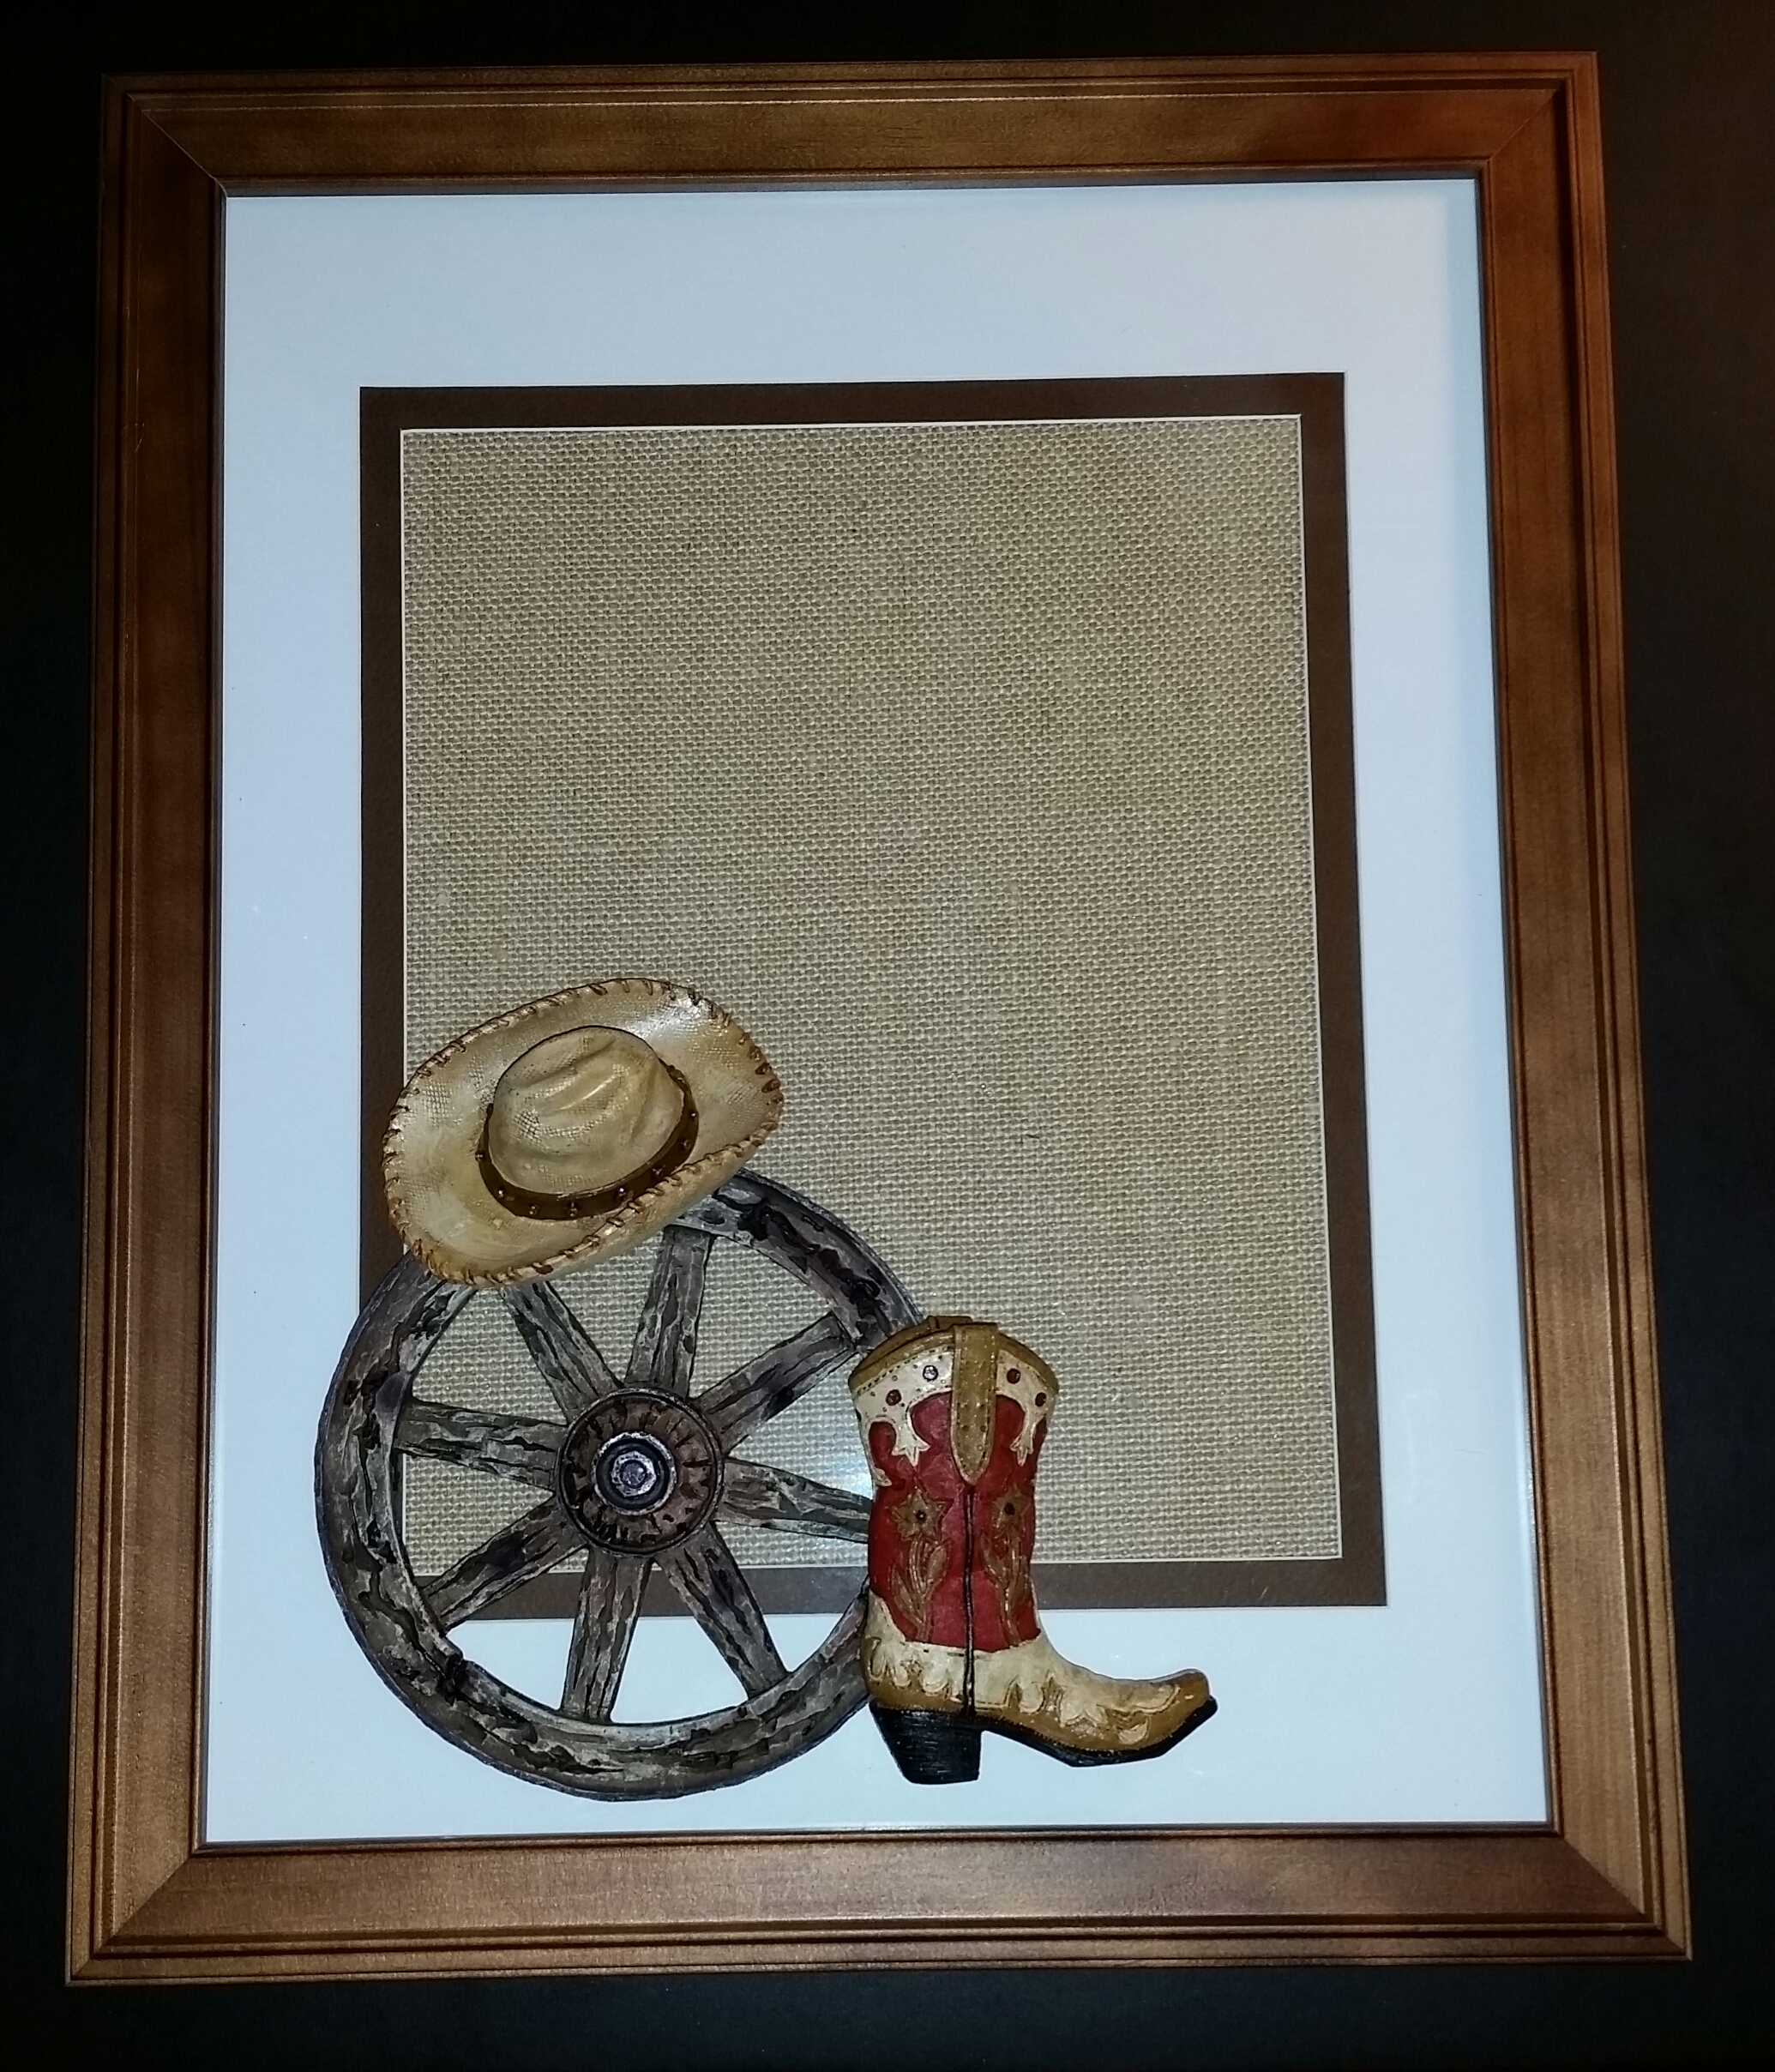
20151013_180502-1

Western Theme

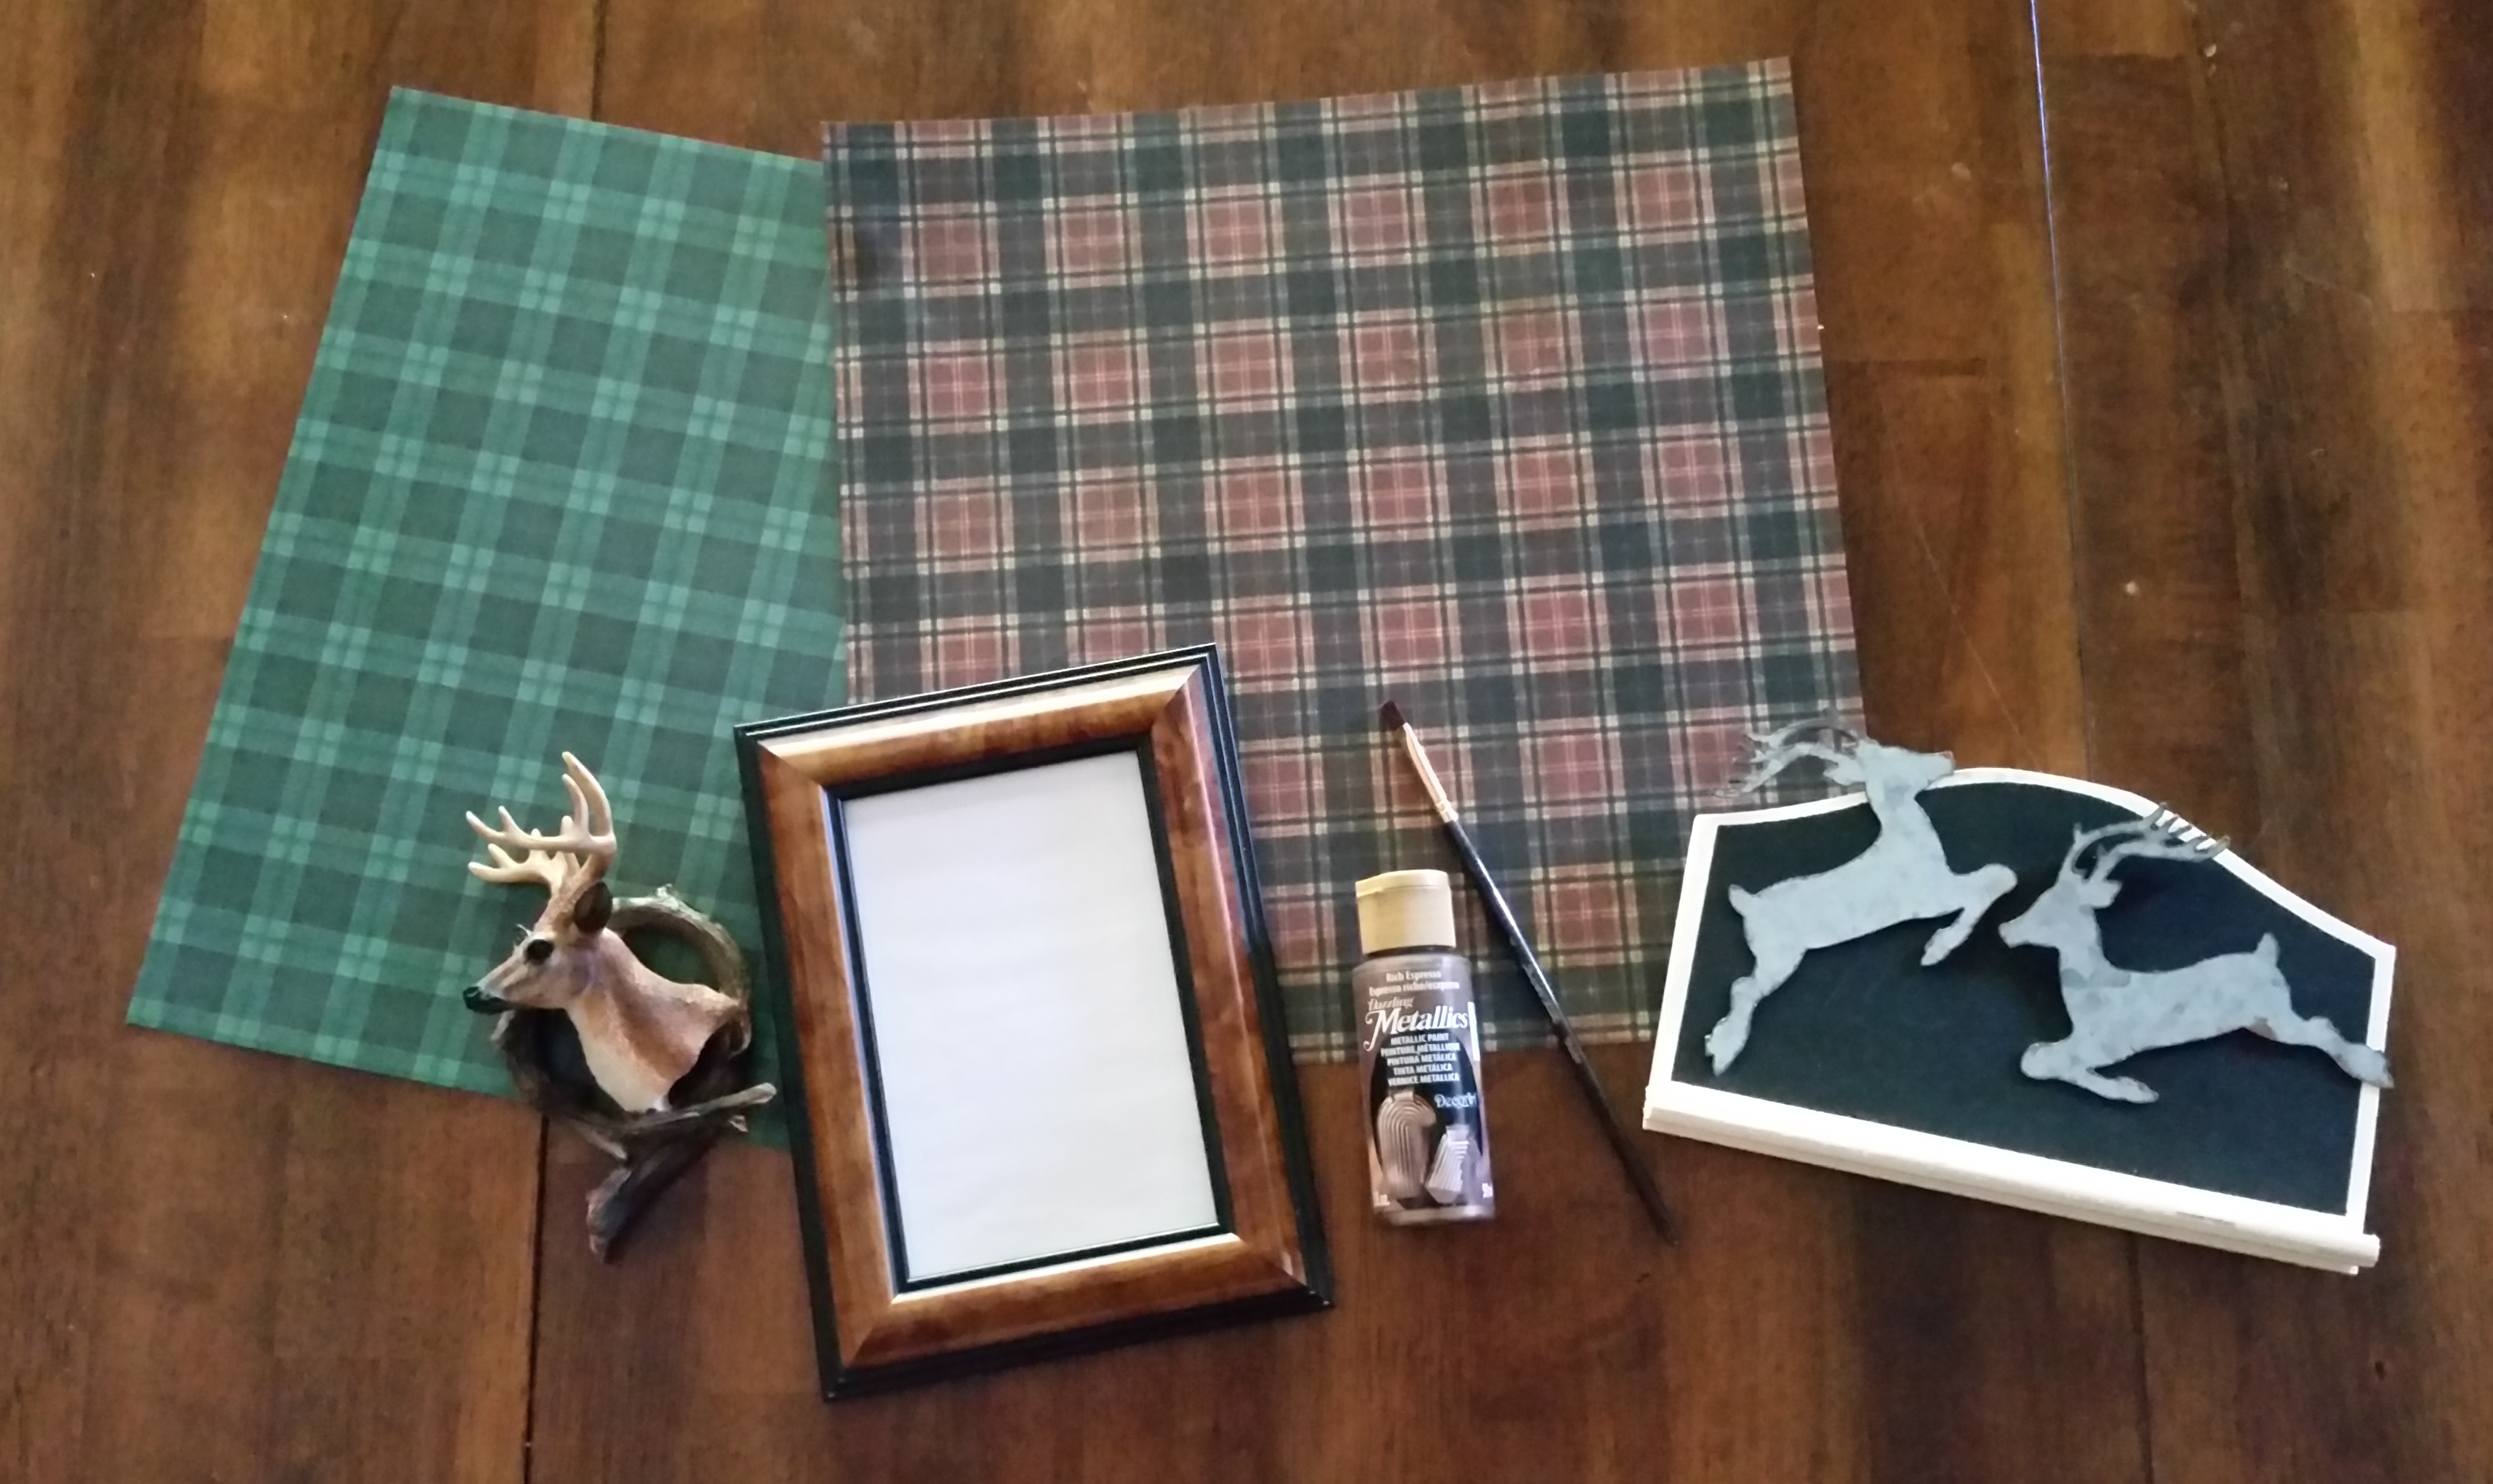
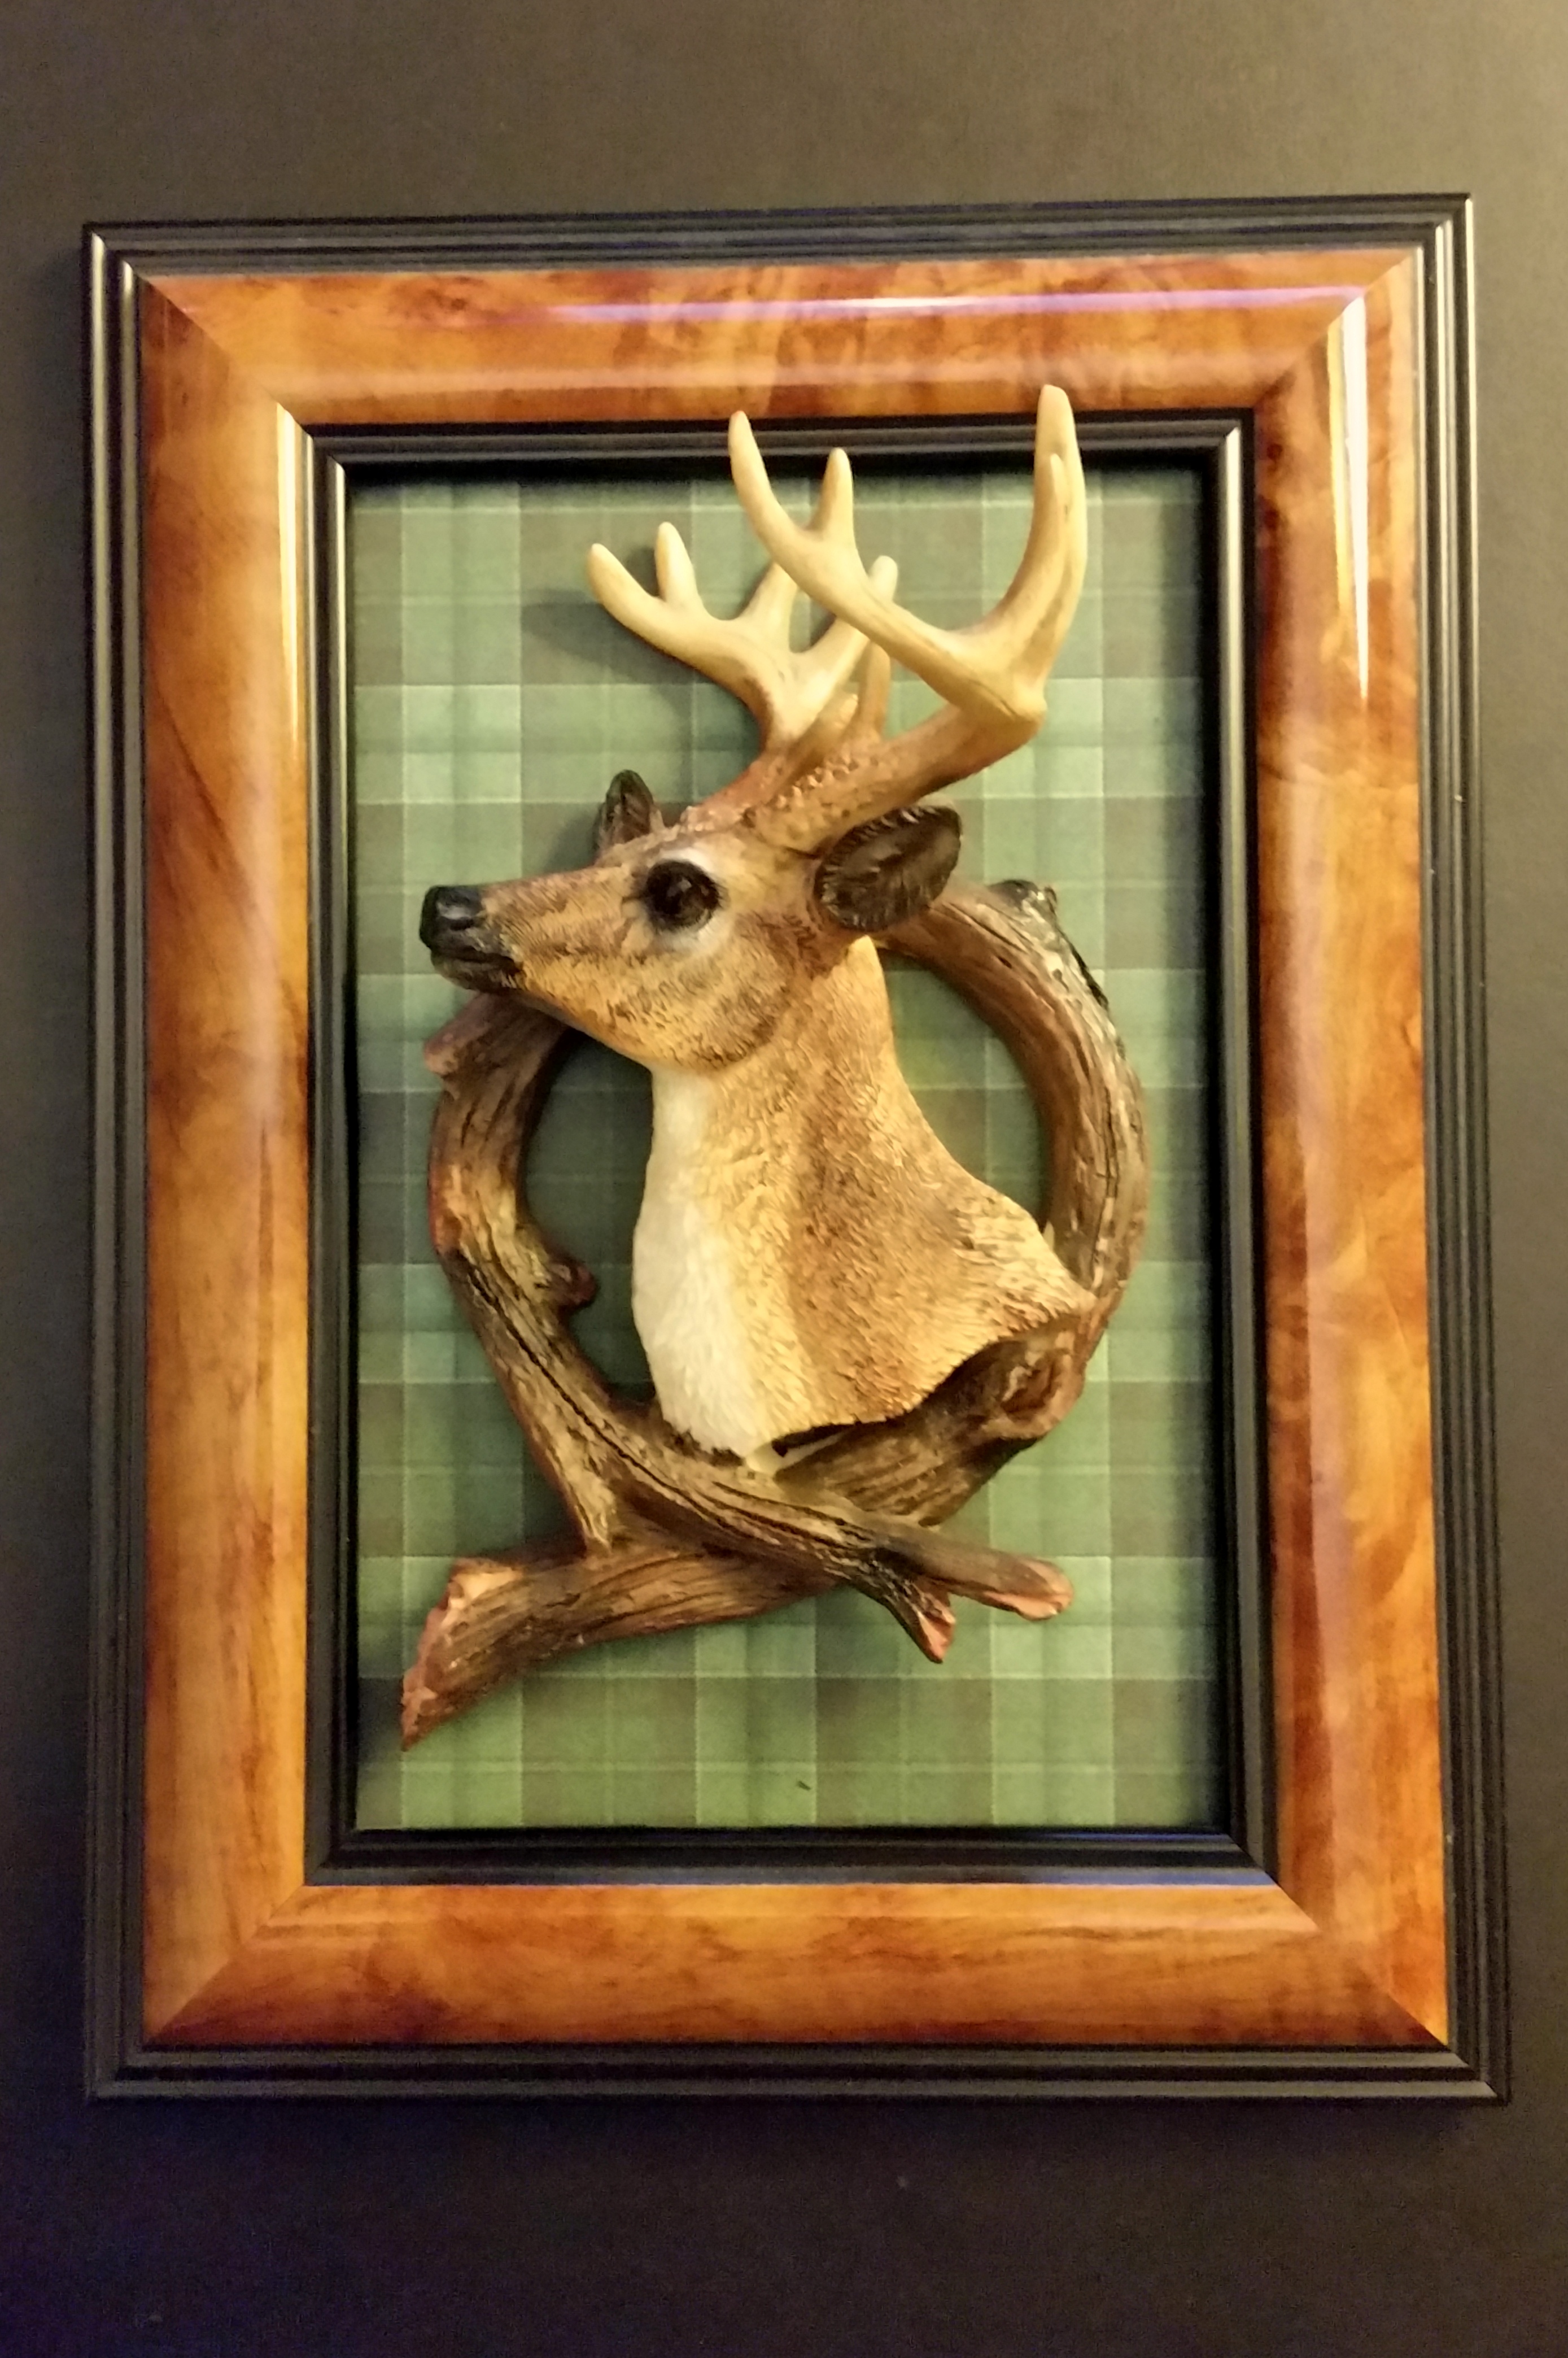
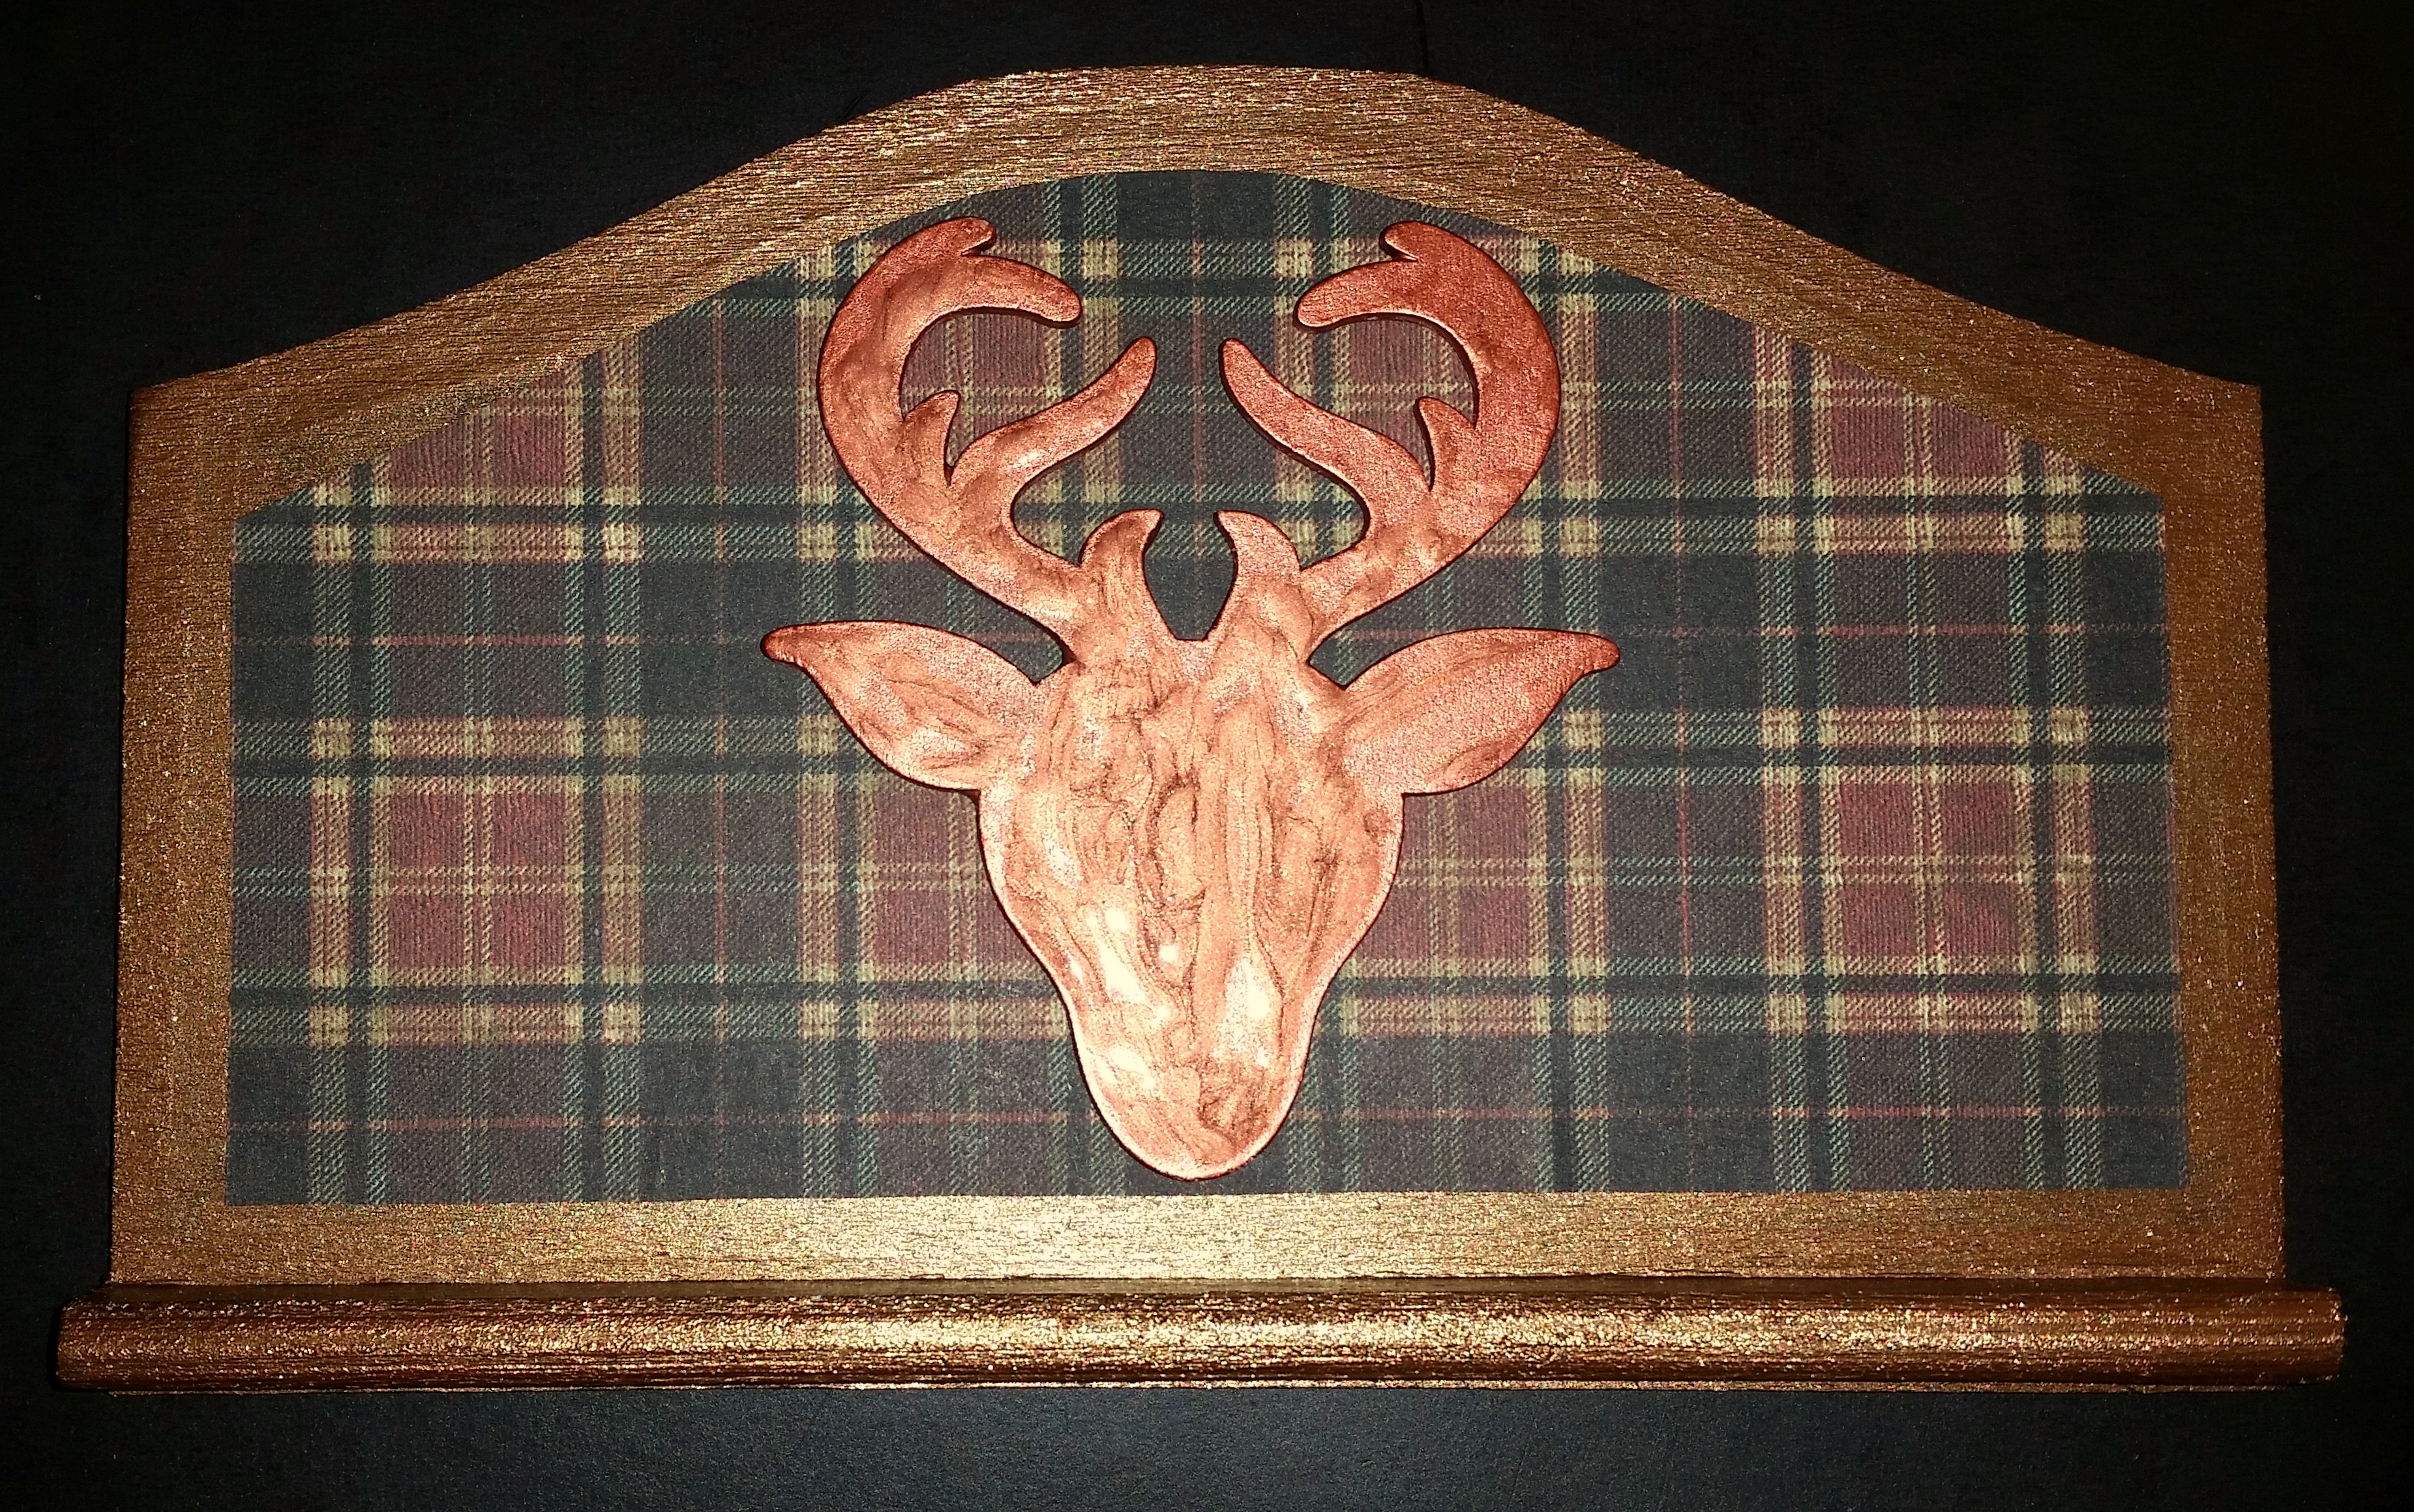
Maybe your family went on a great trip to a fun destination like Texas, Wyoming or another western state or you went on a great horseback ride during your vacation.  A variety of Western embellishments can be used for this craft project, just shop your local craft store for stickers, wood or metal embellishments.

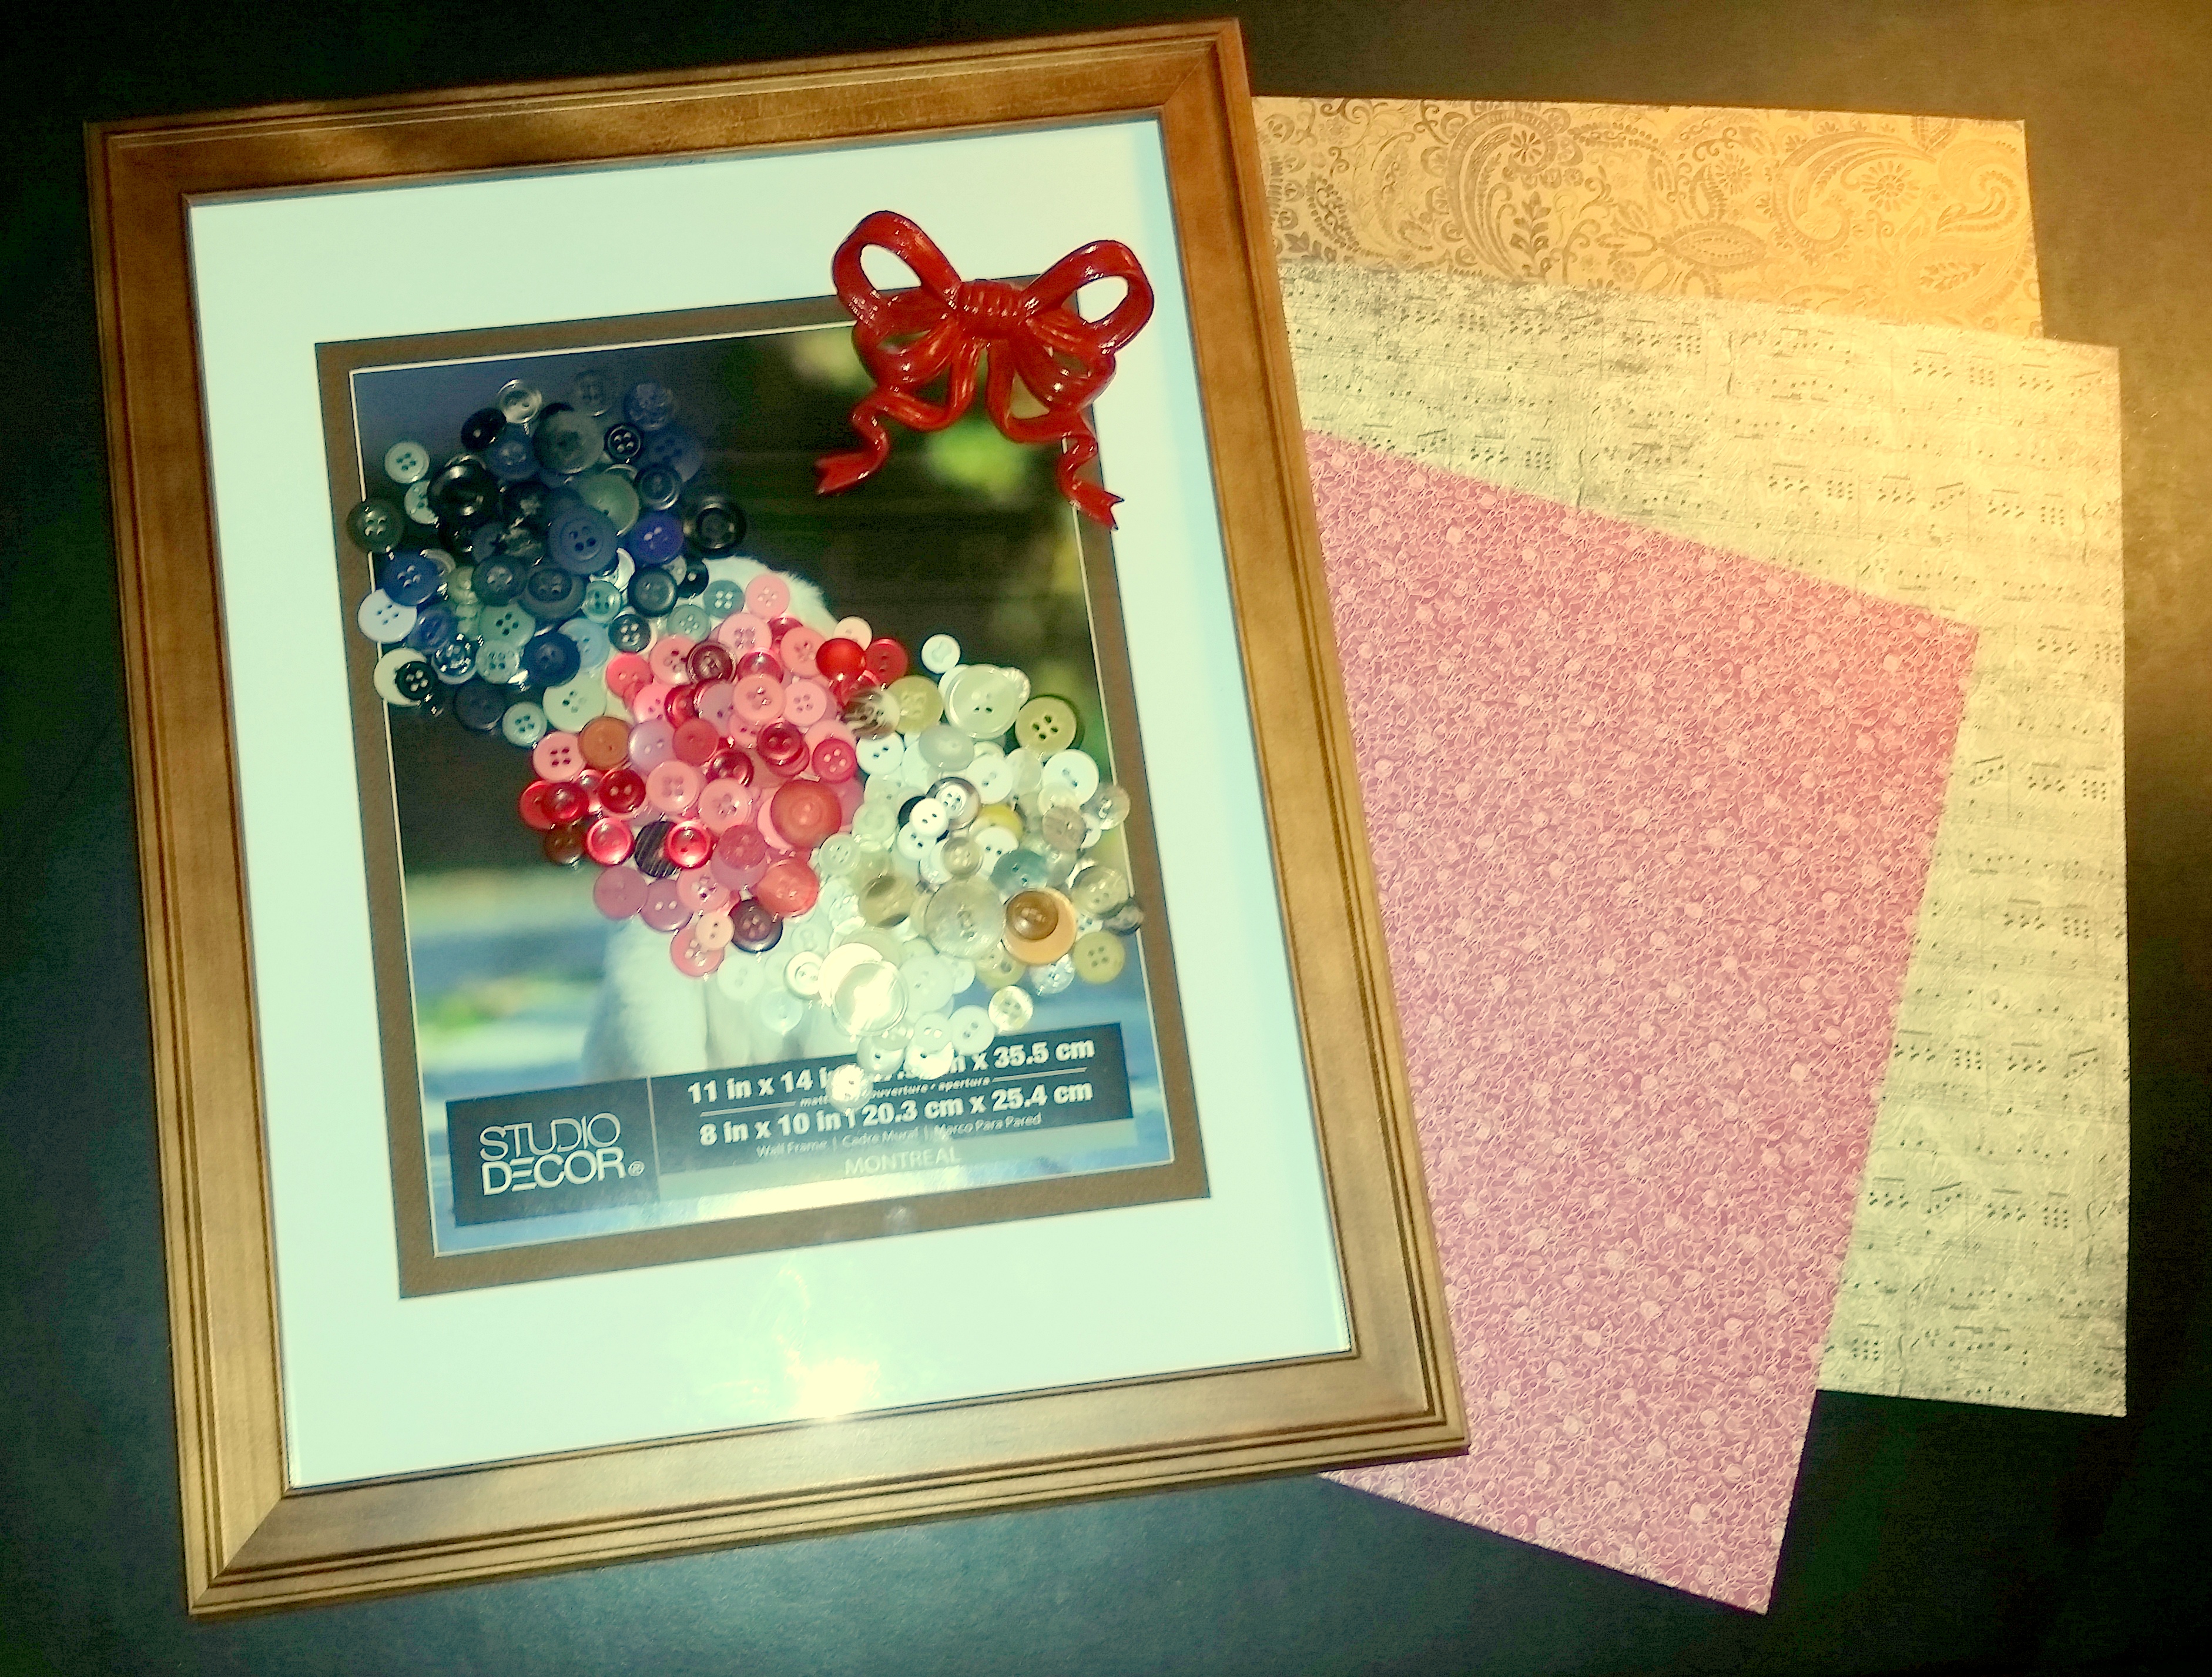
I found some western themed ornaments to use for a fun three dimensional look!  

20151013_175421-1

So have fun creating your own Framed Vacation Photos, the options are endless!!!

Craft – Chanel-Inspired Shadowbox

Chanel inspired shadowbox - final

This month, in honor of Gabrielle “Coco” Chanel (born: August 19, 1883 died: January 10, 1971), I wrote a Celebration Post about the famous French fashion designer.  In Part One of a two part series I discuss her personal and professional life in which she changed what women had been previously wearing.  As a result of my research in writing the post, I decided to create a Chanel-inspired Shadowbox.  I made two variations of the shadowbox; one a traditional Chanel style version and a second one that was more personalized using the first initial of my daughter’s name.

Chanel inspired shadowbox

Chanel-Inspired Shadowbox – supplies

  • Shadowbox frame, size will be determined by the size of letters used
  • Letters, version #1 uses the traditional double C that mimics the Chanel logo and version #2 uses the first initial of my daughter’s name, which happens to be a C
  • Quilted fabric, used to mimic a classic Chanel purse.  Craft note: while shopping in my local craft stores I could not find black quilted leather fabric but I did find a dark purple one, so I decided to use black paint to cover the purple color and it turned out great!

Quilted fabric

  • Pearls, version #2 used pearls stickers
  • Glue gun, glue sticks
  • (Optional) gold or white paint

Chanel-Inspired Shadowbox – instructions  

  1. Disassemble the shadowbox, remove glass and frame backing and keep to cardboard backing to use later.
  2. Cut a piece of quilted leather fabric to fit the size of the selected shadowbox. Craft tip: Wrap the fabric around a piece of strong cardboard to create a more solid and stable surface.
  3. Attach the initial to the quilted fabric.  Craft note: in version #1 the gold initials used had a self-sticking back and in version #2 I attached the white initial that I used with a glue gun and glue stick.
  4. (Optional ideas: Use pearls to embellish the display.  Version #1 – the edge of the fabric surrounding the frame could have a string of pearls attached to further enhance the “Chanel” look (I opted not to add the pearls).  Version #2 – I add self-stick pearls attached to the white initial.
  5. Re-assemble the shadowbox, replace glass and frame backing.

Chanel inspired shadowbox - final    Version 2 - final
For more information about the personal and professional life of  Coco Chanel,
please click on the link to Coco Chanel (Part One)

Craft – Tartan & Stag Decorative Crafts

Tartan & Stag - version #2 finished 1

This month I did a Travel post on Balmoral Castle located in the Highlands of Scotland.  The British Royal Family for centuries has been spending the summer months at Balmoral annually since the time of Queen Victoria.  Balmoral has a certain style unlike any of the other Royal residences.  The interior of the house is decorated in the distinctive Highland style with plenty of tartan material and stags that were stalked and killed at Balmoral and featured throughout its many rooms.  So, inspired by this style of design I decided to make a few tartan and stag decorative items.  Listed below are the craft project supply lists and instructions for three different versions.

Tartan & Stag - supplies

Tartan & stag decorative craft item supply list

  • Tartan patterned scrapbook paper
  • Stag accessory – all three ornament pieces I used were found in the Christmas section of my local craft store.
  • Picture frame for version #1, size determined by ornament used
  • Wooden plaque for versions #2 & 3, size determined by ornament used
  • Sandpaper for versions #2 & 3
  • Paint / paint brush for versions #2 & 3, gold and bronze colors
  • Glue stick to attach scrapbook paper
  • Glue gun and glue stick to attach stag ornaments

Tartan & stag decorative craft item – version #1

  1. Disassemble the picture frame; remove frame backing, inserts and glass
  2. Cut the tartan scrapbook paper to fit the frame size
  3. Attach stag ornament to scrapbook paper used hot glue gun and glue stick.  For heavier ornaments use glue in multiple places to secure it properly.  Option: To provide additional support for a heavier ornament, scrapbook paper can be glued to a piece of cardboard.
  4. Reassemble the picture frame; first insert the ornament/scrapbook paper (optional cardboard attachment), then the glass and lastly the frame backing

Tartan & Stag - version #1 finished

Tartan & stag decorative craft item – versions #2 and 3

  1. Sand the wooden plaque to provide a smooth surface and prepare it for painting
  2. Paint the wooden plaque with gold paint, let dry
  3. Cut the tartan scrapbook paper to fit the wooden plaque, allow space to show a small border.  Craft Tip: Be sure to level the pattern before cutting
  4. Attach the tartan scrapbook paper to the wooden plaque with glue stick, smooth if necessary allow paper to lay flat with no wrinkles
  5. Paint the stag ornament(s) with bronze paint, let dry

Tartan & Stag - version #2 painted stag

  1. Attach stag ornament(s) to the wooden plaque using hot glue gun and gun stick  Craft Tip: To add dimension to the piece and raise it off the wooden plaque, add a small piece of wood under the stag ornament(s)

Tartan & Stag - version #3 finished

Craft – Framed Button Crafts

Buttun Craft - version 1 - finished

This post is about craft projects that take lots of buttons, lots and lots of buttons!!  Maybe you inherited a box of buttons from your mother or grandmother and are looking for something special to do with them.  Or maybe you are inspired by the button aisle in your favorite craft store and are looking for a craft project to use them.

When I decided to do this button craft project I searched on the internet for some ideas that I liked., the internet is a great source for ideas for all kinds of craft projects.  I usually find ones that I like and then give it my own personal style with the supplies that I select.  Walk the aisles of your favorite craft store to get inspiration for a variety of buttons, scrapbook paper and embellishments.  Be creative and use your imagination to design a personalized button craft project.

So, here are three different variations of craft projects using buttons.  The first used buttons to form a heart shape, the second is a wreath shape and the third uses buttons to form the initial of our last name.  Listed below are the supply list and instructions for all three versions.

Button Craft - supplies

Button Craft – supply list

  • Buttons – you are definitely going to need a lot of buttons!
  • Frame
  • Scrapbook paper
  • Hot glue gun and glue sticks
  • Plastic self-adhesive letters – black – I used letters for version #1
  • Embellishments – I used a plastic bow for the button wreath for version #3

Button Craft – instructions

  1. Disassemble the frame, remove the backing, picture mat and glass, set them aside
  2. Place the picture mat back into the frame
  3. Place the selected scrapbook paper into the frame
  4. Place the glass and the frame backing into the frame and secure it with the tabs provided.  By reassembling the items of the picture frame it will provide a solid surface to work on that will support the weight of the many layers of buttons
  5. Before adding the first layer of buttons I determined the position, this is important to make sure that the buttons are centered properly.  Also this first layer of buttons will help to form the desired shape, such as the heart, wreath or letter initial.  (Craft Tip: I used the dark colored buttons for the first layer to add depth to the finished project)Buttun Craft - version 1 - heart form
  6. Continue placing buttons, add several layers and overlap the buttons  (Craft Tip: I started with the larger buttons first and with each layer I added buttons decreasing in size until the last layer used the smallest buttons)
    Button Craft - bow - glitter  Button Craft - bow - plain  Button Craft - bow - red paint
  7. After the last layer of buttons is glued into place, add the embellishments.  For version #1 I used the black plastic self-adhesive letters to spell out a clever saying!  For version #3 I used a plastic bow that I found in the Christmas aisle but it had gold glitter paint, I removed the glitter and repainted it a deep red color that coordinated with the red floral pattern scrapbook paper I selected.

Buttun Craft - version 1 - finished  Buttun Craft - version 3 - finished
Buttun Craft - version 2 - finished

Craft – Fairy Under Glass

Fariy Under Glass complete

A couple of years ago I did a Craft post, Glass Dome Arrangement and at the time the popular trend in home accessories was a terrarium containers.  The arrangement was set on a cabinet in our home and I really liked it.  Another Craft Post that I did several years ago was a Butterfly in a Jar and that arrangement sit on the desk in my home office during the spring and summer seasons.

For this craft project, it was the end of summer I thought it would be a fun idea to “trap” a fairy under glass to keep throughout the fall and winter months until I could let her “escape” in the springtime!!

The Fairy Under Glass craft project was very easy and took less than an hour to create, I re-purposed most of the items used in the previous arrangements so the cost was keep to a minimum.  But, if you are going to create this craft project from scratch the items required are very inexpensive.

Listed below are the supplies and instructions for the Fairy Under Glass craft project.

Fariy Under Glass suppliesFairy Under Glass – supplies

  • Glass container (the dimensions will be determined by the floral and fairy size)
  • Fairy figurine
  • Floral items (I used two different types of ferns and flowers to add color)
  • Artificial Mushrooms
  • Moss (optional)

Fariy Under Glass complete - dome off 2a

Fairy Under Glass – instructions

  1. Prepare the glass container for the craft project, clean or dust if necessary
  2. Arrange ferns and flowers (for this project I re-purposed the ferns from a previous arrangement and added flowers for a little bit of color)
  3. Place the fairy figurine at the front of the arrangement (I add a little bit of sparkle paint to the fairy’s wings to allow them to glimmer)
  4. Scatter a few mushrooms around the fairy
  5. (Optional) Add a little bit of moss to the arrangement, place some around the fairy and the mushrooms

Fariy Under Glass complete - dome off 1